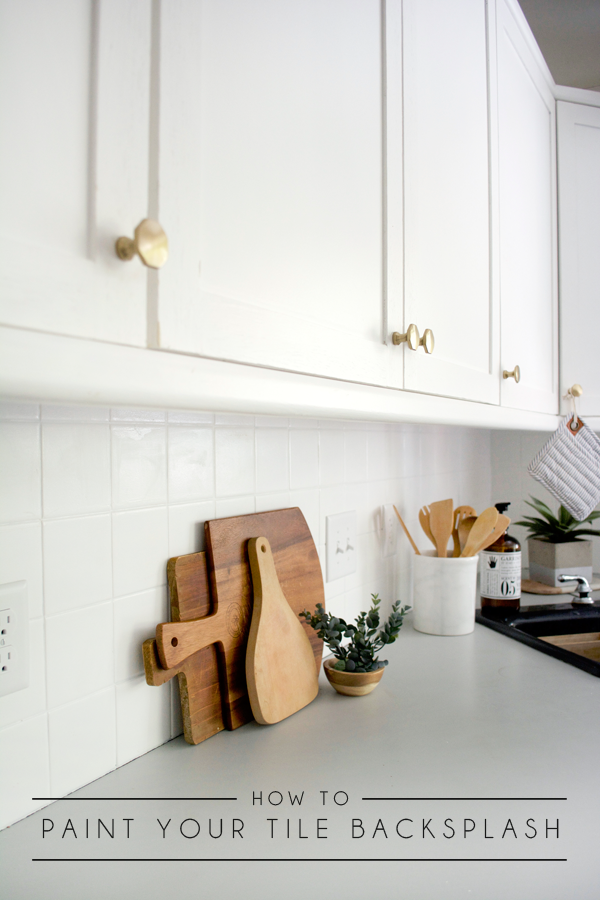
Along with painting our kitchen cabinets, I also painted our backsplash which was another great decision. Since we weren’t in the place for a full renovation, these small (and cheap) cosmetic changes were perfect for us. I’ve gotten tons of questions about the process, which is seriously so easy, so I’m going to break it down for you guys step by step and hopefully it will help give you the push to do the same in your own kitchen!
How to Paint Your Tile Backsplash
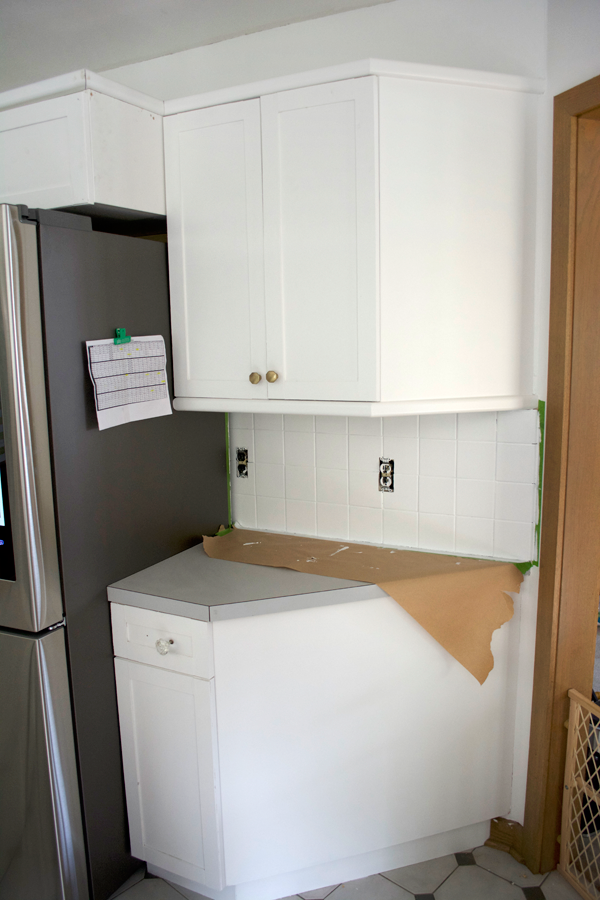
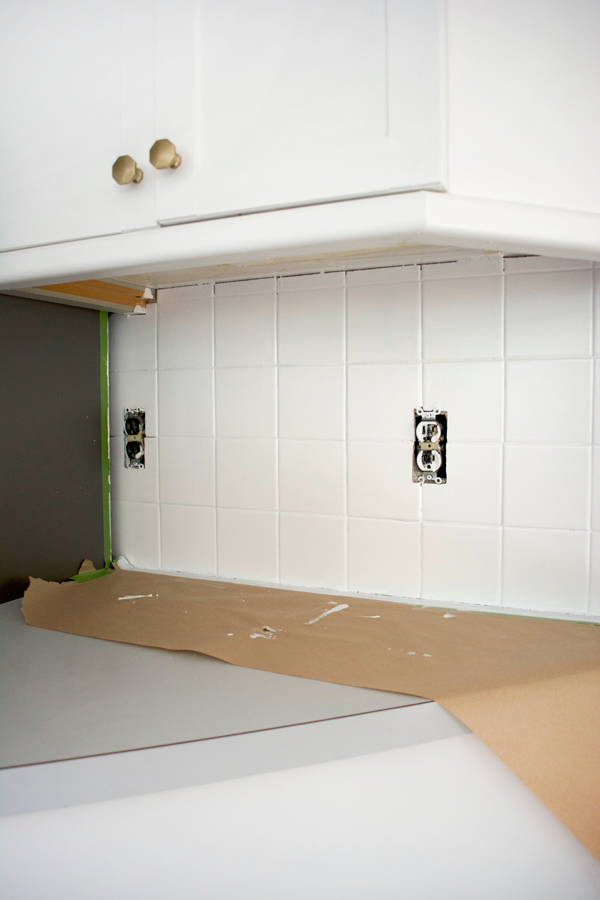
Here’s a look at what our backsplash looked like:
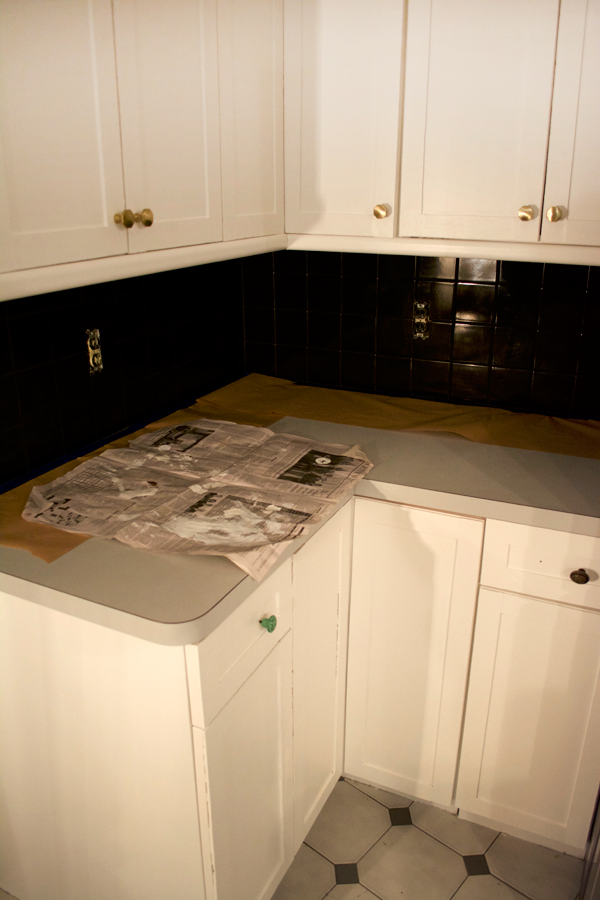
Simple and square which I’m perfectly fine with, just not the black.
And here it is in our whole kitchen:
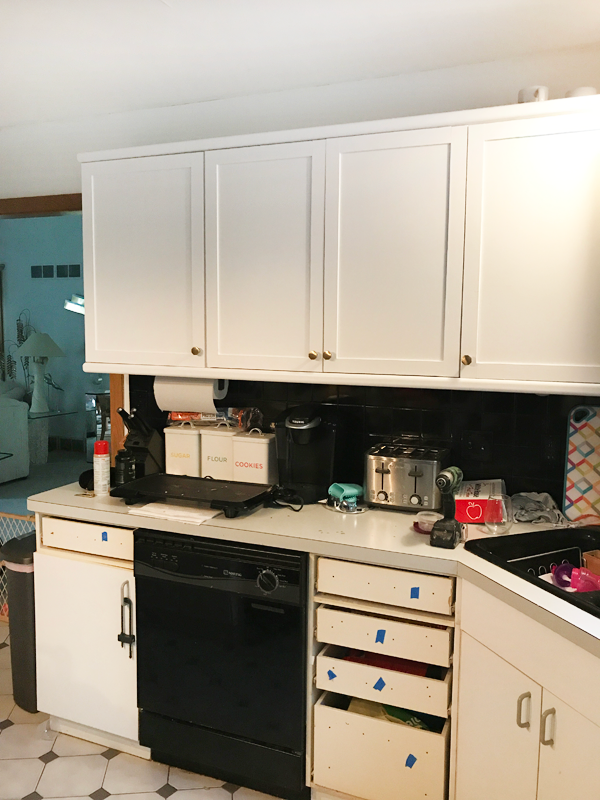
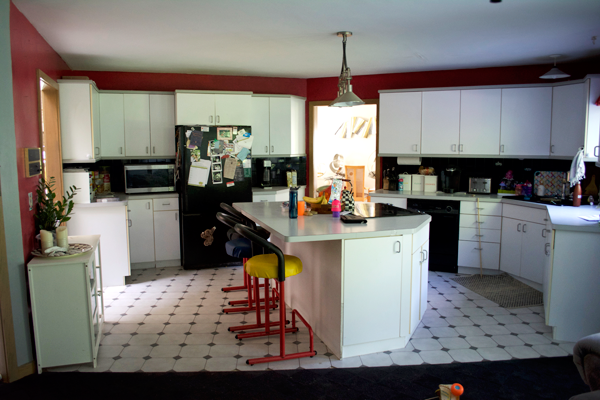
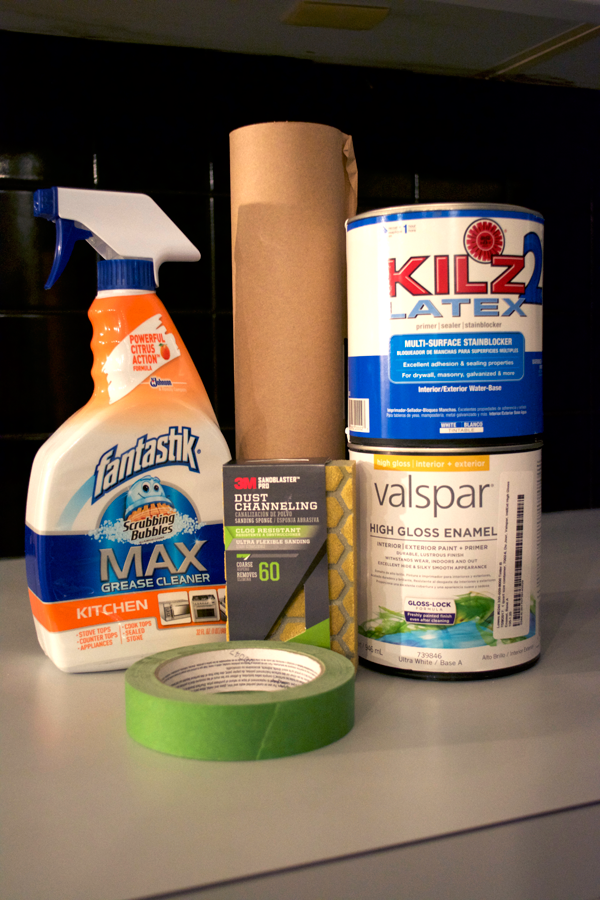
SUPPLIES FOR PAINTING YOUR TILE BACKSPLASH
Heavy Duty Kitchen Cleaner (any brand will do)
Sanding Block
Painters Tape
Newspaper or Painters Paper
Latex Primer
Valspar High Gloss Enamel (I had mine tinted to Valspar’s Du Jour to match the cabinets)
1″ Angled Paint Brush
Small Foam Roller
STEP 1
Clean off your counters.
STEP 2
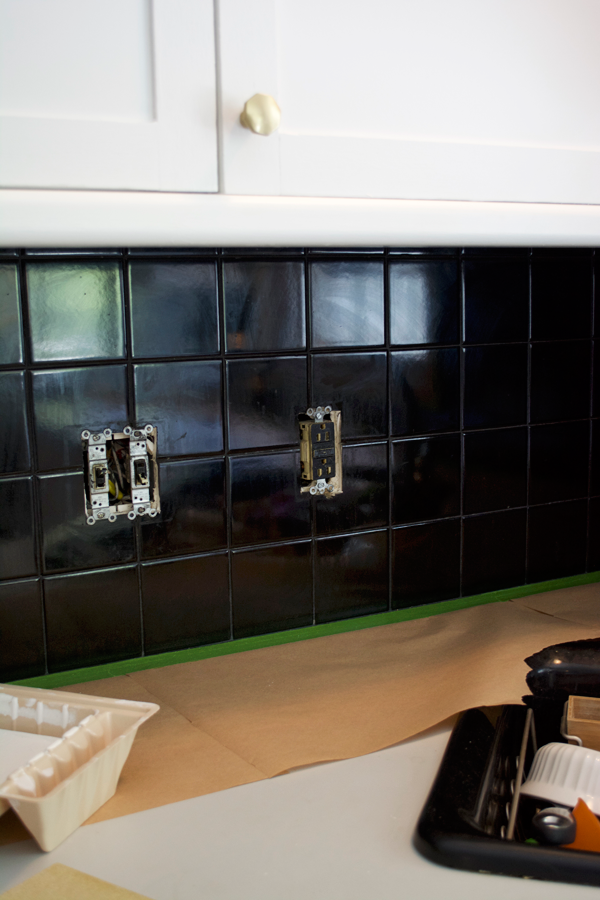
Use newspaper or a roll of painters paper and tape it down to protect your counters. I recommend using the painters tape first without the paper to get a nice close edge. Then you can stick another layer of tape to the paper and put that down overlapping your first pieces of tape.
STEP 3
Give your backsplash a good scrub to get all the dirt and grime off. I used the Fantastik Grease Cleaner pictured above as well as some clorox wipes and it did the trick.
STEP 4
Sand your backsplash. You don’t have to go crazy, and if you’re tile is already pretty ceramic and shiny like ours, the little sanding block isn’t going to do too much. But you just want to scuff it up a bit to give the primer something to stick to.
STEP 5
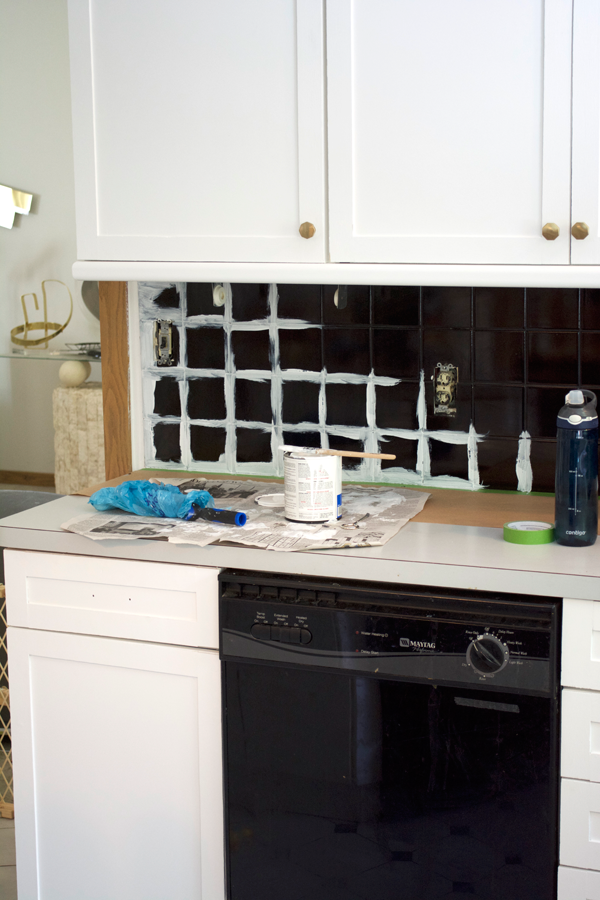
Prime! Start by using the small 1″ brush and painting in the grout lines. This will make sure you get even coverage. Then you can use your roller to go over all the tile. I just did one coat of primer.
STEP 6
Once your primer is dry – give it another quick sand with your sanding block.
STEP 7
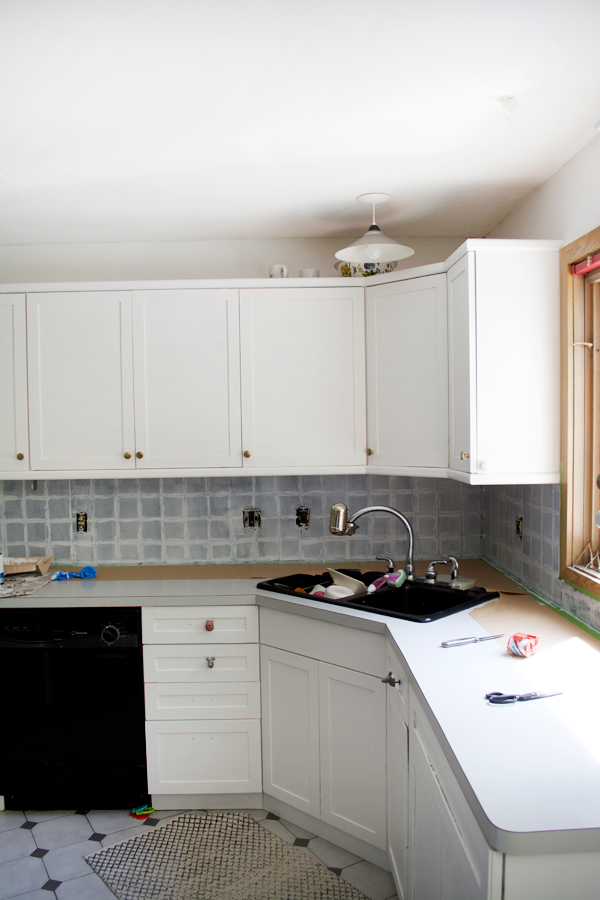
Paint! Follow the same method you did with the primer (brush in the grout lines first and then roll). I ended up doing 3 coats of paint to make sure I had good coverage over the black.
And that’s all there is to it! Seriously such an easy and affordable update that makes a HUGE impact. Even just painting the cabinets and backsplash alone has brought our kitchen into the 21st century and has made the whole space so much brighter and lighter.
The only thing I ran into a little trouble with was holes in the grout. Since it was black you couldn’t see them before, but once I painted, some of them were just too big to get filled in with the paint. So we used some white caulk and just went over them with that!
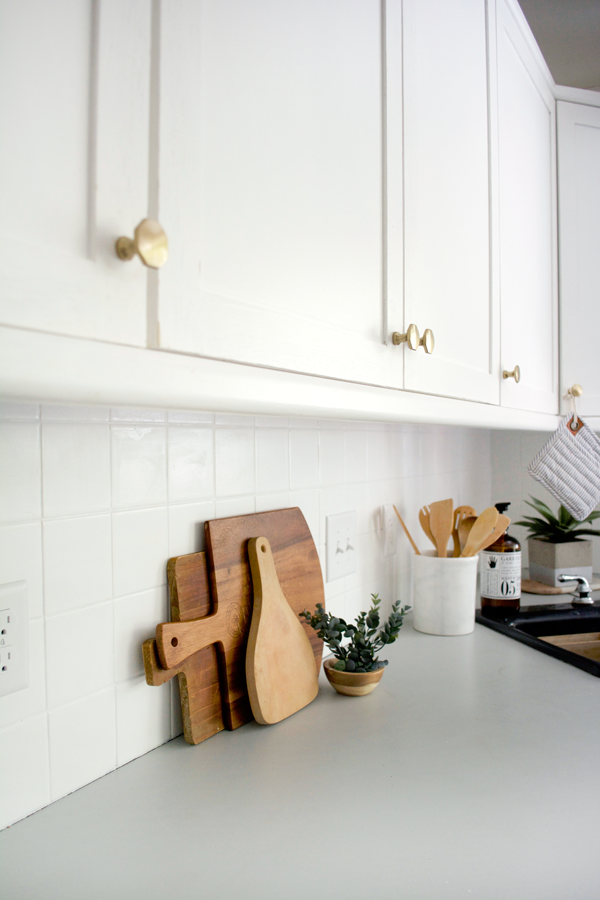
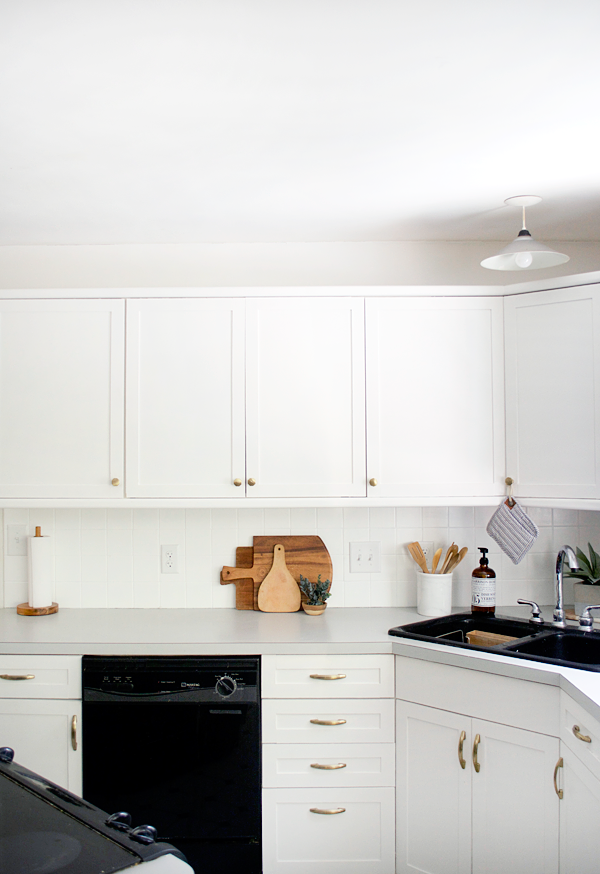
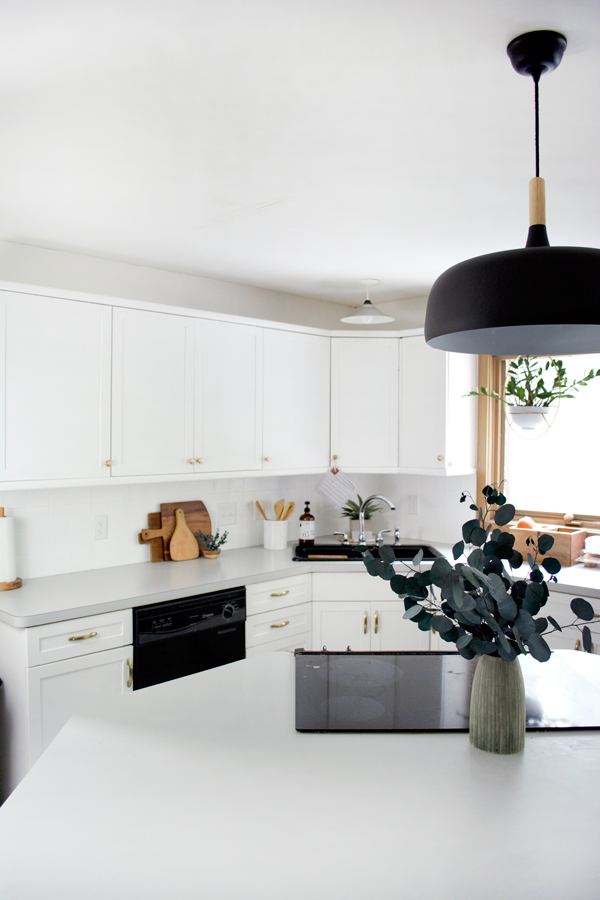
It’s been over a month since I painted the tile, and I will say it’s holding up awesome so far. It’s super easy to clean – I usually just use a clorox wipe if it gets dirty and it takes the stains right off.
Just a few more cosmetic updates and we’ll be done with this Budget Kitchen Makeover! Hope you’ve enjoyed following along!
And if you missed it, don’t forget to check out HOW I PAINTED AND ADDED TRIM TO OUR KITCHEN CABINETS.




Tonya Smith
Have you ever painted tile that’s used as a countertop do you think it would hold up using this process? Previous owners in my home is to tile for the kitchen countertop and I hate the color and I want to paint it so bad but I’m just afraid it will hold up to the use that it gets during cooking etc.
johana garcia
Would you seal this for extra protection? What kind of sealer would you use?
Lydia
If you use enamel instead of regular water-based paint, no, you don’t need to seal it. We did this at our old house and it made a world of difference – had no trouble with it bubbling or peeling, even when it got splashed.
twocupsofjava
Hi! We also have a dark back splash with dark outlets. I noticed that your outlets were originally black and are now white. What did you have to do to make that happen? Was it a simple switch to white outlets and covers?
brepurposed
Yes we just bought new white outlet covers!
Bonnie
I am using your process to paint my backsplash right now! I put the primer on and the first coat of high gloss paint. Now I am wondering how long to wait to put the second coat of gloss on. This is an old post so I don’t expect an answer but just wanted to say it looks fantastic already!
ann
I followed your process to paint the backsplash tile in my kitchen that I’ve HATED since we moved in. The difference is remarkable and people don’t believe that the tiles are painted. Thank you for posting this and giving me a new kitchen for less than $100!!
Megan
Beautiful! How is it holding up a year later?
brepurposed
Thank you! It’s holding up great actually!!
mary patrick
Great job on the title. I have a question. I have dull title on my backsplash. I see a lot of people using the gloss. Is the gloss that in or is it just there preference? Another question I’ve seen so many different paints used and when i went to the paint store they told me i should use dutch boy porch & floor. Could u give me your thoughts on that. Thanks so much for any info.
Mary
Filip
Great job Bre. How long do you thing this will last? Won’t the color just come off?
brepurposed
So far it’s lasted great! The paint shouldn’t come off easily any time soon 🙂
Wendy b
Great post! Amazing results. I had the same question. Do you think the same could be done to tile in a shower?
Thanks for your thoughts.
brepurposed
I think you definitely could but you would want to seal it with something to protect it from all the water!
Mike Lawson
I did this in the shower and its held up well. I used polyurethane as top coat
Allison
It looks fantastic! Do you by chance know ifthe same approach can be used for painting tile bathroom counters to last about five years until the full remodel?
brepurposed
Thanks Allison! I think it totally could but I would probably put a protective sealer on top just to make sure it holds up against the water!