I’m slowly working my way through sharing all the tutorials of projects from our One Room Challenge and today I’m here to talk about our dining room table. It’s come a long way, and I even tried to get rid of it, but it stuck around and we gave it a much needed update that we’re crazy about it. I’m going to share all the details of How to Update an Old Dining Room Table!
HOW TO UPDATE AN OLD DINING ROOM TABLE
With any good makeover, we have to start from the beginning and show a before photo. A little back story on this old dining room table – my in-laws purchased it when they moved into this home about 20 years ago. It sat in their formal dining room and was hardly ever used.
Fast forward to when Dan and I moved in, and once our family started growing, we needed somewhere else to sit besides the kitchen island. So when the time came for the One Room Challenge and we were renovating our dining room, we had to figure out what to do with this table.
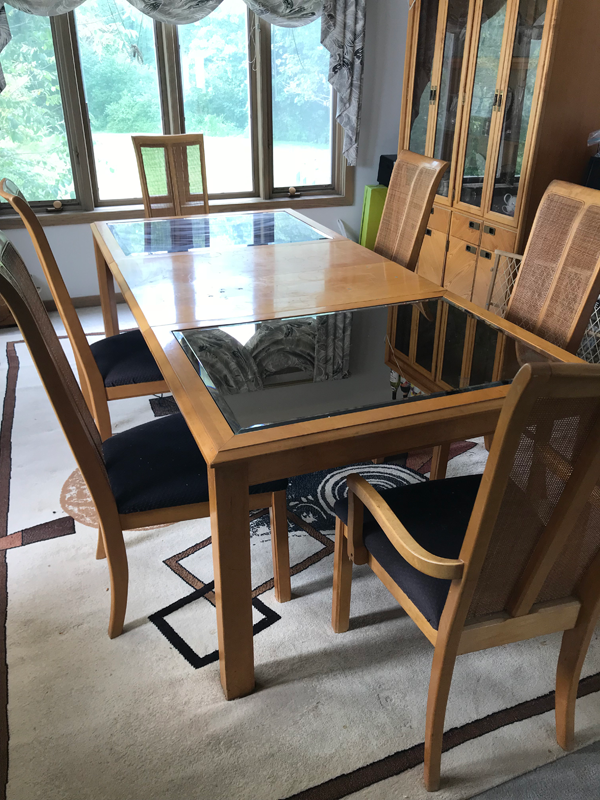
Of course my first instinct was to just sell it and get something new. Easy enough right? Nope. I had it online and on craigslist for weeks and no one wanted it haha. But I did sell the chairs. So we were stuck with this table and could either donate it or keep it and try and update it. Being the DIYers that we are – of course we decided to keep it.
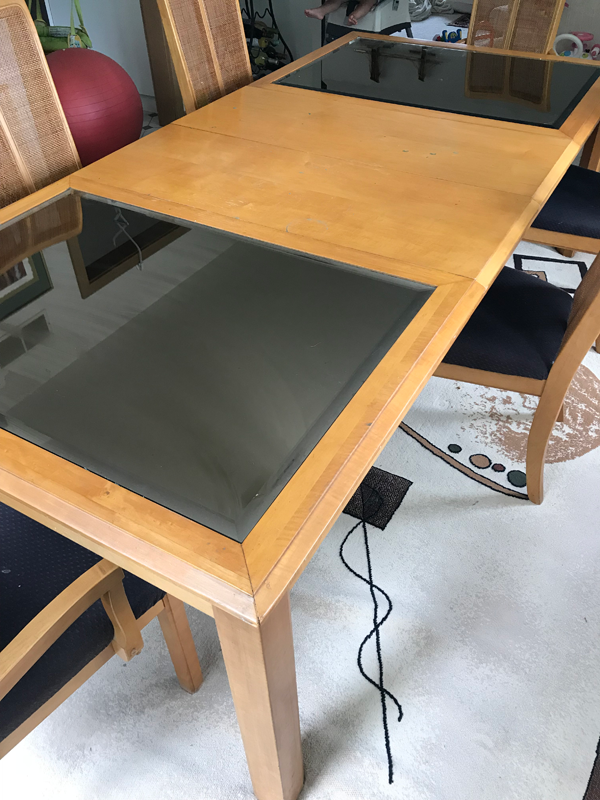
I actually liked the shape of the table and the basic frame – what I didn’t love was the color and those awful mirrors on the top. We kept a table cloth over it most of the time so we didn’t have to stare at ourselves while we were eating 😛
Luckily the mirrors popped right out so it seemed natural that we would just build some sort of new top to put in their place. Before I decided exactly what that was going to look like, I needed to sand the whole thing down and start fresh.
SANDING AN OLD DINING ROOM TABLE
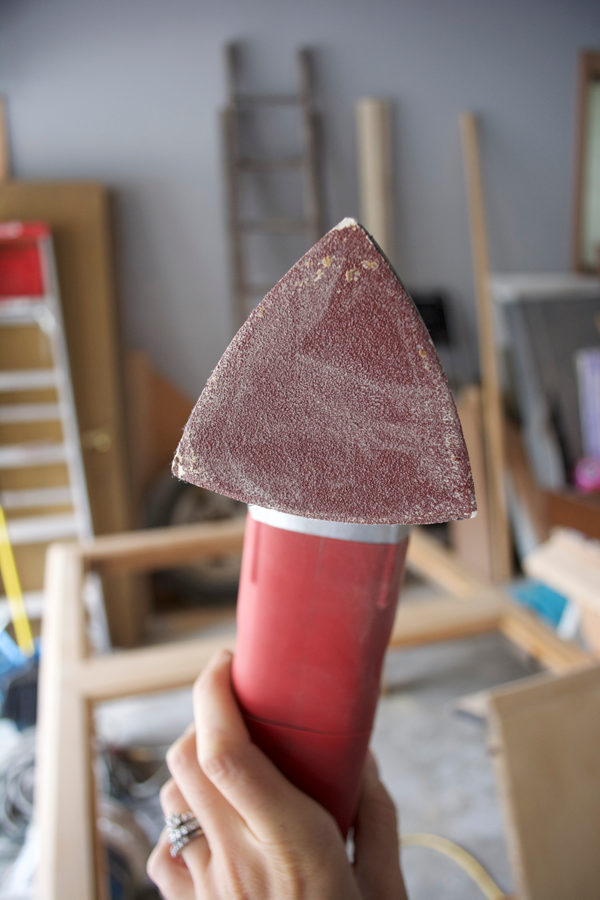
I started with the frame first, using my trusty corner cat sander and it was going pretty smoothly. The top part of the table was a little tricky but it was still coming off pretty easily.
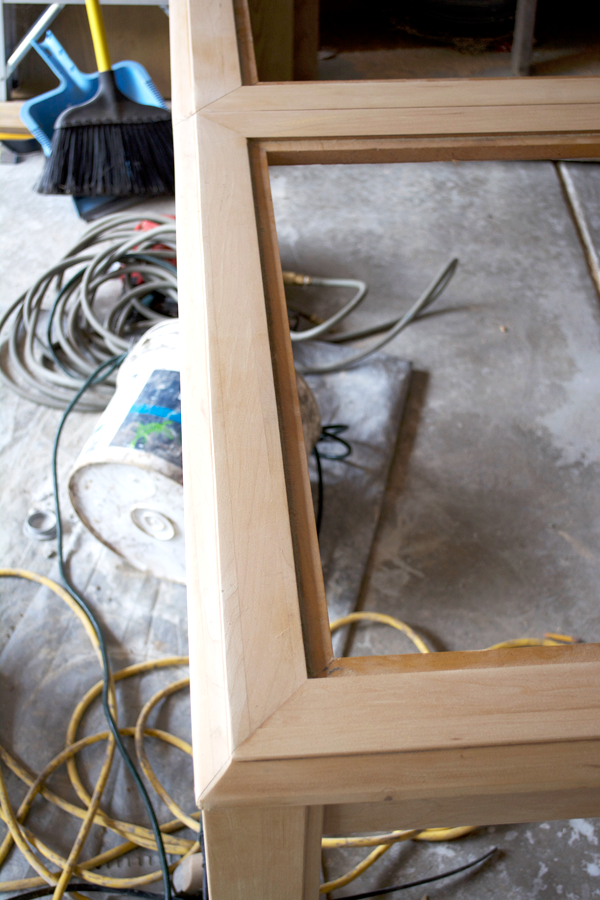 The legs went much quicker and I was able to attach them so I could set them on top of my saw horse and sand them there.
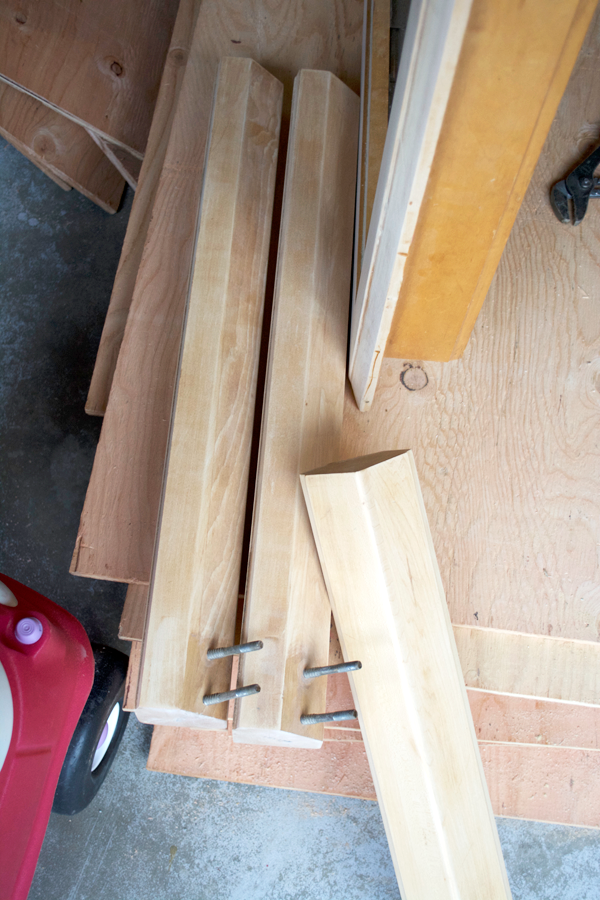
As you can see below, there were some grooves that were harder to get into with my sander. Sometimes I’ll use a piece of low grit sand paper and just get in there with my hands, but that wasn’t working great on this piece.
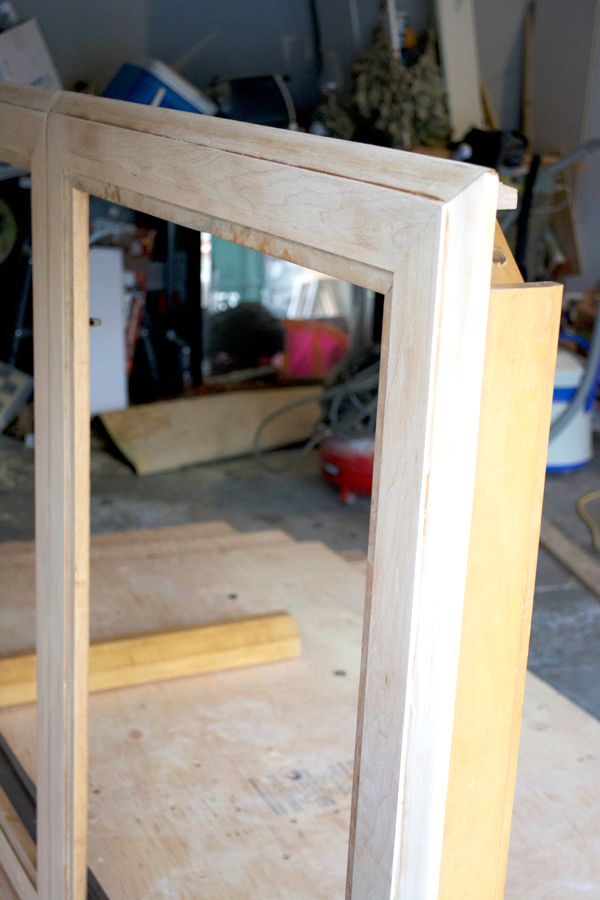
I grabbed my FIL’s multi purpose oscillating tool and put on the sanding attachment which worked great.
Once the frame of the table was done, I had to do the leaves. These were a HUGE pain in the butt. I tried sanding them with my electric sander first and the finish was so hard to get off. I had heard of a lot of people having luck with citristrip so I decided to give that a try instead.
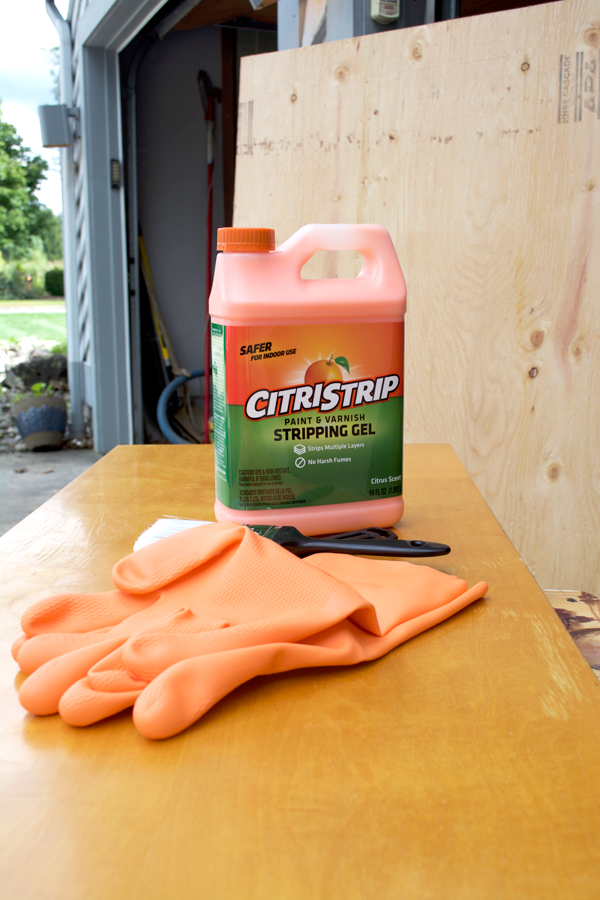
One tip that a lot of people suggested was to put plastic wrap over the gel once it’s on and let it sit like that for a bit. So I did that and waited.
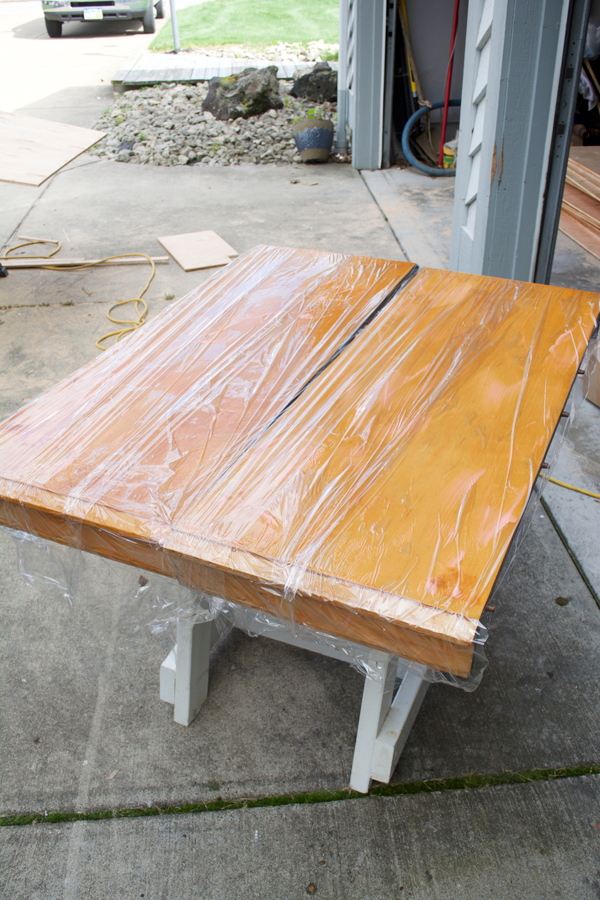
Now I’ve seen this stuff work wonders for certain pieces of furniture and I was really excited about trying it for the first time, but I did not have great results. I’m not sure if it was the old finish on this table, or what but it was being so stubborn and not coming off.
It’s hard to see in this photo, but even after stripping the Citristrip off, the old finish was still there. It took off a very thin layer and I wasn’t about to repeat these steps over and over again until it was all off. Way too messy.
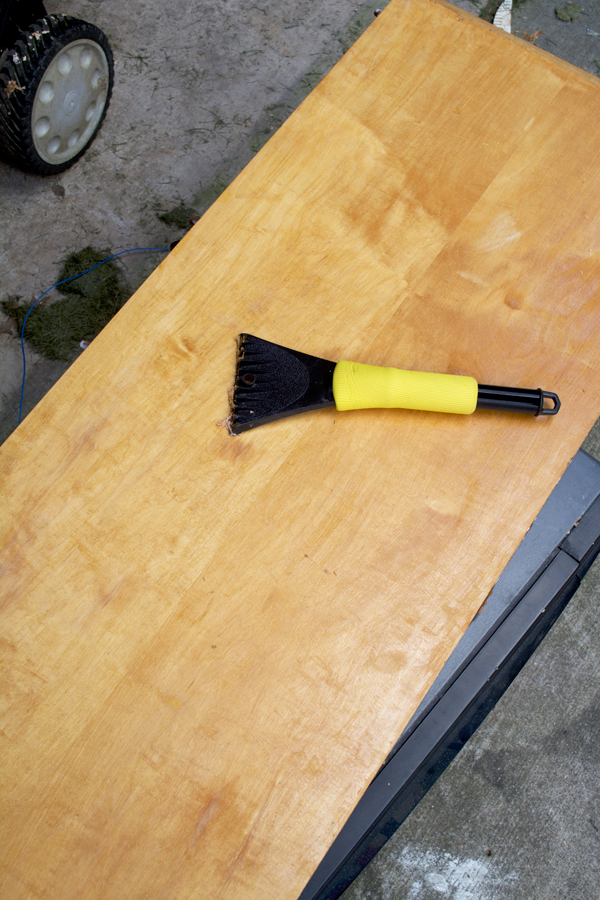
I was dealing with a gunky, gooey mess but I managed to scrape most of it off and then grabbed my sander again and went to town. It took a LONG time but I finally got down to the bare wood.
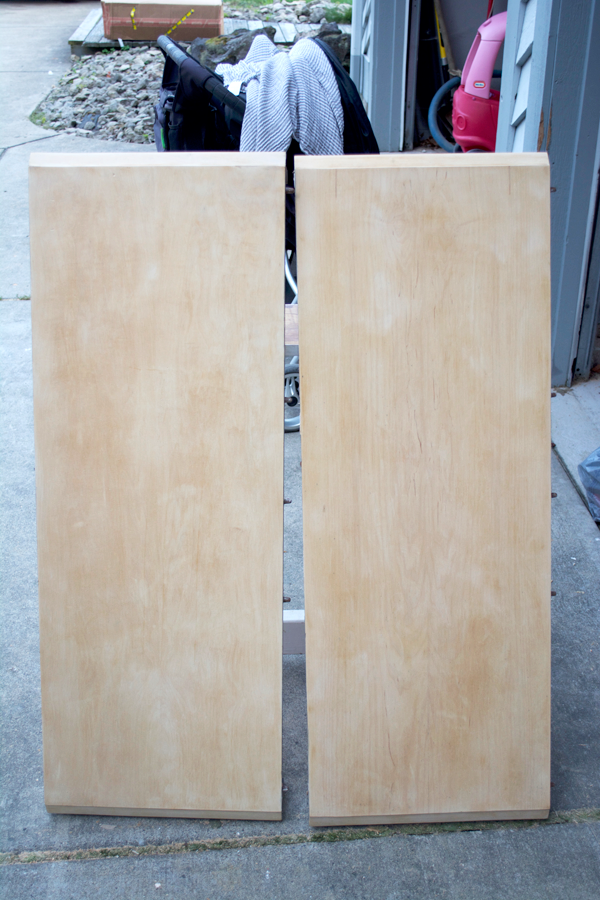
ADDING A NEW TOP TO AN OLD DINING ROOM TABLE
Ok now that that part was done, it was time to get to the fun part – adding the new top! I did a ton of research and Pinterest browsing trying to figure out the perfect geometric wood pattern. First, I thought I wanted something similar to our mud room bench, but I thought that might be too busy. I thought about doing a herringbone pattern but wanted something more unique.
I sketched something out on a piece of paper and showed Dan, and he got to work. I totally intended on helping with this part, but he got in a rhythm and didn’t want to stop.
STEP 1
First we had to add some support pieces to hold up our new inserts. We had some 2x1s left over from another project so we cut those to size and placed 3 on each side. We simply screwed these in from underneath.
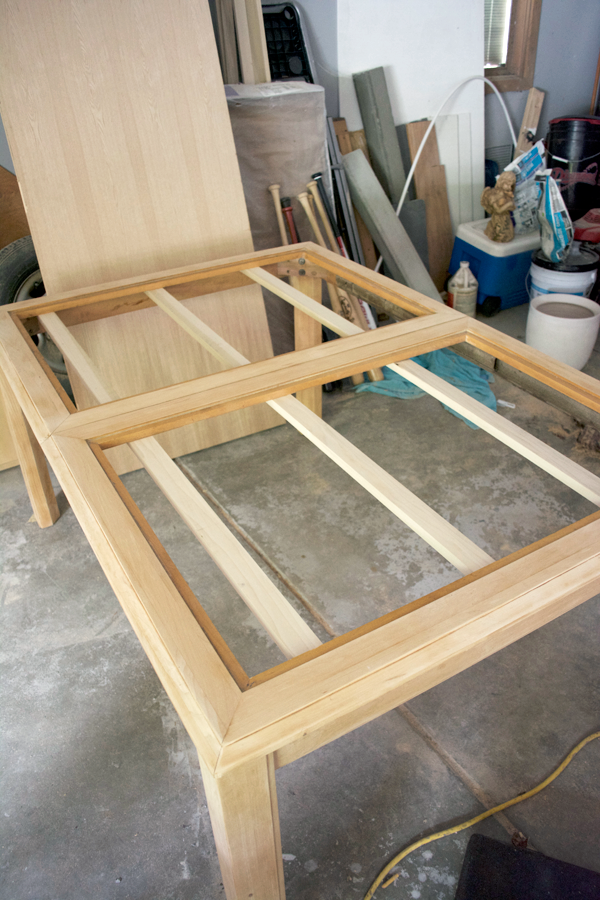
STEP 2
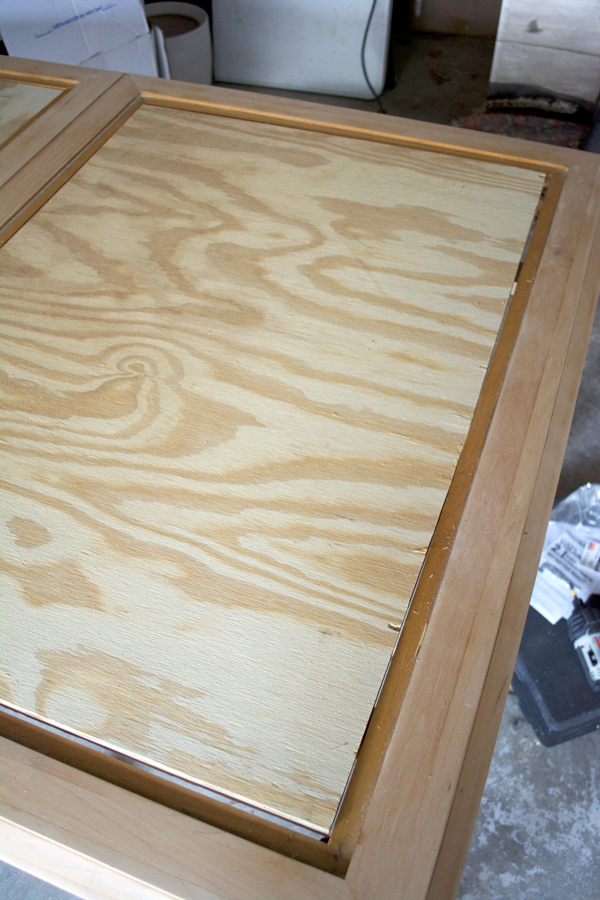
We needed our top to be flush with the rest of the frame, so we had to figure out what thickness of wood we could use. For our table, it needed to be 3/4 inch total so we used 1/2″ plywood for the large insert and then 1/4″ plywood for the design on top.
We screwed this into the 1×2 supports from the top since it would be covered by the pattern.
STEP 3
Now for the design! Like I said, we used 1/4″ plywood from Lowe’s and used our chop saw to make all the cuts.
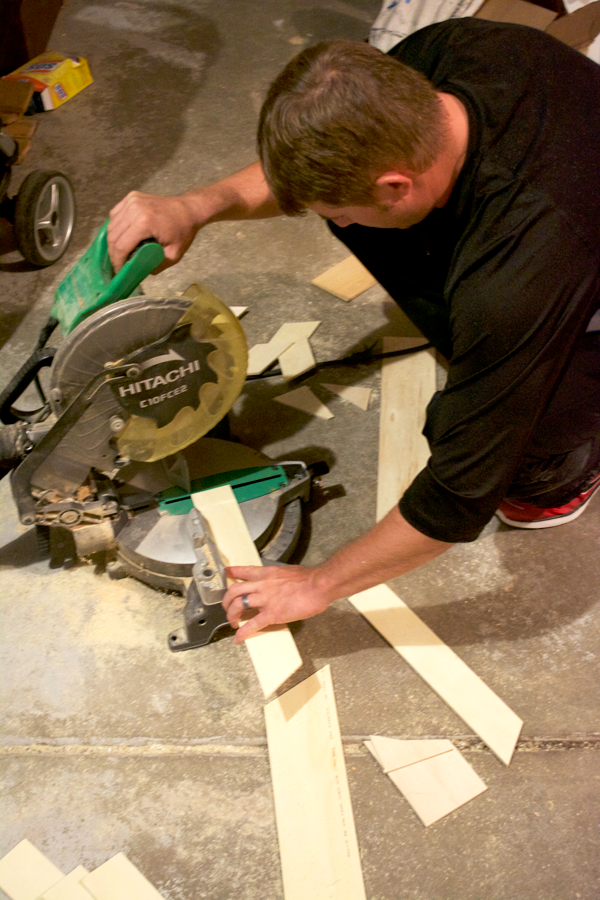
Dan started with the “V” in the middle and then worked from the middle to the outsides.
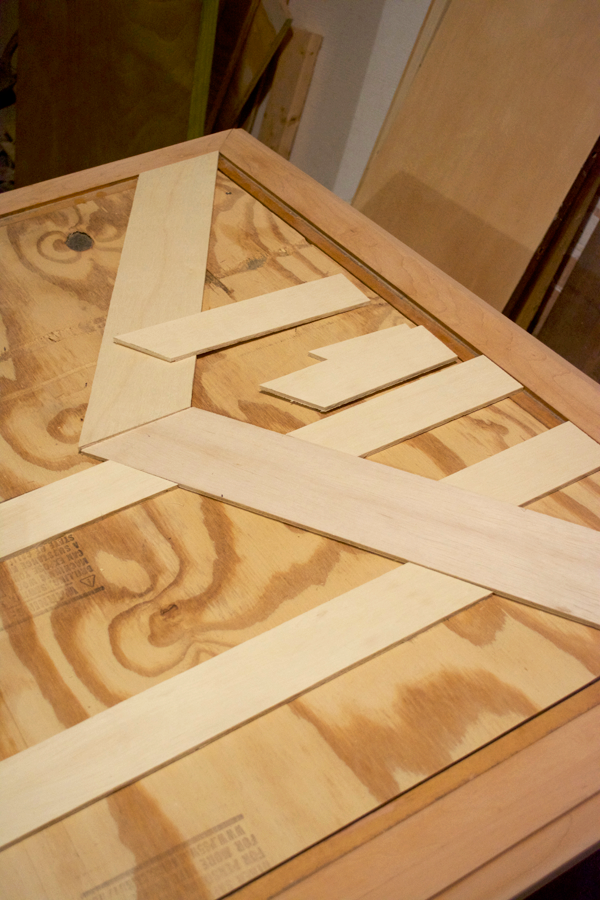
Dan is not a carpenter and he did his best (which was amazing) but he did end up doing half the table and then starting completely over because he didn’t like the way it was lining up. There were too many cracks and holes. So learn from his mistakes!
Once you get a piece down, GLUE IT. He didn’t do this and I think that made things move around a lot and made it harder for him to measure.
His method was just to place the next piece where it was going to go and then use a pencil to mark each side of the 1/4″ plywood. Then he would connect those two marks with a ruler and then take it to the chop saw and cut it.
It was tedious and took some time but once it was done I was so proud of him!
FILLING IN THE CRACKS
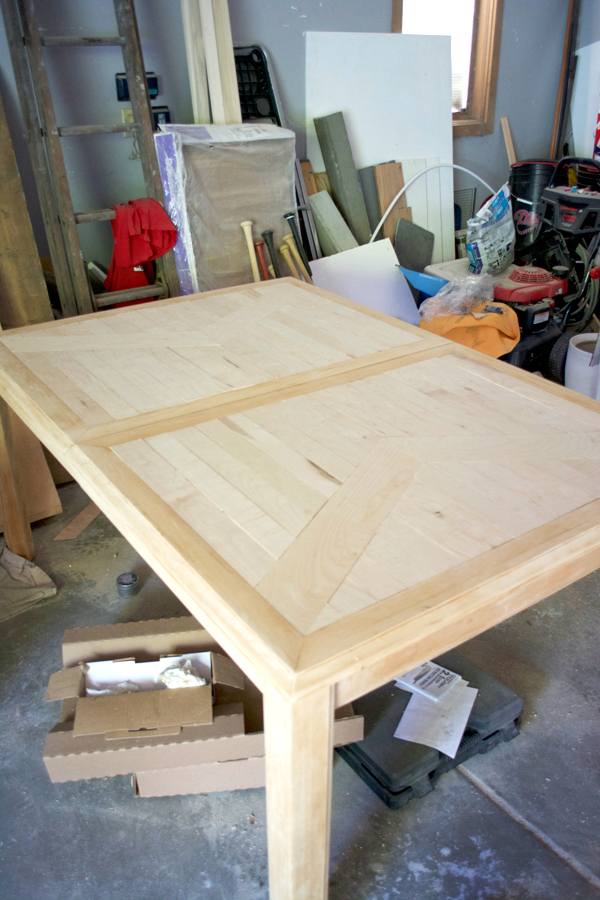
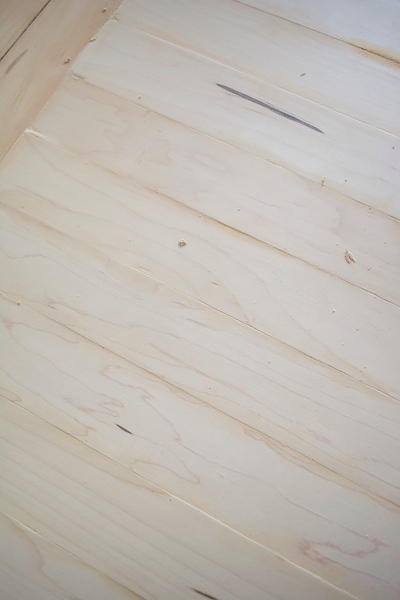
Now from far away it looks pretty great, but up close it definitely had its imperfections. We were going to just leave it as is, but started thinking about all the food and crumbs that would get in the holes.
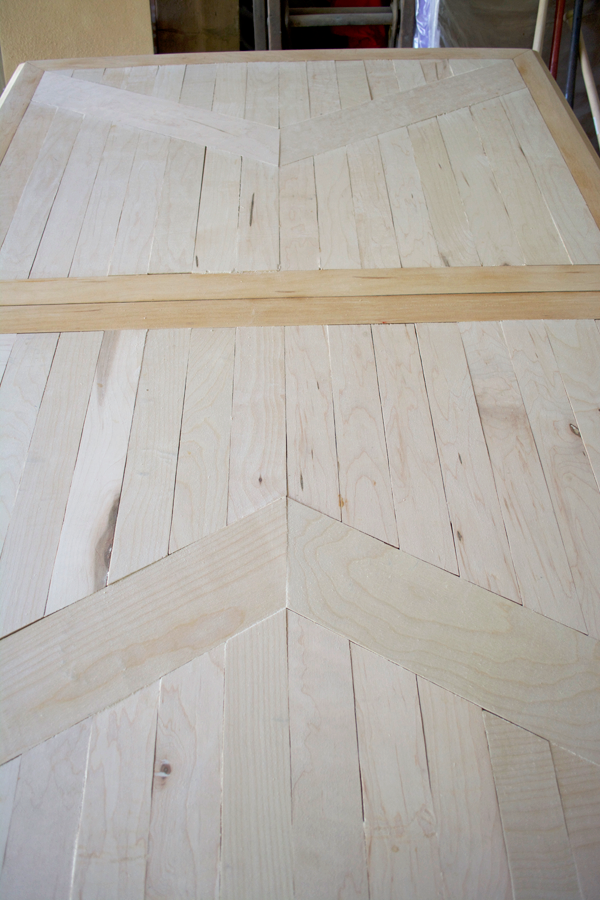
You can see it much better here.
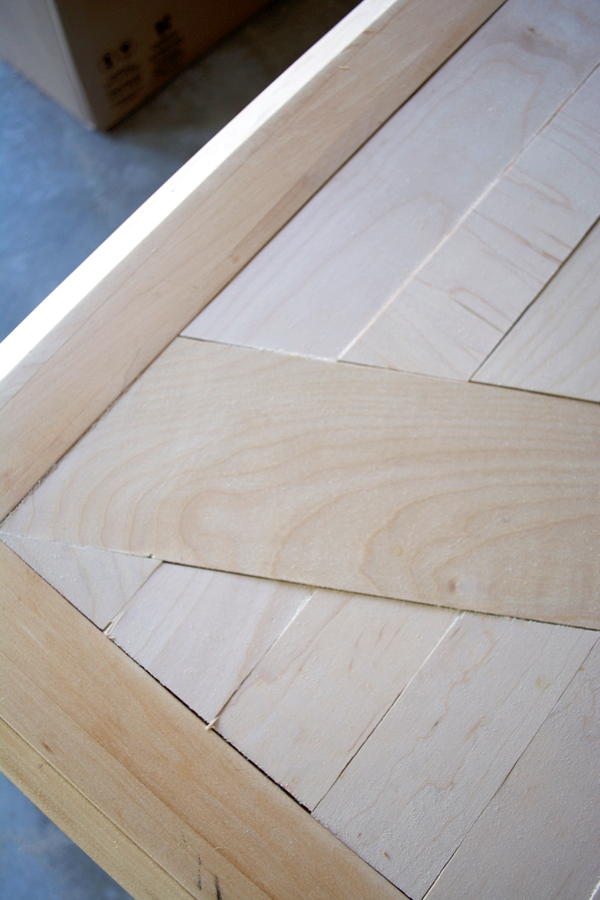
I was hesitant because I’ve never really found a good stainable wood filler. I feel like they never actually take the stain the same as the wood and then you have all these miscolored marks on your piece of furniture. But I had to at least try.
I got this Minwax Stainable Wood Filler and tried it on a test piece first.
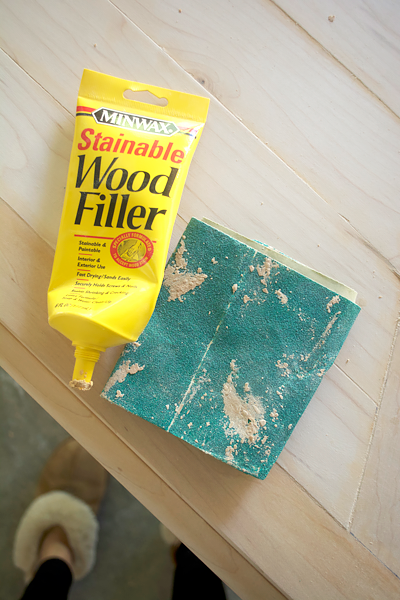
Now when I tried it and sanded off the residue once it was dry, it left a ring around the crack and when I stained the whole scrap piece of wood, you could still see the discoloration. BUT I figured out a way to make it work.
This was my process:
- Squirt it out on your finger and push it in to the cracks
- Do small sections at a time
- Before it fully dries, take a piece of medium grit sand paper and sand it off
This is what it looked like once I got it in all the cracks, and then I’d sand it right off.
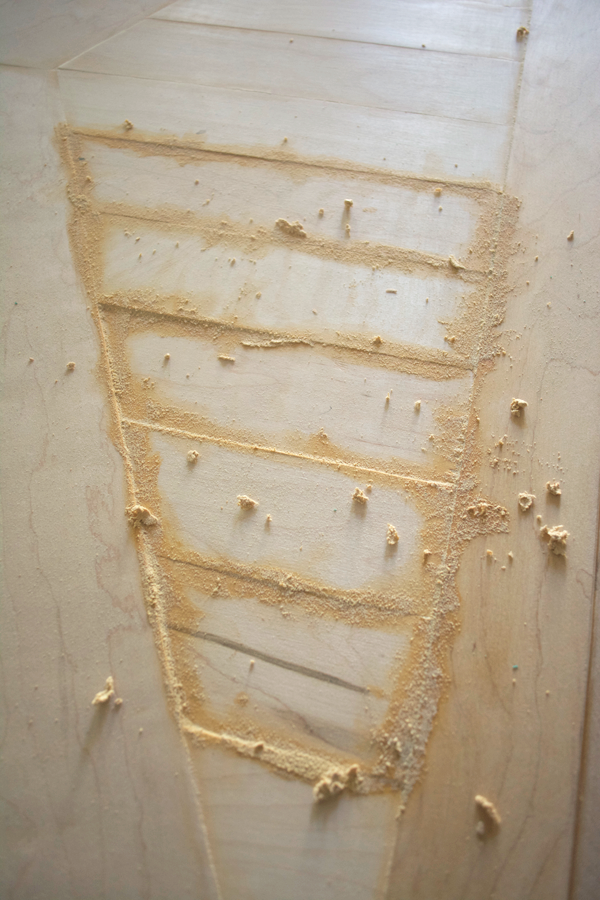
By doing it this way, I found that it took the coloration off the wood around the crack. You can see in that photo how it kind of turned the wood an orangey color. I just made sure when sanding, that I no longer saw any of that color.
It gave the whole table a more cohesive look and made it look 100 times better.
STAINING THE NEW DINING ROOM TABLE
The last part was staining the table. First I used some Minwax Wood Conditioner which I like to use to make sure all the wood takes the stain the same and it helps prevents blotching and streaking.
Then it was time to decide on a stain. I wanted it to somewhat match our entertainment unit but it wasn’t the same type of wood so I didn’t know if the same stain would work. I gave it a try on a scrap piece and it looked pretty similar so I went with it.
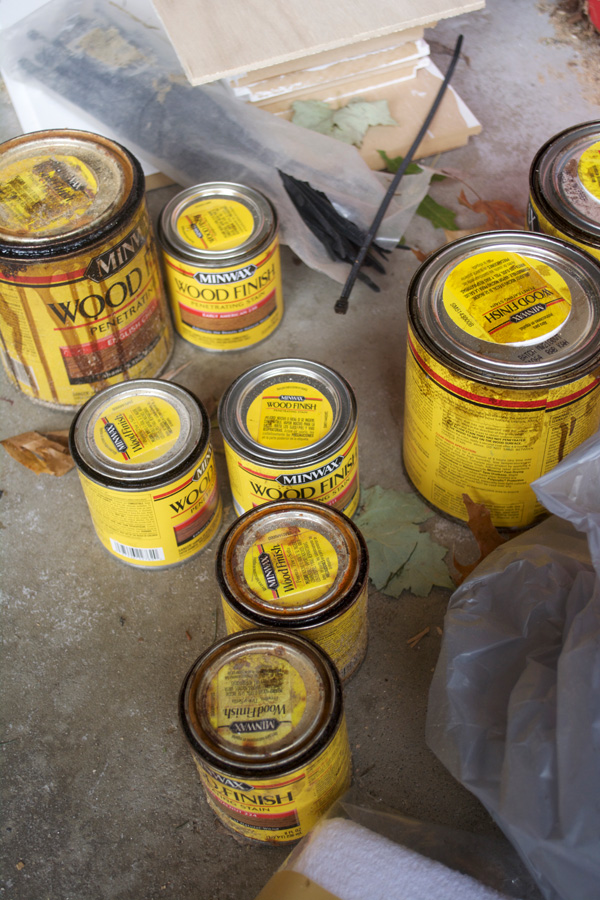
The combination was one coat of Provincial and one coat of Dark Walnut. And this is how it turned out!
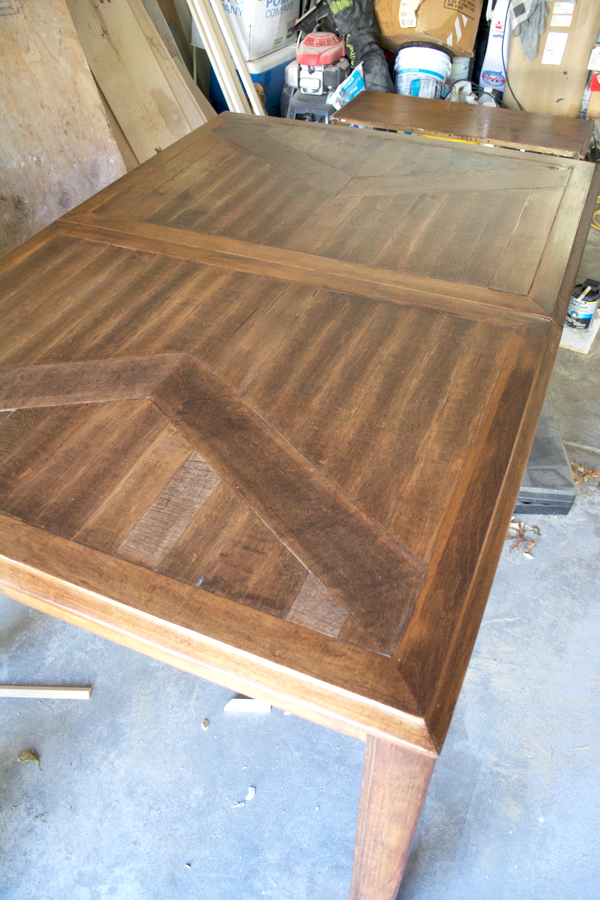
The last thing was to seal it up which I wasn’t sure what to use since we’d be eating off of it. I asked my friend Jen since she knows a thing or two about this stuff and she said any finish is food safe after it cures properly. So I just used what I usually use – some Minwax Polyurethane.
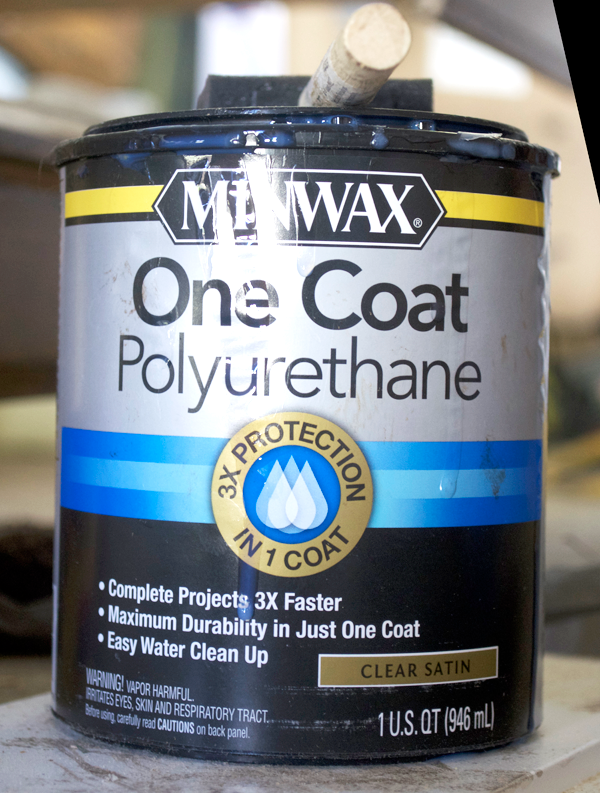
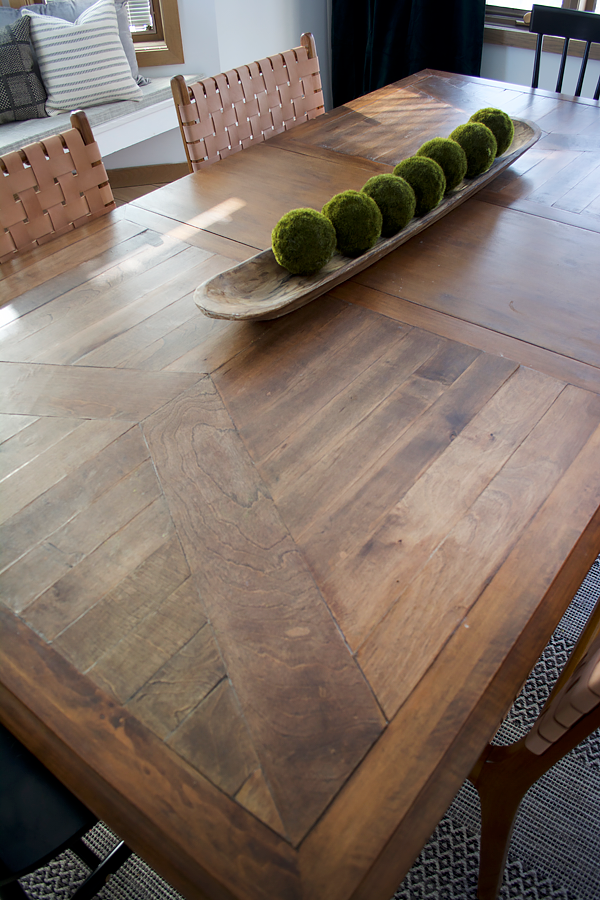
I actually applied 3 coats I think, just to be safe 😉 Once it was dry, it was time to bring it inside! This DIY Dining room table makeover was finally finished!
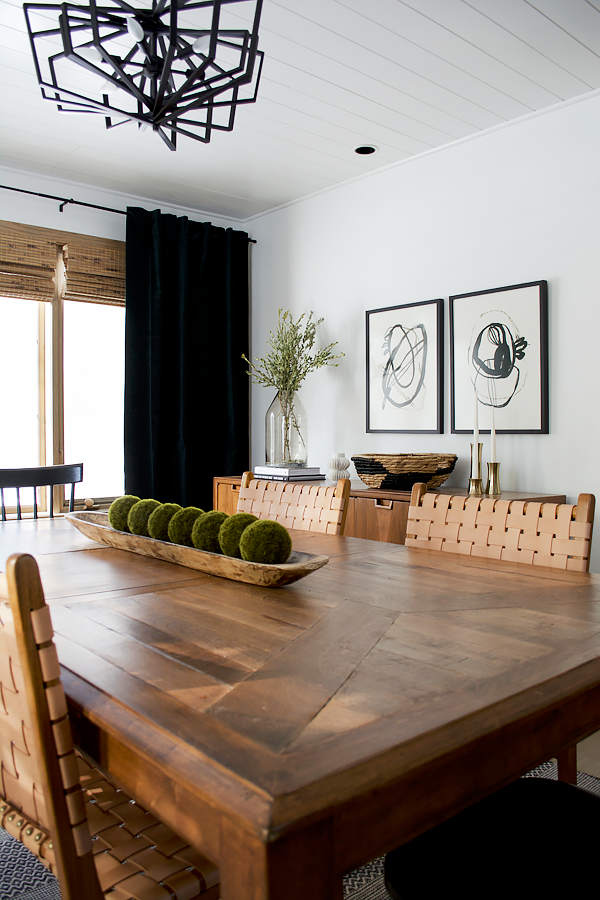
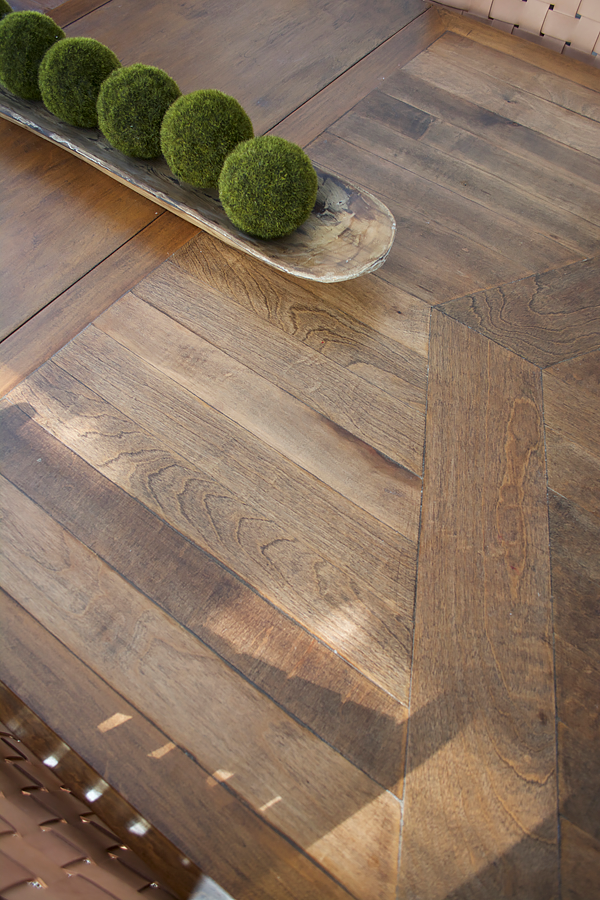
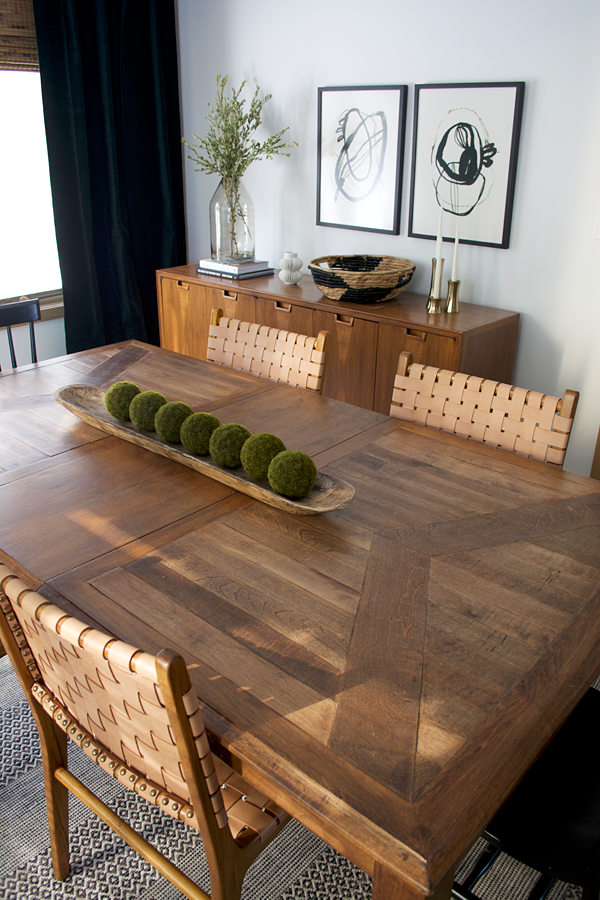

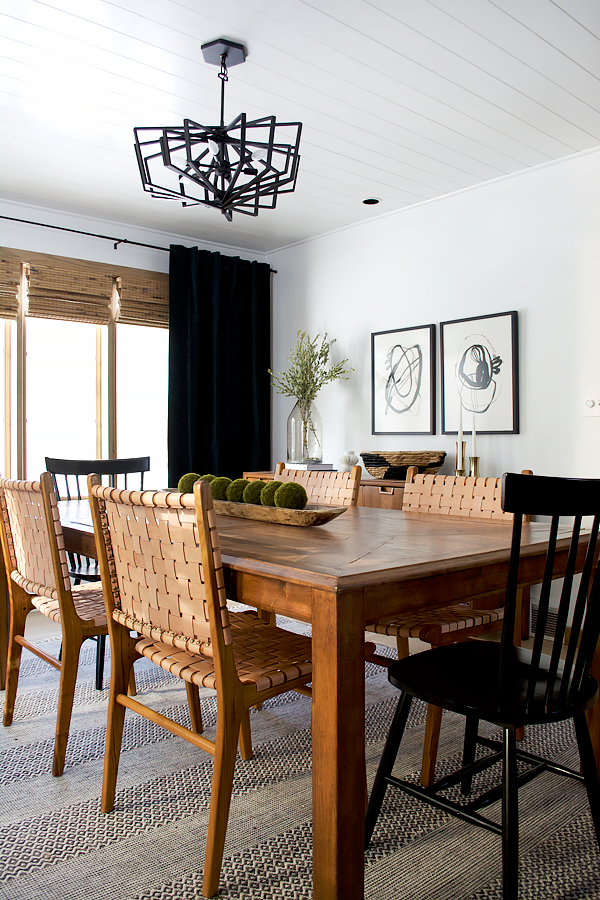
I’m so in love with this table now and am so happy we decided to keep it. It was a lot of work but completely worth it. We’ve already made so many new memories gathered around this table and I hope it’s something that will remain in our family for years to come!
Do you have an old antique or dated piece of furniture that needs updating? My friend Sarah recently updated an old vintage dining set and it turned out beautifully!
Hopefully this helps inspire you to see what you could turn it into!




Kristin
Where are the chairs from?? Beautiful table and set up!
Jeff
Beautiful room and the table is stunning! I love the framed black and white artwork. Can you tell me where you got it please? Greetings from Catalonia, Spain
brepurposed
Thank you so much! It’s from Minted 🙂
Teresa
This is awesome! Thank you for sharing your full process. It is so helpful to us who are trying to puzzle out similar projects.
Ariel Manoban
Great read! I love all the tips that you have shared here, will definitely try this in my home! 🙂 Thanks for sharing!
Kassel Marie Williams
This is perfect! I am currently moving to my new home, and I am thinking of redesigning my furniture so that it’ll look new again. Thank you for sharing this! 🙂
Emery Ocampo
Very helpful! Just to add, you can also opt to get furniture to make your dining room updated. 🙂 Nonetheless, great read! Thank you for sharing!
Sandra Pace
Dang! This is goooood!
brepurposed
Thank you so much Sandra!!
Katarina - Sukhirugs.com
It turned out amazing! I’m always down for keeping and updating the old wooden pieces of furniture because wooden details never get out of fashion, but knowing how much work goes into the process, I often quit. This post encouraged me to change that, especially after seeing how lovely your dining table turned out to be. It was definitely well worth all the effort!
Amanda
I really like it, especially since it was using something you had. Also love the curtains – they are coming across navy in the pics……are they? So pretty!
Jamie
This is so impressive! The new/old table looks amazing!!
brepurposed
Thank you so much Jamie!!
Marianne
This is the best re-use of a piece of furniture I’ve seen. Good job!
brepurposed
Aw thank you so much Marianne!
Rachel M Smith
Such an amazing makeover! Like next level!
brepurposed
Aw thanks Rachel! It was a lot of work but totally worth it!