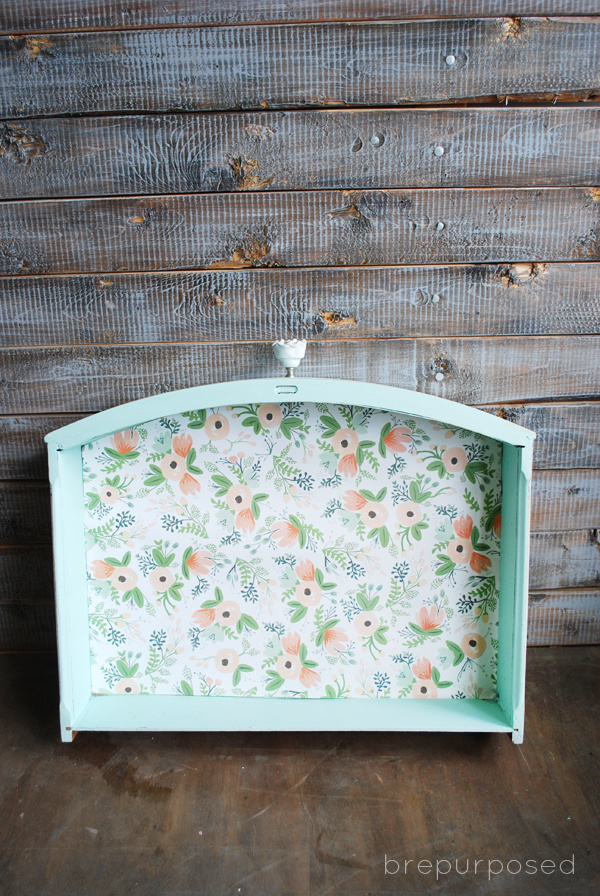
Have you ever found an awesome piece of furniture, only to open up the drawers and find that awful felt lining? I know I have, and it makes you almost not want to buy that piece anymore. It smells, looks awful and is half peeled off.
The reason it was put there in the first place was to keep silver from tarnishing. That’s great and all, when people only used buffets and credenzas in their dining room to store their precious dinnerware.
HOW TO REMOVE FELT FROM WOOD

It’s a real pain the buns for us furniture flippers, but I’m here to share my secrets of how to remove it using 4 simple steps!
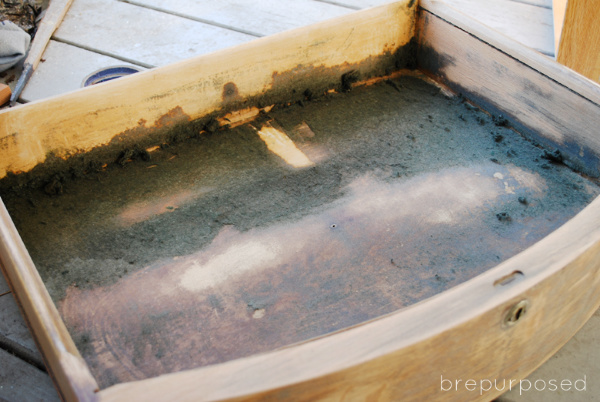
The top drawer of my Mint Buffet was lucky enough to have this lovely felt and it was a hot mess:
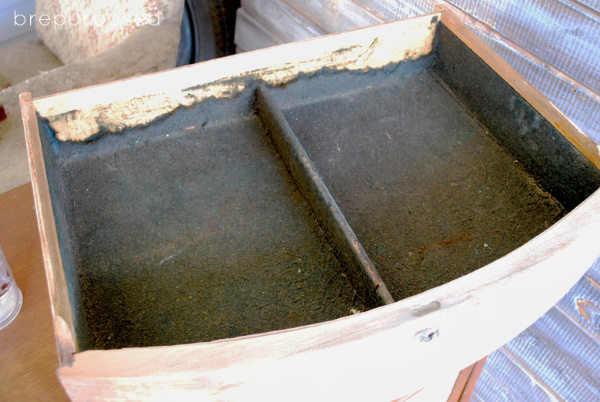
EW.
So here’s what to do:
STEP ONE:
Peel off any excess felt you can with your hands. You might get lucky and have a lot you can remove this way, or there might not be any.
In my case, as you can see on the back, there are a few loose ends I grabbed and was able to get off. Luckily that middle separator was easy to remove and I didn’t have to worry about working around it.
STEP TWO:
Use a Putty Knife and scrape your little heart out.
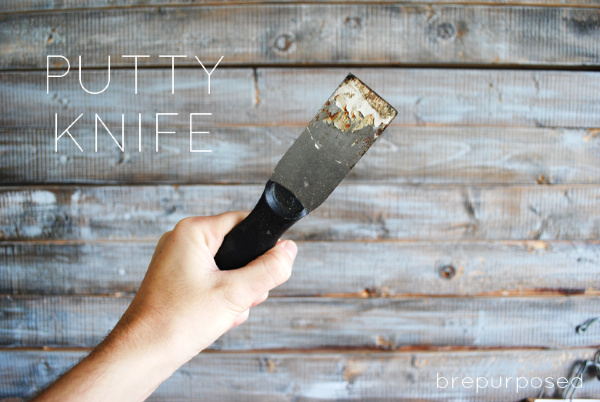
This is where you can get in a quick arm work out too 😉 Be sure to get underneath all the loose edges and just scrape away. The faster you scrape, the easier it will come off. Be sure to get in all the corners and get as much of the thicker areas off as you can. Use one of the pointed ends to really get underneath the felt and then straighten out the knife so it’s flat against the wood and continue to scrape.
STEP THREE:
Use a corner cat sander with course paper (I used 60 grit) to remove the felt that’s really glued down.
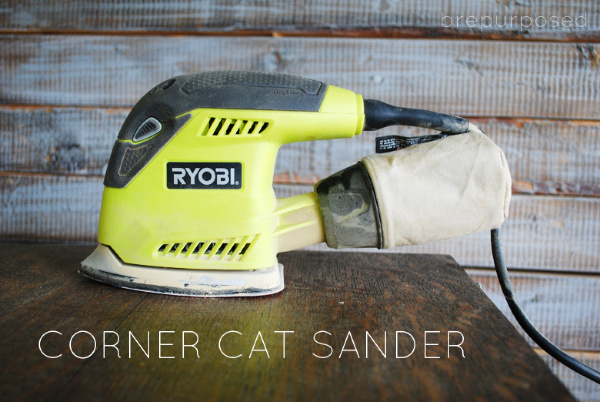
This guy works magic and helps to loosen up all those parts that were really stuck. It’s perfect for getting into all those corners too. So, at this point, I went back and forth between my sander and my putty knife for quite a while. This whole process took probably almost an hour and I was sweating profusely :-p
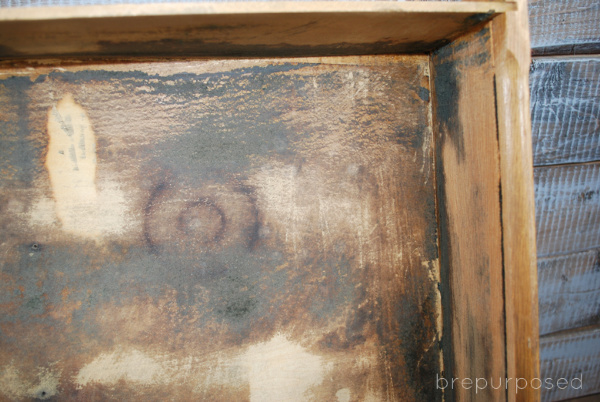
Here’s a progress pic and you can see in the middle is where I used the sander which really got down to the wood again and smoothed everything out.
Since I was painting this drawer and lining it with paper, I wasn’t too concerned with how the wood looked. I just wanted to make sure everything was smooth and I got all the felt off so it wasn’t bumpy.
STEP FOUR:
Vacuum up all those yucky little green dust bunnies.
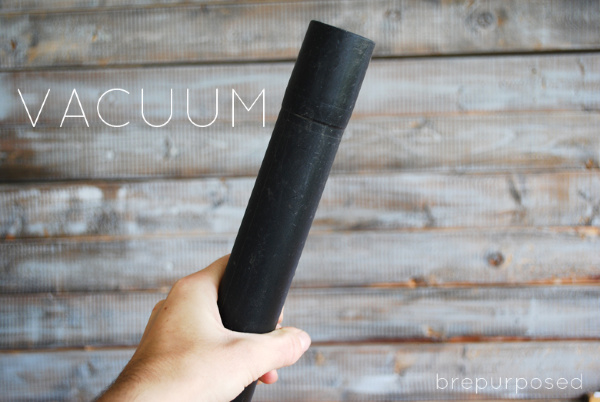
Trust me, there will be a lot. I would definitely recommend doing this outside. I was out on our porch and still made a HUGE mess.
Here’s what it looked like when I was all done:
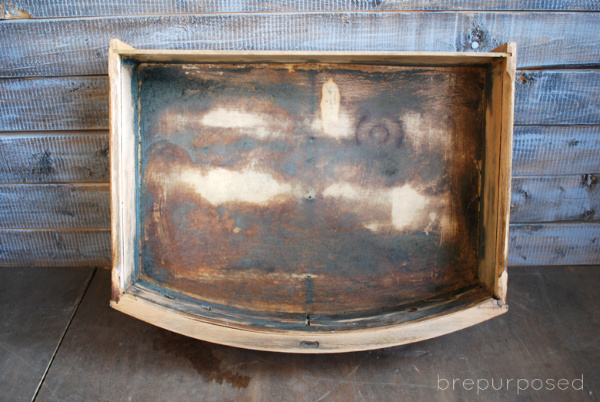
I know it looks like there is still quite a bit of felt in there, but it was on there for so long that it stained the wood that lovely green color. I promise, this thing was as smooth as a baby’s bottom. Almost 😉
To finish it off, I just pained over the wood with my Chalky Finish paint from DecoArt and lined it with some pretty paper from Rifle Paper Co.
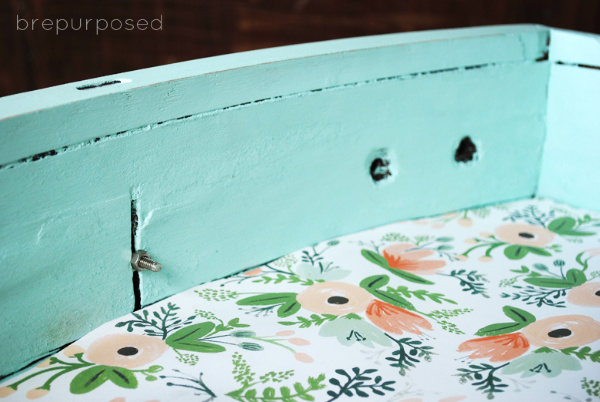
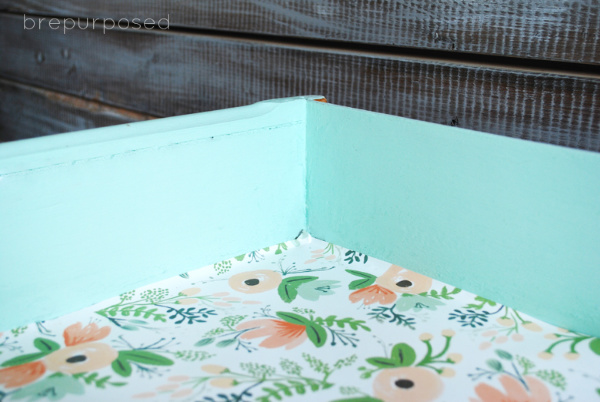
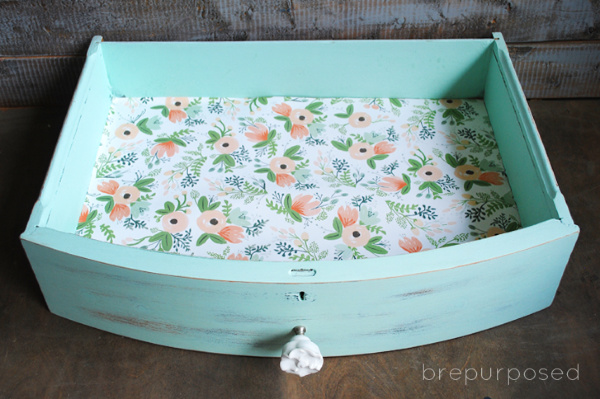
Can you believe it’s even the same drawer?!
This definitely isn’t a fun thing to have to do and I hope the next time your out thrifting and find that perfect piece, you open the drawers and find nothing but smooth, beautiful wood. But if you don’t, I got ya covered 😉
Pin for later!
Have a fab day everyone!





Mark Johnson
If its old then the felt is most likely glued down using hide glue – hide glue has the unique property of reversibility using heat and moisture – the correct way (imho) to remove felt glued with hide glue is to use hot water to dissolve the glue (not boiling) brush the hot water on so the felt is soaked through and leave it for about 2 minutes and simply lift the felt out – use as a template for cutting your replacement.
Jan
The putty knife worked great!
I do have a question though. Even with sanding there is still remnants of the lovely felt left in the drawers. I’ve tried an sander, hand sanding, so far it’s hanging tough. I want to use contact paper as you did. Will it matter if there some felt “fuzzes” left? It feels smooth enough, just worried it won’t stick well.
I found the perfect vanity on the side walk and dragged it home. It’s in rough shape but completely do- able.
I look forward to hearing from you.
Jan
brepurposed
Hi Jan! I had some left over fuzzies too and it’s totally ok! If you use a strong spray adhesive you should be just fine and the contact paper should stick very well!
petro
I laughed so much. O m w. I bought a beauty over the net and on arrival i opened the drawers and my o my there she was….. as green as a monster……. charming and mouldy and smelly. This my reason for the search for a silution. I also got the advise to use tile glue cleaning solution. Im going to try yours first. Thx for yr post.
Danielle
First. Great tips!!! I never would’ve thought to use a putty knife and sander! Second. I LOVE the color and paper you chose! So pretty!!! Thanks for sharing it with us at the Motivational Monday party last week! Hope you’ll join us again tonight!!
Danielle
SewMuchCrafting.com
brepurposed
Thanks Danielle! I was determined to figure out a way to remove that awful felt because I’ve come across it far too often! And you definitely can’t go wrong with Rifle Paper Co.!
Vicki and Jennifer 2 Bees in a Pod
Bre – we can’t thank you enough for sharing your tried and true secret! We have encountered a felt drawer and had unfavorable results 🙂 Hopefully our next felt drawer will be a more favorable experience! Pinning this to our Painted Furniture board for later reference!
brepurposed
I’m so glad this was helpful for you guys! I know how much of a pain it can be to deal with felt, but this process seems to work well!
Gentle Joy
I haven’t had to do this, but I like learning such a thing and I store it in my mental filing cabinet for if I ever need it. 🙂 Thank you.
brepurposed
I hope you’ll never have to use it, but if you ever do come across a piece with it you’ll know just what to do!
Amy | Canary Street Crafts
Great tips, Bre!! I haven’t had the pleasure of removing felt yet, but I’m pinning this for when I do! 🙂
brepurposed
Thanks Amy! I hope it’s not something you have to do often!
Christine
Thanks so much for the tips! I have yet to buy furniture with felt… but my mom has on a couple occasions! I will pin this for reference later! Thanks!!
brepurposed
You’re welcome! I hope you never have to use this info because it’s definitely a bit of a pain, but if you do you’ll be a pro 😉
Kimm at Reinvented
Fantastic advice, thank you so much for sharing! Now when I see that yucky old felt and I decide to buy anyway, I’ll know exactly what I’m getting in to! (Have to say, I LOL’d at your perfectly styles photos of putty knife and vacuum. 😉 )
brepurposed
You’re welcome! It’s definitely a bit of a pain to remove, but well worth it in the end 🙂 And I’m glad you got a chuckle out of my beauty shots of my tools 😛
Kristi
Thank goodness I haven’t yet come across this grossness yet (a perk of only having painted a couple of pieces). I will definitely be pinning this just in case that dreaded day ever comes 😉 Have a great week Bre!
brepurposed
You’re lucky!! I hope you never do 🙂 Thanks for pinning, Kristi!
Katie @ Little House of Four
Oh my gosh, I never even thought about removing felt! The vintage server in my dining room still has felt in the silverware drawer and now I’m thinking I may have to do a little sanding. Thanks so much sharing! This dresser is still my absolute favorite of yours 🙂
brepurposed
Sometimes it’s in good enough condition that you can just leave it, but most of the times I’ve come across it, it def needs to go 🙂 Hope this is helpful!