I’ve worked with a lot of furniture since I started blogging and have learned some tips and tricks for refinishing old pieces. And it’s never involved stripping. I recently finished working on an old bench I picked up on Facebook Marketplace and thought I’d share my tips on how to refinish wood furniture without stripping it.
HOW TO REFINISH WOOD FURNITURE WITHOUT STRIPPING
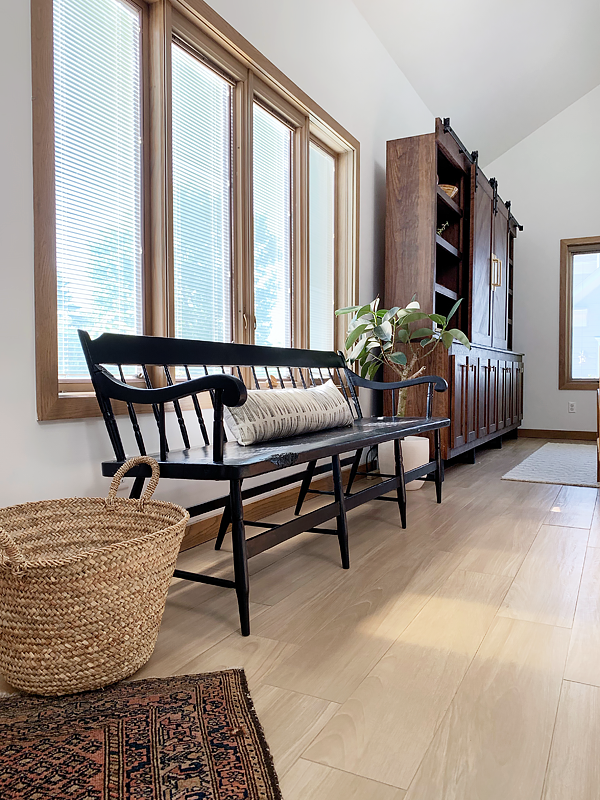
Stripping paint to refinish wood furniture seems like an easier option and a lot of people swear by it – but it can be SO messy and it doesn’t always work. I’ve tried it a couple times and didn’t have success so I just stick to my tried and true method of sanding.
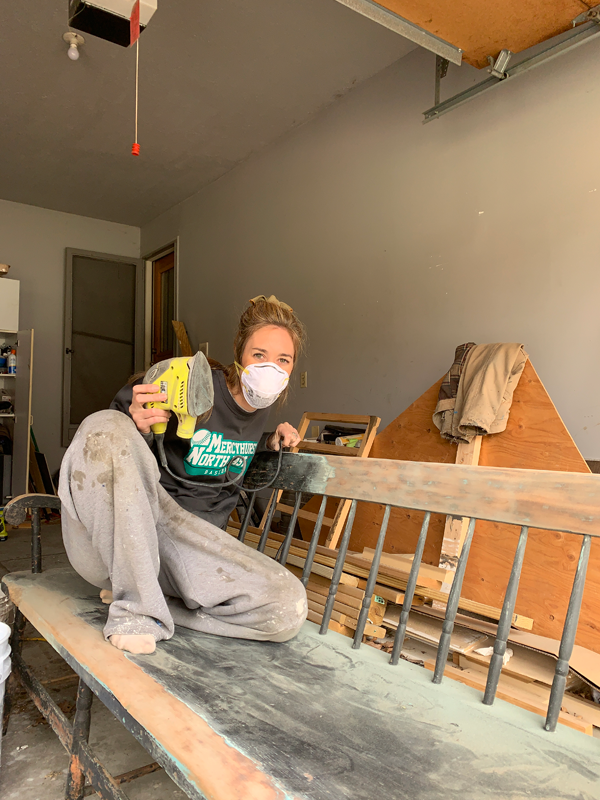
Yes, it might be a little more time consuming, but the results are totally worth it in my opinion.
My search had been going on for a while for the perfect bench to go under the windows next to our front entry. I really wanted to find an antique or vintage one to fix up but wasn’t having any luck. I was really close to purchasing a new one when I found the mother of all benches.
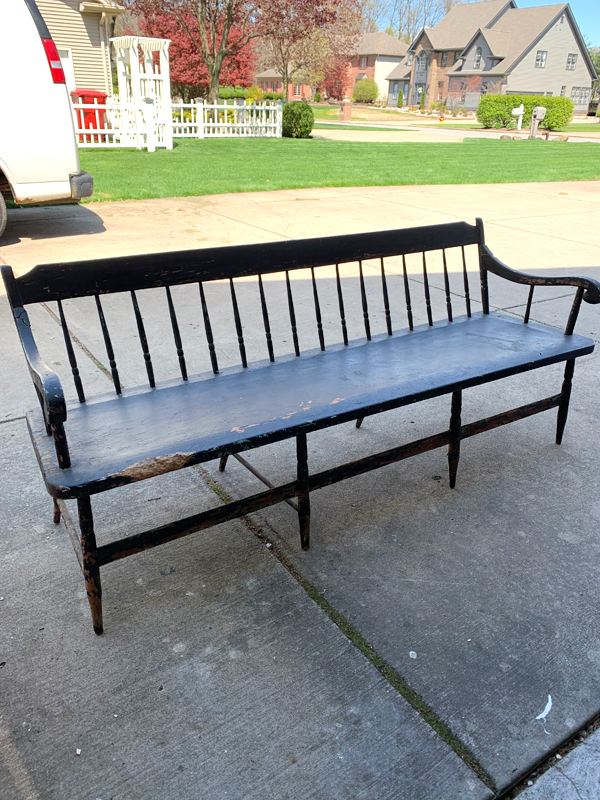
For the shape it was in I thought $150 was a little high but every other new bench I was considering buying was way more than that so I figured it was a steal. Plus it was EXACTLY what I was looking for.
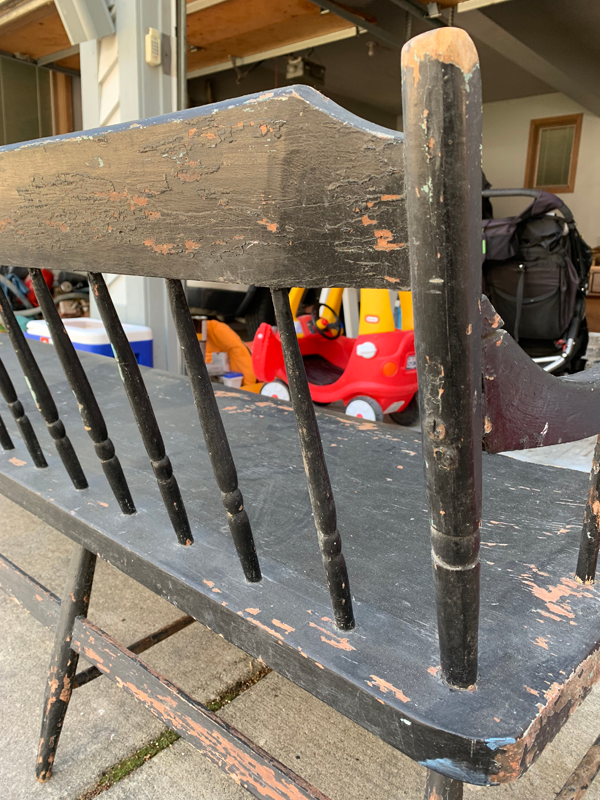
My days of painting furniture have pretty much ended but every once in a while it’s the right choice to make. My vision for a black bench was happening so this guy needed to get freshened up before a new coat of paint could go on.
SUPPLIES FOR REFINISHING WOOD FURNITURE
STEP 1
You should do this first, but I didn’t even think of it until someone on insta mentioned it to me. If you’re working with a piece of furniture that has super chippy paint, you want to make sure it isn’t lead paint. I used this lead paint tester that was super easy and luckily my paint was lead free.

STEP 2
Use your sander (corner cat or orbital) to sand down as much of the piece as you can. Since I was repainting this, I just wanted to make the whole surface smooth and didn’t need to sand the entire thing down to the raw wood.
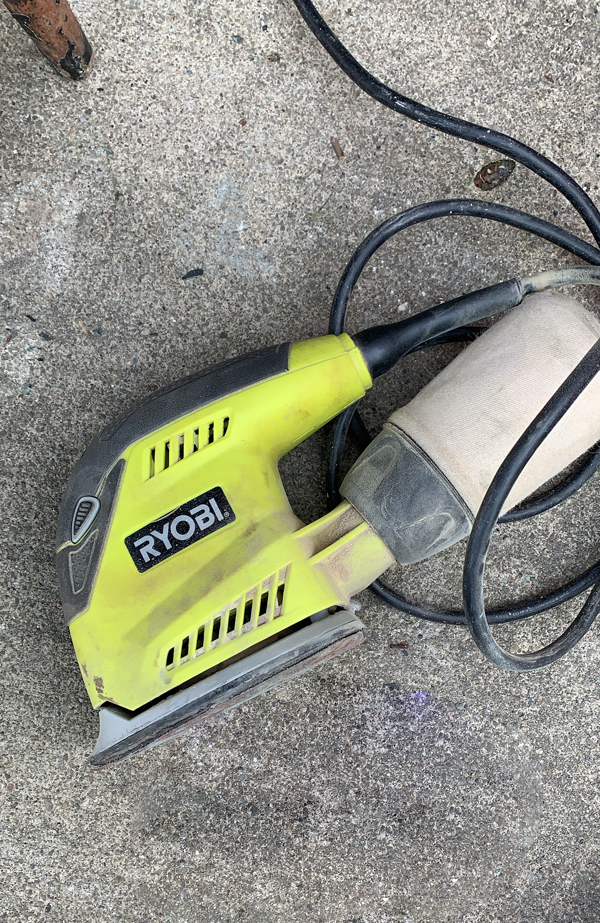
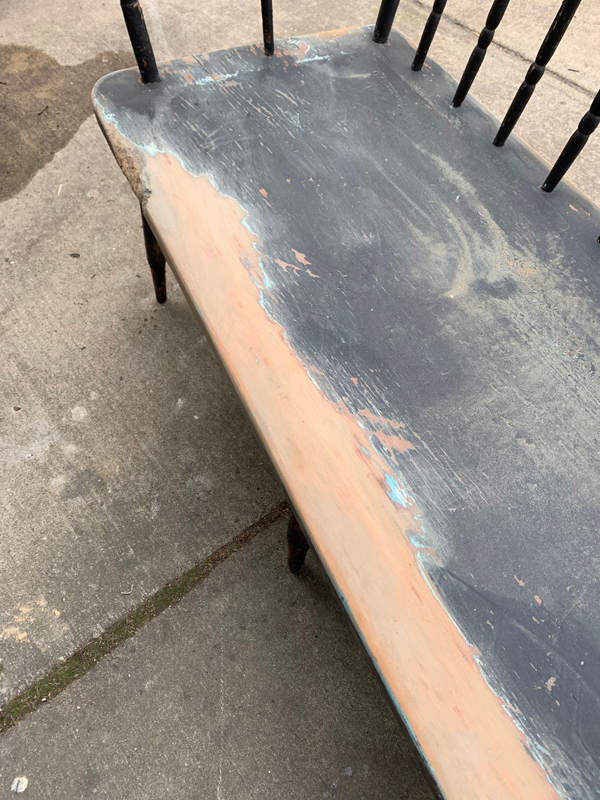
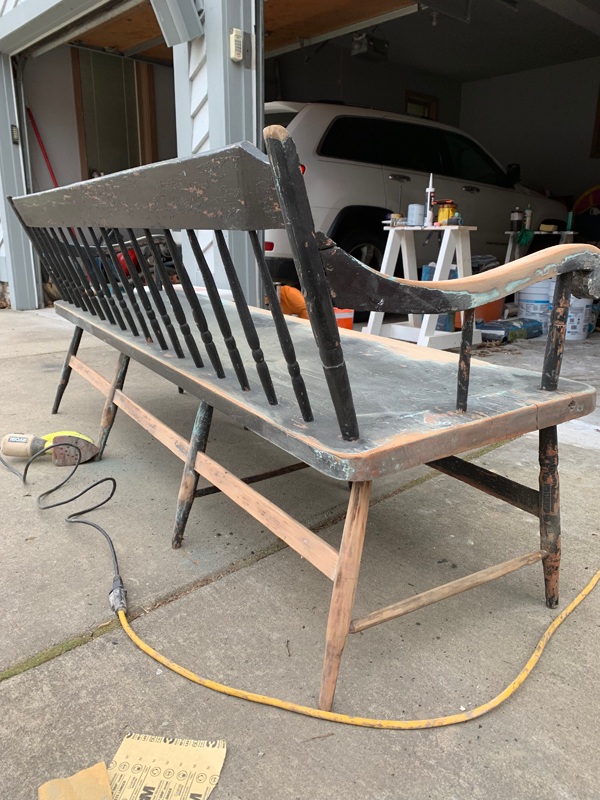
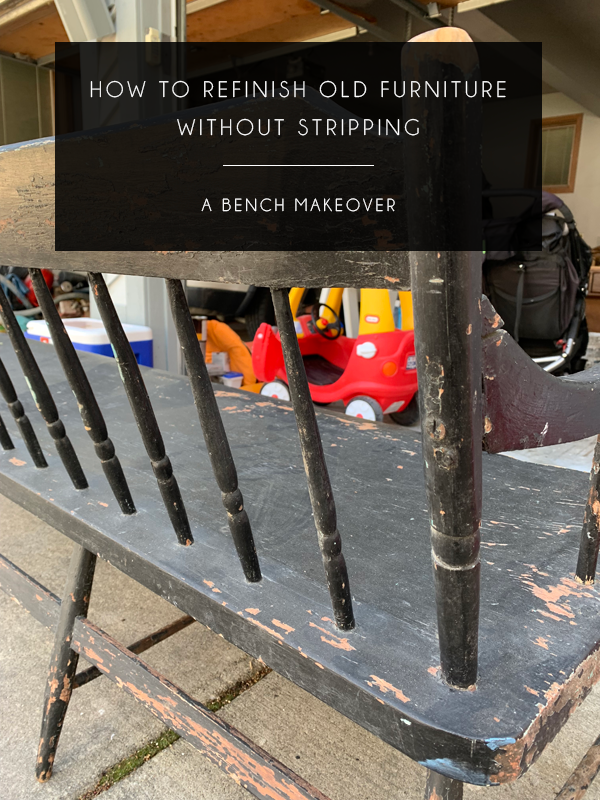
I wanted to eliminate the super chippy areas that were mainly on the bottom spindles and arms of the bench along with some other smaller areas.
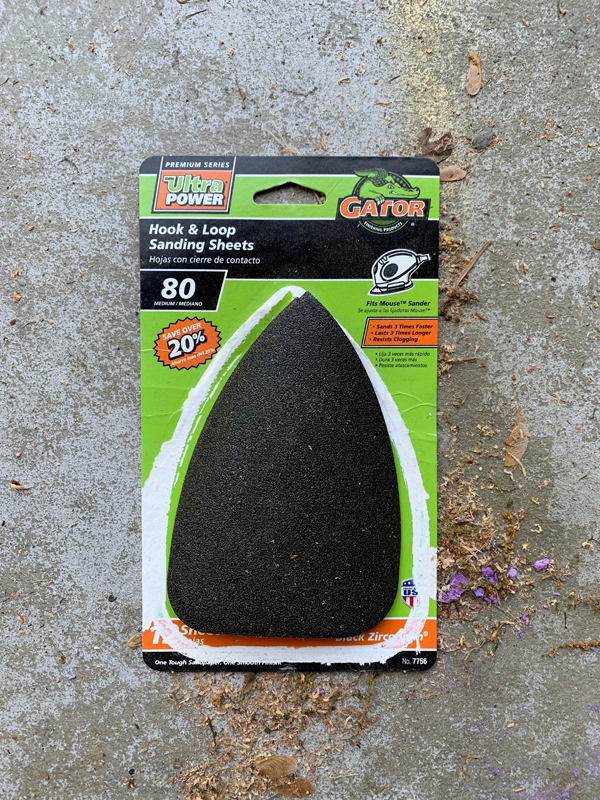
There are a lot of pads out there but I found that these ones were the best sanding pads for wood furniture.
STEP 3
Use your sand paper to do the smaller areas or spots like the spindles that your hand held sander can’t get to. I like to wear gloves when I do this because if you rub super fast it can get hot and burn your hands!
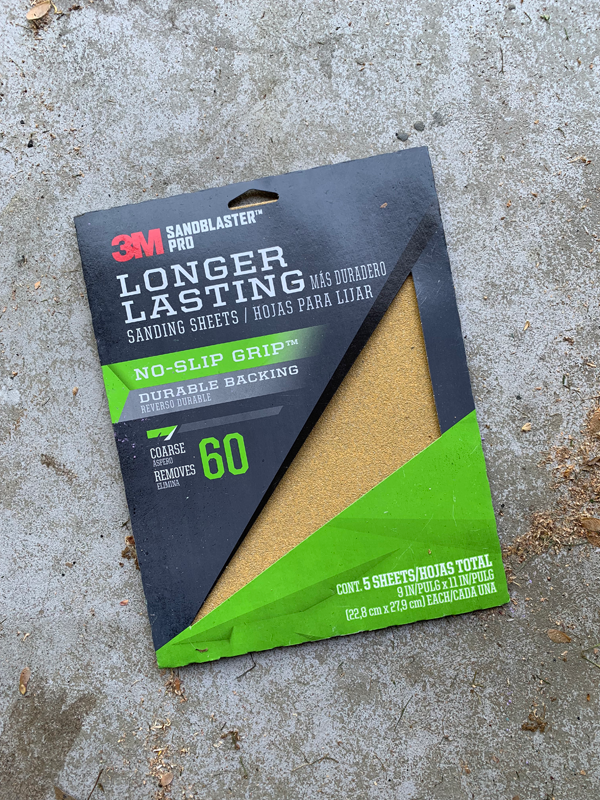
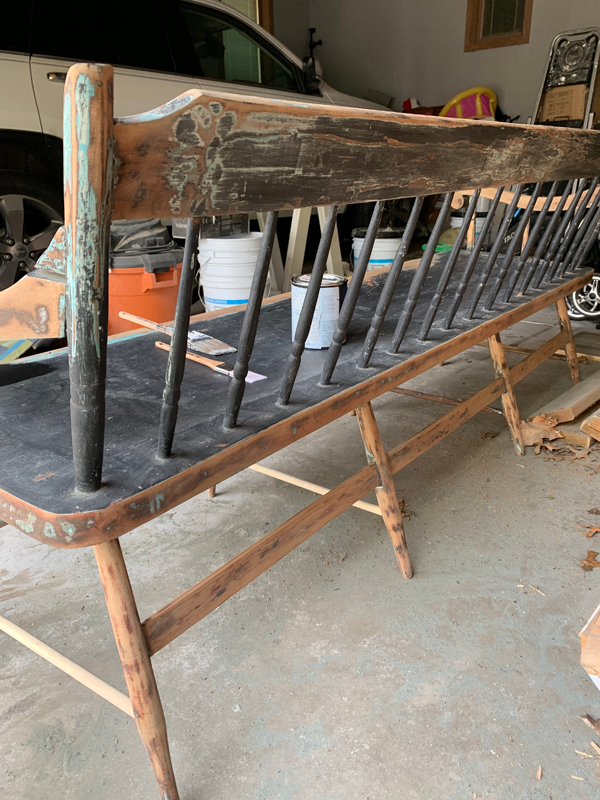
You definitely have to put some muscle into it but with the right grit sand paper, you can get amazing results. Another helpful tip is the fold the sand paper in half and use that edge to get into smaller crevices.
STEP 4
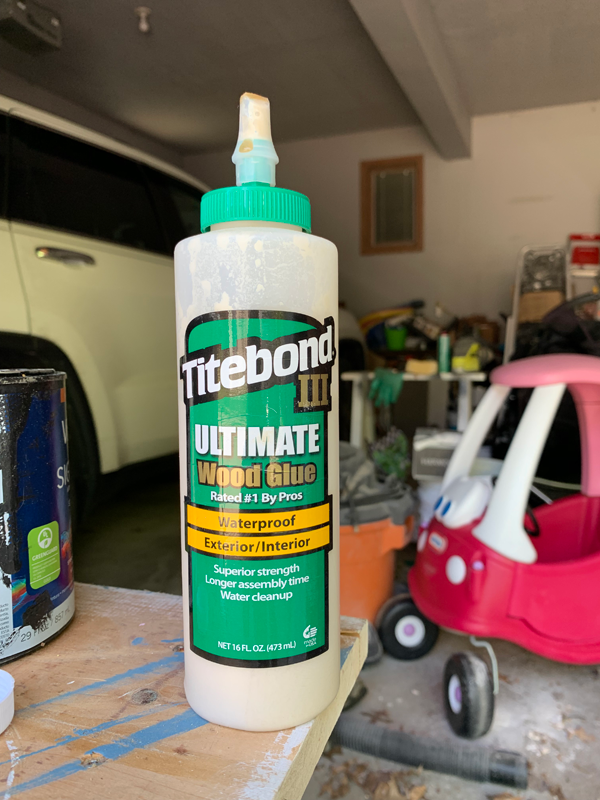
If your piece of furniture is falling apart anywhere or needs a little extra support, use some wood glue to help tighten up those spots.
STEP 5
Whether you are going to stain or paint your piece, after you’re done sanding you want to clean it off. I’d start with a vacuum to suck up all the dust you can, and then you can use a wet rag or paper towel with just some water to clean up the rest of the dirt.
STEP 6
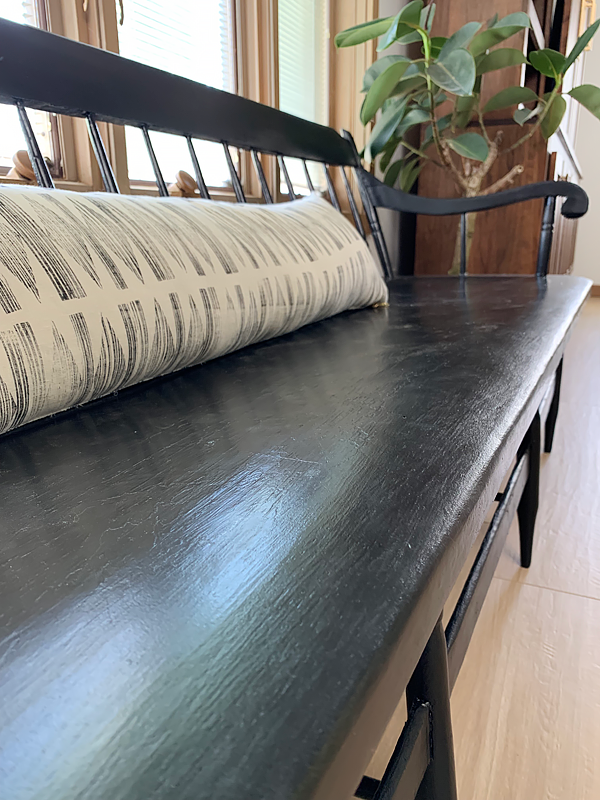
Since I was painting my bench, my next step was to get painting! I used Valspar Signature in Black in a semi-gloss finish. I freaked out when I first started putting it on because it looked SO blue. But I guess that happens with a lot of black paints, so don’t worry! It ended up being a very true black and the perfect finish.
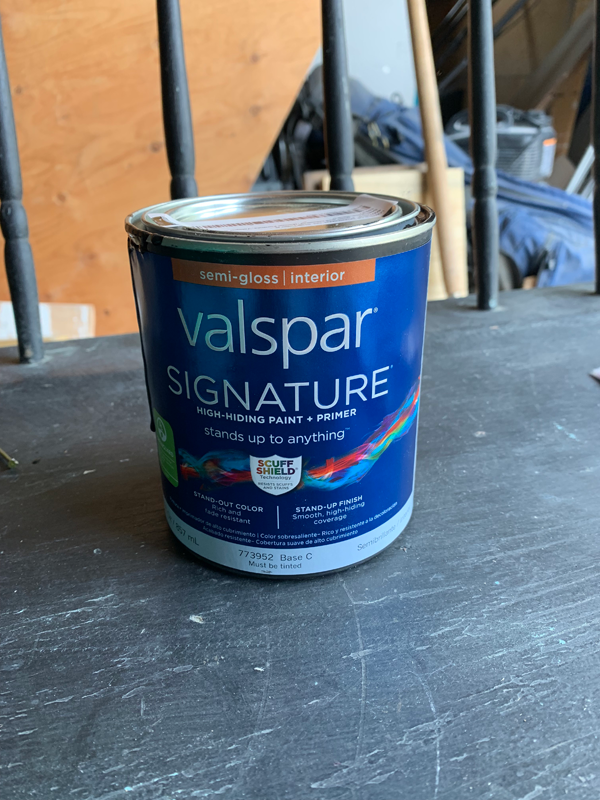
This is when it was still drying and you can see some of the wet parts totally look blue.
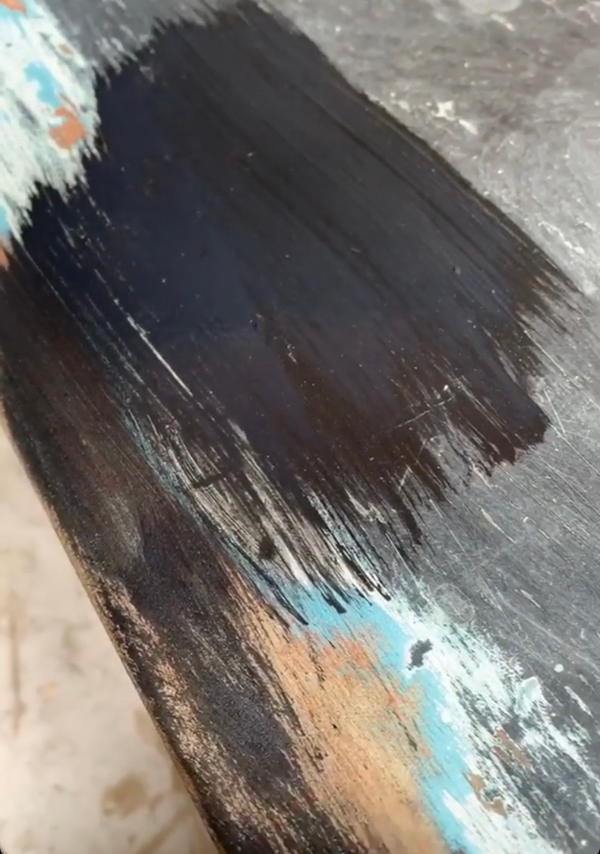
I did two coats of paint and didn’t seal it with anything since I was using a pretty durable finish. Then it was time to bring it inside!!
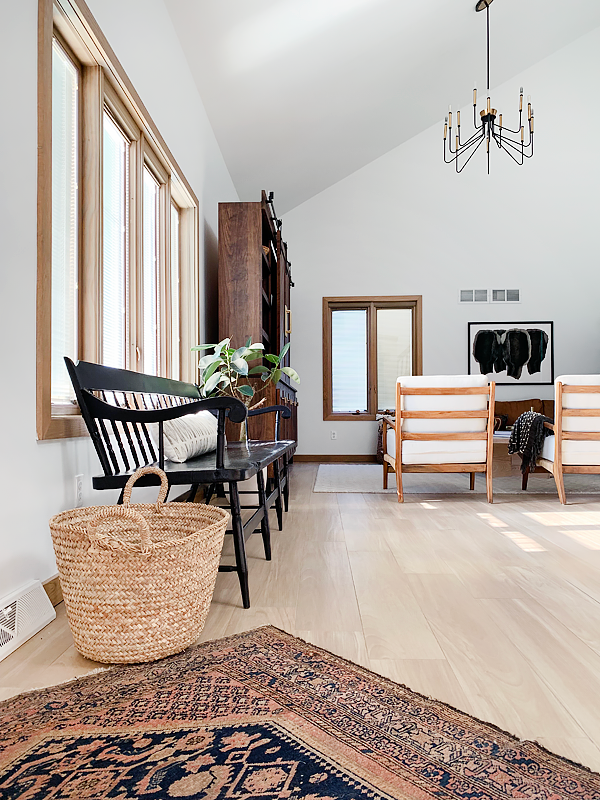
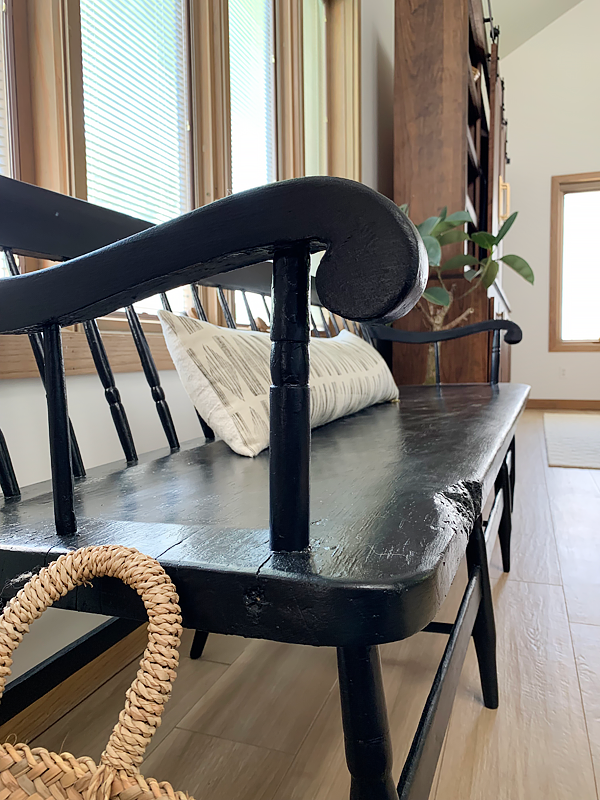
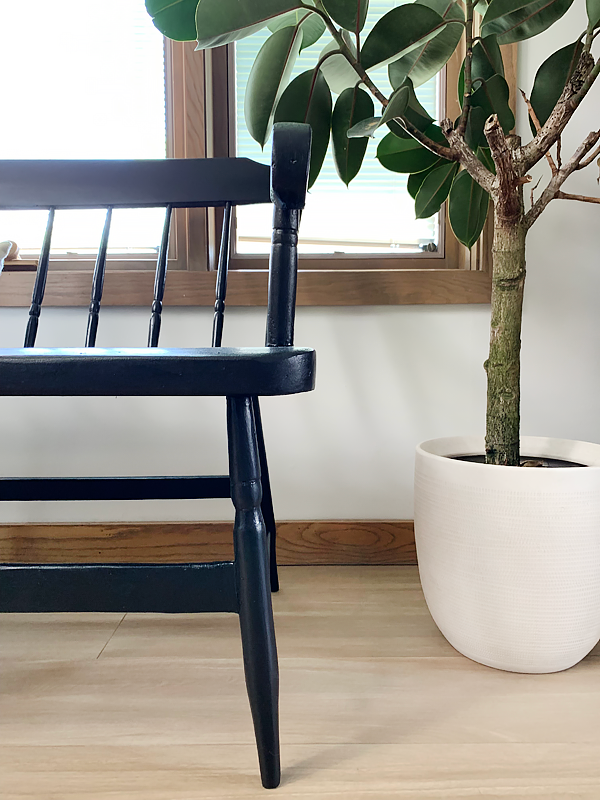
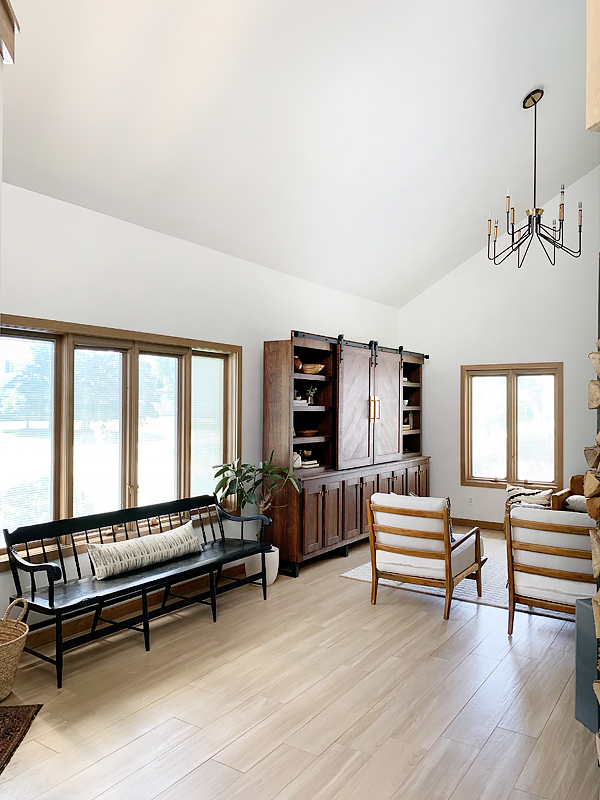
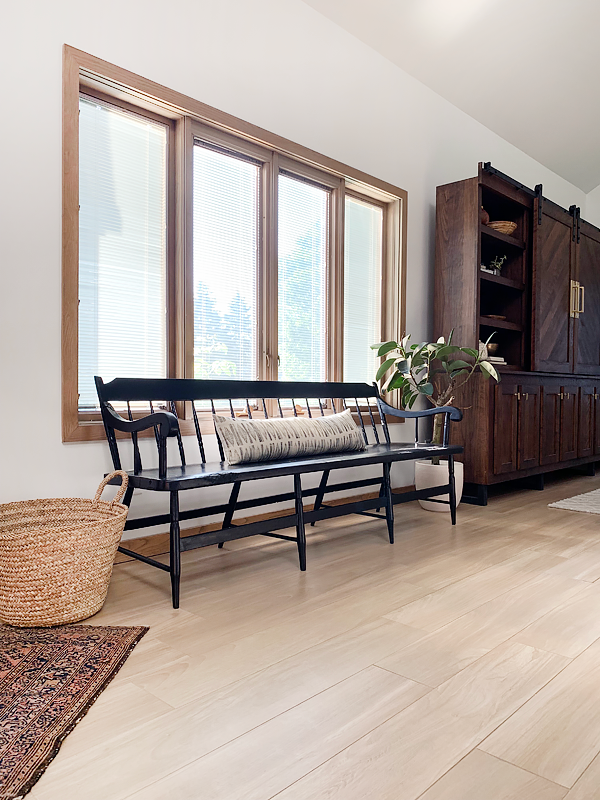
I’m still trying to figure out what to hang on that little wall to the left of the windows and am trying to decide between some ceramic bells and a vintage oil painting. Both are so good!
I’m so glad I held out and waited for this perfect bench to come along. Even though it needed some work it was well worth it and it makes me smile every time I walk past it. So next time you see a super chippy and beat up piece of furniture, don’t be afraid! It’s not as hard as you think to refinish wood furniture without stripping 😉



Amanda Bowman
where did you get the pillow from? I love it!
brepurposed
anaberdesign.com
Cici Haus
That’s the most beautiful bench – totally worth $150! I’d keep it forever.
brepurposed
Thank you so much Cici! I definitely see it staying with us for a very long time 🙂
Emma at Ironmongery Experts
Adore the rug and woven basket in the first photo alongside with the bench! This is definitely going to help me as we have a wooden display case that doesn’t fit in with the vision I have for our – soon to be renovated – living room. It has sentimental value so I don’t have the heart to get rid of it, so re-finishing it is the answer.
Also a great way of giving a piece of furniture more than one life, especially in today’s climate – that’s in desperate need of us to take environmental action.
Looking forward to reading more of your content.
All the best,
Emma at Ironmongery Experts
Pat M.
The perfect bench for under that window. And, you obviously saved that piece from a life of being a large dog’s chew toy. Can you imagine the previous owner’s horror when he/she saw what their beloved pet had done. Yikes …
Alicia
It looks great! Bonus: It fits so well under the windows. 🙂