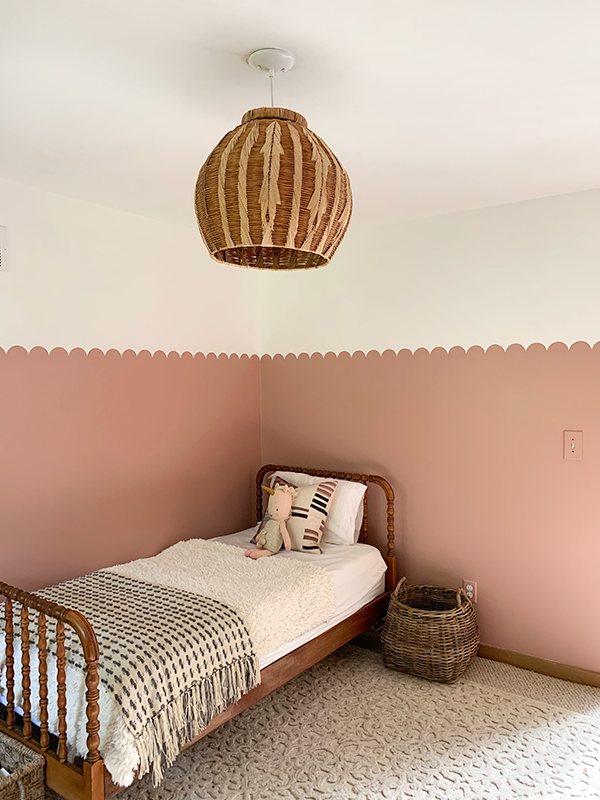
HOW TO PAINT A SCALLOPED WALL
When it came to design Eloise’s new big girl room, I knew pink was going to be involved. It’s her favorite color and there was no escaping it, which was fine with me. But I wanted to do something fun and not just paint all the walls pink so I came up with this fun idea for a Scalloped Wall Design.
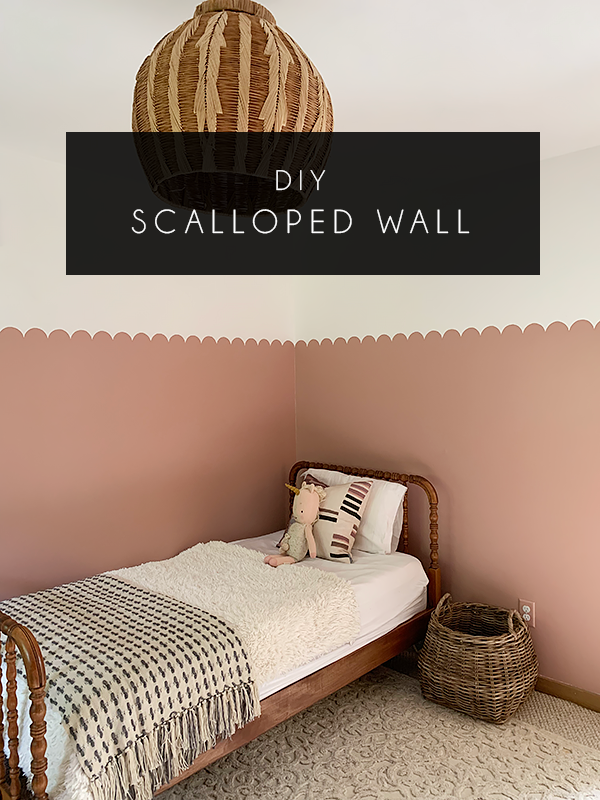
When I first thought of the idea, I wasn’t sure how I was going to execute it. I actually didn’t figure it out until after I had painted the walls 2/3 of the way up on all sides.
But now that I’ve figured out that painting scallops on a wall isn’t all that hard – I’m here to share all my tips with you!
SUPPLIES FOR PAINTING A SCALLOPED WALL
- 3″ wooden embroidery hoop
- short bristled paint brush
- pencil
- painters tape
- level
STEP 1
Use a long level to draw straight lines across your walls as far up as you want them to be. I went 62″ up from the base.
STEP 2
Apply your painters tape just above the lines you drew. This way you’ll cover up the pencil marks when you paint.
STEP 3
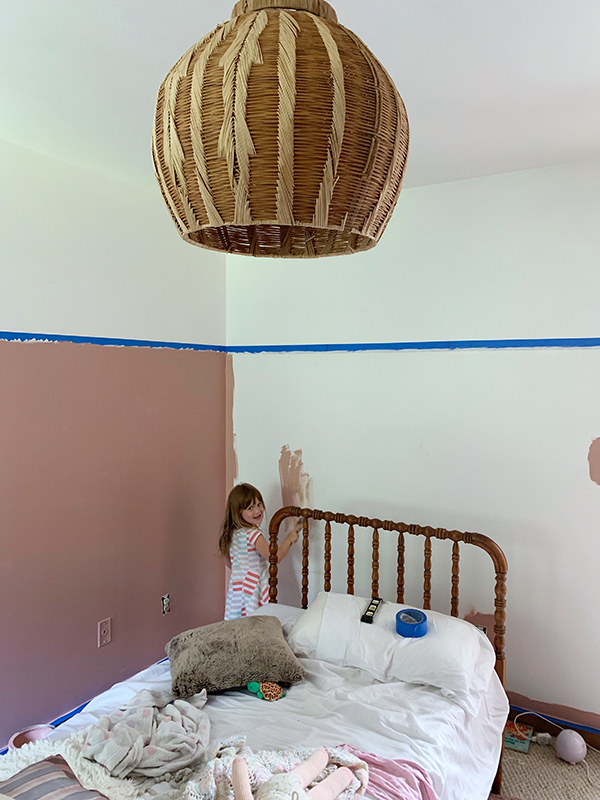
Using some paint that is the same color your walls currently are (in our case, white), paint just over where the bottom of the painters tape meets the wall. This provides a barrier of paint that will help prevent against bleed.
You can see in the photo below where the white paint overlaps the tape.
STEP 4
Once the white paint is dry, use your roller and paint the walls in your desired color. We used Retro Pink by Behr which is a very pretty neutral and mauve pink that isn’t too in your face. You better believe if Eloise picked the color it would have been BRIGHT pink 😉

STEP 5
Immediately after your last coat of paint, remove the painters tape. Removing it while it’s still wet will prevent against peeling.
STEP 6
Next up is your scallops. I originally thought I would use a stencil, but couldn’t find any in the stores near me and really couldn’t find any online that seemed like they would work well.
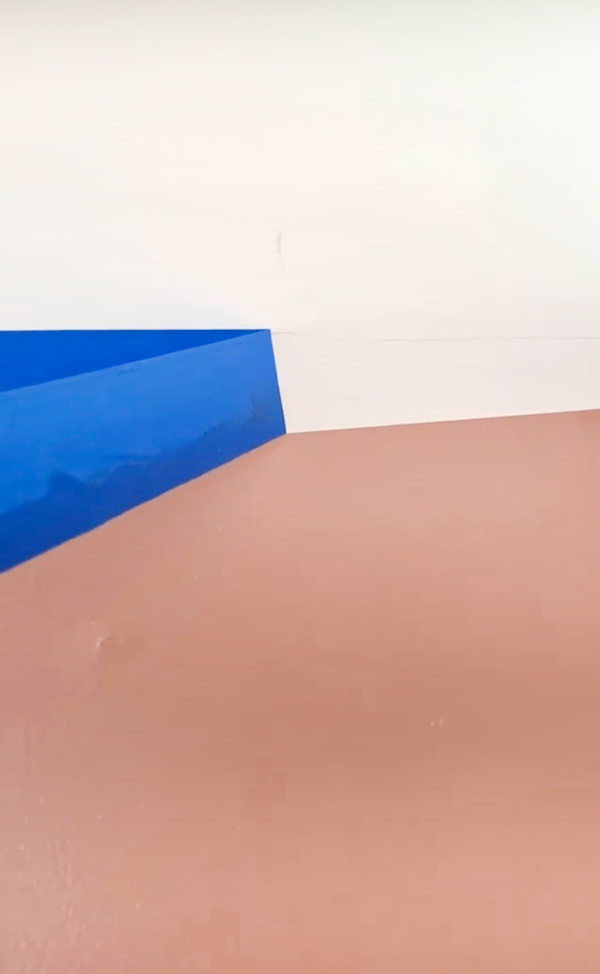
So I stumbled upon a wooden embroidery hoop at JoAnns and decided to give that a try instead. I used a 3″ hoop and popped out the inner hoop and used that. I marked with my tape a little less than halfway on opposite sides. I didn’t want a full half circle so mine are a little less.
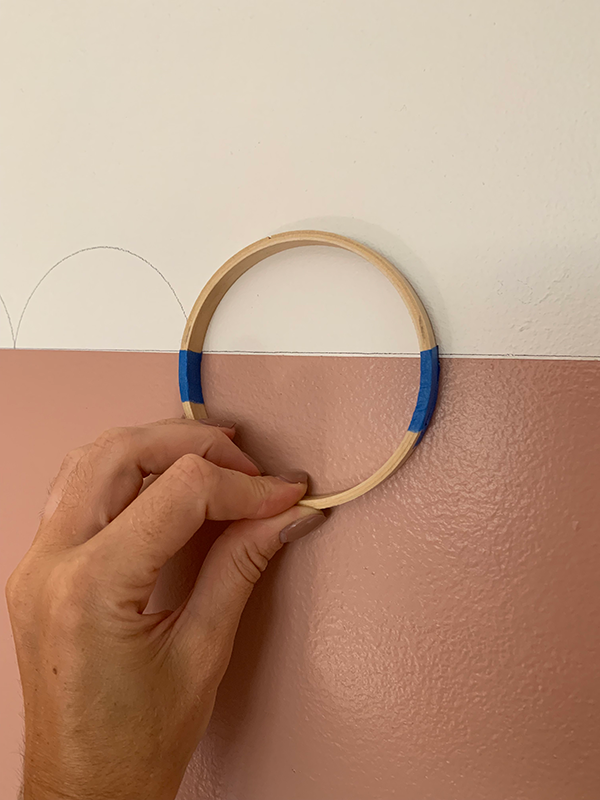
Using the blue tape on the inside of the hoop as a guide, trace your half circles on the wall.
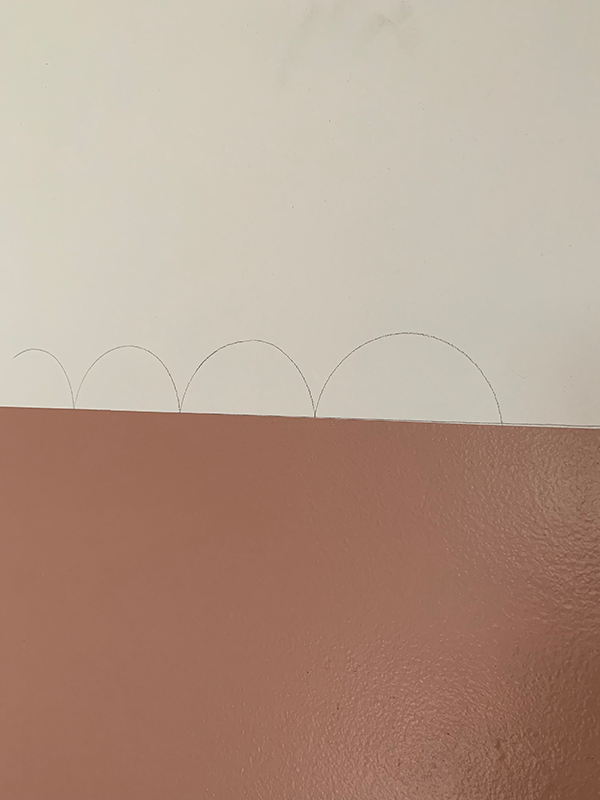
Tip – since you most likely won’t have a whole row of full half circles, think about where you want to start and where you don’t mind there being a portion of a scallop.
For me, I started on the right side of the wall her bed is against, and worked to the left, knowing whatever I was left with would be by her closet door trim and not in a spot more noticeable.
STEP 7
For the corners, I used a piece of card stock and traced a half circle using the embroidery hoop as a guide. Then I cut it out and was able to fold it so the scallop would be seamless from one wall to the other in each corner.
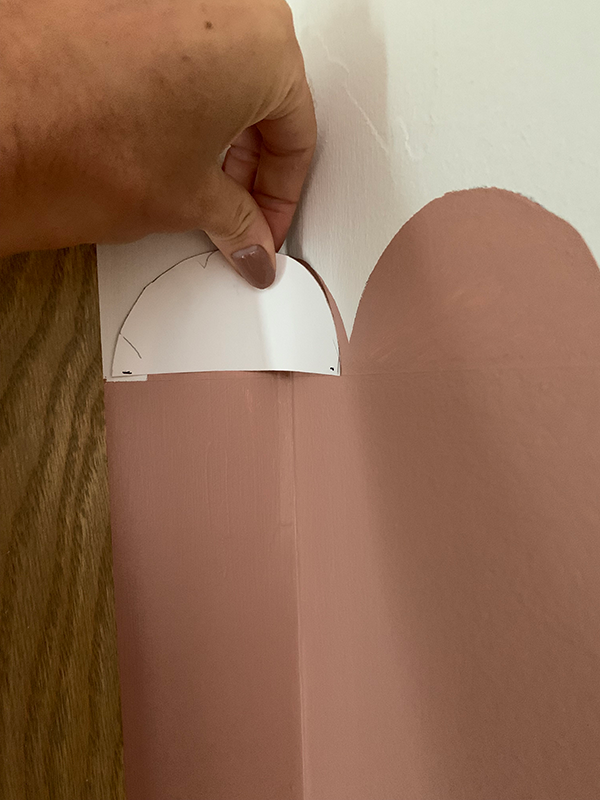
STEP 8
Paint your scallops! I promise this isn’t as intimidating as it sounds. Using a brush with short bristles helps a ton and gives you a lot more precision. Mine definitely aren’t perfect which I’m fine with and you can always go back and use some white paint to even them out if need be.
I’m having trouble finding a link to the brushes I used, but I picked them up at Hobby Lobby!
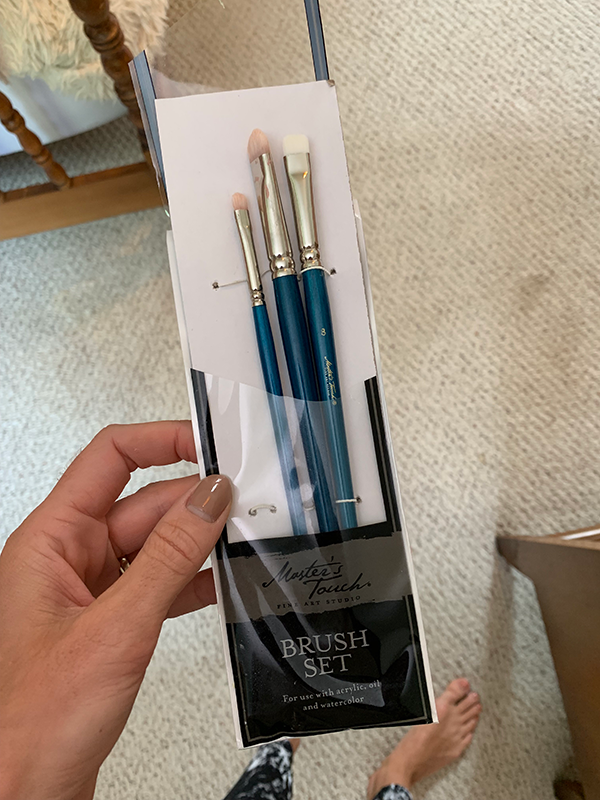
You could definitely paint inside the embroidery hoop but I was worried about paint bleeding through leaving a mark each time I picked it up, so I free handed it instead.
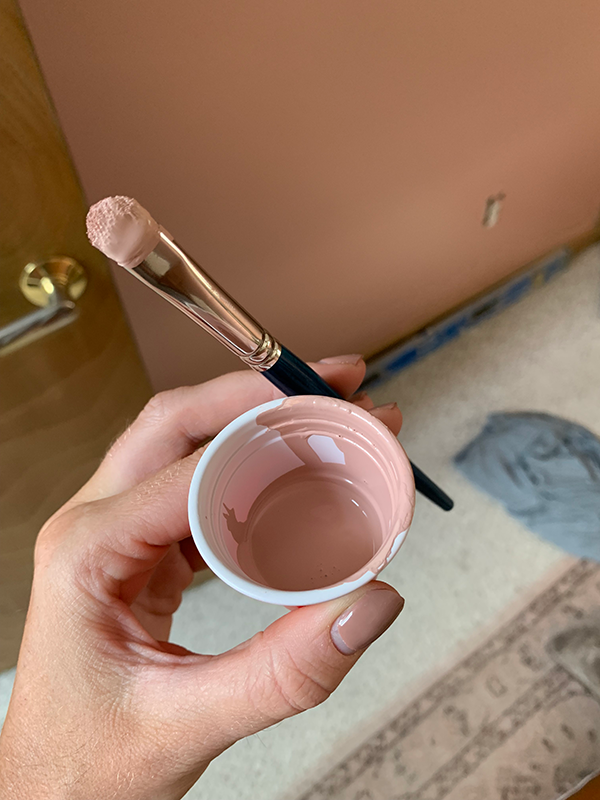
I ended up doing three coats but really the first one is the most important. I didn’t have to be as careful with the second two coats since I already had the main shape painted.
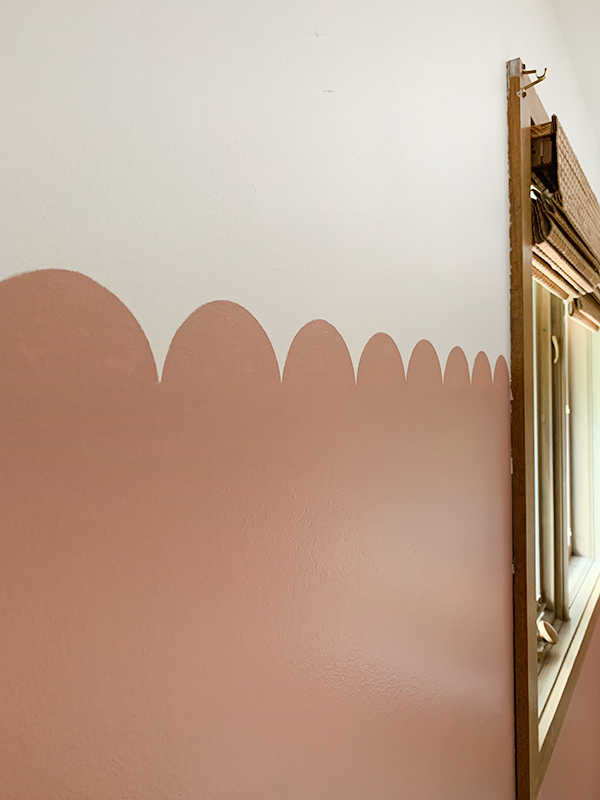
I LOVE how these turned out and add a little extra fun and femininity to Eloise’s room. I originally thought I would do larger scallops but this size feels so perfect.
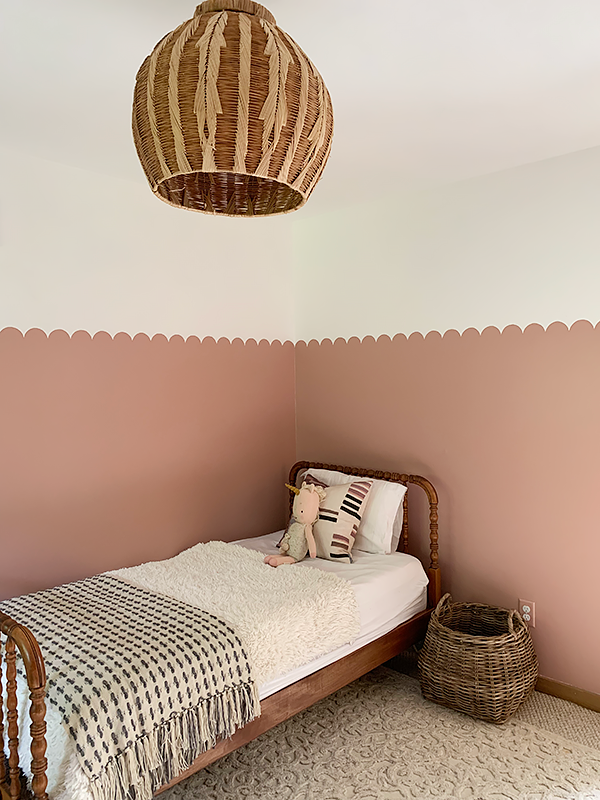
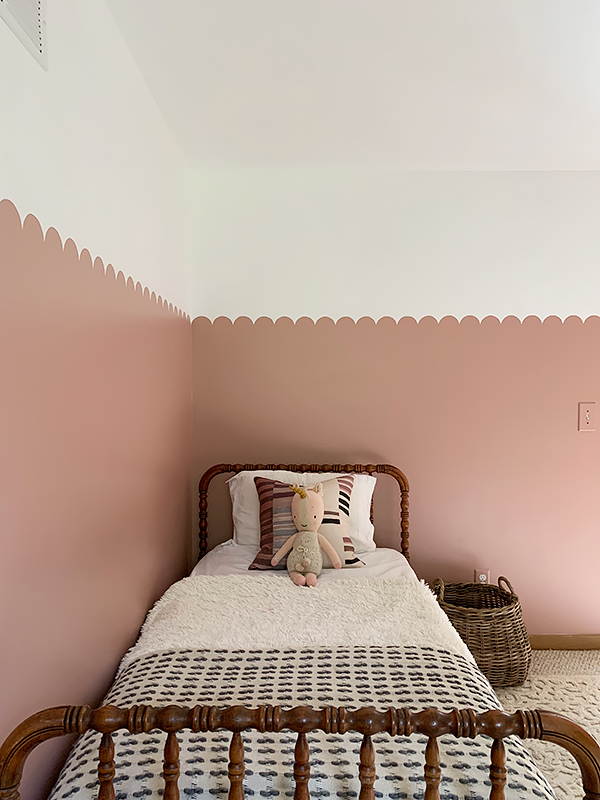
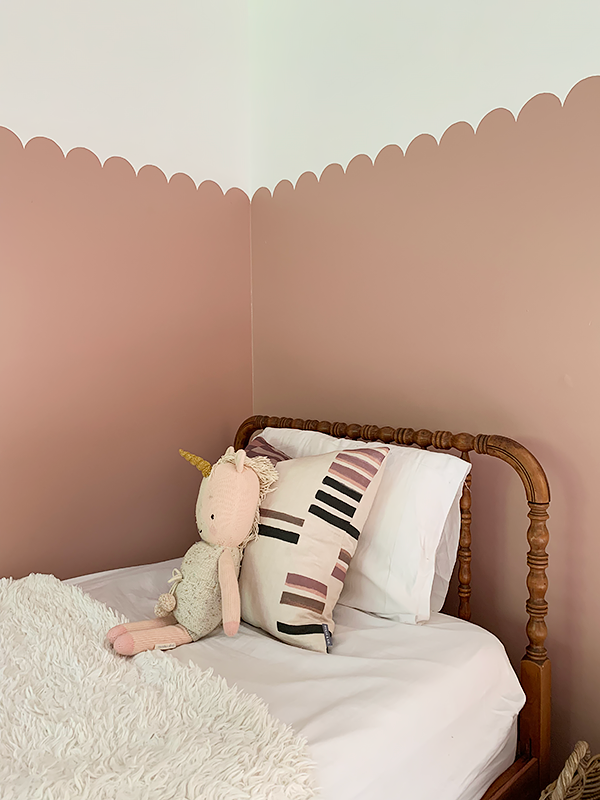
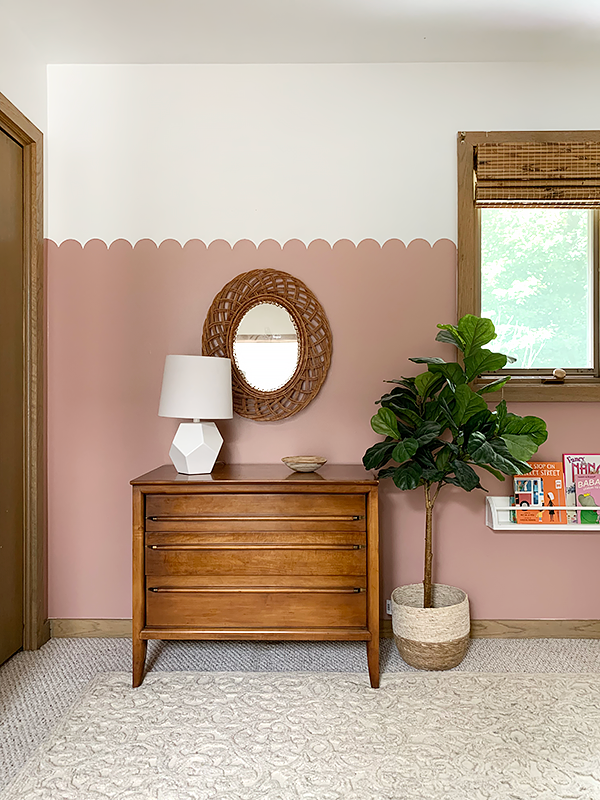
I hope this tutorial of How to Paint a A Scalloped Wall was helpful! It’s such a fun and easy way to add some charm and character to a space! Her room isn’t quite finished yet, but we’re getting close -stay tuned for the full reveal soon!

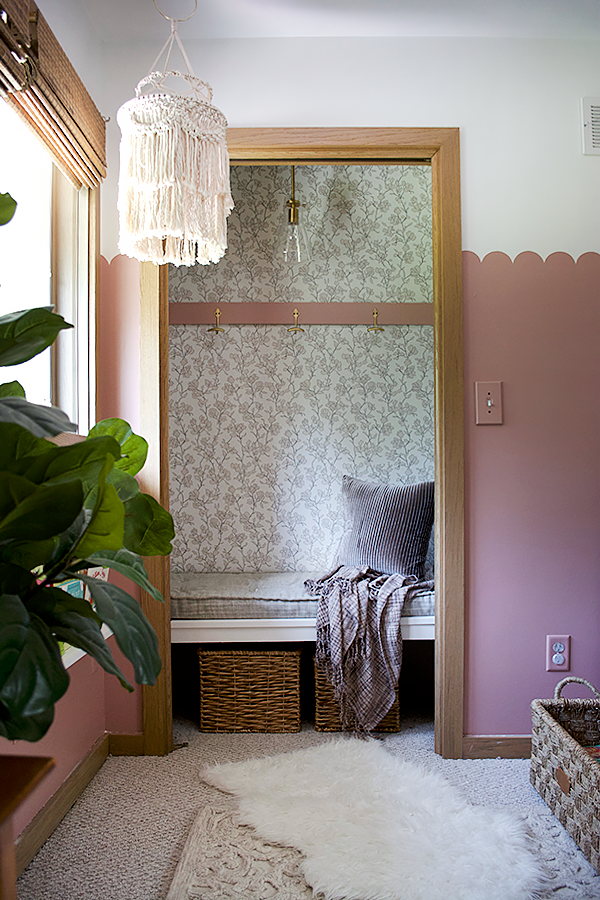
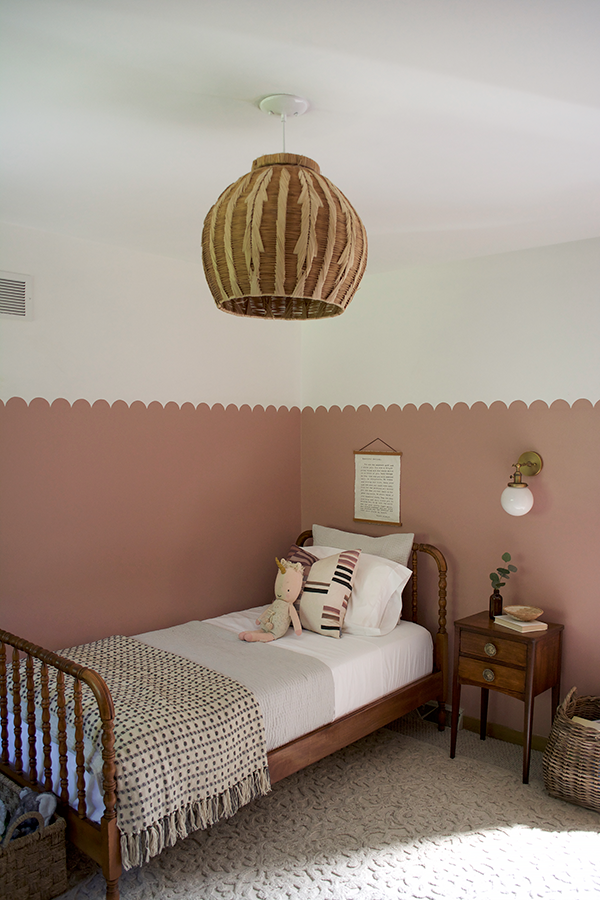




Sarah
So darling. What paint color is the white you used??
anastasia
Wow wow wow… It is so cute, cute idea and cute room! The ambiance feels warm. I think your daughter love it very much.
Kayla
This is looking great – where is the wicker lamp from??? I’m loving that thing!
Alicia
What a cute idea! The room is looking lovely. 🙂 Can’t wait to see the whole thing!
brepurposed
Thank you so much Alicia!!
cassie bustamante
this is SO cute! i did almost the same thing about 12 years ago in Emmy’s nursery! Except i made it large polka dots, so imagine you drew the hole circle and painted it in… different color on top and bottom like yours. I used a formula can lid. HA!!!! I love how her room has come along and love the scallop! (PS I thought I had embarrassing pics on my blog, but I apparently had already painted over it in 2009 when I started blogging.)
brepurposed
ha that’s awesome! I wish I could see it! Thank you Cassie <3