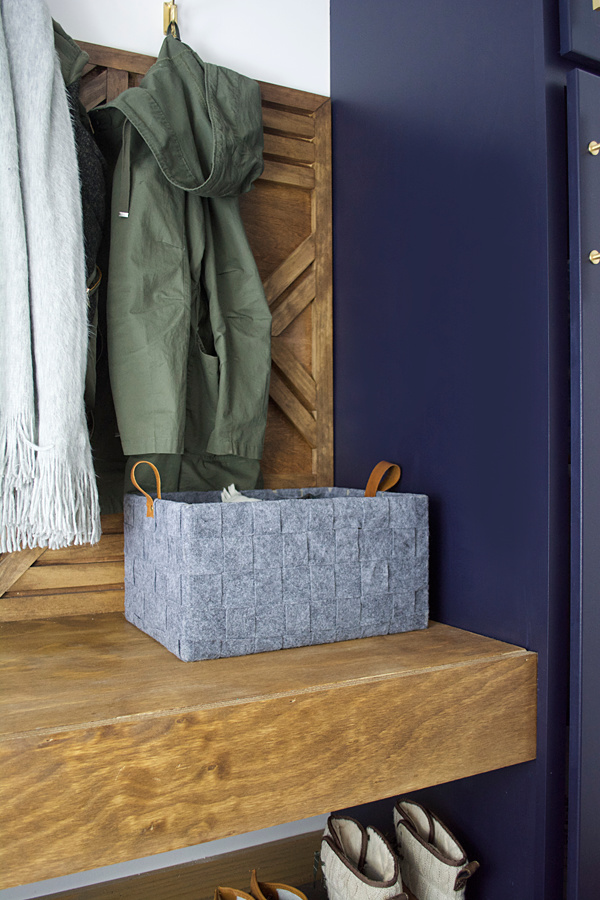
I love our monthly challenges because they always push me to create something that I probably wouldn’t have thought of on my own. This month we are all working with felt, and I was totally stumped on what to make. I thought about making something for Eloise like a cute little bow or booties but decided I wanted to make something more substantial and practical that I would actually use. It took a lot of brainstorming, pinteresting and talking to my bloggy friends, but I finally decided to make this DIY Woven Felt Basket with Leather Handles.
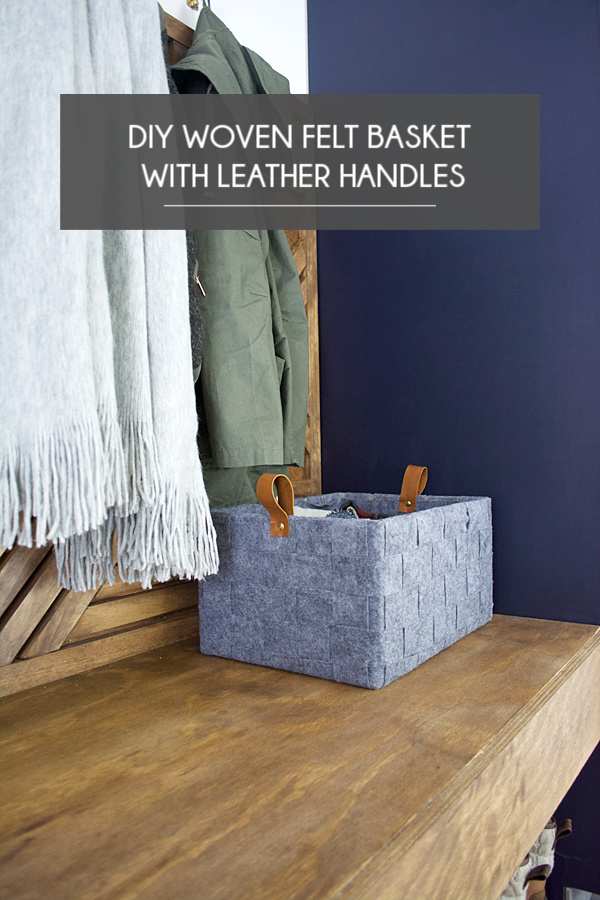
DIY WOVEN FELT BASKET WITH LEATHER HANDLES

MATERIALS
*affiliate links included
:: felt by the yard in your color of choice
:: hot glue gun
:: basket
:: leather
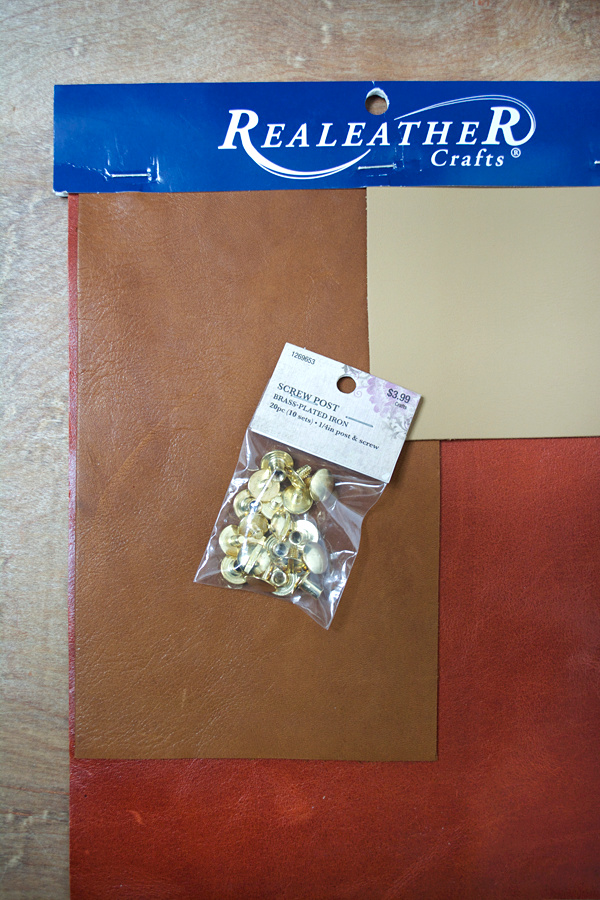
:: gold screw posts
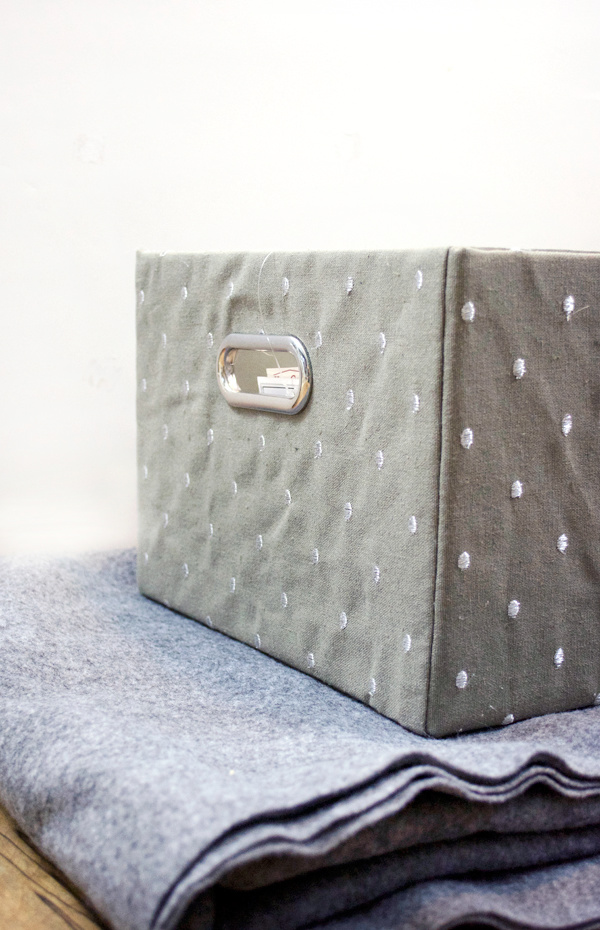
I found my basket at HomeGoods for $10. You can use really any basket or crate you like as long as all the sides are flat. I got my felt by the yard at Hobby Lobby.
STEP 1
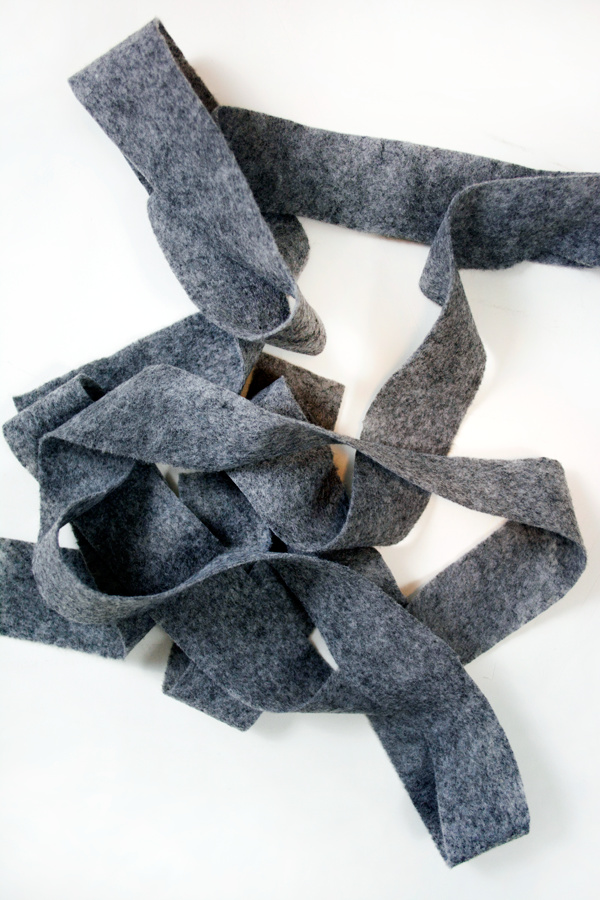
Measure the length around the entire basket and cut multiple strips that are about 2″ wide.
STEP 2
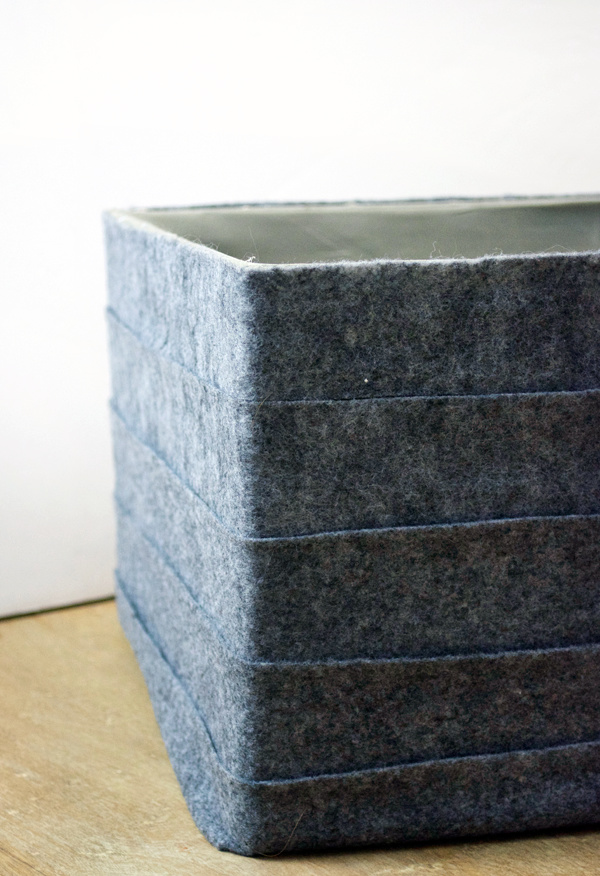
Using your hot glue gun, start in the middle of the “back” of your basket at the top and glue a strip to the basket. Make sure to only glue at the corners so the felt is loose on all the flat sides. Repeat until you get to the bottom.
STEP 3
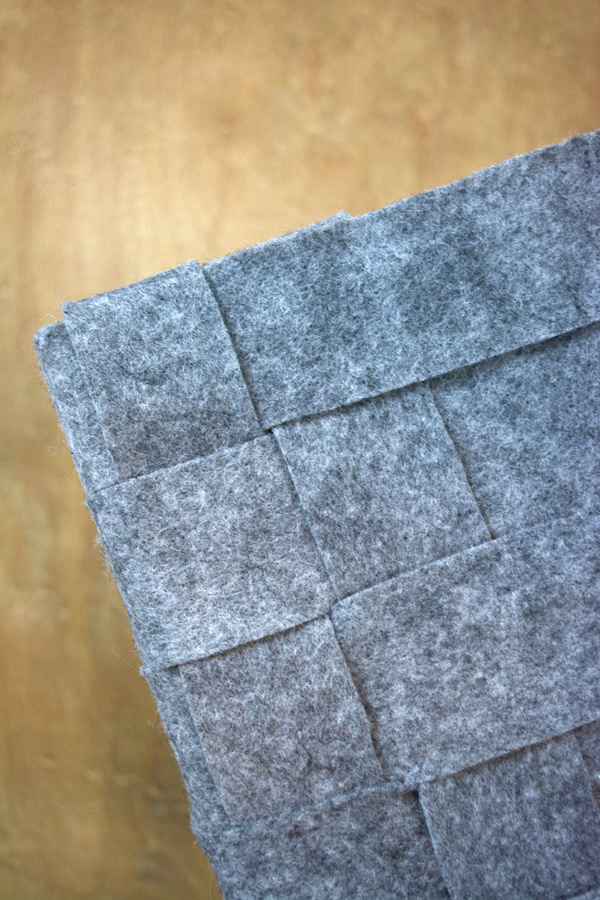
Cut more strips that you will use to “weave” through the existing felt strips on the basket. These will be shorter and thinner (maybe about 1.5″ wide). Start in a corner on the left and weave your felt through by going over and under until you get to the bottom. When you do the next piece, start opposite of the one before. Repeat until you’ve done the whole basket.
STEP 4
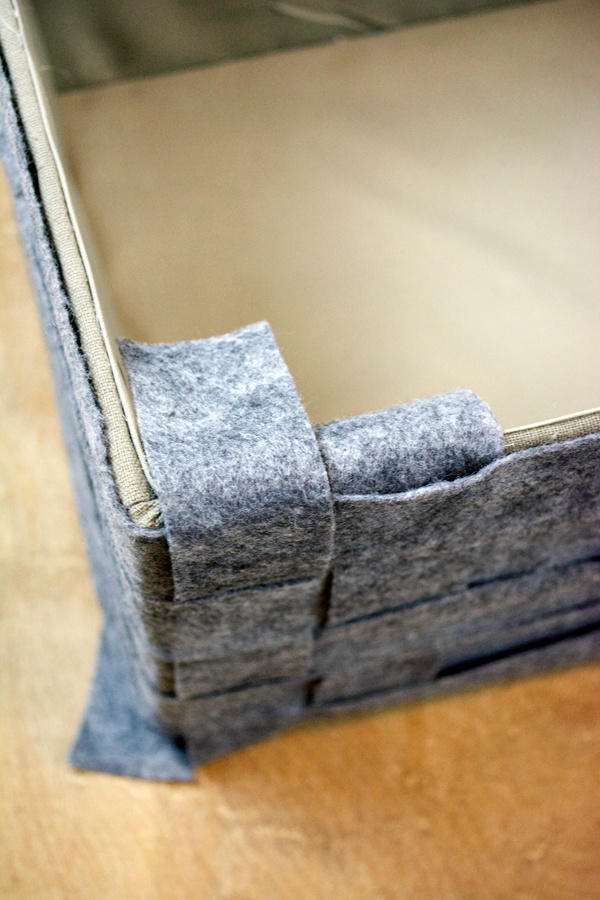
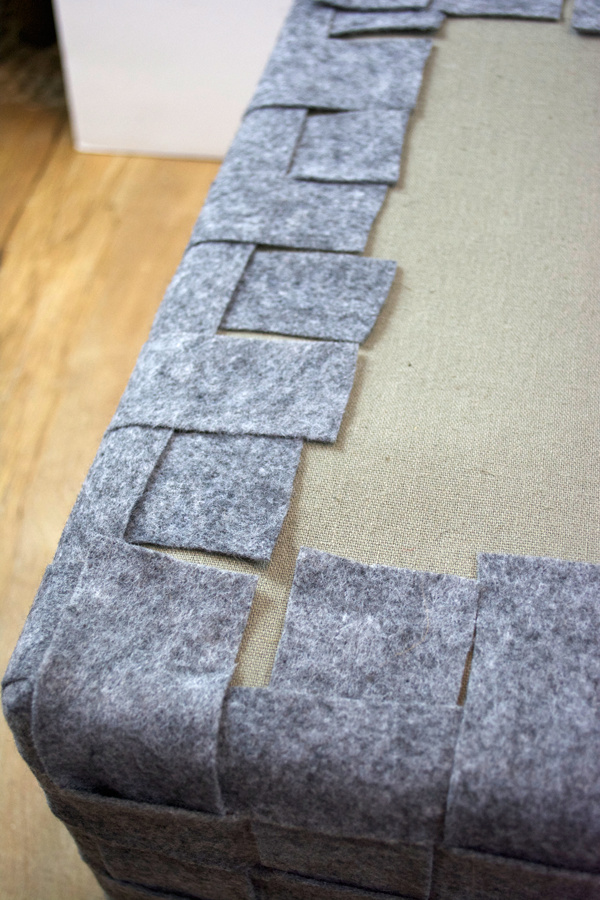
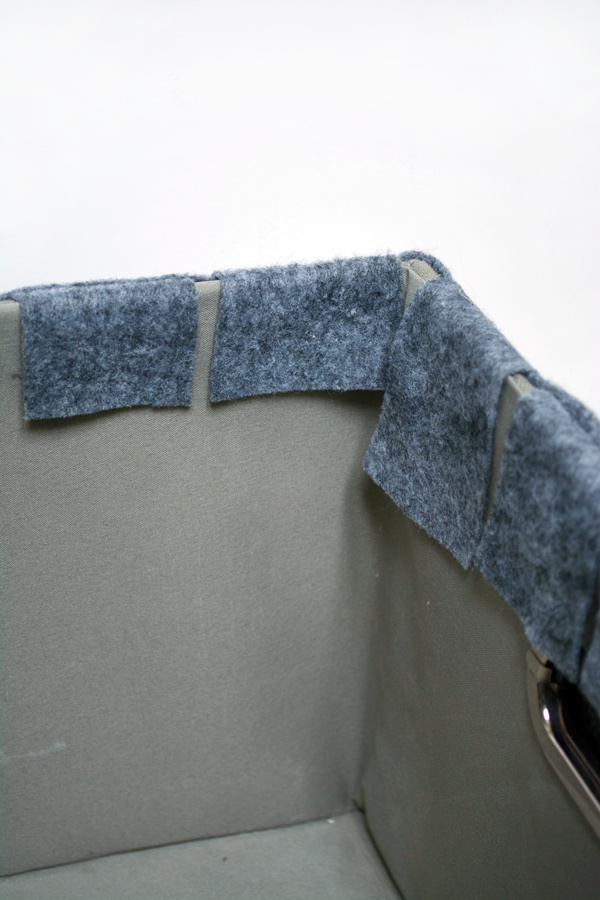
Fold your pieces over the top and bottom of the basket and trim if necessary, then use your glue gun to glue them down.
STEP 5
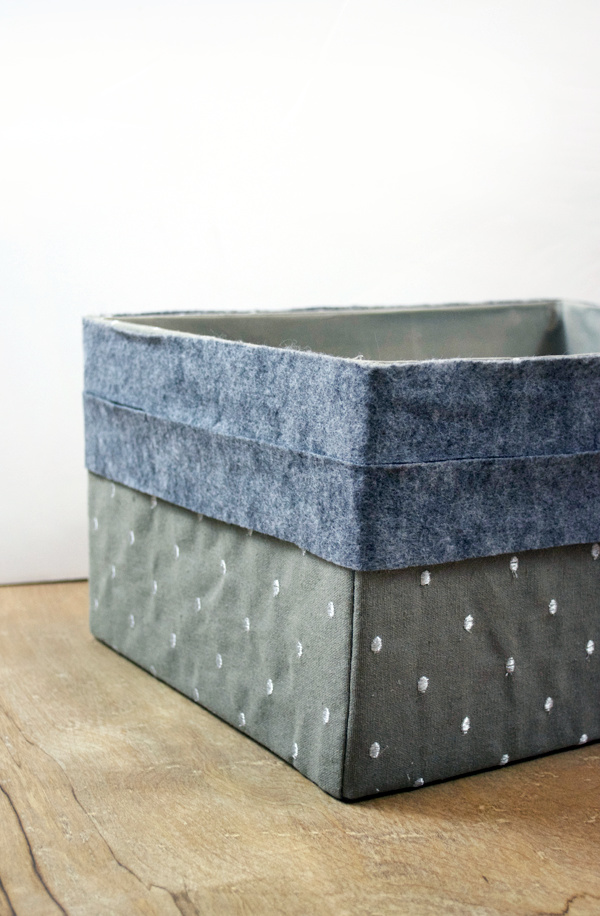
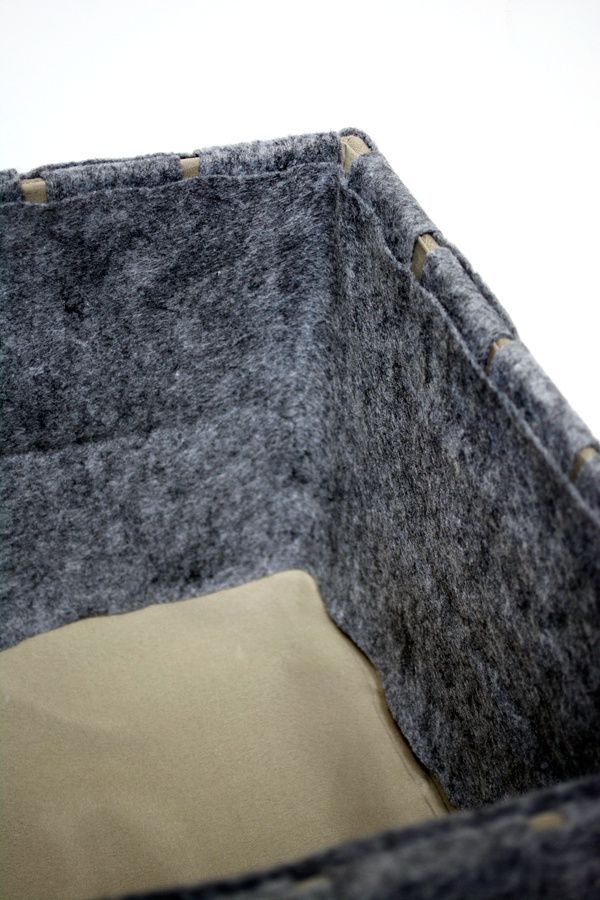
I didn’t care what the bottom looked like because no one would ever see it, but I didn’t like how the inside top looked. I decided to cut a big piece of felt to glue around the entire inside so it looked more seamless.
STEP 6
Now you could totally leave it like this, but I wanted to add some leather handles. Cut two pieces of leather the length you want your handles.
/
STEP 7
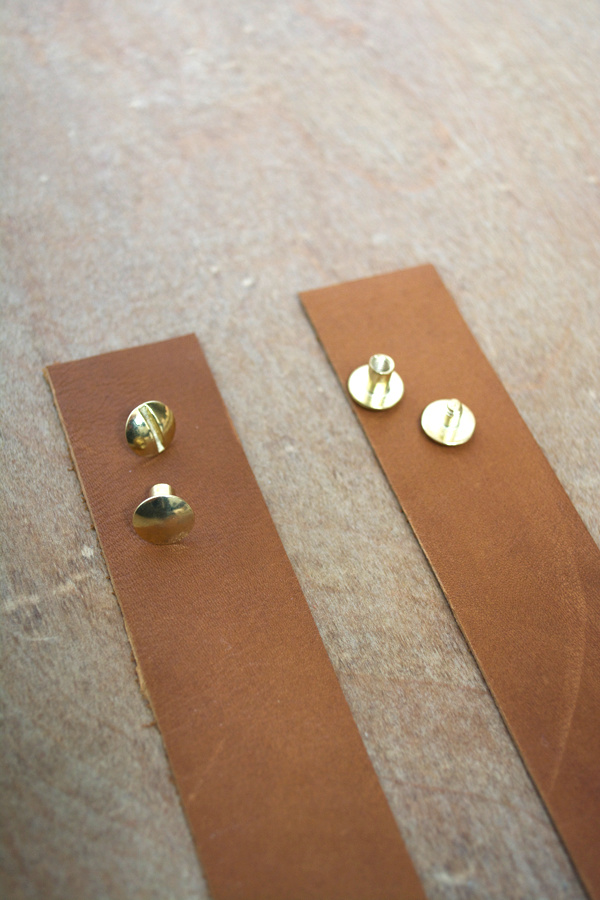
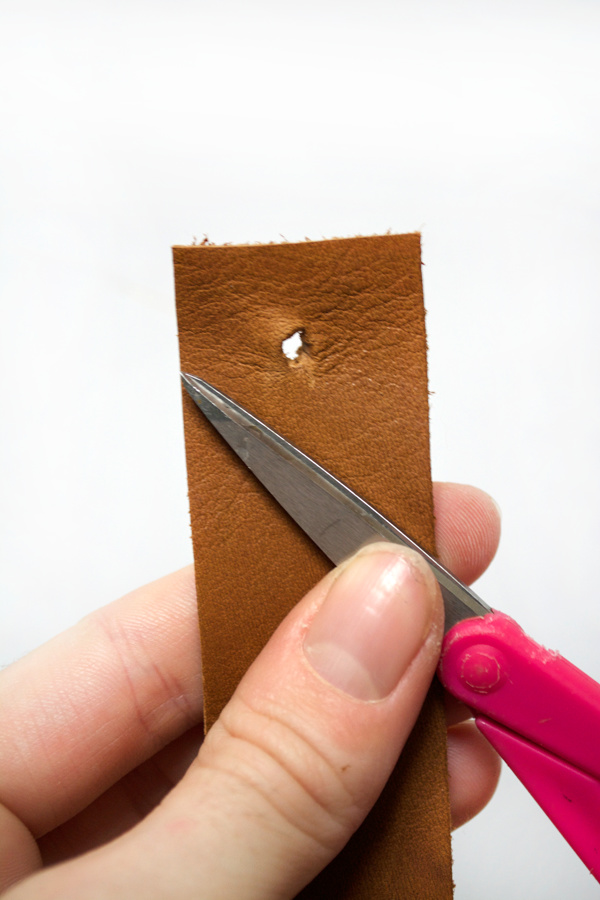
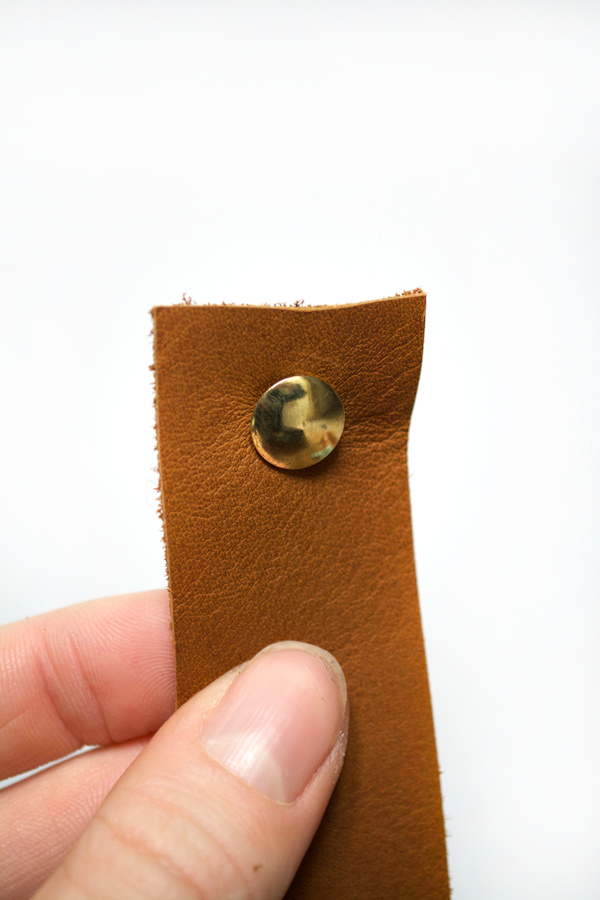
To get the gold screw posts in, I used some small sharp scissors to start a hole.
STEP 8
Now making the hole in the basket was a little trickier. If I did this again, I would probably make the hole in the basket first, before gluing all the felt to it. It was a bit challenging but I used a hammer and a nail to get the hole started and then used my scissors to make it bigger. Just make sure you don’t hammer your nail into the ground 😉
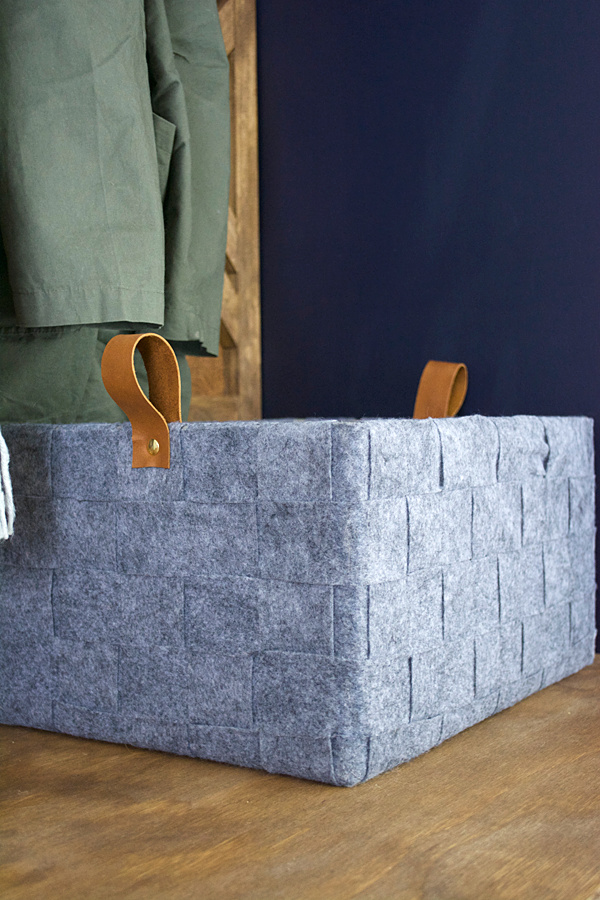
Once your hole is big enough, just insert your posts and screw them together. And you’ve got some pretty leather handles!
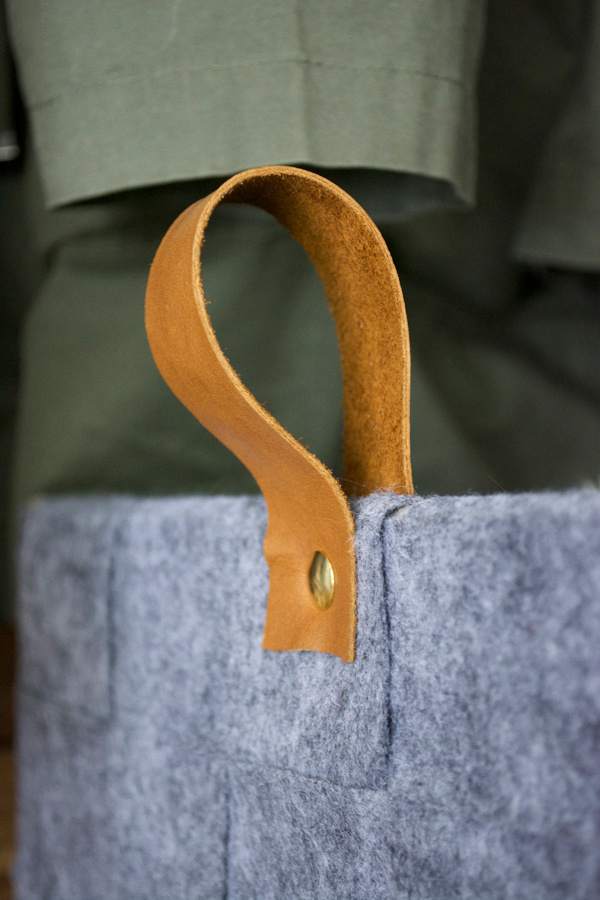
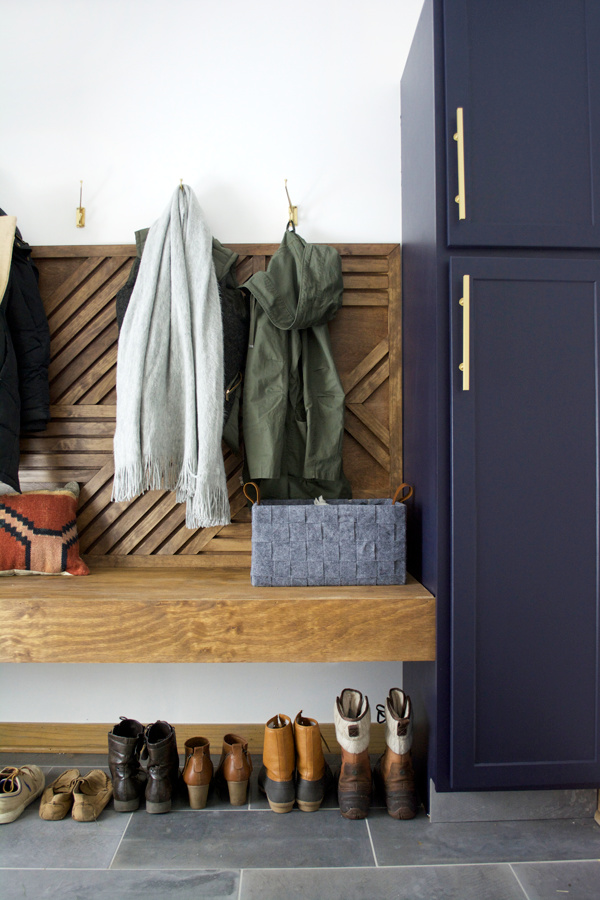
I love the addition of the handles and the little gold accent ties in with the rest of the room perfectly.
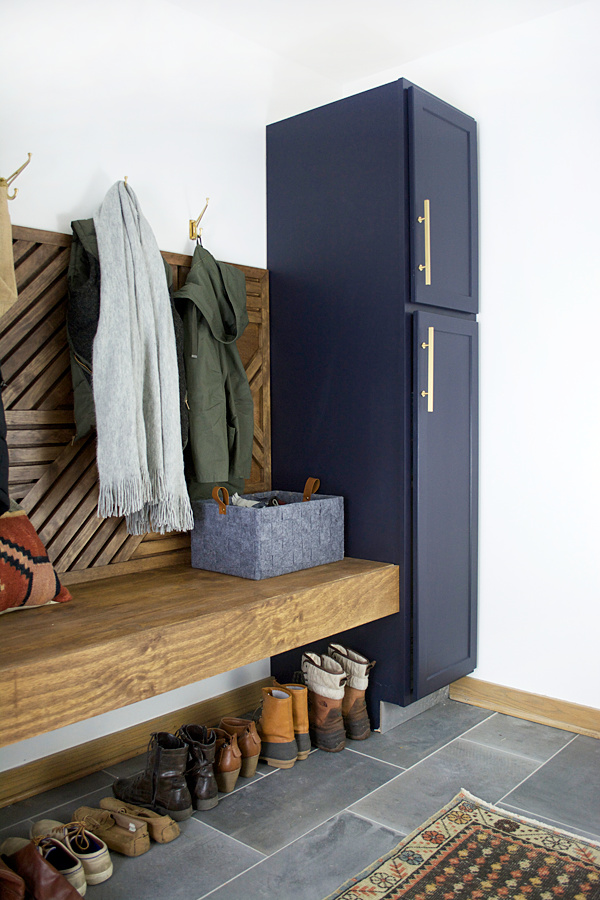
Now we have the perfect little basket to throw all our winter stuff like hats and gloves that we use regularly. And once the cold weather goes away I’m sure I’ll find another use for it here. I might even need to make a couple more 😉
Don’t you love when a project turns out even better than you expected?
Don’t forget to check out all the rest of the felt projects below!






handcrafts
Nice work !Helpful diy tutorial.
Mike
Wow! This is very inspiring. I love how it looks differently now. It’s wonderful. Thank you for sharing this. Will surely try this on one with my boxes. 🙂
brepurposed
Thank you so much Mike, glad you like it!
Bre @ Average But Inspired
WOW! This was a really smart way to make this! I love it, and it is totally “Bre.” 🙂
Brittany
Amazing! I’m patiently awaiting the bench tutorial to do in my entryway 🙂
Erica @ Dwell Beautiful
Oh this is too cute! Looks exactly like something you could get from a high end store. And it works so perfectly in your laundry room! Can I just go live in that space, please??
Cristy @ W. Collective Interiors
I love this! I have a basket like this I bought from target, but they only came in one color. So this would be a great solution if I want to add more in different colors.
Amy | Canary Street
This is gorgeous, Bre! I have some baskets in my closet that I’ve had for ages and the original fabric is hideous. I’m stealing this idea to update them :).