Ever since I saw my first wood slat wall treatment I knew I had to have one in our house. Once I started planning the playroom, I found the perfect spot to put one (actually two!). Today I’m going to give you all the details on how we installed our DIY Wood Slat Walls.
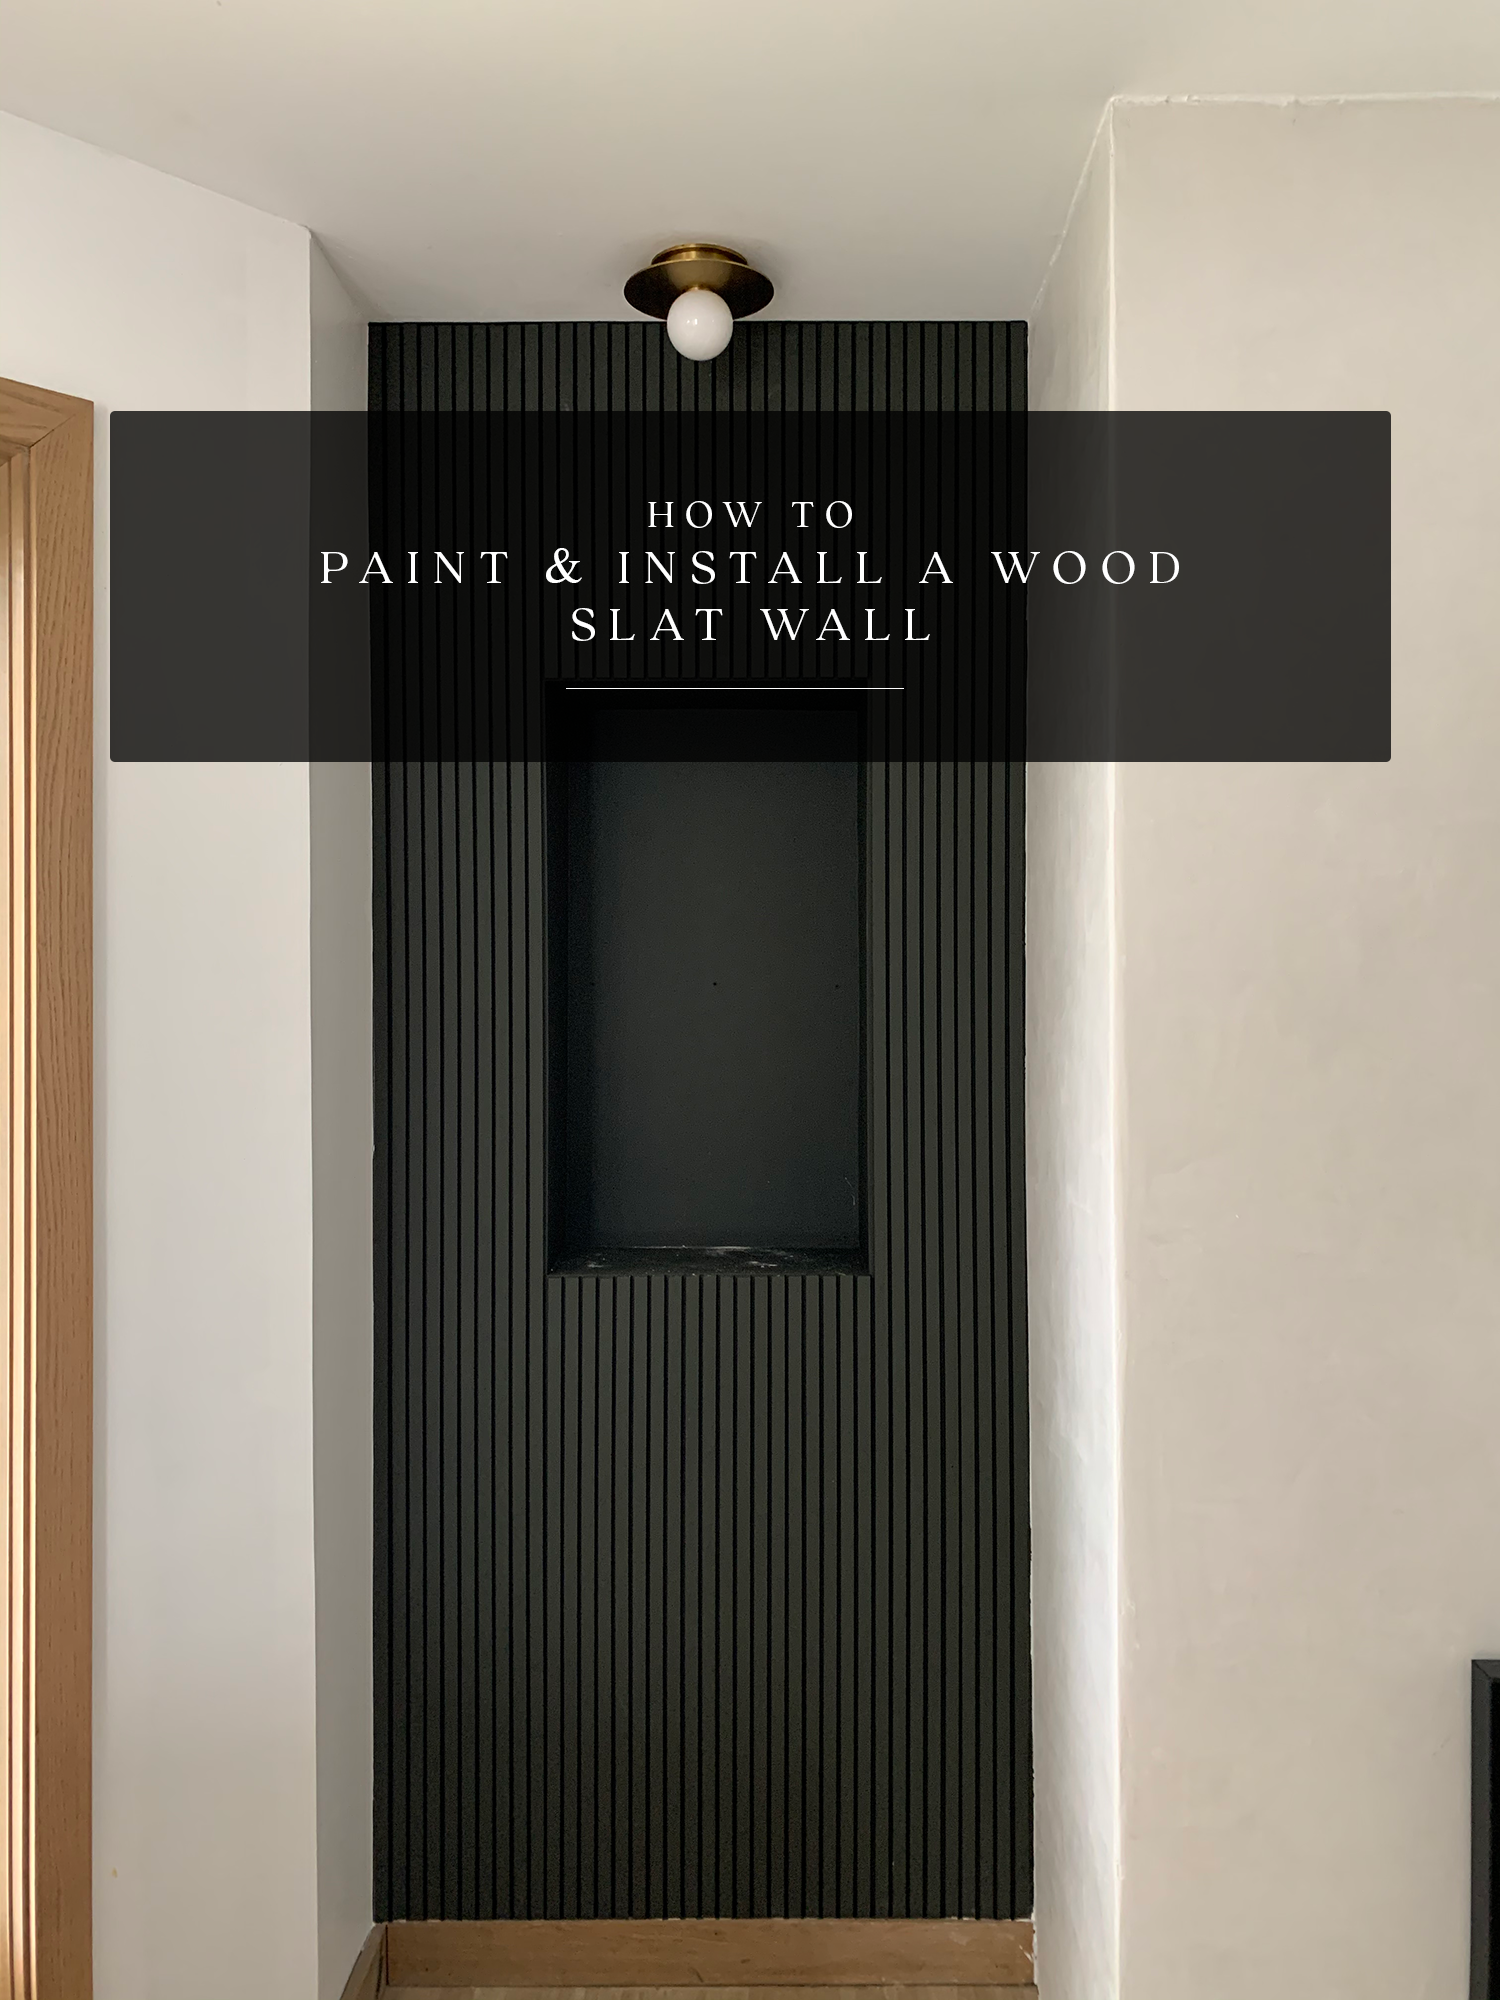
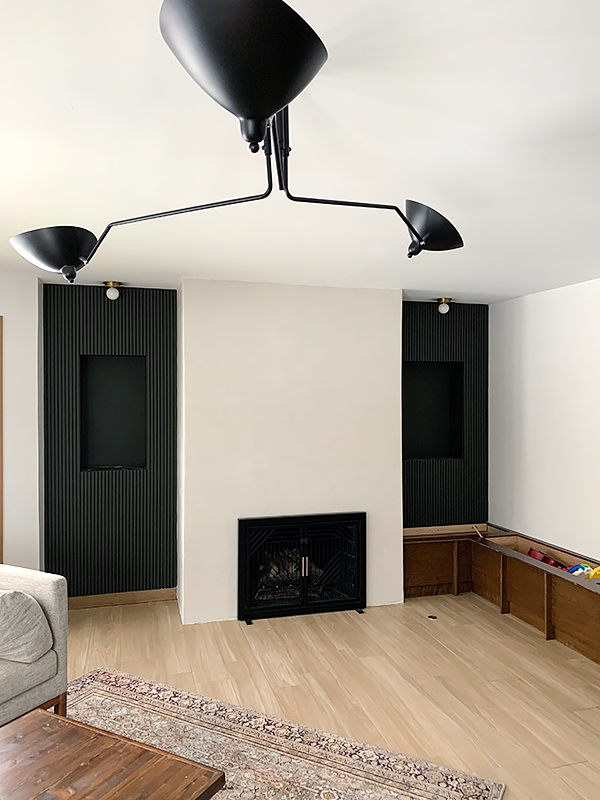
After we finished the fireplace makeover, it was time to start thinking about the walls on either side. Since we went smooth and light on the fireplace, I thought it would be a good contrast to add something with a little more dimension and color. Adding vertical wood slats would not only make these small spaces seem bigger, but add another element of visual interest.
SUPPLIES FOR INSTALLING A WOOD SLAT WALL
- slats – we used 1/2″ x 3/4″ poplar
- nail gun
- liquid nails
- spackle
- paint (or stain)
- caulk
The first thing we needed to do was figure out the type of wood we were going to use. Home Depot and Lowe’s didn’t carry anything in the size I wanted. We could have bought sheets of MDF and cut them into strips on the table saw but we wanted something a little easier and ready to go.
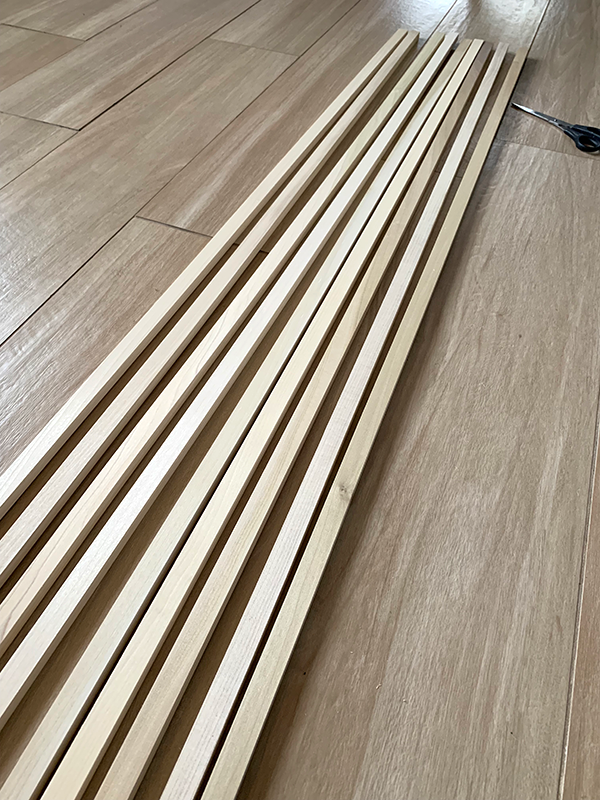
So we went to our local lumber yard, Baird Brothers, and found some slats that were 1/2″ thick and 3/4″ wide. We decided to go with poplar because it was the cheapest and since I was painting them I didn’t need a better quality wood.
HOW TO INSTALL A WOOD SLAT WALL
Step 1
Cut your slats to the proper length for your wall. I used our mitre saw to do this.
Step 2
If you’re going to paint them like we did, then you’ll want to paint your wall they will be going on first. After that, I highly suggest painting your slats FIRST before hanging them.
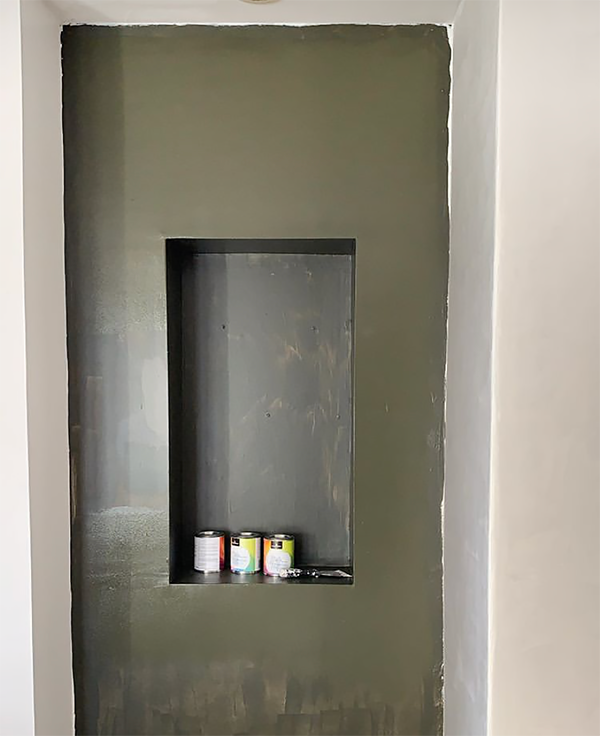
We did not do this and it caused all sorts of problems later on haha. So save yourself the trouble and paint them first. Or at least paint the sides.
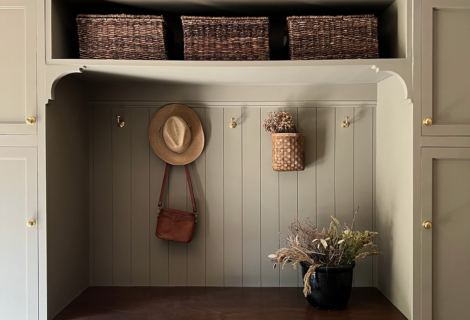
I went with the color Andiron by Sherwin Williams.
Step 3
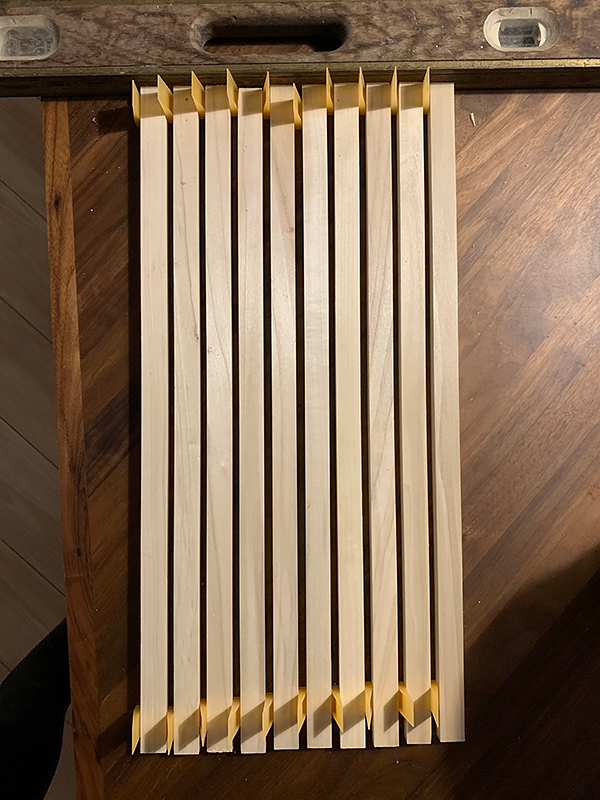
Figure out your spacing. We used some of my FIL’s tile spacers to get an idea of how it would look before hanging. We ended up using 1/4″ spacers.
Step 4
Apply some liquid nails to the back of your first slat and place it on the wall. Use a level to make sure this first one is straight and then the rest should be straight as well.
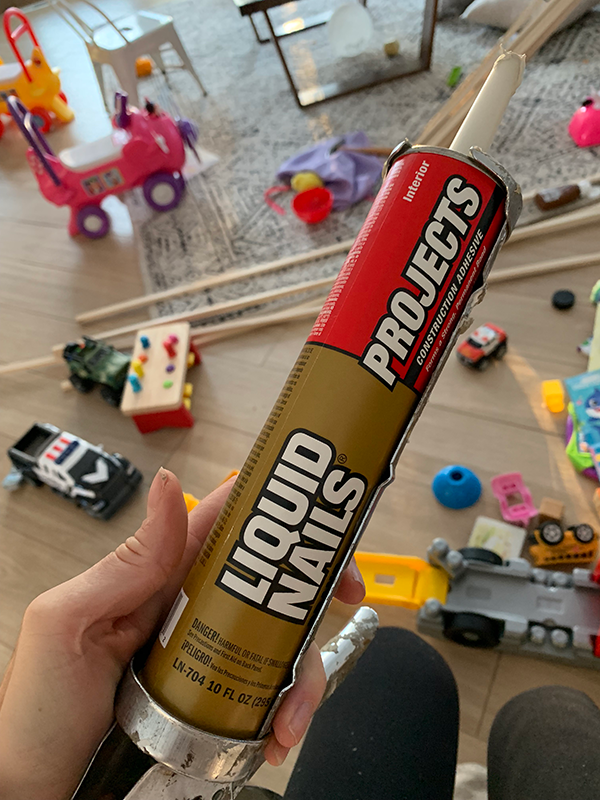
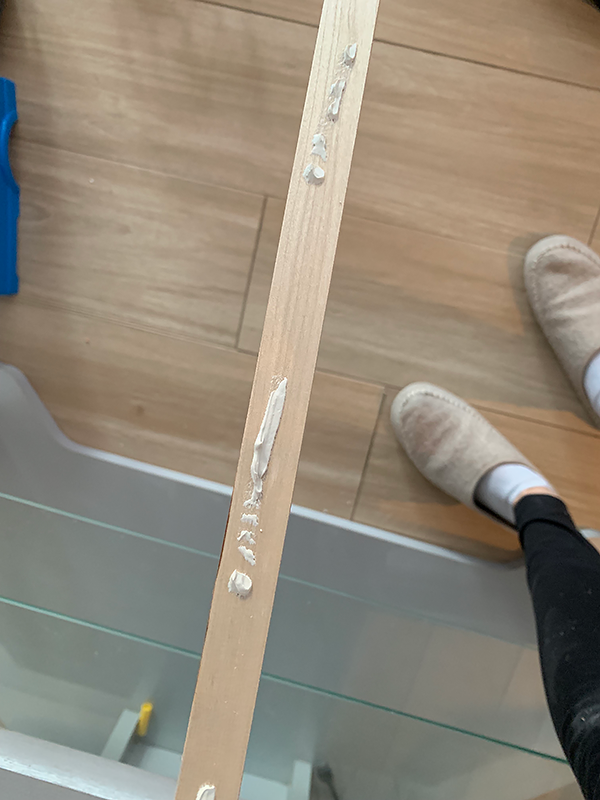
We started in the middle because of the cubbies. We wanted to make sure they fell straight along each side of the cubby without too much overlap. If your wall doesn’t have any obstacles then I would just pick a side and start from there.
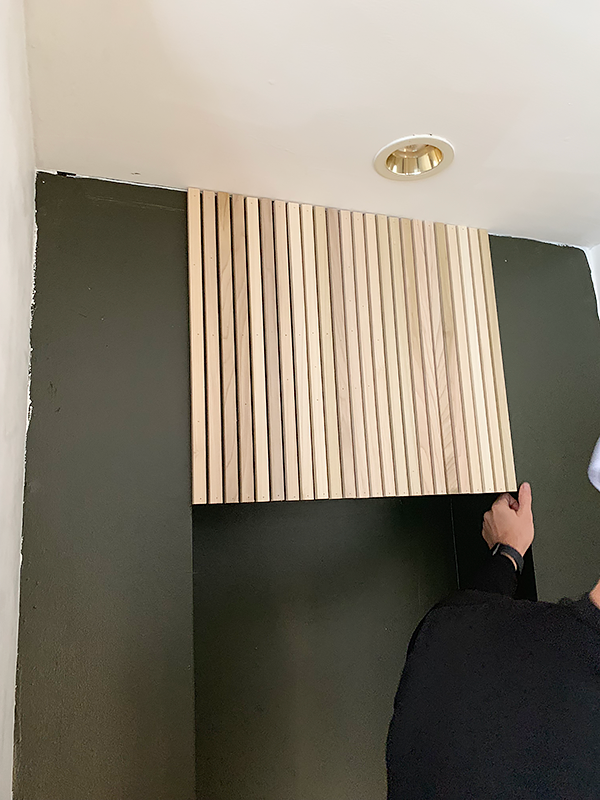
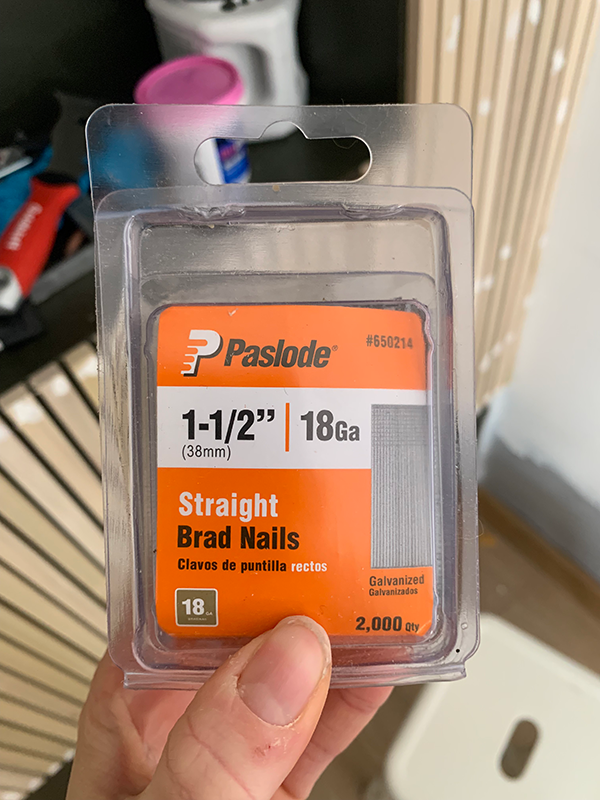
Once you’ve got your first slat level, then nail it into the wall with your nail gun using small brad nails.
Step 5
Continue installing the rest of your slats. What made it easy for us, was placing a spacer at the top near the ceiling, shooting in a nail, and then sliding the spacer down a couple feet and then shooting in another nail. Continuing this all the way down to the floor gave us perfect 1/4″ space all the way from top to bottom.
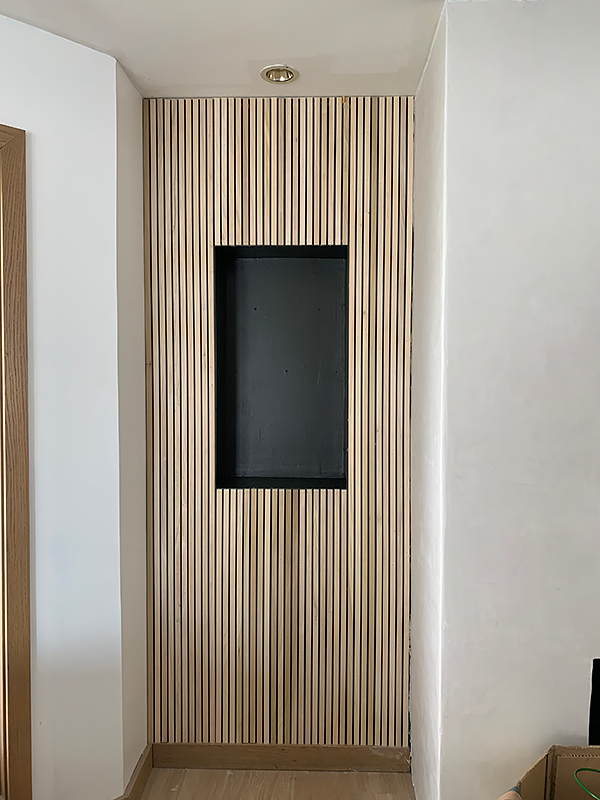
Step 6
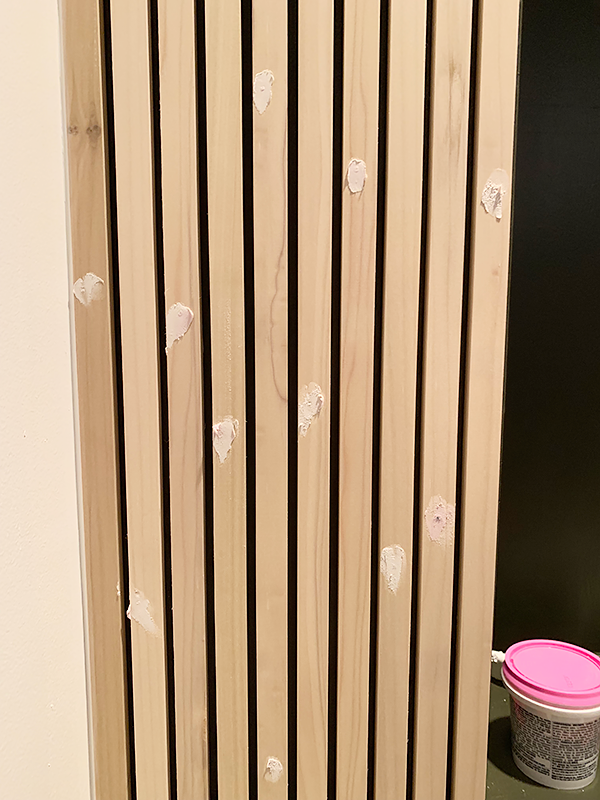
Once all your slats are up, you’ll want to fill in the nail holes. I love this spackle because it goes on pink and when it’s dry it turns white.
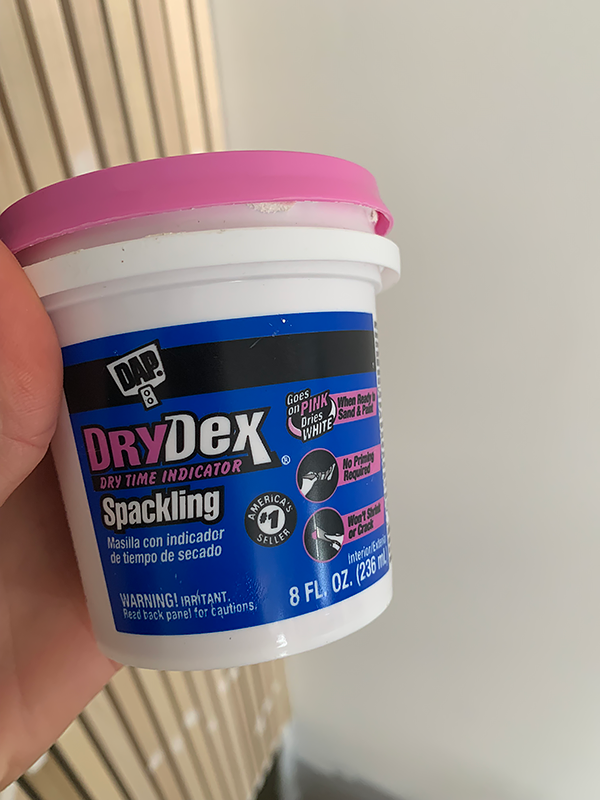
Once it’s dry, sand down all the holes with some medium grit sand paper.
Step 7
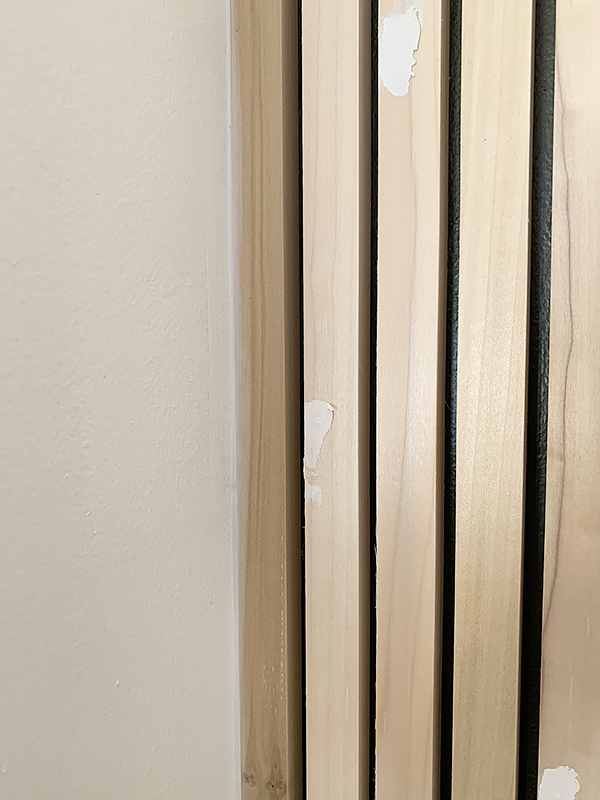
Caulk your edges. Chances are, your slats wont fill your space completely evenly. So you can use some caulk to fill in any space between the slats and your walls, or the ceiling.
Step 8
This is when we painted. I decided to use a paint sprayer and thought it would do the trick and get in all the cracks. Nope. Sure didn’t.
Painting with a sprayer is great and usually saves time – it just didn’t get into the cracks like I needed it to.
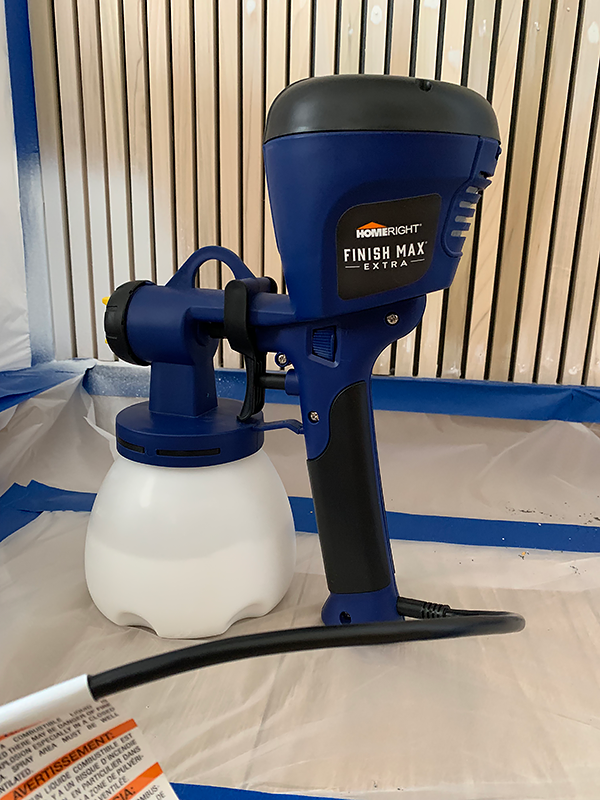
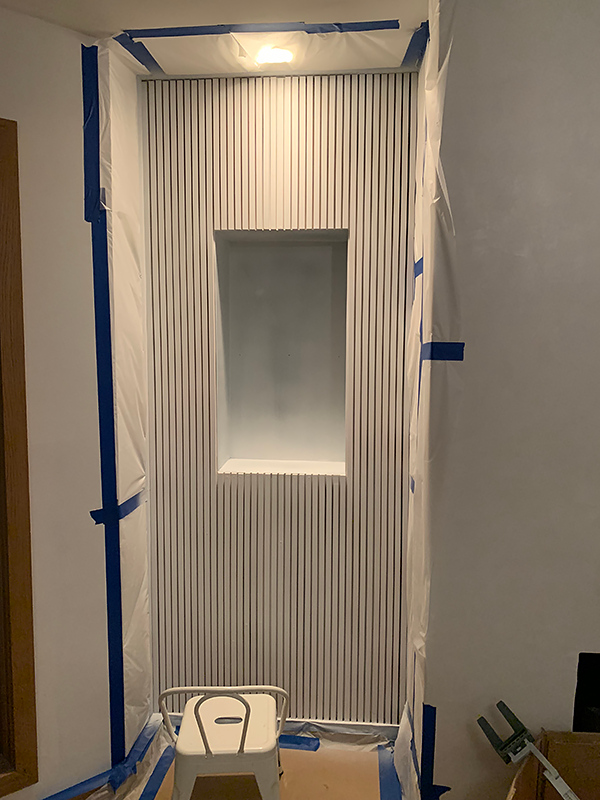
I primed first, and couldn’t really tell, but after spraying on the green paint, I could immediately tell that the sides of the slats were not getting any paint on them.
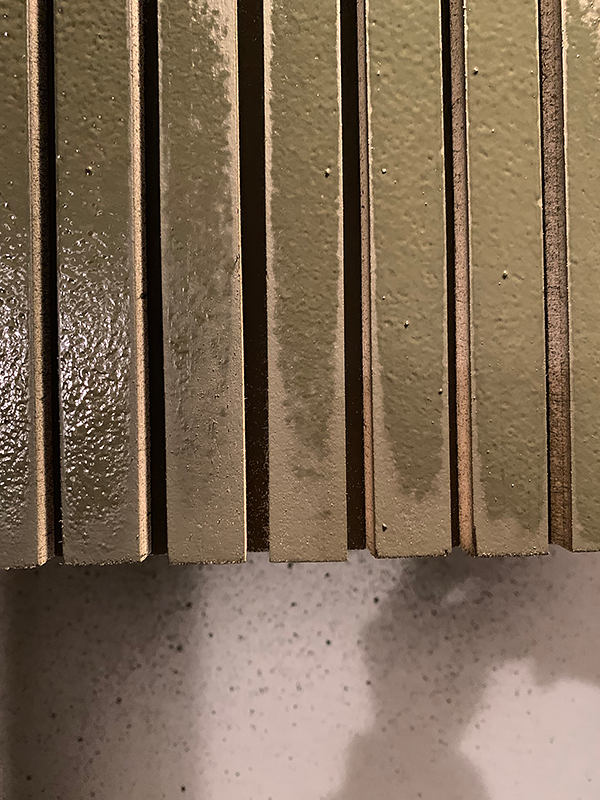
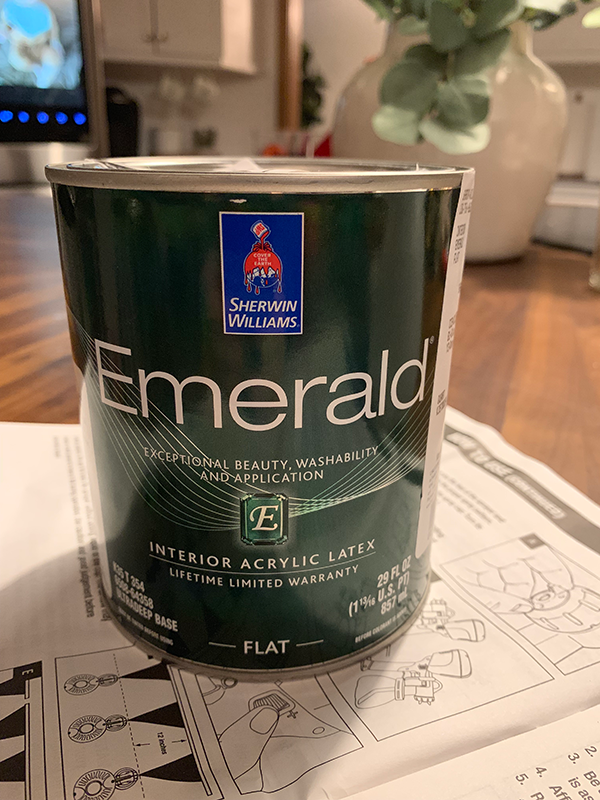
I used Emerald paint from Sherwin Williams which I did love – it’s self leveling so you can see how it kind of went on rough but dried completely smooth.
Unfortunately for me, I had to go back through with a small paint brush and paint in between ALL the slats. That was super fun. I don’t recommend it ha.
Step 9
Another issue we also ran into, was that I didn’t cut all the slats at exactly the same length. They were very close, but we made sure they were resting flat on our base trim, so at the top they were all a little different.
I tested out some different trim options but at the end of the day, I didn’t love any of them and felt that they took away from the design of the slats.
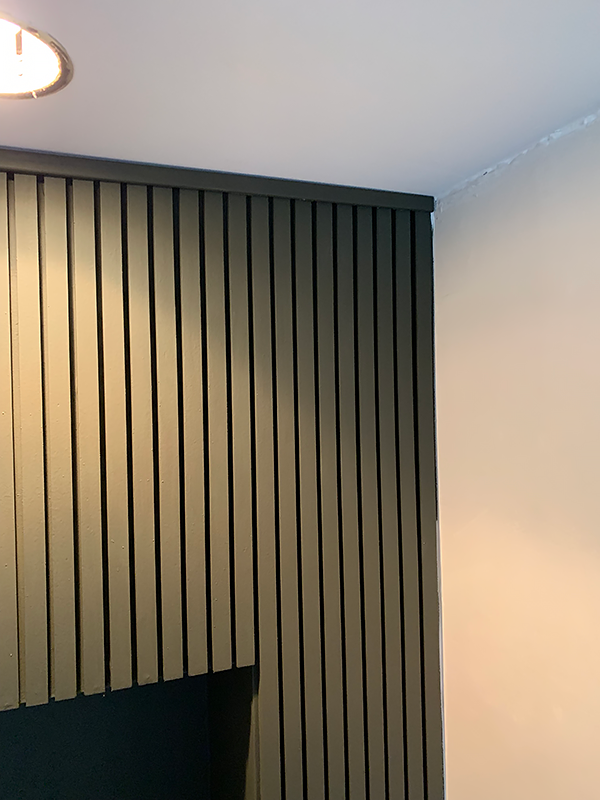
Thankfully, an instagram follower suggested a trick that worked perfectly.
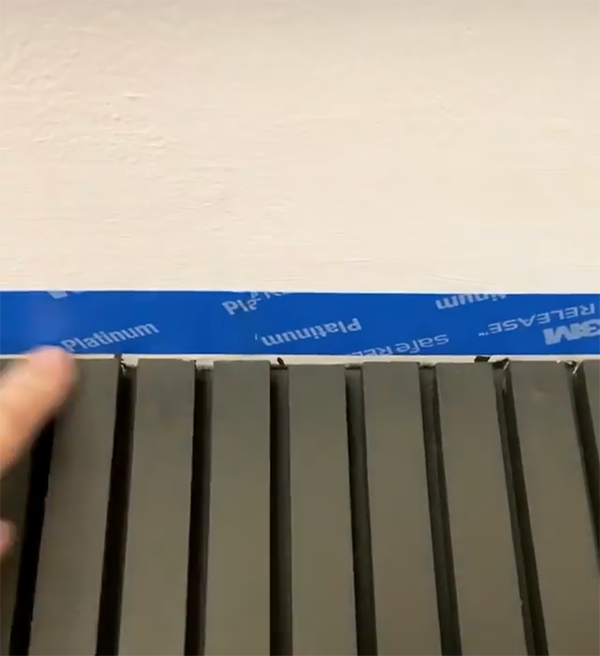
I used some painters tape and taped along the ceiling following the edge of the slats. Then I painted behind it, to essentially trick the eye into thinking that the slats went all the way up to the ceiling. Genius!
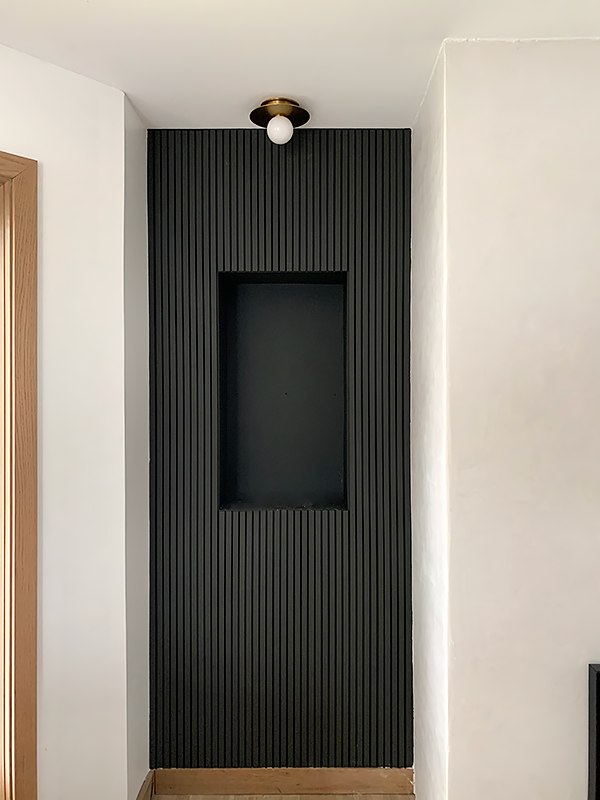
Not painting our slats first definitely caused some issues for us, but we pushed through and figured things out. I’m obsessed with how they turned out and love the added dimension and texture they add to the space, especially next to the fireplace.
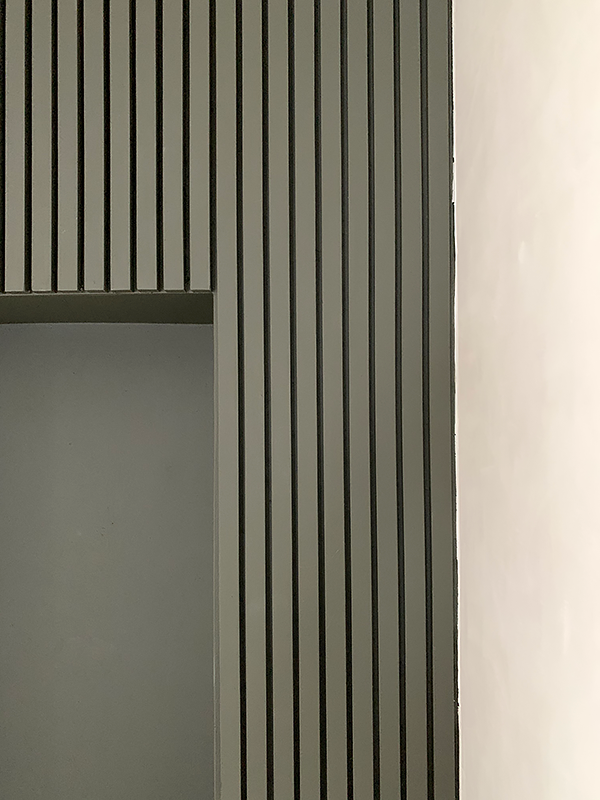
If you were staining them instead, I would still suggest finishing them before hanging them up.
We’re planning to put some floating shelves in the cubbies on either side which will finish the look, but this is where we’re at right now!
I hope this tutorial on how to install and Paint a DIY Wood Slat Wall was helpful if you ever want to do one yourself!






Divegirl
WOW! What a bunch of great information. Thanks for taking your time to sharing this.
Herick Rodriguez
Looks great
Sabrina L
Great post How much did this project end up costing you?
Alberta Smith
These are awesome ideas! Thank you for compiling all of them into an article. I love the information you’ve taken the time to share. I am always looking for new blogs to follow and I totally find this article very useful! I am looking forward to reading more of your blogs.
Check out our online website – Casagear that provides home decor and furniture at reasonable prices and dedicated customer service.
https://casagear.com/
pool guides
Thank you very much that is really a nice post.
Wedgitti
I am glad to meet you. An excellent site. I learned a lot of useful and new things.????????????
Thomas
Hi. Great work! If stained, would the nails be too visable you think? Or barely noticable? Wondering if I need to nail them to a board (from behind) and then put up. Thanks!
anastasia
awesome…so great. This wood slat wall is simple, but give me a high level feeling. Thank you for sharing the steps.
David Stuart
Hey Bre,
It came out really good and really shows the effort it took to transform this area. although, it would be really great if your could find some decorative pieces to place in that empty slot. I’ve got some really great finds, follow the link. https://casagear.com/collections/decorative-accessories