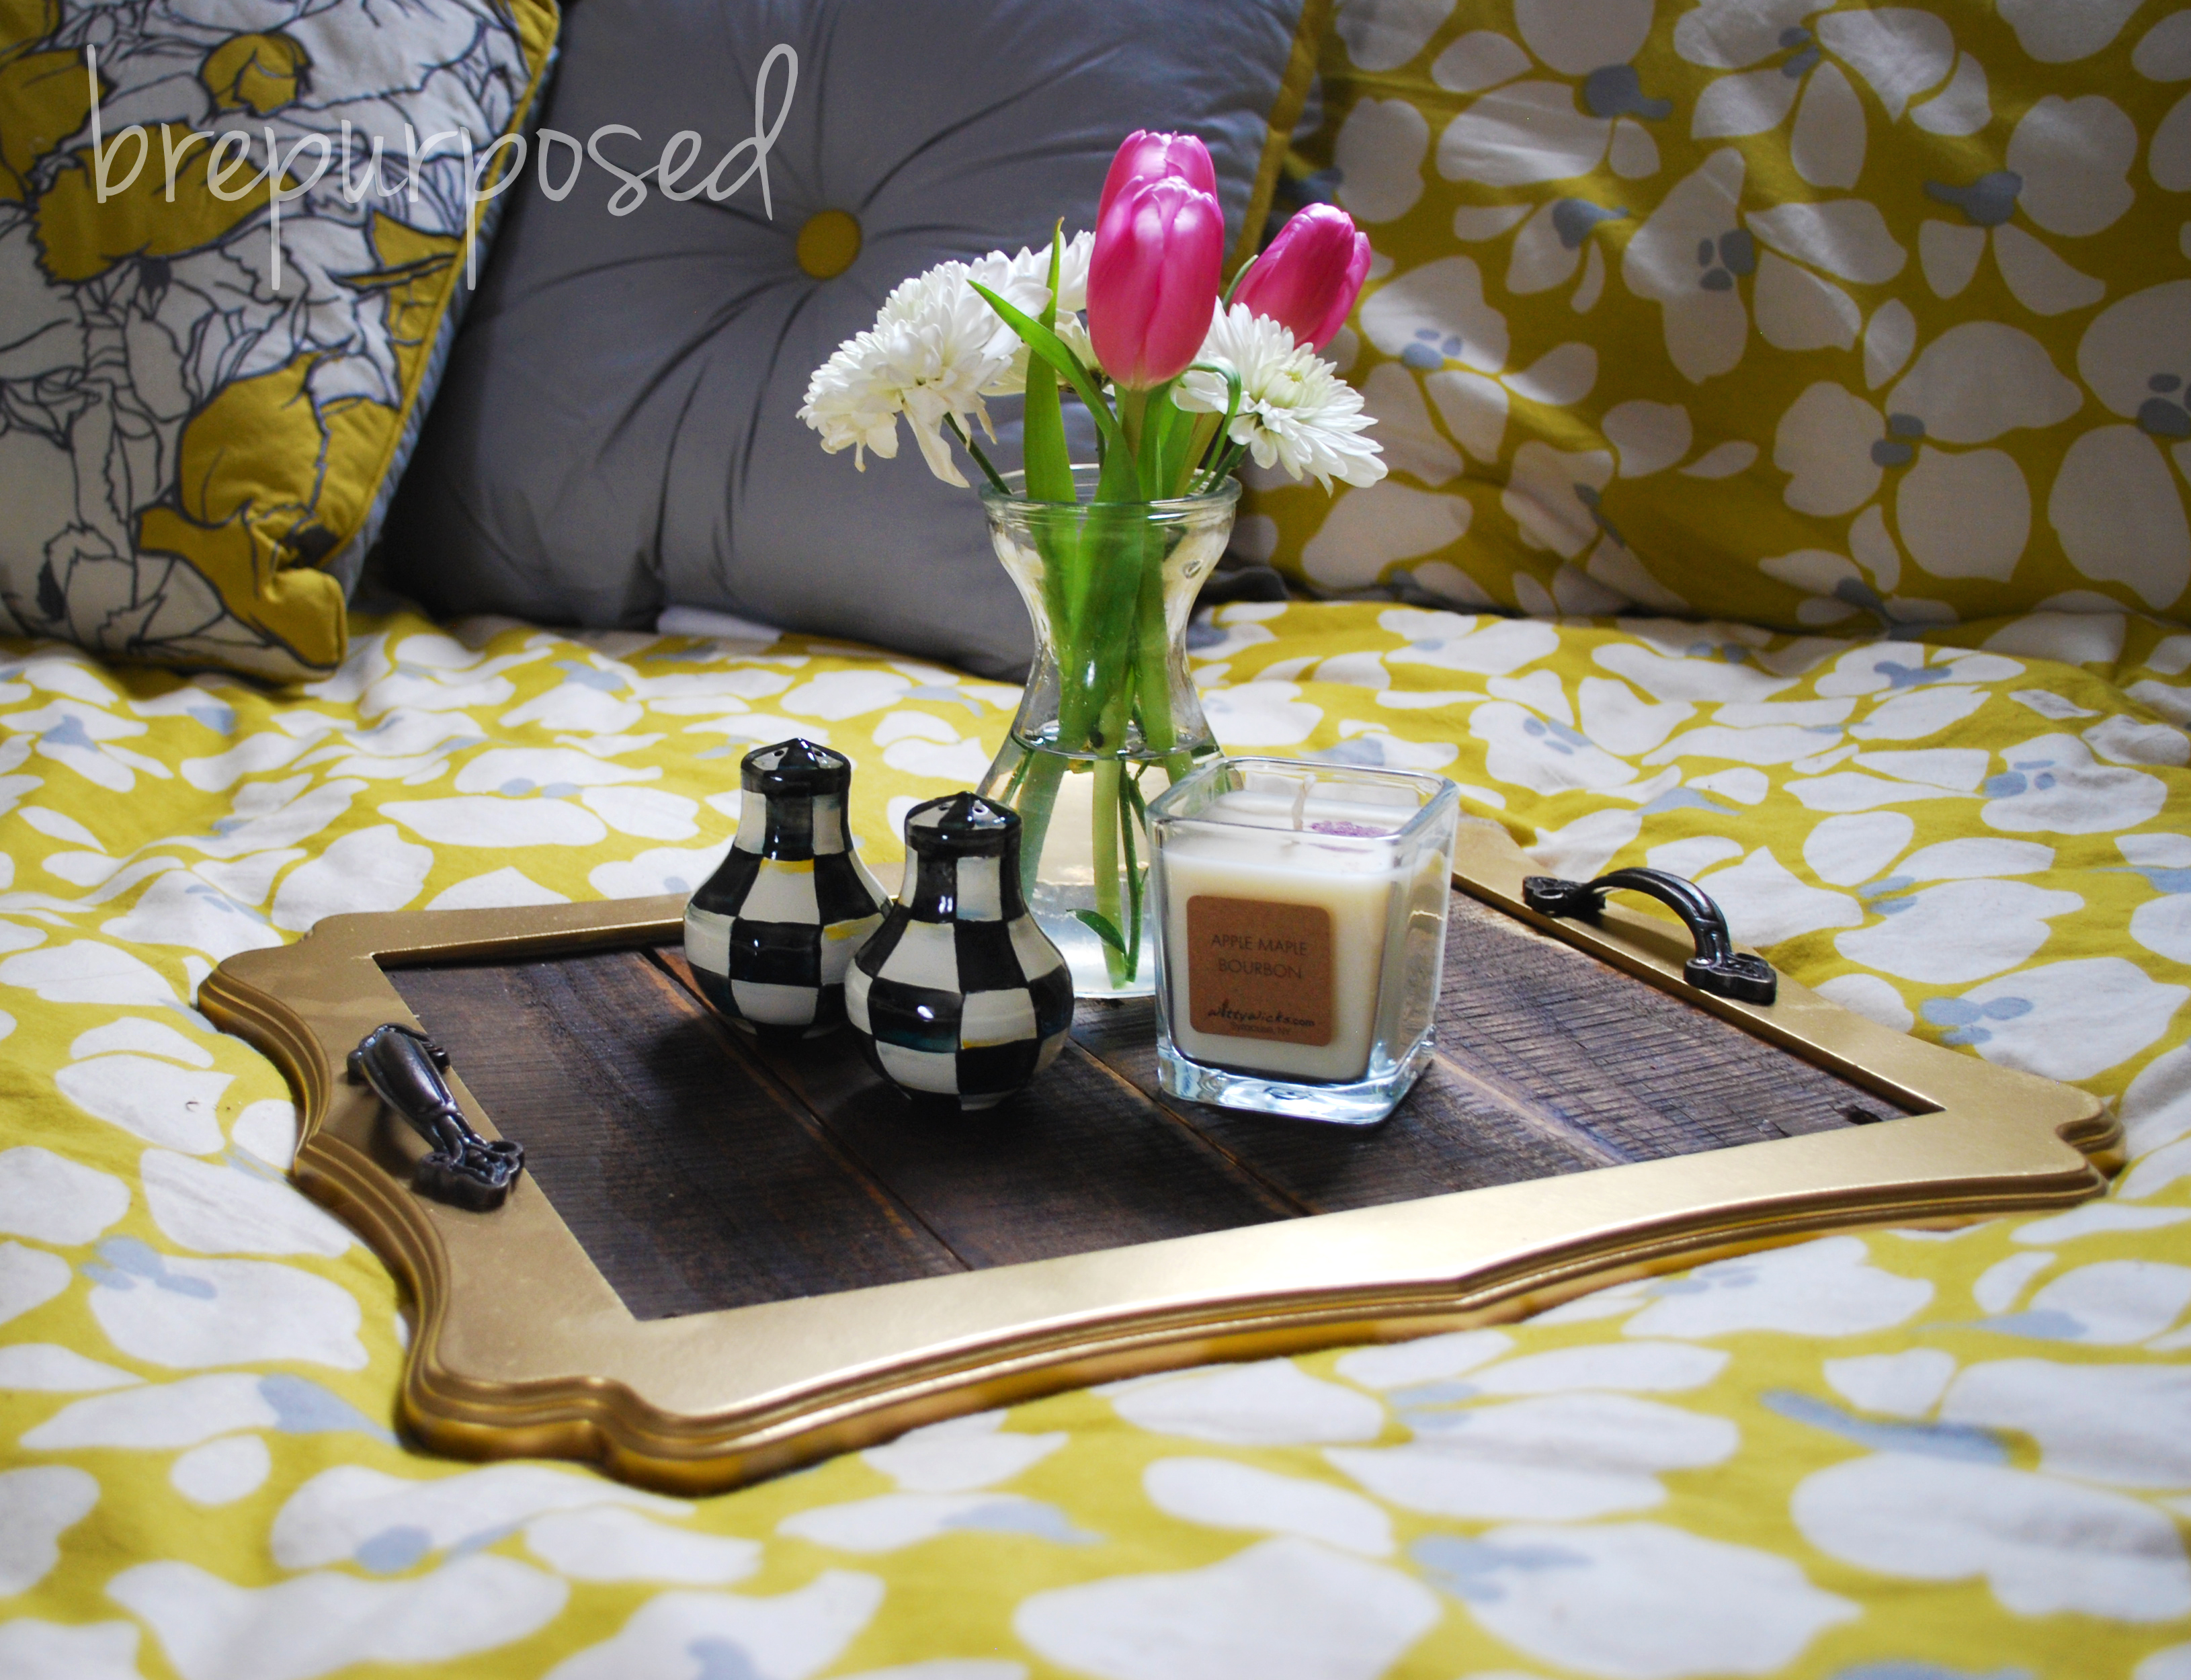
I saw the most beautiful thing on the side of the road last week when I was driving home from work. A free pallet board! I think I nearly got in an accident as I quickly took the next right to turn around and scoop that sucker up. It was in great condition and that made me even happier. Now, what the heck was I going to make with it? After a recent trip to Targe, I spotted some really cool serving trays and decided to make a Pallet Board Serving Tray!
 I don’t know about you but I’m IN LOVE with that Nate Berkus tray. I was determined to hack that baby, but tracking down gold mirror seemed to be a little trickier than I thought. I’ll save that for another day 🙂 The Wood Serving Tray got me thinking though and that’s where my main inspiration came from.
SUPPLIES:
–> 4 pieces of scrap wood, cut to size
–> empty frame
–> wood glue
–> sandpaper
–> Stain in your choice of color
–> Polyurethane
–> Hardware (optional)
Here’s my pallet board before I started taking it apart: I’ve never really worked with a pallet board before so this was all new to me. The hubs helped me start taking the individual boards off, by using a hammer to pry them away from the center board and then pull out the nails. Sounds simple, but we were both sweating by the end. Once we got the boards off, we measured them to length.
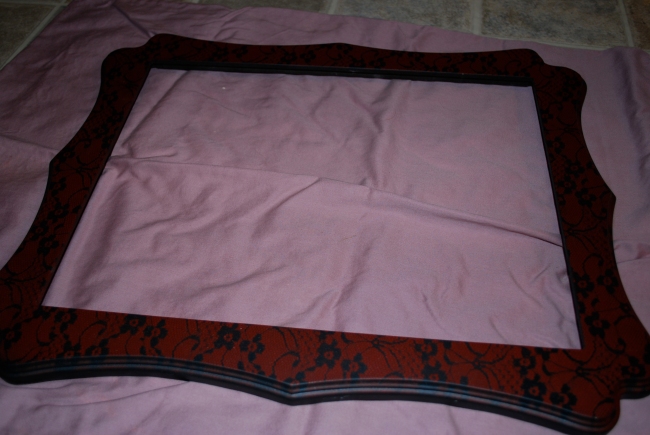
 I thought about what I wanted to make the outer part of and had a few ideas floating around. I was in Hobby Lobby (again) heading towards the clearance aisle when I spotted a “90% off” sign from a distance. Power walking like a maniac to get over there is the most exercise I’ve gotten in a while ha. I was so excited to see what treasures I could find! There were tons of these empty frames without backs in a bunch of different sizes, which I actually thought were light switch covers at first. They had the perfect little ledge on the back for my wood to rest on and I knew it would work great. Even better was the price tag: originally $39.99, it was on sale for $3.99, SCORE! The design on it wasn’t much to admire, but I planned on spray painting it anyway.
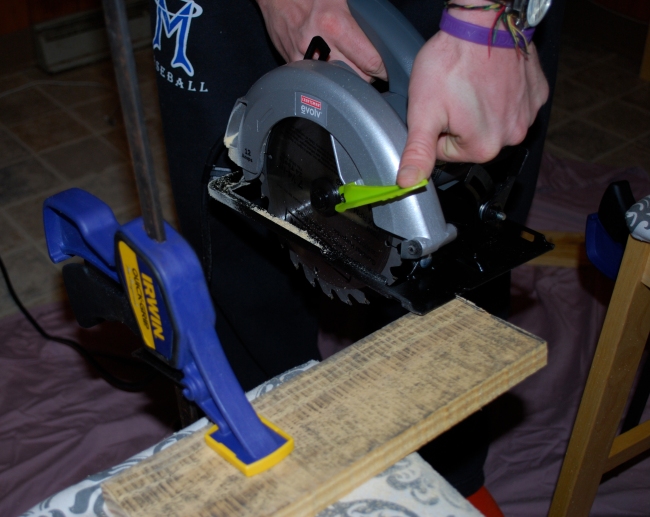
 Now onto cutting the wood. Time for some power tools, yay! My hubs got me a circular saw for Christmas and this was going to be the first time I used it. Yes, it is meant to be used on a table, but we’re a little ghetto and the cuts we were making weren’t very long, so we freehanded it. We clamped the boards down (yes those are our kitchen chairs and we are doing this in our kitchen, don’t judge) 🙂
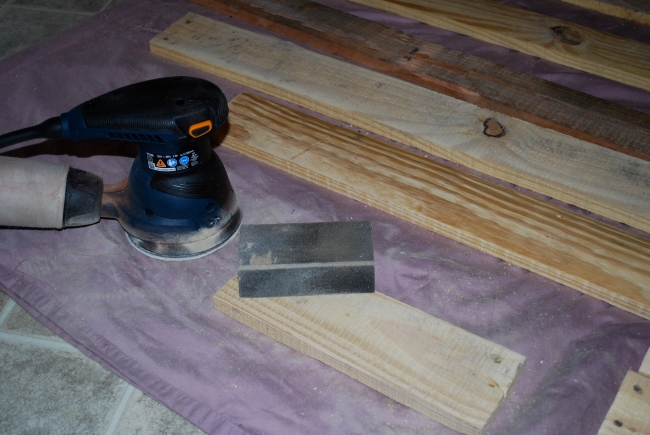
I had hubs do the first one so he could show me how to use it. I admit, I was a little nervous and this thing has a lot of power behind it. I think the loud noise scared me more than anything, and it definitely scared Oaks! Once the pieces were cut, I sanded them down using my orbital sander first, and then a sanding wedge.
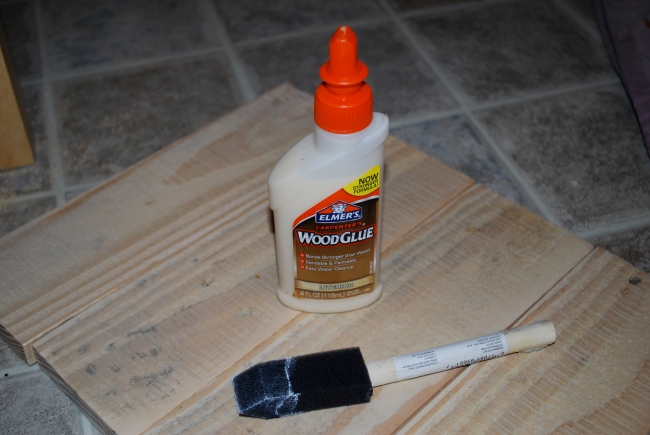
Once sanded, I glued the four pieces together using Elmer’s Wood Glue and a foam brush.
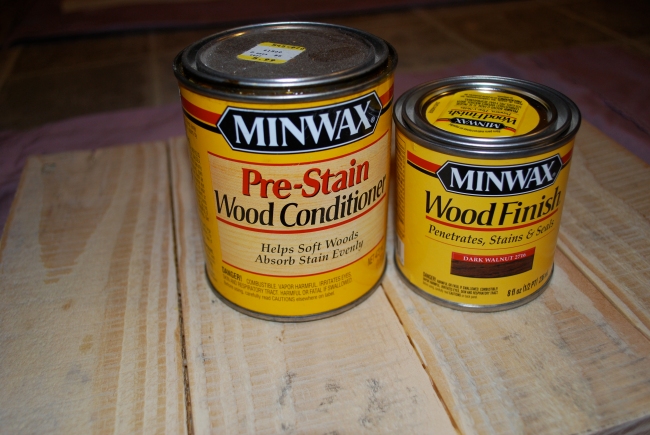
Next up was staining. I used some Pre-Stain Conditioner just to ensure smooth coverage. You really only need to use it on soft woods like Pine, but I had it laying around and it doesn’t hurt if you do use it. I went with Dark Walnut for the stain color, which I love. I let the stain dry overnight before applying the Polyurethane.
For my frame, I used Rust-Oleum’s Bright Metallic. A couple coats was all it needed.
Once both pieces were fully dried, it was time to attach them. I used my Elmer’s wood glue again, and applied it along the ledge on the back of the frame. I put some paint cans and a heavy slab of wood I had laying around on top to help apply pressure and get the glue to stick better.
I thought about leaving it as is, but I love how hardware can add some extra umphh to a piece, don’t you?!
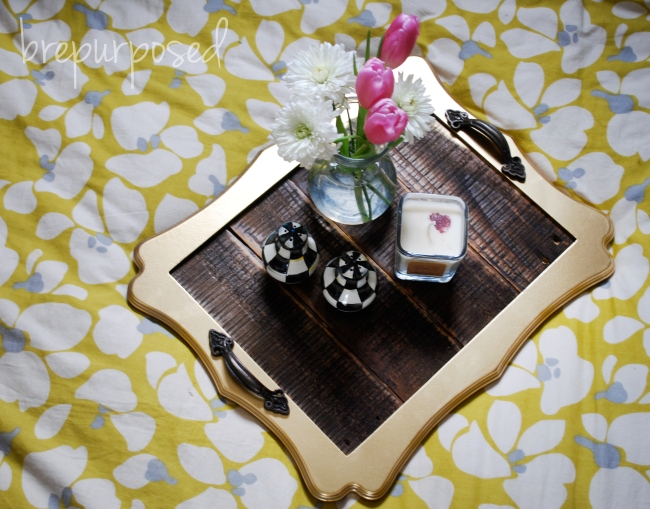
And there you have it! A simple DIY serving tray made out of pallet boards. The only thing I bought for this project was the hardware which was $3 total and the frame which was $3.99. I’d say that’s a pretty budget friendly weekend project. Hope you enjoyed!
I’m learning about link parties and I’m trying out my first one. Let’s see if this works!










Randolph Hoover
It seems nice how the project consisted of very simple and cheap raw materials. Definitely trying this, thanks brepurposed
Wangu
Oh my g I can´t believe how beautiful this tray is! I have to do this very soon. I love it to bits!!
brepurposed
you’re so sweet! and you should, it’s so easy!
Alison Agnew (@Nancherrrow)
Such a fun project and it looks so pretty! Would love for you to share at Fridays Unfolded!
Alison
Nancherrow
brepurposed
Thanks, Alison! I’ll definitely be sure to share 🙂
Heather Smith {Woods of Bell Trees}
How cute! What a steal for $3.99! Love this! I need a new tray putting this on my list!
brepurposed
Thanks, Heather! Such a cheap and easy project 🙂
Katie @ Upcycled Treasures
I love how you pulled inspiration from both pieces and created a unique tray, which is awesome by the way! Thanks for sharing at The Makers!
brepurposed
Thanks, Katie!