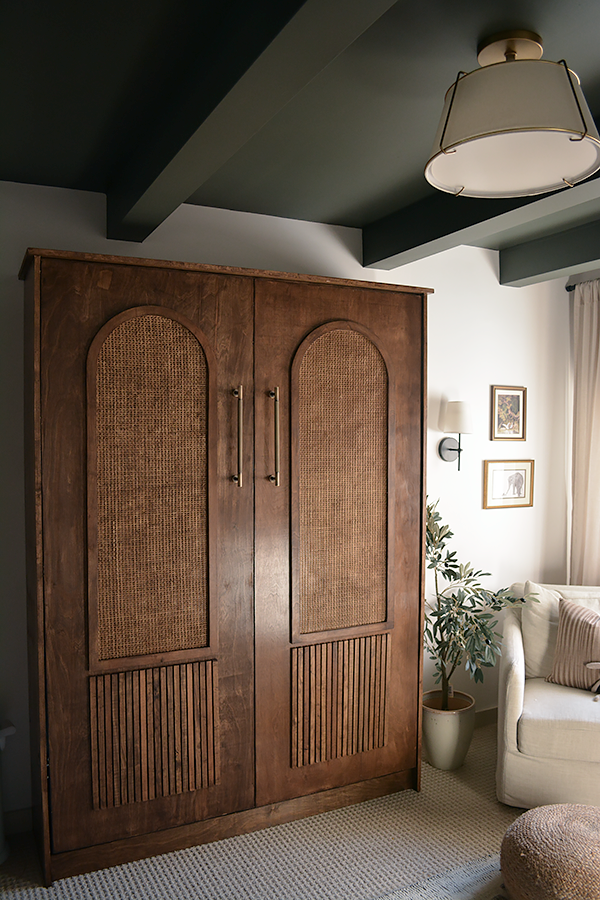
DIY MODERN MURPHY BED
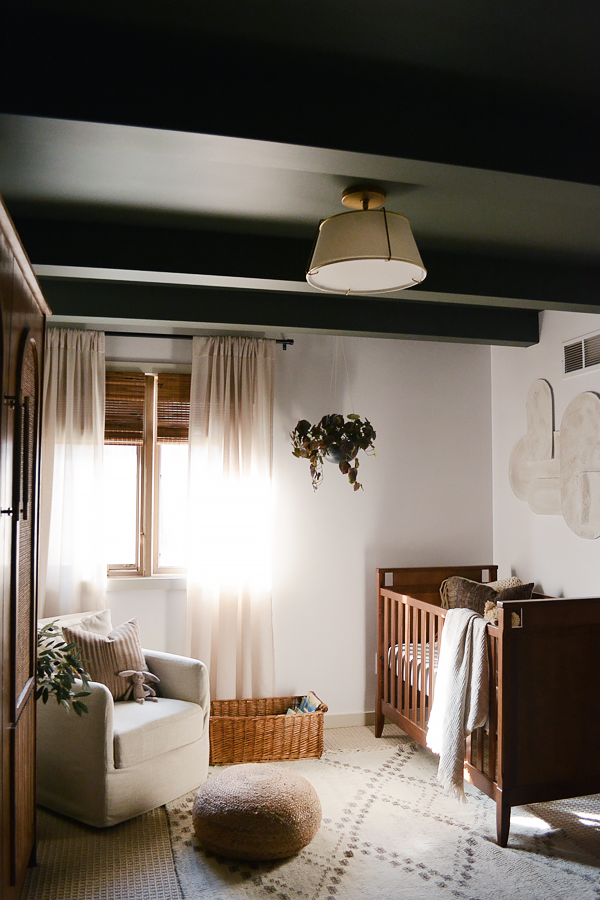
We made the decision to make Odelia’s nursery double as a guest room so my parents had a place to stay when they came to visit. The most practical way to do that was by building a Murphy Bed!

This was BY FAR the largest project we tackled in this space. There were a LOT of ups and downs, a big learning curve and lots of mistakes made, but we are SO proud of what we created. It’s everything I imagined it to be and MORE.
So today I’m going to walk you through, as best I can, all the steps we took to create this masterpiece.
BUY A MURPHY BED KIT
We definitely couldn’t have done this completely by scratch so thankfully we had a little help from Custom Woodworks MO. They sell Murphy bed kits you can buy which made things a lot easier!
They also build Murphy Beds, along with many other things, so if you aren’t feeling as fearless with your DIY skills, you can have them build it for you and send you the pieces to put together!
We decided to use their full sized bed kit which was roughly around $500. We didn’t want it taking up too much space, but it also needed to be big enough for my parents to sleep on!
THE CUT LIST
The kit comes with a cut list which is super easy to follow and tells you exactly what sizes to cut all your wood. You want to make sure you’re using furniture grade plywood and it’s recommended to use 3/4″ width. We used birch plywood.
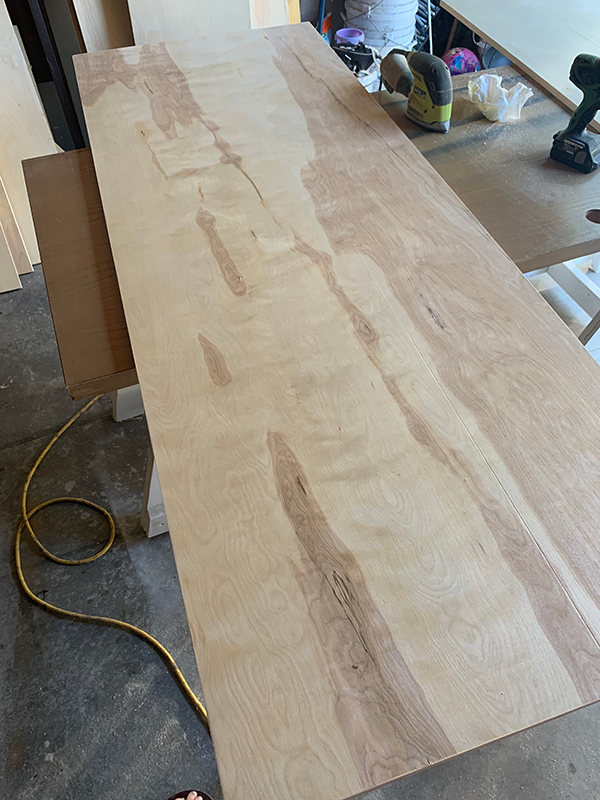
Full Size Murphy Bed Cut List
Face Panels (28 3⁄4″ x 77 5/16″) x 2
Sides (16″ x 82 1⁄4″) x 2
Headboard/Top (15″ x 58″) x 2
Back (6″ x 58″) x 1
Toe Kick (3 3⁄4″ x 58″) x 1
Optional stiffener (same measurements as toe kick)
Crown
Square/with slight overhang (16 3⁄4″ x 61″) x 1
or
Traditional/requires crown molding around 3 sides (16″ x 59 1⁄2″) x 1
Once you have all your pieces of wood cut, you’ll want to edge band them for a cleaner look. Even if you’re painting your wood, it’s still a good idea to cover up those ugly edges and give your piece a more professional look.
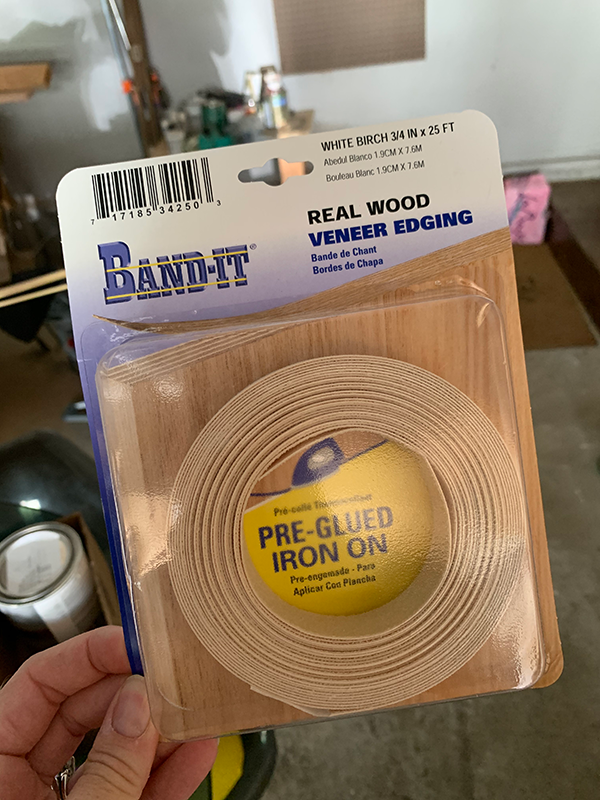
If you’ve never used edge banding before, it’s one of my favorite things! Plywood is a great option for a lot of wood working projects because it’s affordable, but it’s made from different layers of wood so the raw edge isn’t the prettiest.
It has heat activated glue on it, so all you do is put in place on the edge of your plywood, and use a hot iron to press it on. Be sure to measure out the length you need first – you can cut it easily with scissors.
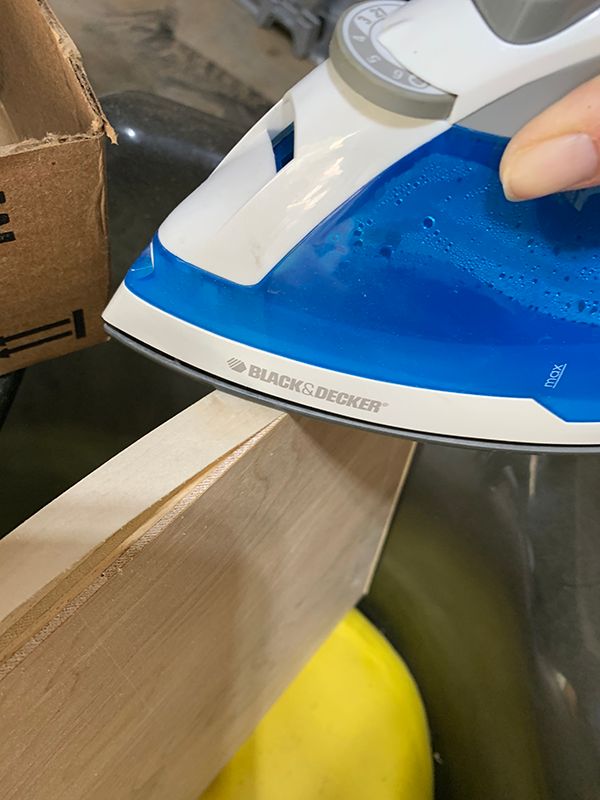
I like to hold the iron in one spot for about 10 seconds and then move on to the next. After you’ve ironed the whole piece on, take another piece of wood or something firm and rub it all the way across the edge banding with firm pressure to ensure that it’s fully adhered.
I cut individual pieces for each side of the plywood – you don’t need to try and fold it over the corners because it will just break. Just try and measure each piece so it’s as close to the corner as possible.
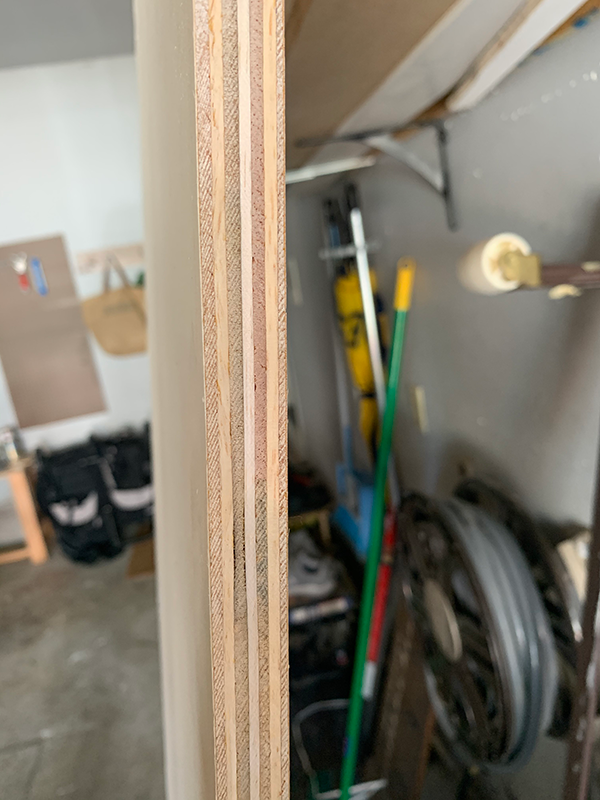
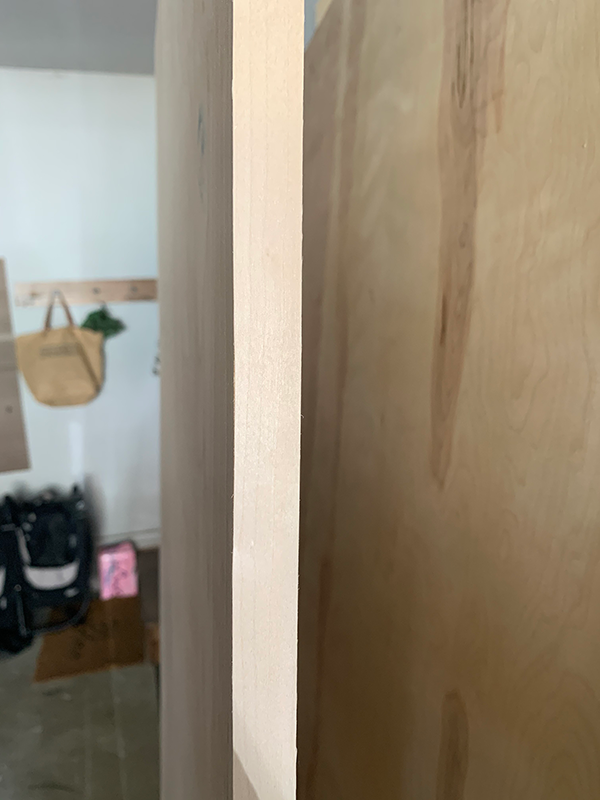
Even though the plywood is 3/4″ and the edge banding is 3/4″ I find that it’s always a little bit wider. It leaves a tiny lip but to get rid of that I just use my hand held sander and smooth it down until the edge banding is completely flush with the plywood.
STAINING THE MURPHY BED
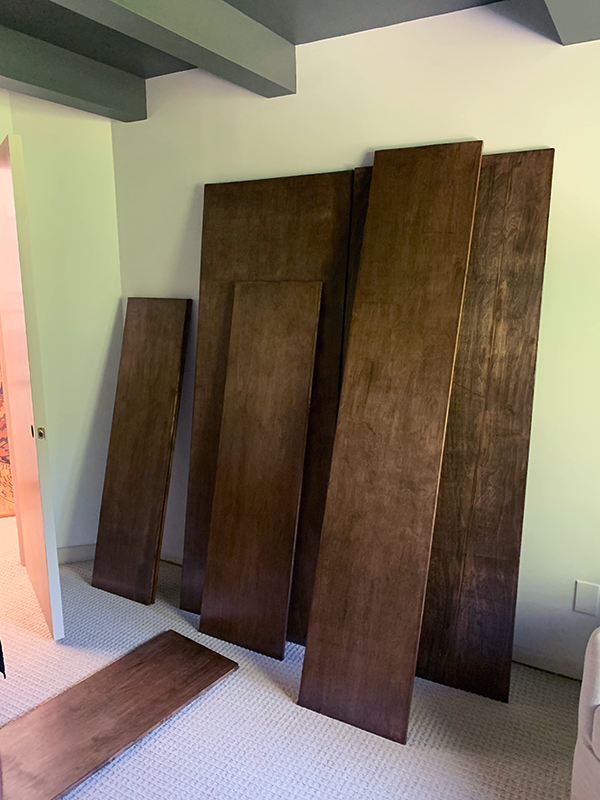
Once all the pieces of wood were sanded and edge banded it was time to stain them! I’ve been using Varathane’s Dark Walnut Gel Stain on a ton of my projects lately so that’s what I chose for this too.
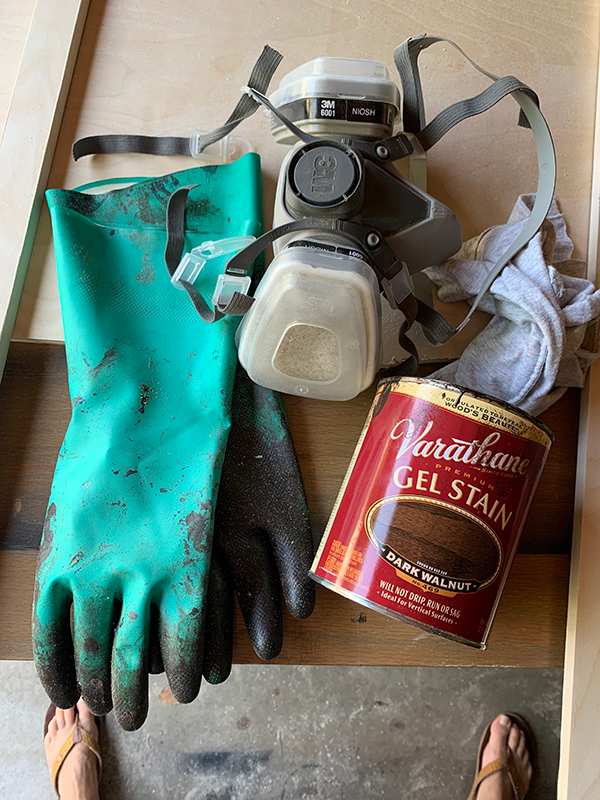
There are a lot of different opinions about whether or not you need to condition your wood before applying stain. Sometimes I do and sometimes I don’t. Honestly, I feel like it never makes a huge difference so I didn’t do it on these.
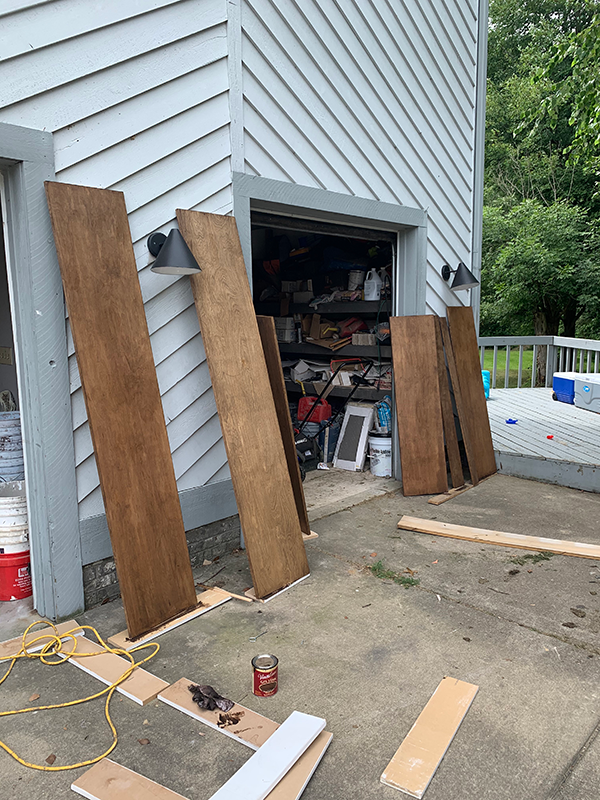
I gave each piece one coat of stain. I like using these staining pads – they hold the gel stain well and give you a nice even finish.
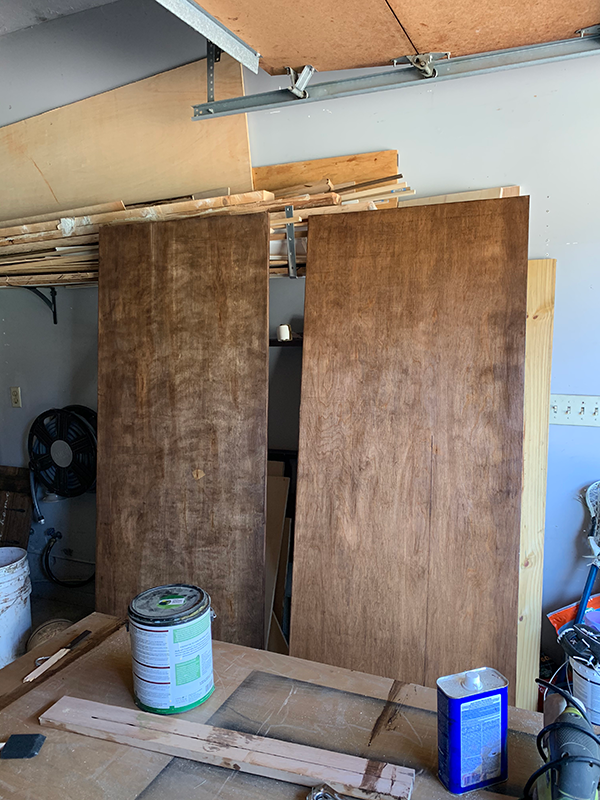
Once they were dry, I top coated them using Vermont Natural Coatings Poly Whey Furniture Finish in Satin. I’ve also been using this on all my wood projects lately and absolutely love it.
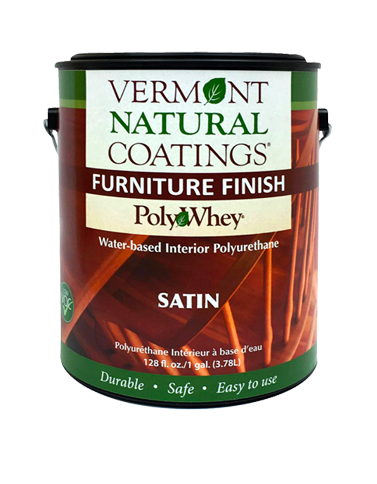
I used a 3″ wide black foam brush to apply it.
THE ARCHES
I had this vision for the Murphy Bed from the start which included cane and arches. I didn’t realize how difficult it would actually be to bring this vision to life, but Dan and I made it work and it was totally worth it.
Anytime I mention the word, arch, Dan gets nervous 😉 They aren’t the easiest thing in the world to make but let me tell you – he’s a pro now!
He started out by trying to use the jigsaw and it just wasn’t giving us the perfect curve that we wanted. Then I was told about Kristy from Benson Dwelling and the arch project she was working on. She built a sweet mirror using a circle guide kit – so off to Lowe’s Dan went to get one.
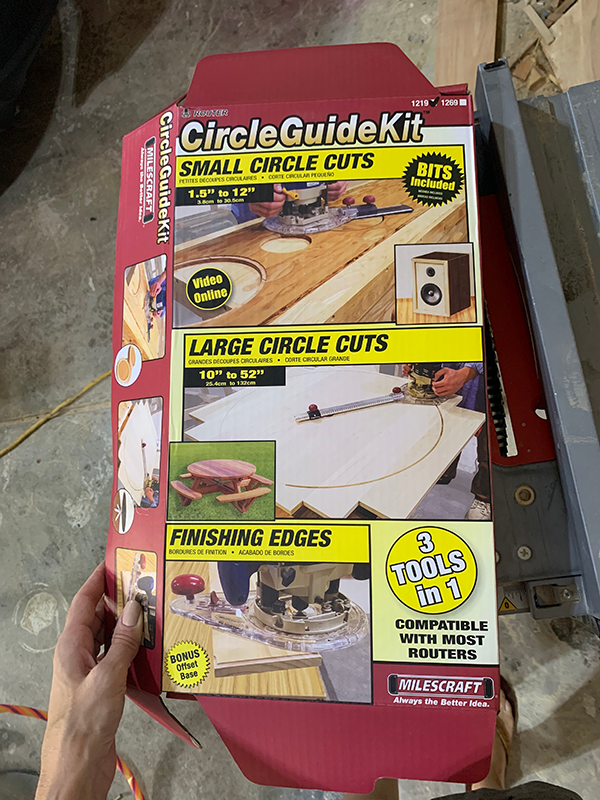
This tool hooks up to your router and allows you to make circles and arches. It’s pretty sweet. It has a bit of a learning curve, but once you figure it out it’s fairly straight forward to use.
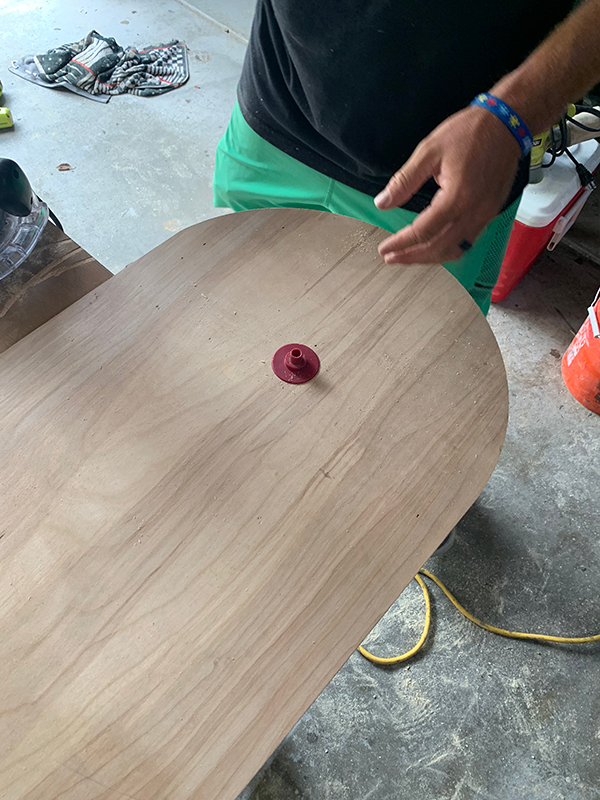
You basically screw a pivot point into the center of your wood which allows the router to easily move in a perfectly circular motion. We went through a few pieces of scrap wood first before Dan finally felt confident enough to make the final arches.
Making the outside arch was the easy part – it was making the inside arch that was trickier.
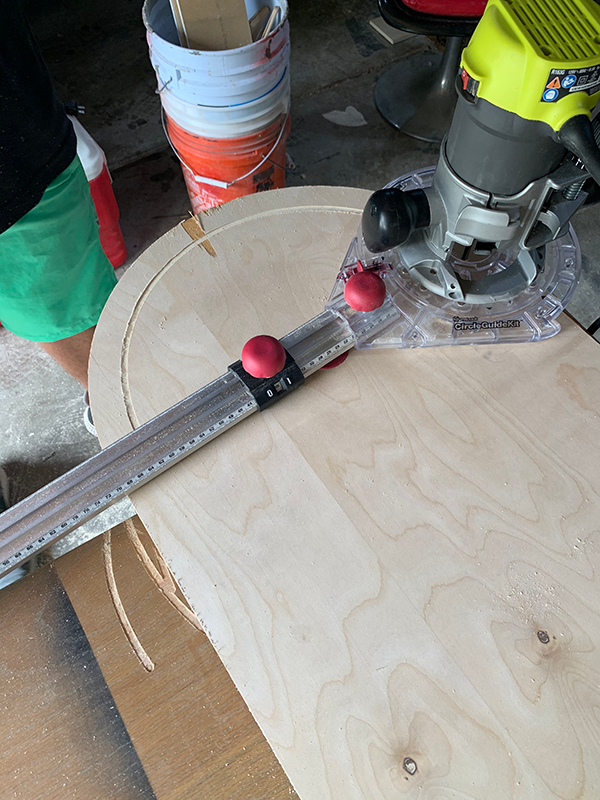
Once he had the initial arch done – then he cut the straight edge using the table saw. He did this by doing something called a drop in cut where you turn on your table saw first, then gently place the wood down on top of the blade so you can start a cut from the middle of a piece of wood.
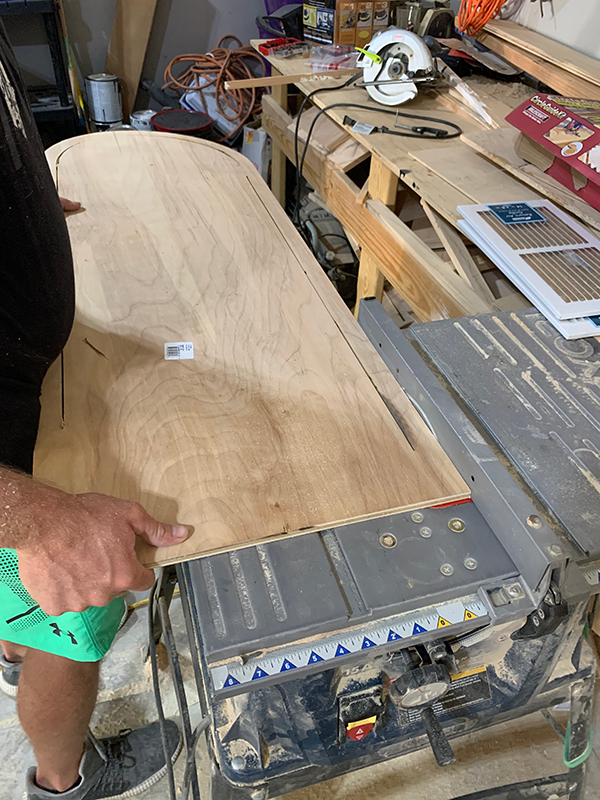
It was hard to get a perfect 90° corner using the table saw, so he cleaned those up using the jigsaw.
DANG! How good do those look?! We were SO EXCITED.
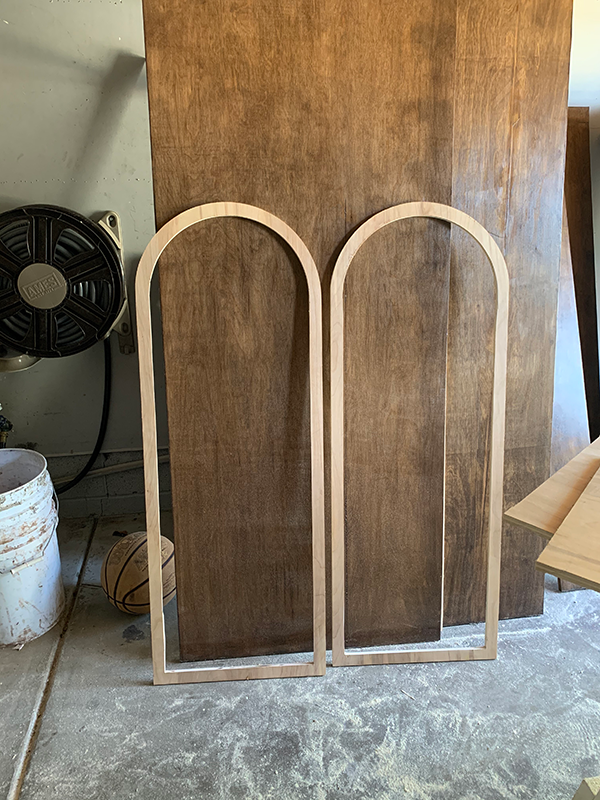
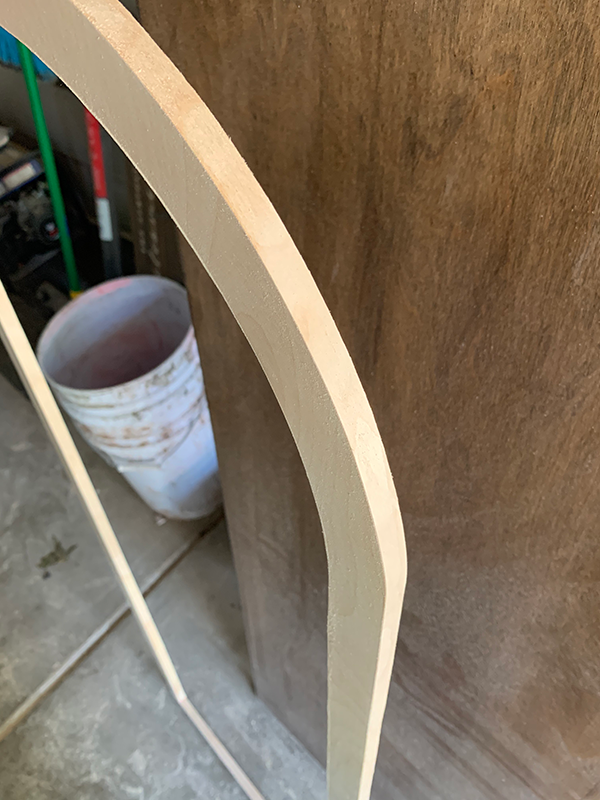
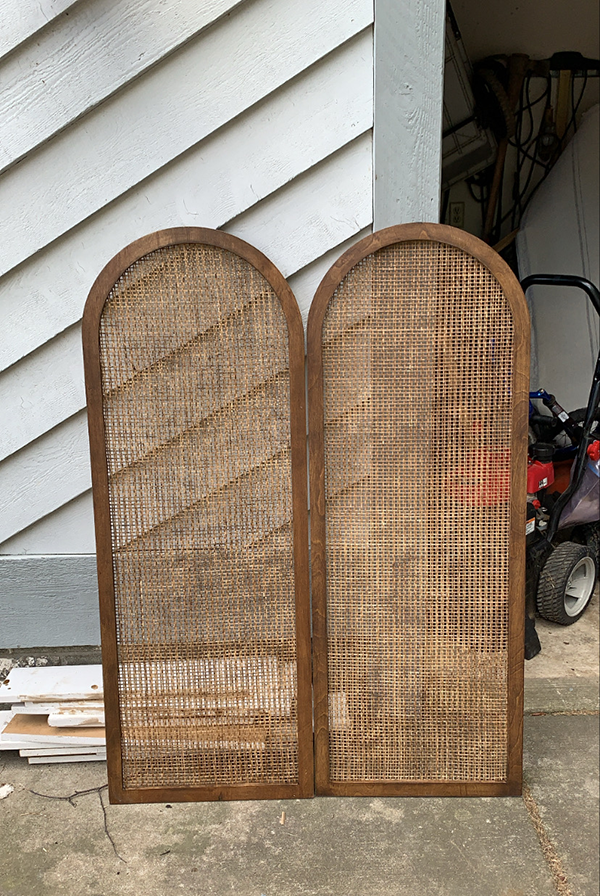
Since we used plywood for these as well, I had to edge band them. And once that was done I stained them using the same stain color I used on the large wood pieces for the bed.
THE CANE
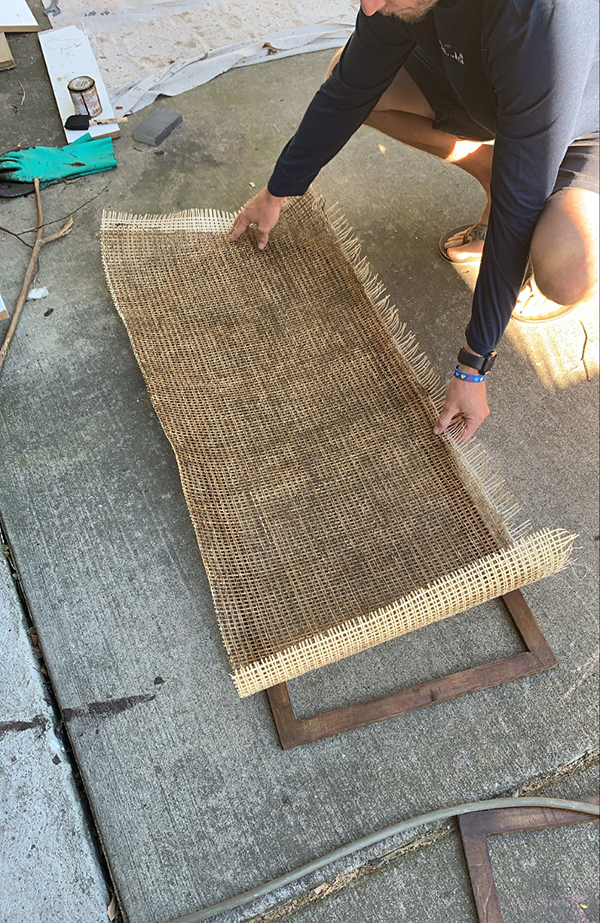
Once that was finished, it was time to add my cane. If you’e been following me for a while, then you know that I like to darken my cane. I know that cane will naturally darken over time, but I can’t wait that long :-p
I buy my cane from Frank’s Cane and Rush Supply. This is the medium danish weave pattern.
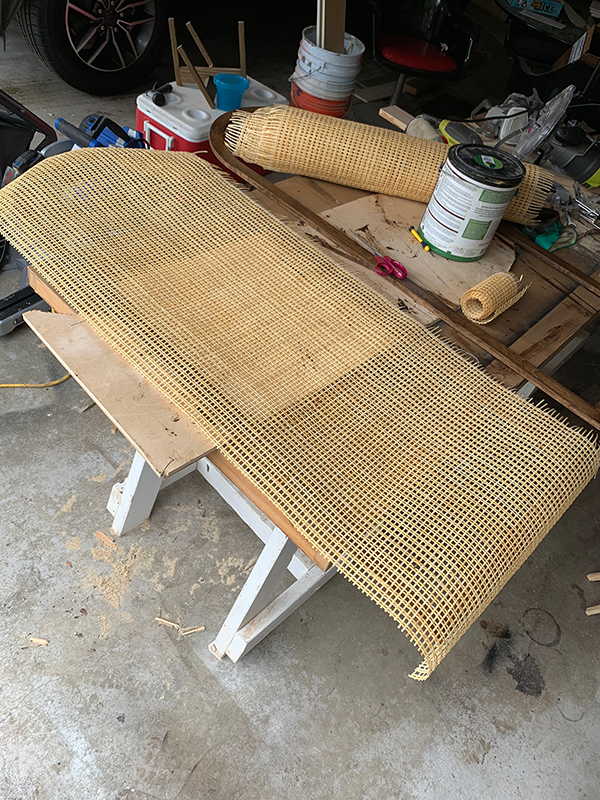
Natural cane tends to have a little bit of a yellow undertone to it and I prefer to tone that down a notch and make my cane look more worn.
I had done this once before on the bench in the kid’s playroom but had a hard time tracking down the same product I used in time.
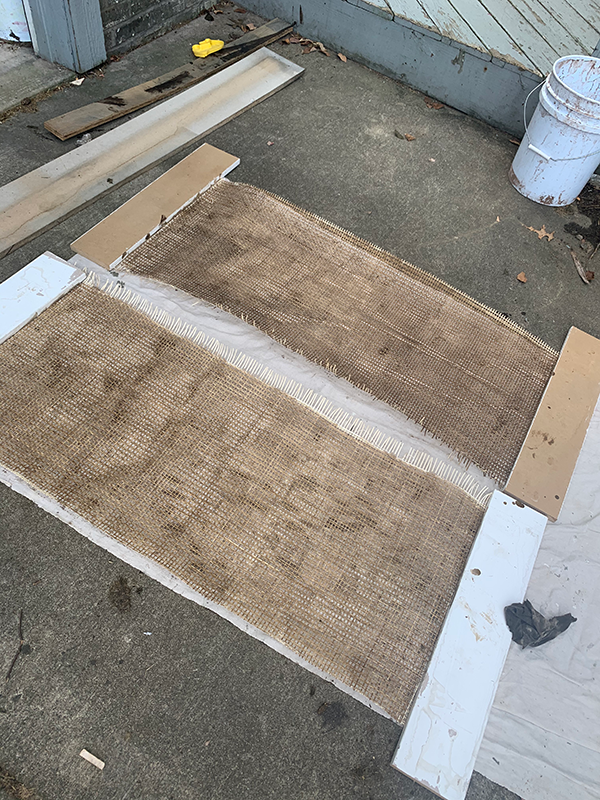
After some trial and error, what worked the best for me was Liquid Polyshades in the color Mission Oak. I laid out my cane pieces on a towel, and used a black foam brush to gently wipe the stain on. I didn’t want the cane to be TOO dark so after I brushed the stain on, I gently wiped it off with a paper towel. This helped even it out and give me the perfect color I was looking for.
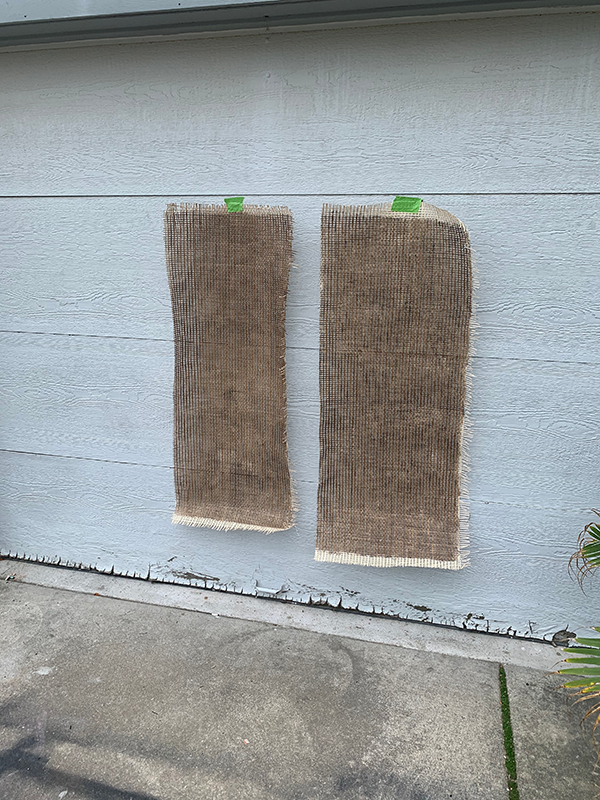
I had to put it up against a lighter, solid background to see just how it looked. This helped me see where any splotches were that needed to be fixed.
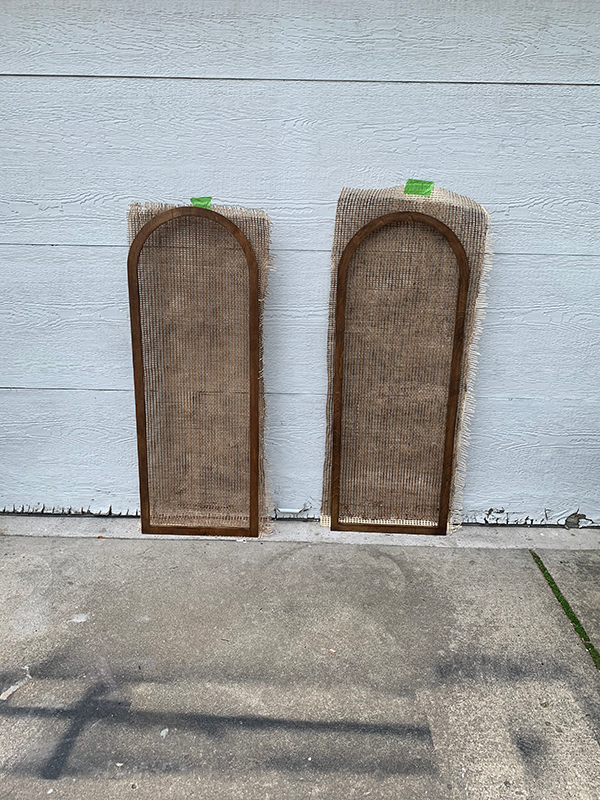
Since the polyshades is a 2-1 stain and poly, you don’t need to topcoat the cane and it doesn’t leave it feeling sticky!
Once the cane was dry, we attached it to the back of each arch simply by using a staple gun.
HOW GORGEOUS ARE THEY?!
ASSEMBLING THE MURPHY BED
Before we attached them to the murphy bed, we wanted to actually build the murphy bed. Which was quite the production.
The kit from Custom Woodworks comes with thorough instructions and Julie shared a video with me that was helpful as well. She also shared her and her husband’s phone number with me in case we needed further assistant. Which we did ha.
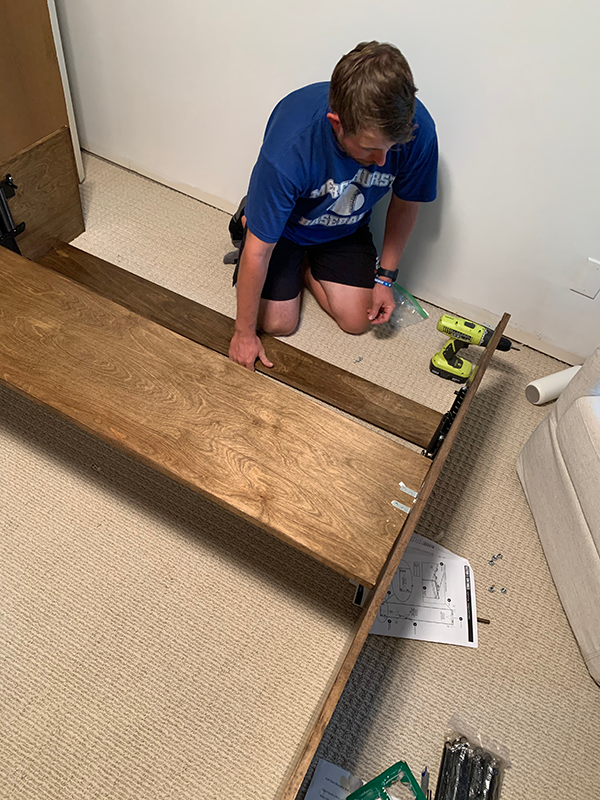
We got a little mixed up on a few of the steps but they walked us through it and were SO helpful.
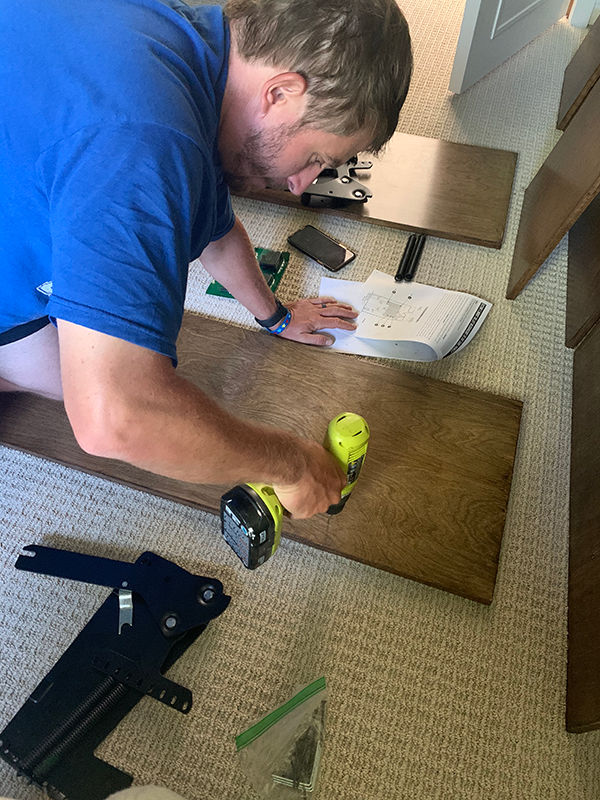
It took a little fenangaling to get the “door” to open and close properly which is normal. After a little tweaking were in business! I think we were all shocked that it was actually functioning the way it was supposed to ha.
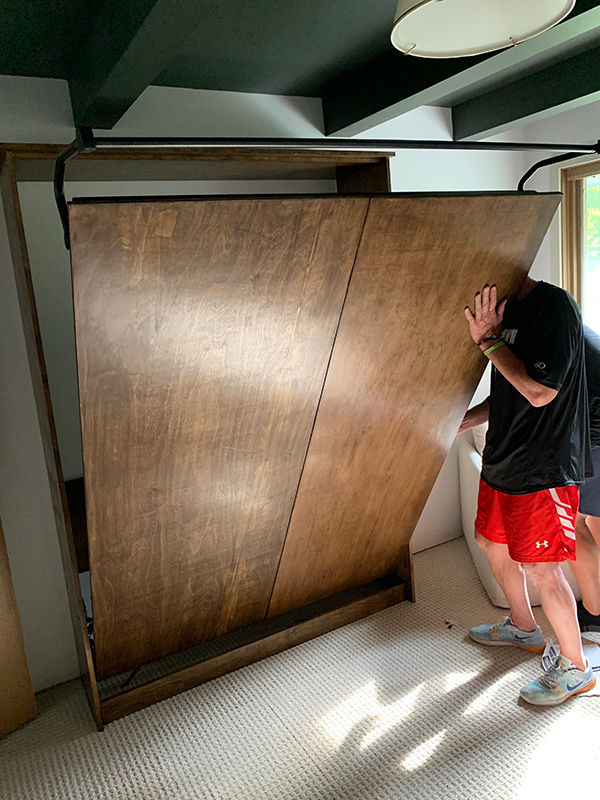
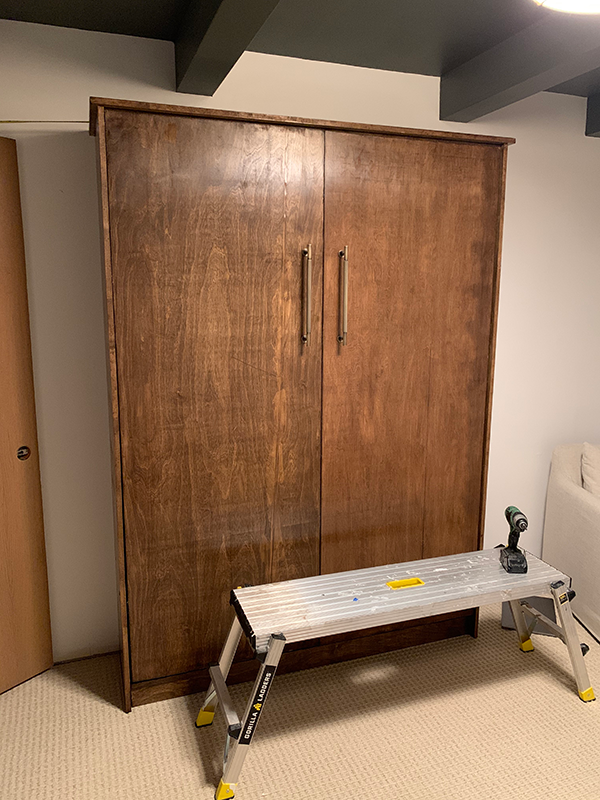
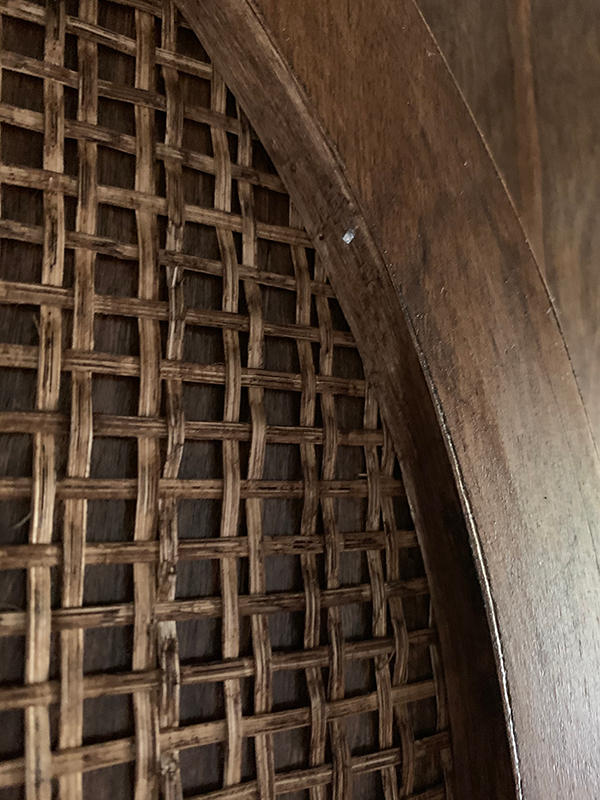
Now that that part was done, we could add the finishing touches. I wasn’t sure at first if I liked how the dark cane looked against the dark wood. I thought about painting behind it with a lighter color or even adding some fabric behind it for more contrast but in the end decided to keep it as is. And I’m glad I did!
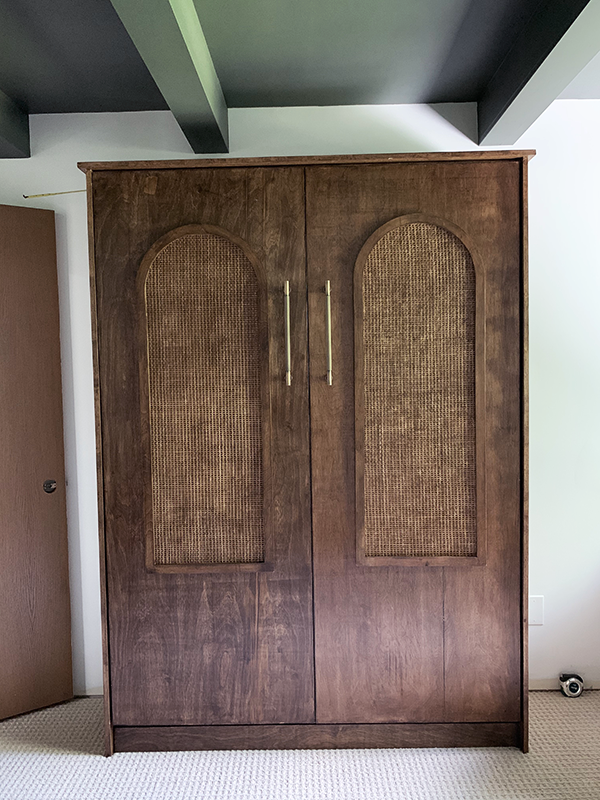
To attach the arches, we applied some wood glue to the back and then also shot in a few finishing nails at an angle. They’re barely visible and give it a little extra support.
The next decision I had to make was whether or not to add another element I had been thinking about for some more visual interest. Wood slats!
I taped some up there and stared at them for WAY too long before decided to finally do it.
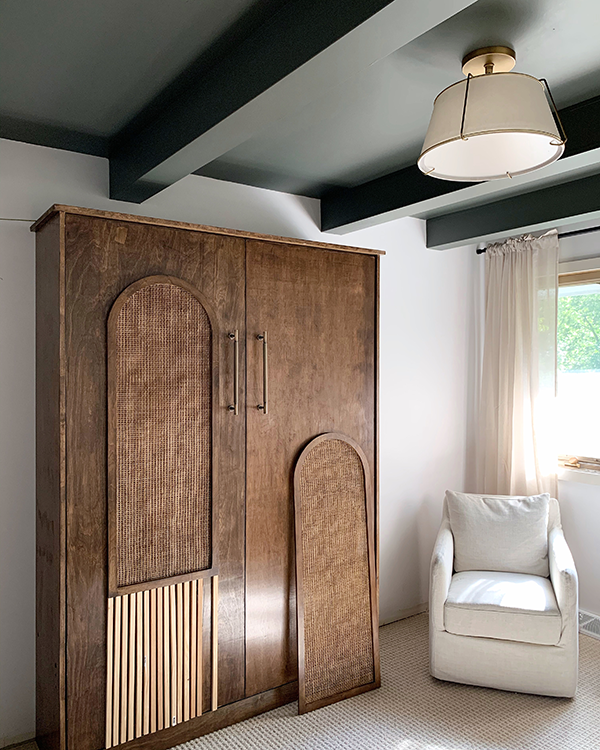
Since we made the arches the height we did, it left some open space towards the bottom which I felt needed to be filled. Wood slats added some more texture and pattern!
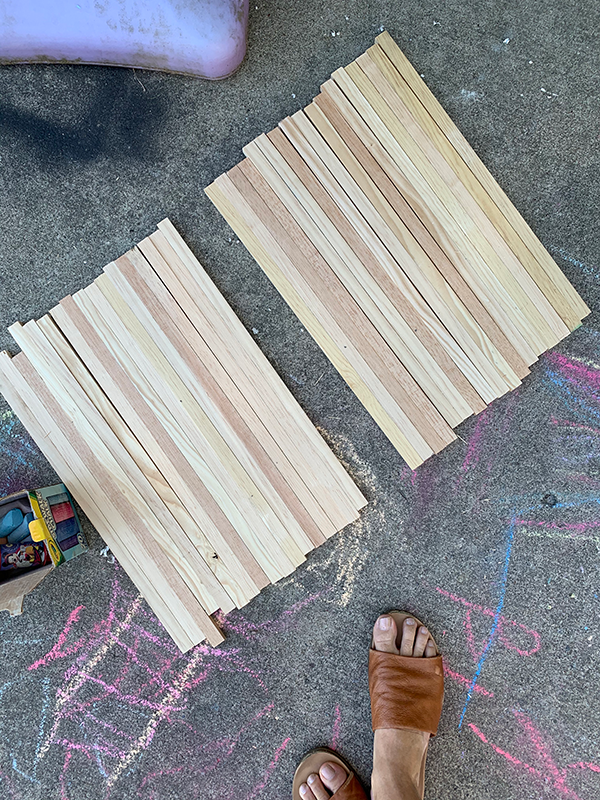
We actually had some left over from the Slat Wall in the kid’s playroom. They’re poplar 1x1s. Since I had painted them in the playroom I didn’t care what kind of wood they were. But poplar can sometimes stain kind of funny. Luckily it didn’t look too far off from the rest of the plywood and they blended right in.
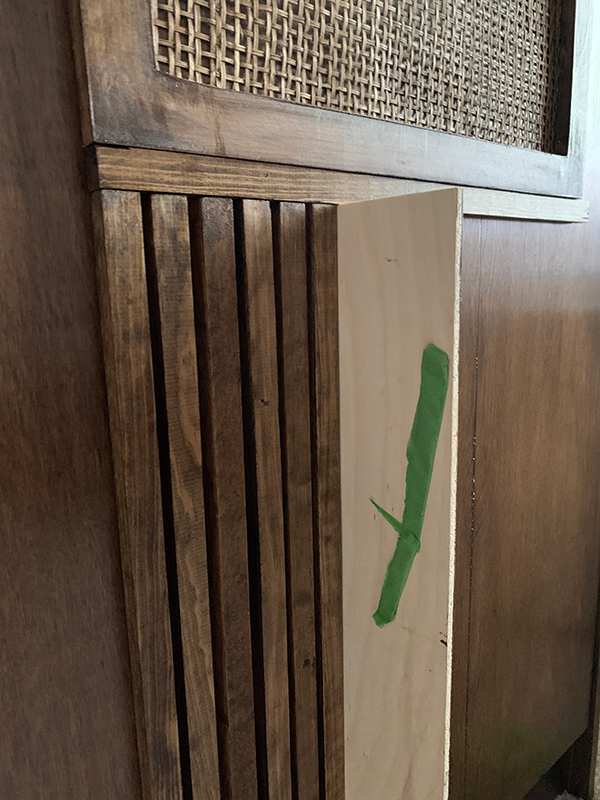
Using an extra slat as a spacer on the top between the arch and slats and then a 1/4″ piece of plywood between each one allowed us to keep even spacing.
We used some wood glue and a few small finishing nails at an angle again to attach them.
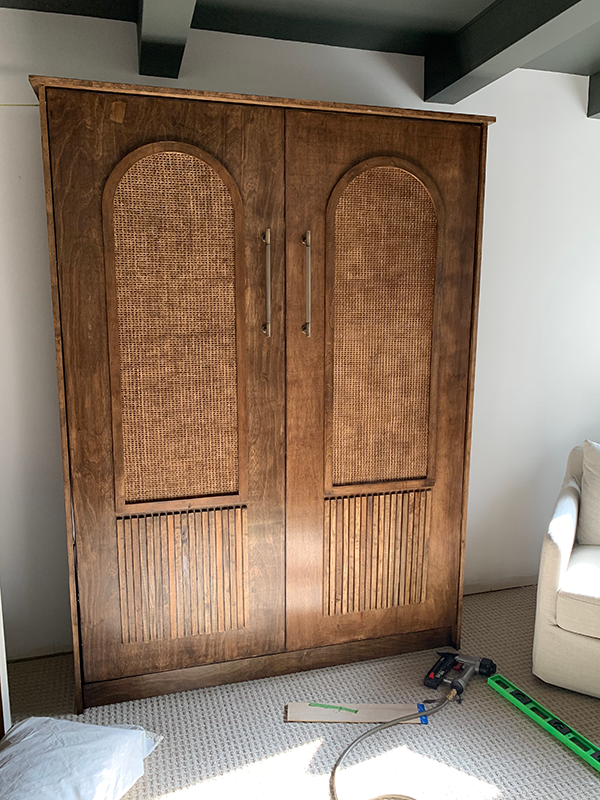
BOOM! DONE!
This thing was a labor of love that’s for sure but it felt so good to see it finished knowing all the hard work we put into it.
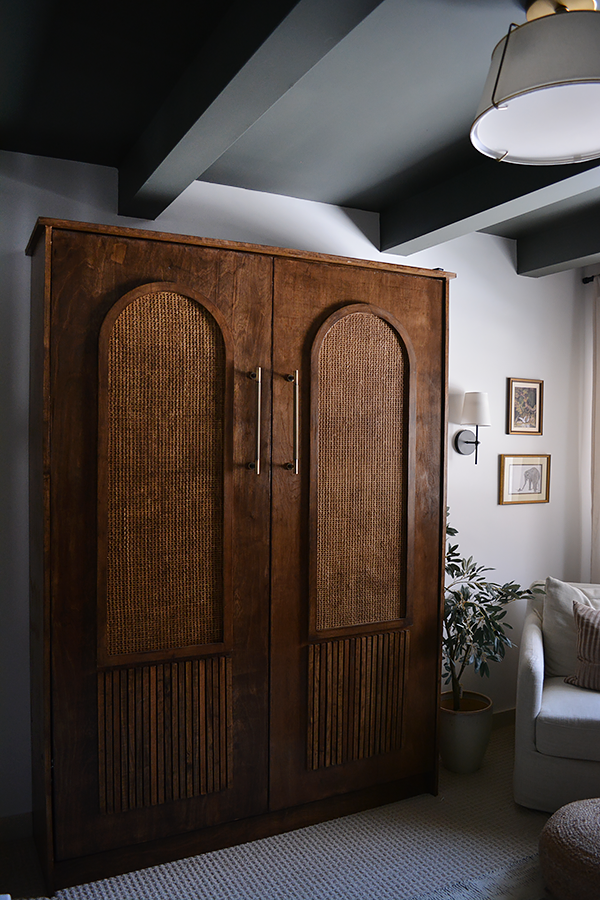
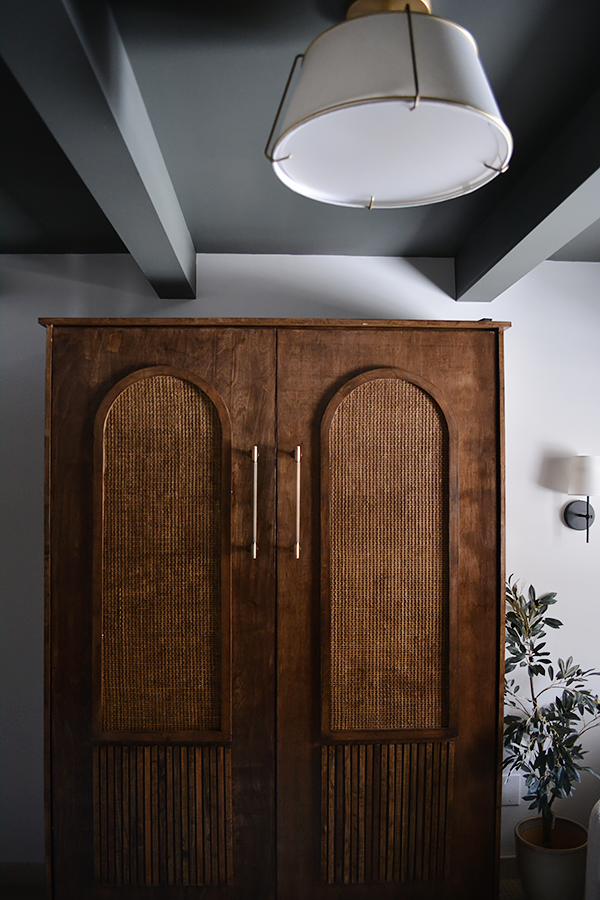
The mechanism in it is totally safe and allows the bed to slowly be pulled down and pulled back up. It also comes with a strap that holds the mattress in so it doesn’t fall out.
I used this mattress on it and honestly still haven’t styled the bed much in terms of bedding or artwork above the headboard. That’s on my list for this year 😉
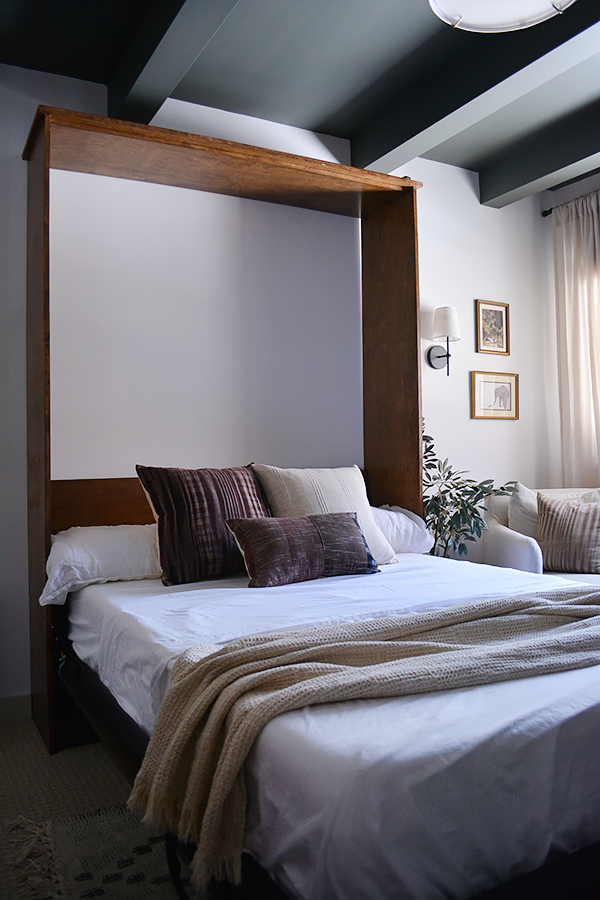
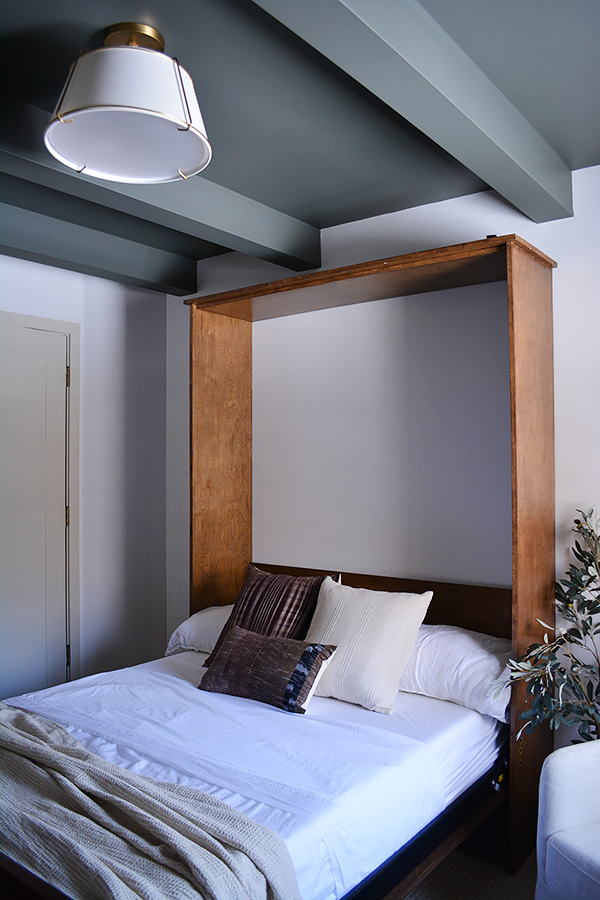
My parents have slept on it many times since it was first built and totally approve! They said it isn’t the best bed they’ve ever slept on (they’re quite tall and are used to their giant king sized water bed ha) but they’re thankful to have this room to stay in when they come visit!
Building a Murphy Bed was definitely not easy but it was worth it! We had a lot of fun with it and I love having such a unique piece in such a special room.




Taylor
This turned out beautiful! Thank you for sharing all the steps. I’m curious because we’re looking to do the same thing in our office… how much do you think we should budget for all in? Both with the kit and without? Thanks 🙂
Jessie Thomas
Hello, would you mind sharing how much did the materials cost not including the mattress and the hardware?
AM Woods
This is one of the neatest things I’ve seen in a LONG time! Love love LOVE IT!
brepurposed
THANK YOU!!
Jess
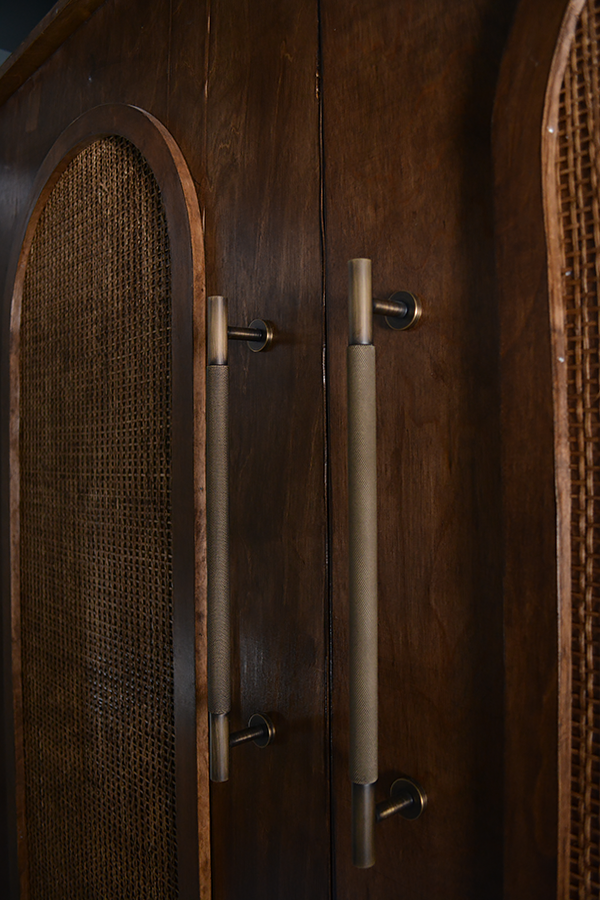
Where did you get the handles? Love them, but can’t find any like them!
brepurposed
Hello! They are from signature hardware ☺️