Oh Monday, you never get any easier. Weekends really should be 3 days, don’t you think? I got crispy fried at the hubby’s baseball games, where unfortunately their season came to an end 🙁 It’s always hard to watch them lose, especially when he puts his heart and soul into coaching. But it just wasn’t in the cards for them this year.
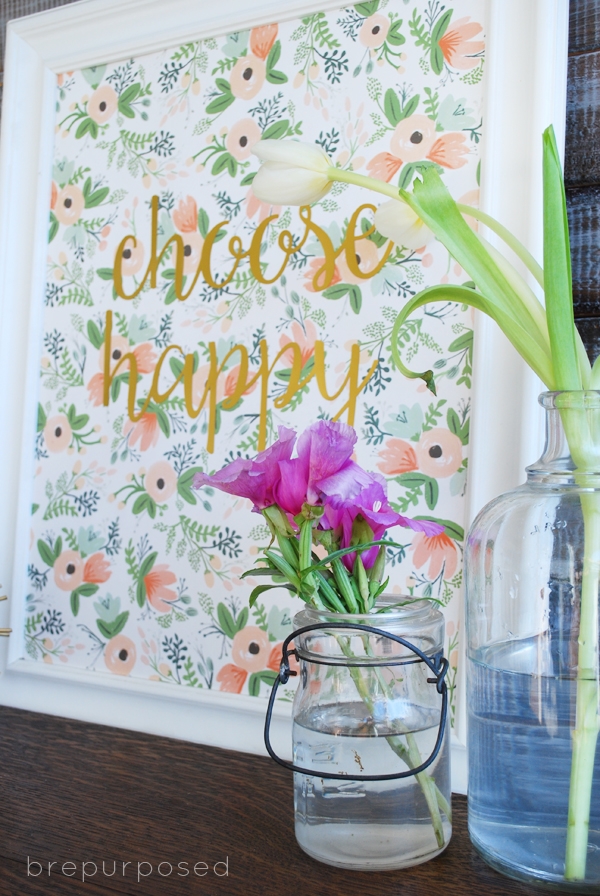
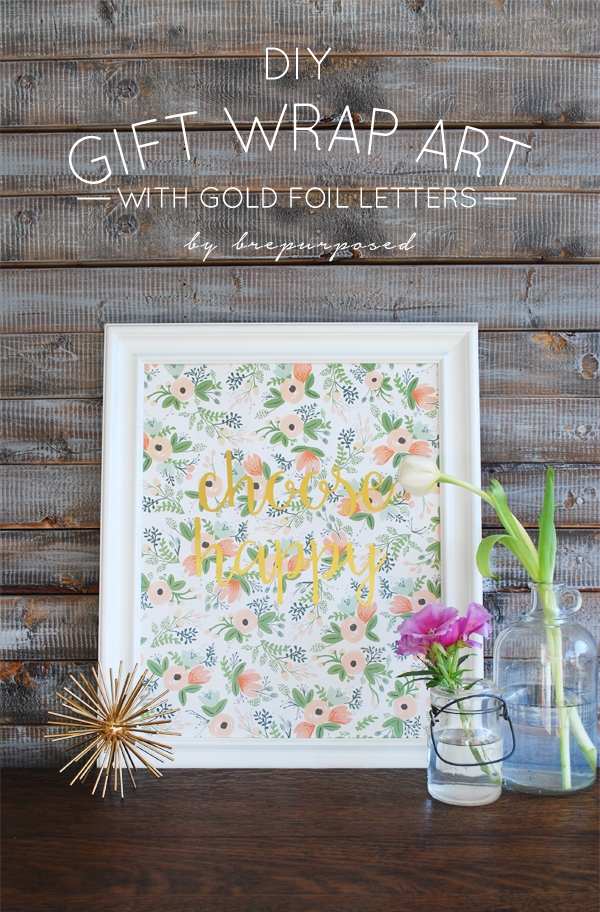
Now I’m sure you recognize today’s project from my Mint and Floral Buffet that I posted last week. I’m always looking for ways to create my own art to use in my staging and of course it helps when you’ve already got all the supplies on hand.
Here’s what you’ll need:
:: Gift Wrap
:: Printable Gold Foil from Silhouette
:: Frame
:: Silhouette Machine
The gift wrap I got was from Rifle Paper Co., which if you’ve never been on their site, you’re missing out. I could buy it all. All the patterns are so pretty and are pieces of art in themselves. I honestly could have just framed the gift wrap and been happy with it, but I figured I’d add a little extra touch 🙂
I’m still pretty new to my Silhouette and am just starting to figure out how it works. I’m already so impressed with it and how easily and quickly it cuts. I know it’s going to be my new besty <3
I used a beautiful script font called Daydreamer which you can download for free HERE. Now when I just typed it out in Silhouette and tried to adjust the kerning it looked like this:
I didn’t risk it, but I’m assuming that it would have cut around each line and not merged them together. Anyone know how to fix this in Silhouette?!
Since I’m no pro yet, I went with what I know. Illlustrator 🙂 I typed out my letters and merged my word so it was all one object.

From there I exported it as an AutoCAD Interchange File:
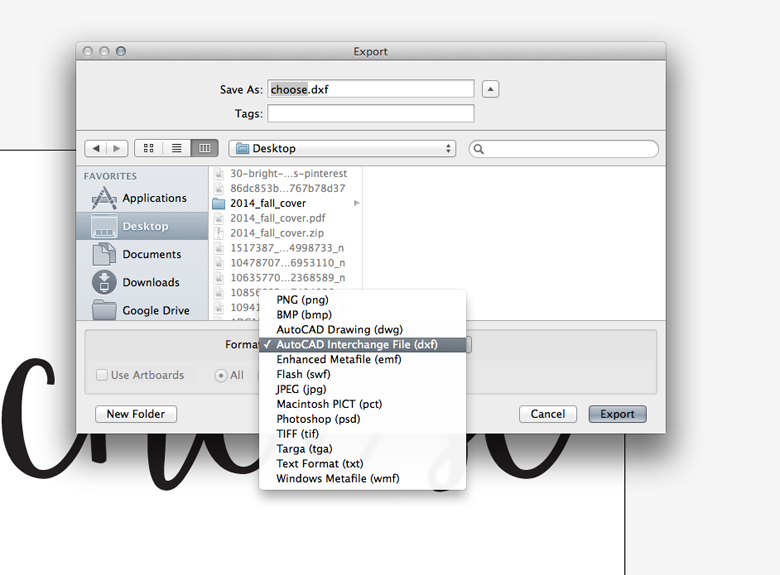
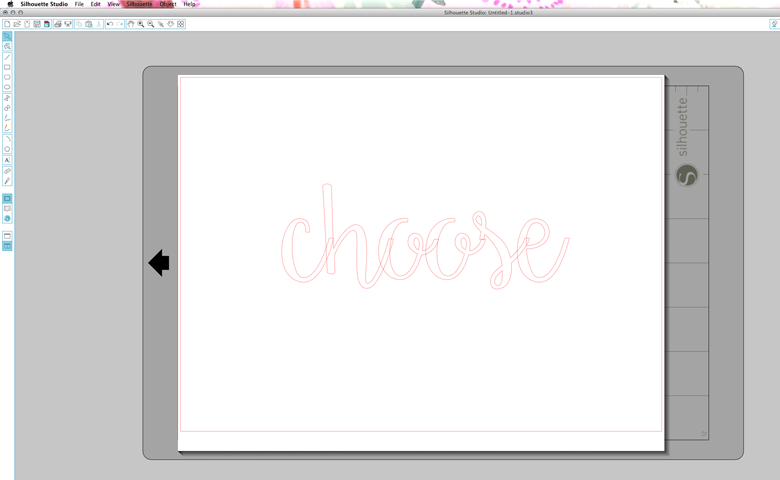
When you import this type of file into Silhouette, it automatically creates outlines for you:
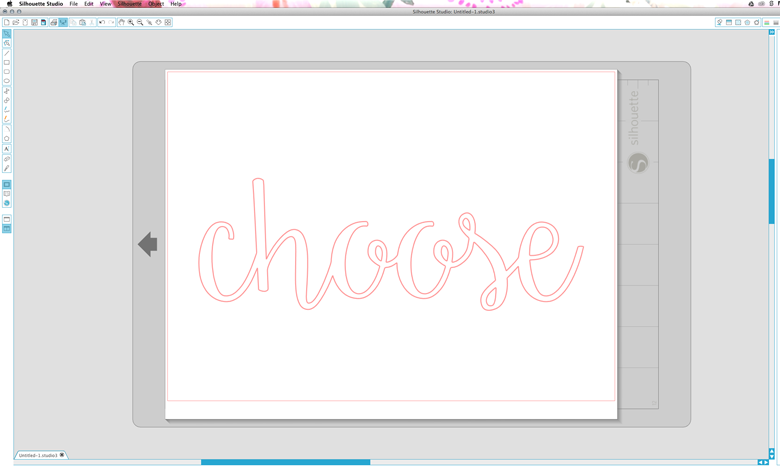
Now all the lines are connected and from here you just send your file to your Silhouette. I did this for each word and then peeled them off and placed them on the gift wrap once I had it framed.
Easy peasy right??
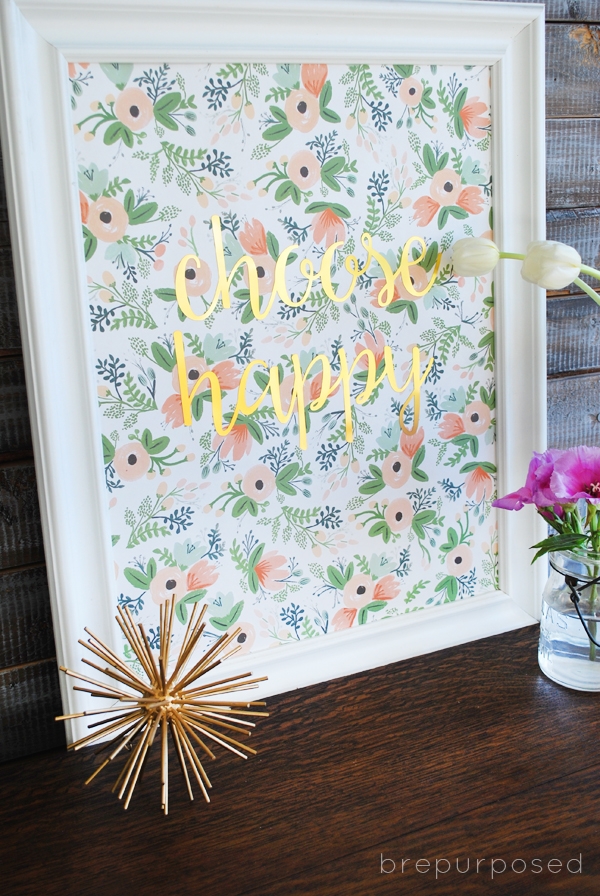

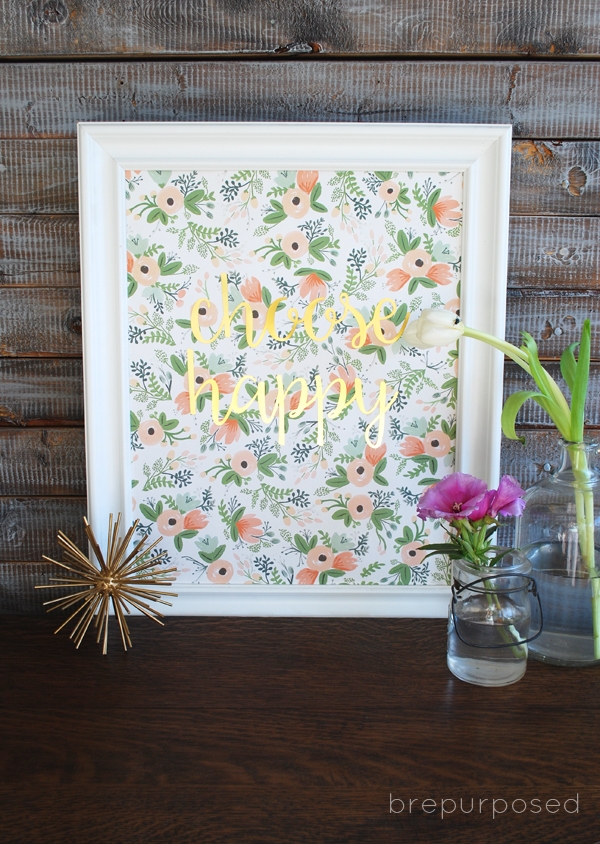
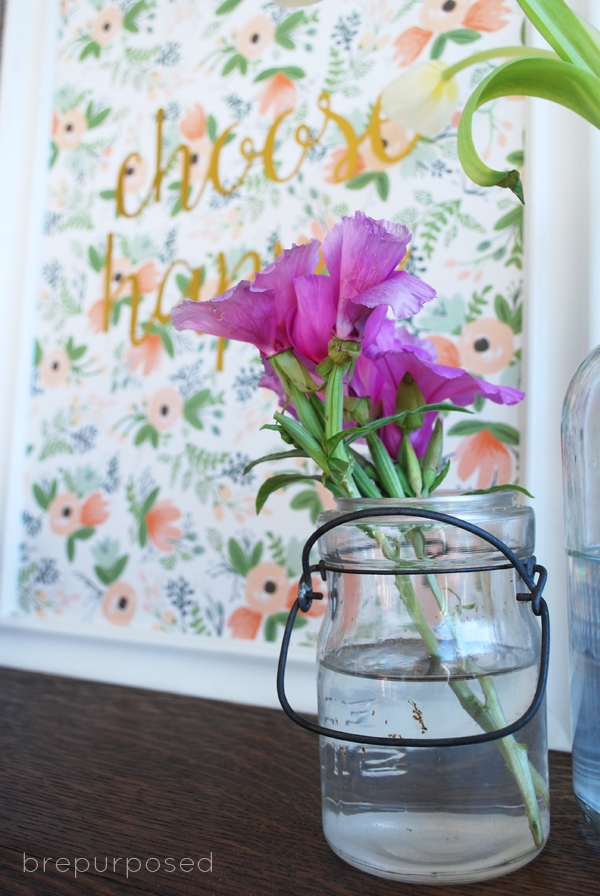
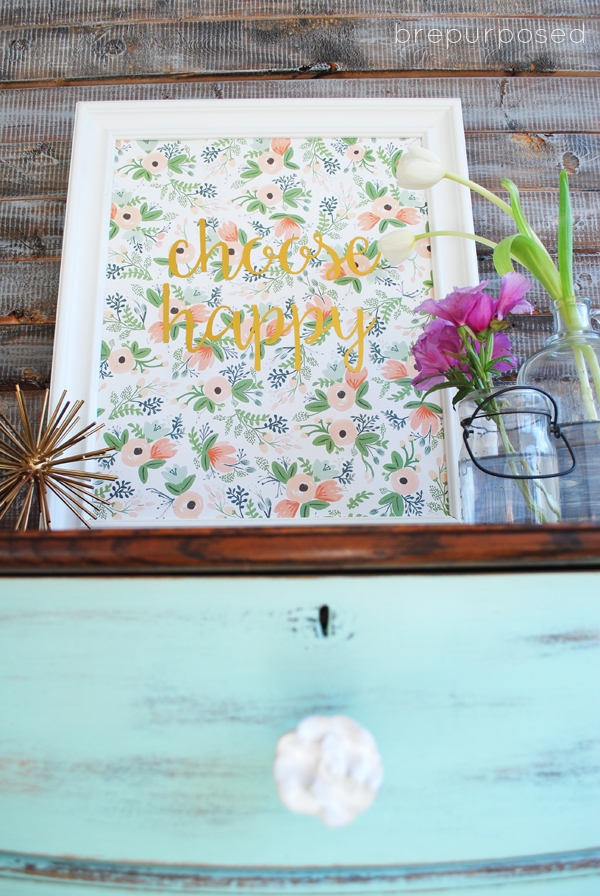
If you’re looking for a cheap and easy way to create some statement artwork, this is definitely the way to go. And you can use anything! Fabric, wallpaper, scrapbook paper; there are so many options.
Enjoy your Monday, everyone!









Hema
Nice Article.
Thank you for sharing.
http://aktechnoservice.com/lg-refrigerator-service-center-in-hyderabad/
enna
That’s so beautiful. I love easy craft. Thanks for sharing.
Erica
Two of my favorite things: Rifle Paper Co. and Silhouette gold foil sticker paper! This seriously embodies all things I love haha 🙂
brepurposed
haha yessss. Can’t go wrong with either 😉
Carissa
I did something similar in my entry and just love it! Rifle Paper for the win everytime! You’re being featured at Outside the Box!
brepurposed
Can’t go wrong with Rifle Paper! Thanks Carissa!! xo
All that's Jas
Really cute! Thanks for linking up at Thursday Favorite Things!
brepurposed
Thank you!!
Carmia
So stunning! I’d walk by it very often just to see it shine 🙂 Thanks for the cute idea!
brepurposed
Thank you Carmia! It is fun to see it shine 🙂
Gilly @ Colour Saturated Life
Such a cute idea Bre!
brepurposed
Thanks Gilly!!
Julie
That’s so pretty, and I’m thinking that those of us that are silhouette free zones could use stickers, cut freehand or improvise in some other way until such time as we cease to be silhouette free!
brepurposed
Thank you Julie! And yes, absolutely. There are tons of other options for the letters!
Erin
LOVE this!! I think when you have your word all typed up in the Silhouette program, just right click and choose “weld.” Then all the letters will merge together. 🙂 I may just have to go buy some of their gold foil now…
Torrie
I just downloaded the font-so cute so thanks for that, and opened it in SIL Studio. Erin is right, you just need to right click and choose weld or go to the modify window and weld from there.
brepurposed
Yay, you’re welcome! And yes, I’m so glad she told me that! This is only the second thing I’ve printed with my Silhoeutte; I’ve got a lot to learn!
brepurposed
Ahh thank you Erin!! That’s exactly what I was looking for 🙂 And I think you definitely need some of the gold foil in your life 😉
Bren
I love this easy craft! I can’t wait to make one of my own. The wrapping paper is amazing too. Thanks for sharing the source.
brepurposed
Thank you so much Bren! Aren’t easy crafts the best??
Kristi
SO pretty! That paper is absolutely GORGEOUS!!!
brepurposed
Thanks Kristi! I seriously could use it on everything! Might be time to go buy a different pattern 😉