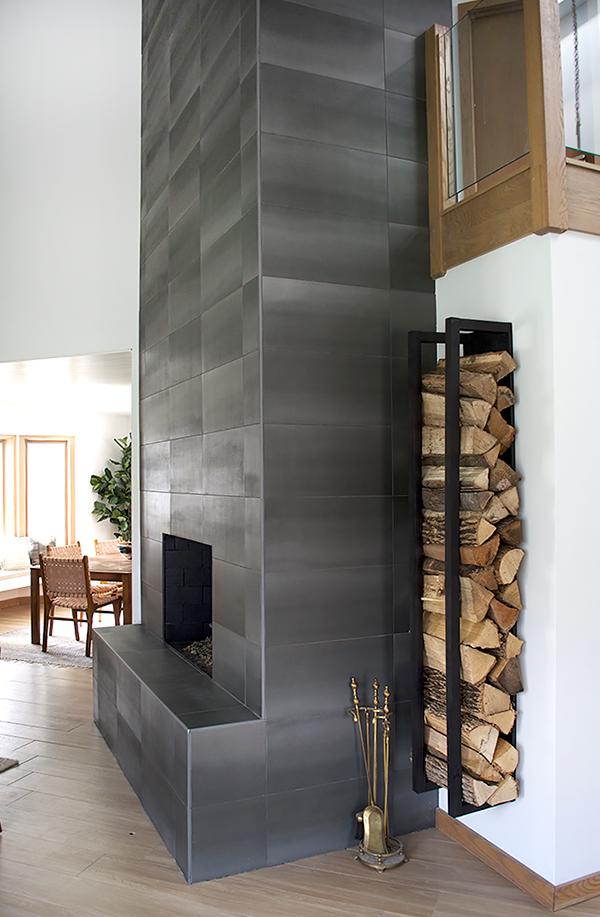
We tackled a lot of DIY projects in our recent One Room Challenge but one of my favorites was our DIY Floating Firewood Holder. We struggled for a while with what to do next to the fireplace but this turned out to be the perfect option. And what makes it even better is that it’s so simple to make yet makes such a big impact!
DIY FLOATING FIREWOOD HOLDER

It all started when I found this inspiration photo on Pinterest:
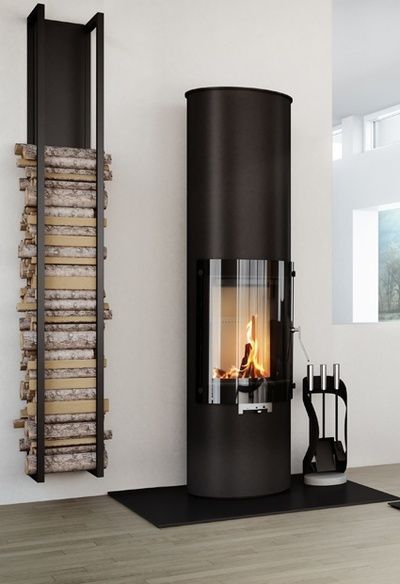
I shared it on instagram and one of my followers told me you could purchase one (I can’t find the link now), but 1) I didn’t have time to order it with our ORC deadline only a few short days away and 2) I wasn’t going to pay over $200 for it. It was made of metal.
So of course the only sensible thing to do is to DIY it.
SUPPLIES FOR DIY FLOATING FIREWOOD HOLDER
3 – 2 x 2 x 6s
1 – 1 x 12 X 6
Kreg Jig and Kreg Jig screws
Black Spray Paint
Drywall Toggle Anchors
STEP 1
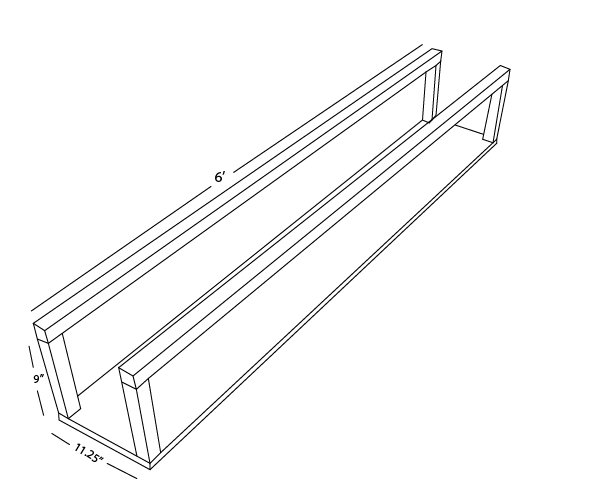
Figure out where you’re going to hang your holder and how big you want it to be. Here are the measurements we used, but this may not work in your space.
STEP 2
Cut your wood as needed. Make sure your back piece and your two long “arms” are the same length. Even you buy 6 ft. pieces they may differ a little so make sure you measure and trim any extra you need to!
We used these 6 ft. pieces of select pine we got at Home Depot.
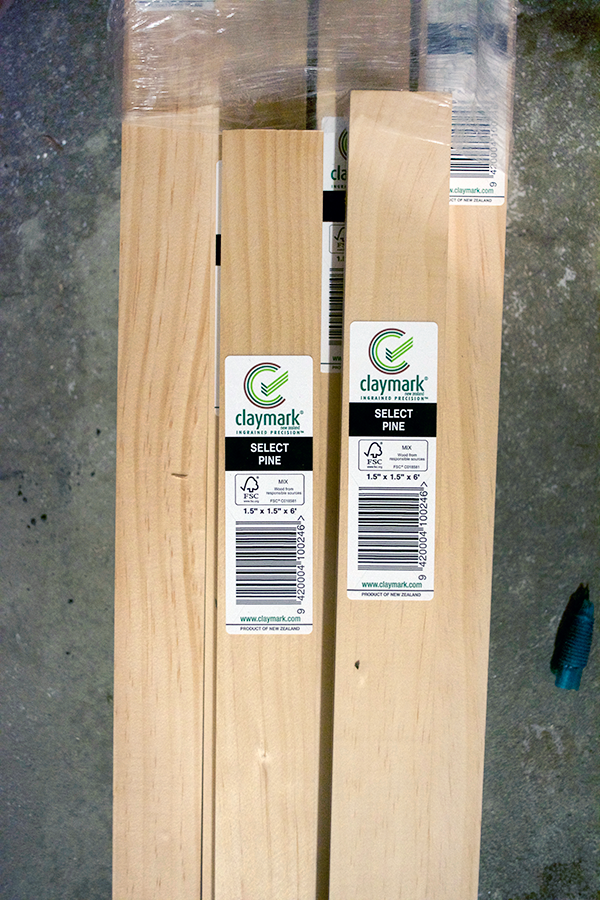
Once our two longer pieces matched up to the back piece, we cut 4 more smaller pieces at 9″ long each.
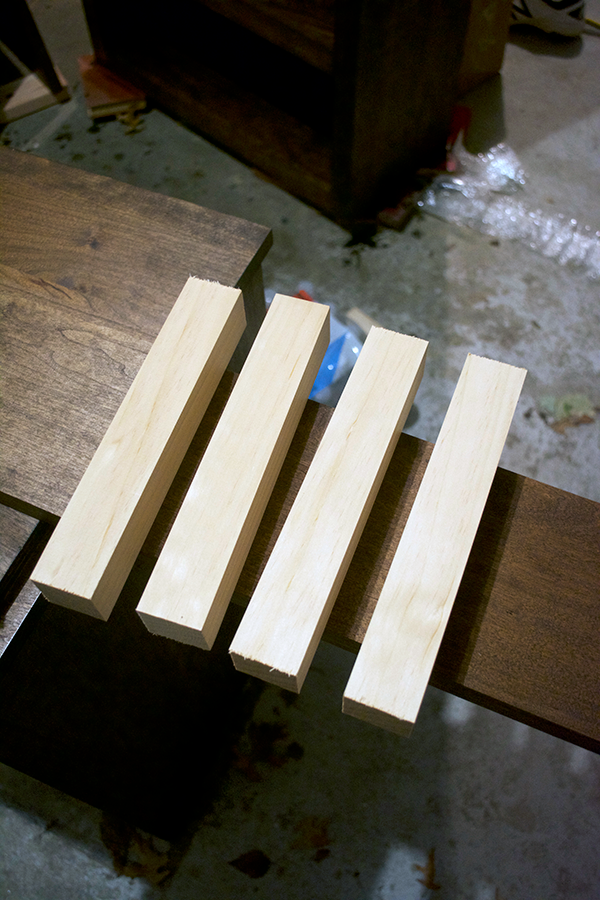
At this point you can lay everything out to make sure it matches up.
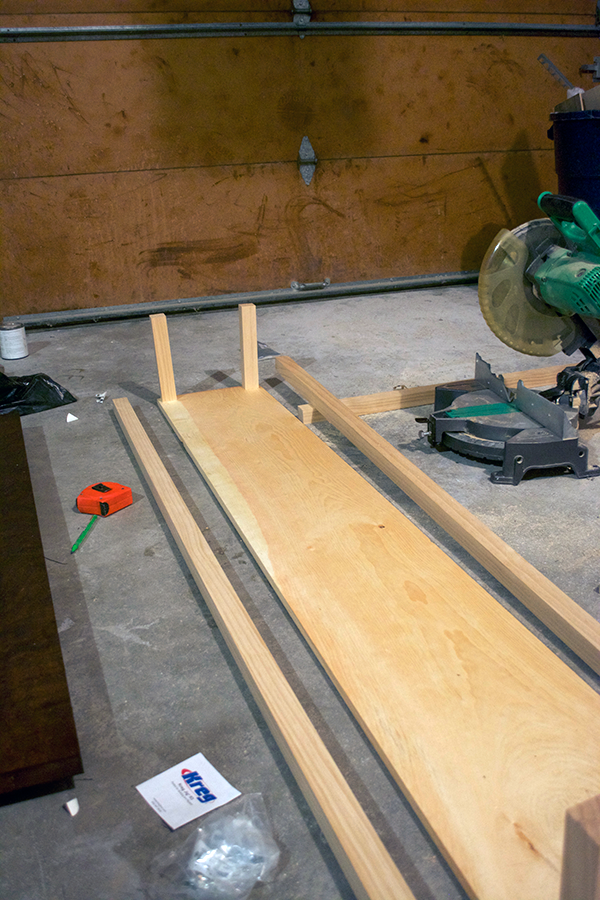
STEP 3
Time for the Kreg Jig! This might be one of my favorite tools to work with – pocket holes make building anything so much easier! If you don’t own one, do yourself a favor and go buy one!
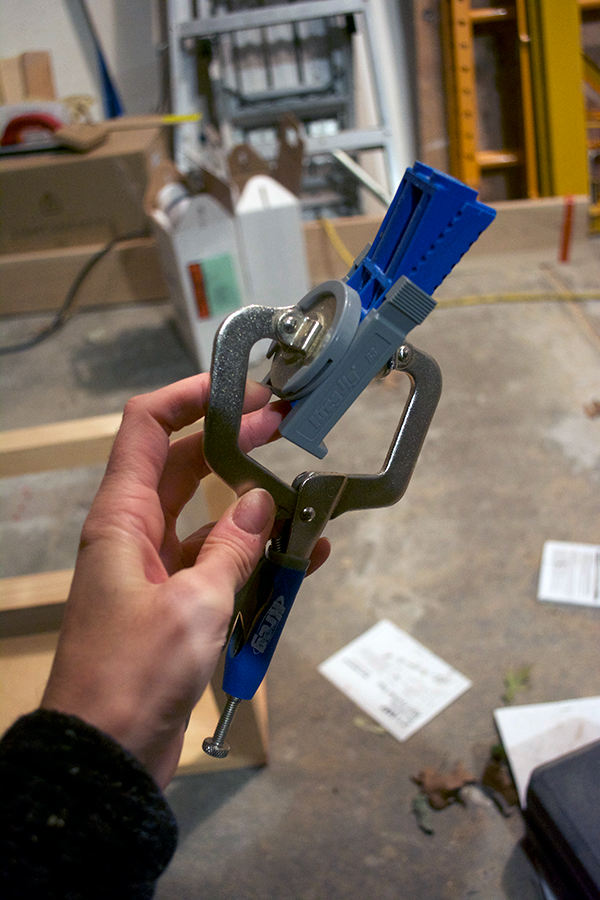
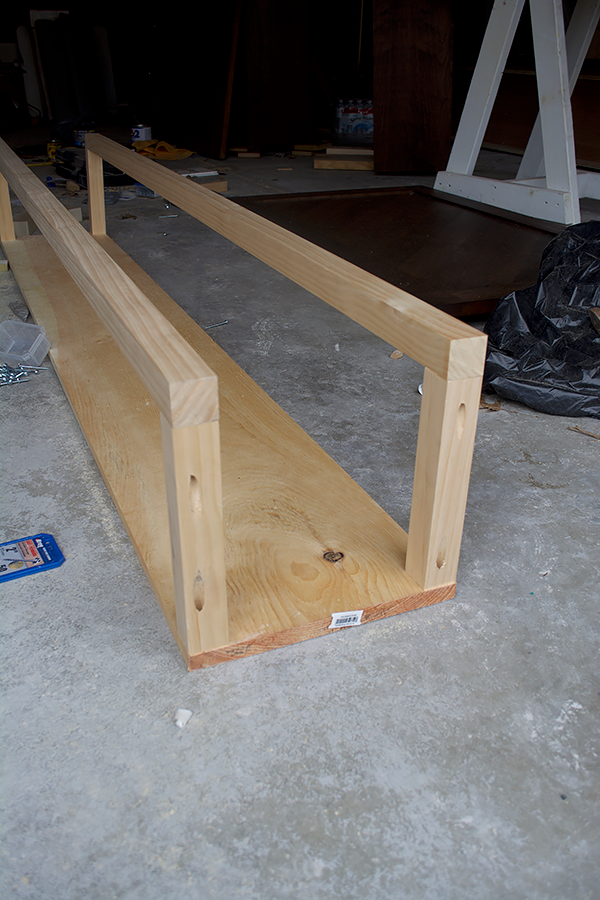
You’ll want to make pocket holes in each of your 9″ long pieces at both ends for a total of 8 holes. Just be conscious of where the top and bottom of your holder is. Make sure your pocket holes for the bottom two pieces are underneath so you don’t see them.
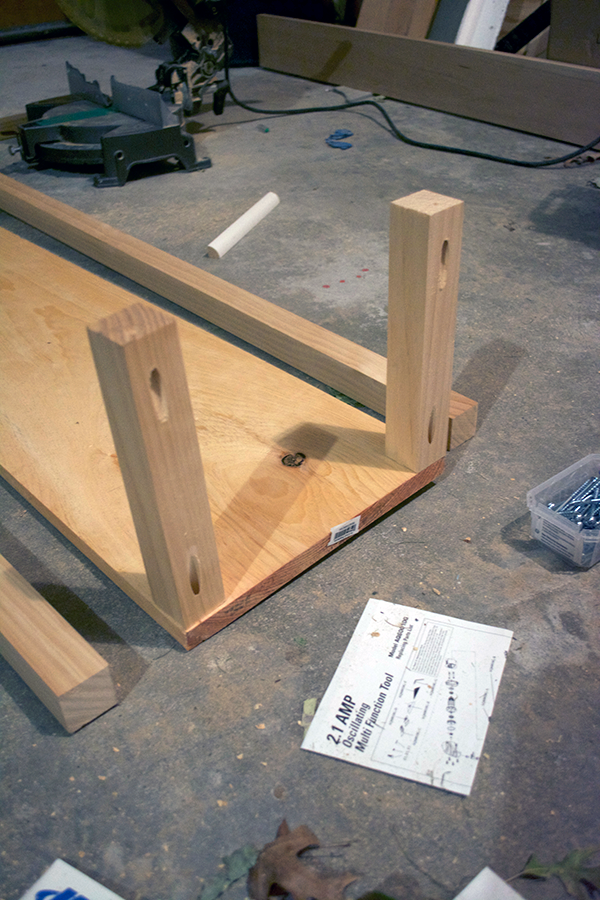
Once you’ve got everything drilled together it should look like this!
STEP 4
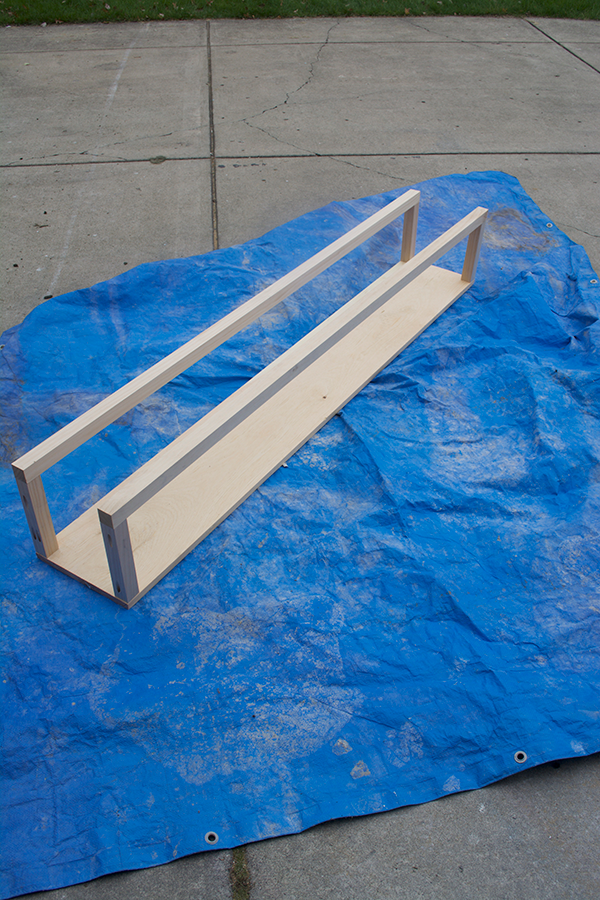
Spray paint!
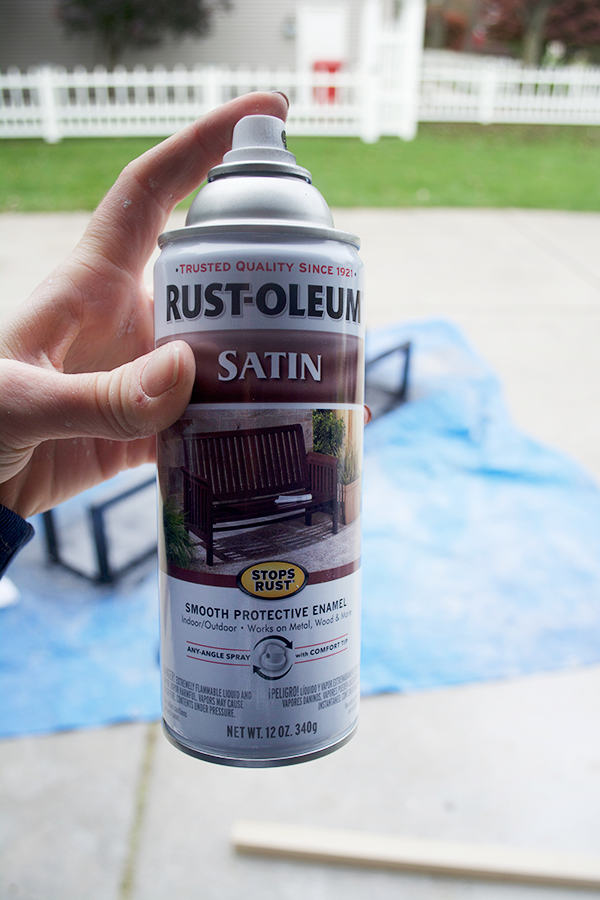
We used this RUST-OLEUM black spray paint in satin.
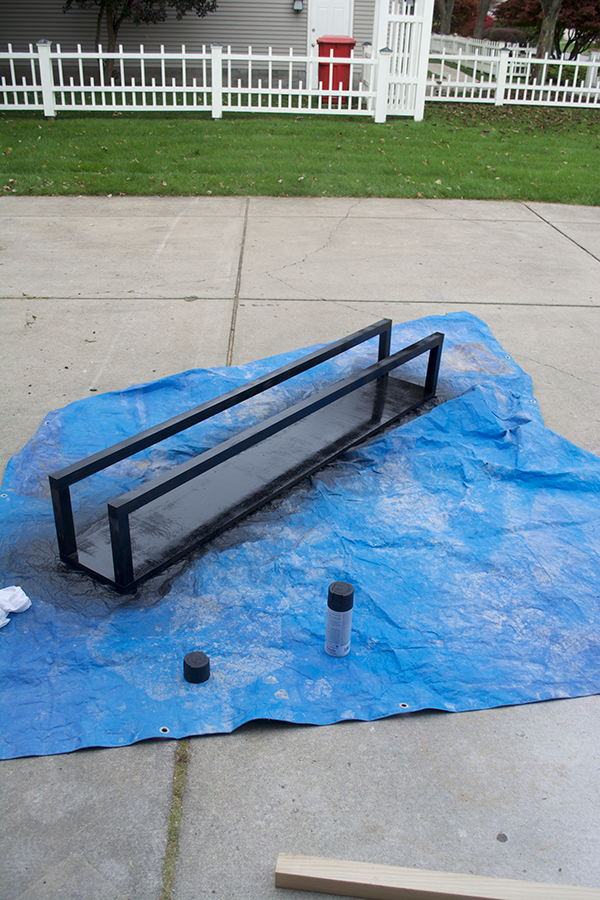
*optional next step is to use a finish on your piece to seal it. We didn’t do this but if you plan to use this for more than just decoration it’s probably a good idea.
STEP 5
Once it’s dry you can bring it in and hang it up! We did a few different things to ensure it was sturdy enough to hold all of our wood. Unfortunately we didn’t have a stud where we needed one, but if you do, just screw right into that and you should be fine!
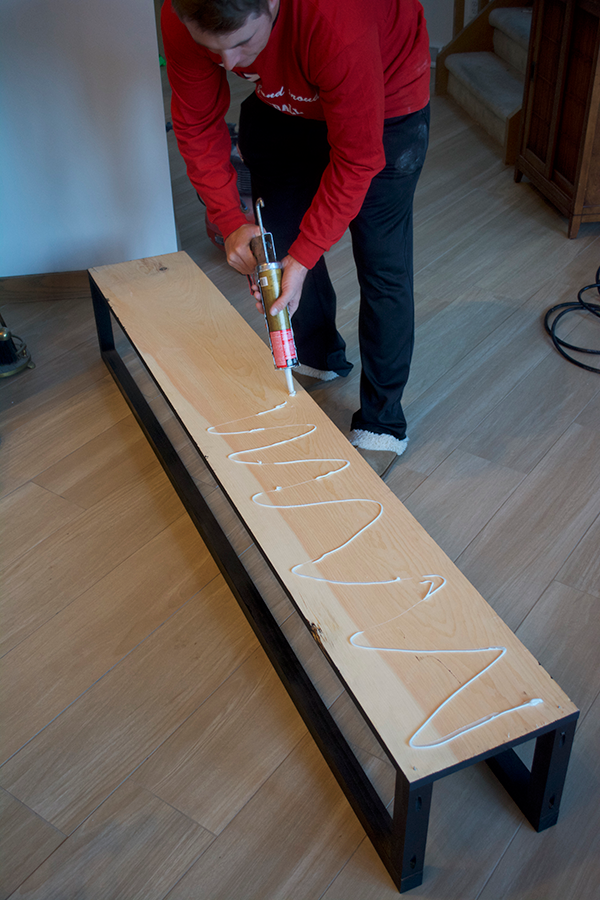
First we glued the back using Liquid Nails.
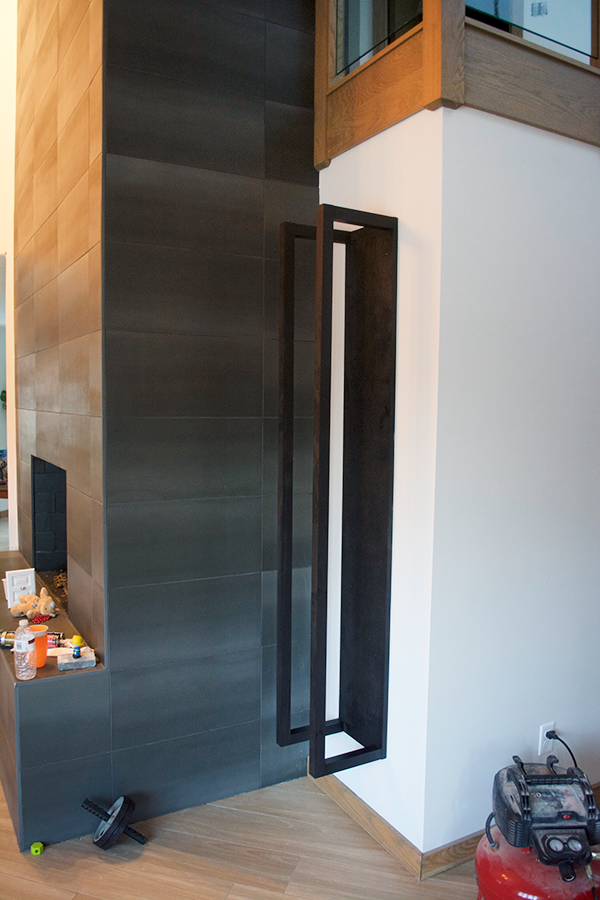
Then we used our compressor to nail it into the wall.
Next up to really secure it, we used these Drywall Toggle Anchors. The guy at Home Depot told dan you could hang a chin up bar with these so we felt pretty confident in using them.
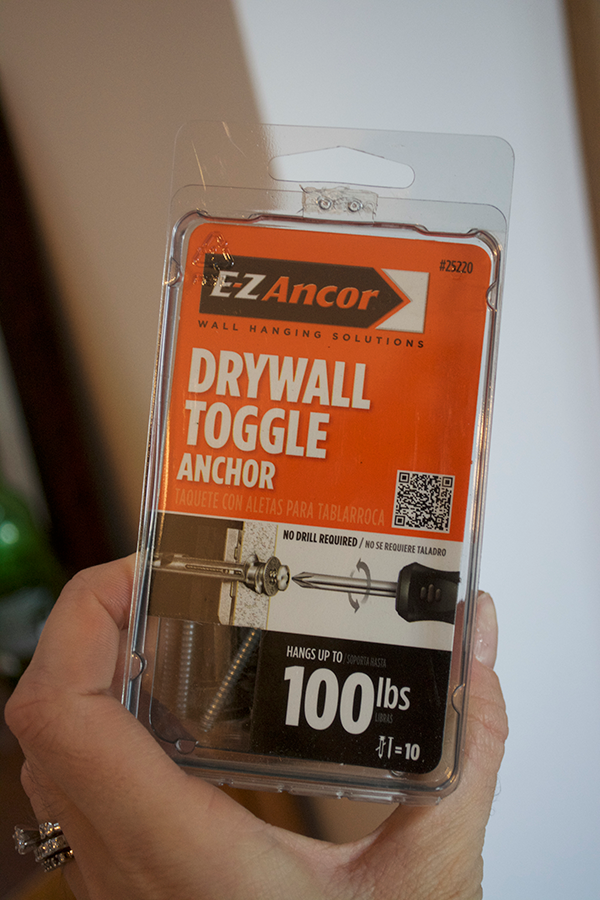
We used about 6 just to be safe.
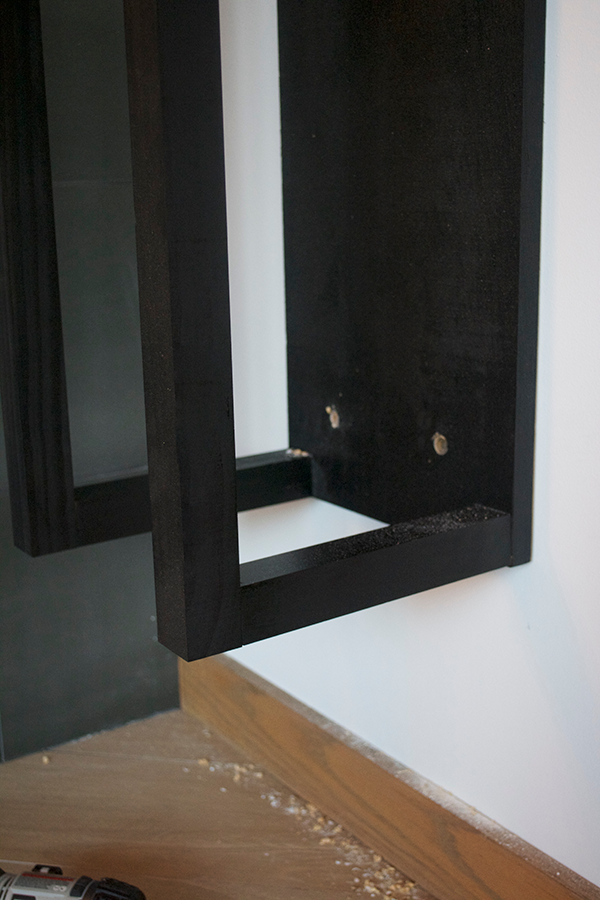
I actually just left them like that since the wood was going to cover the holes and ours is for decoration so I don’t plan to remove any of the wood to use it. But if you are, then you can just grab your same spray paint and spray over the holes to cover them up.
STEP 6
Now you can add your firewood! I reached out to a local Tree Removal Service who gave us some wood for free but you can also check your local facebook marketplace or craigslist.
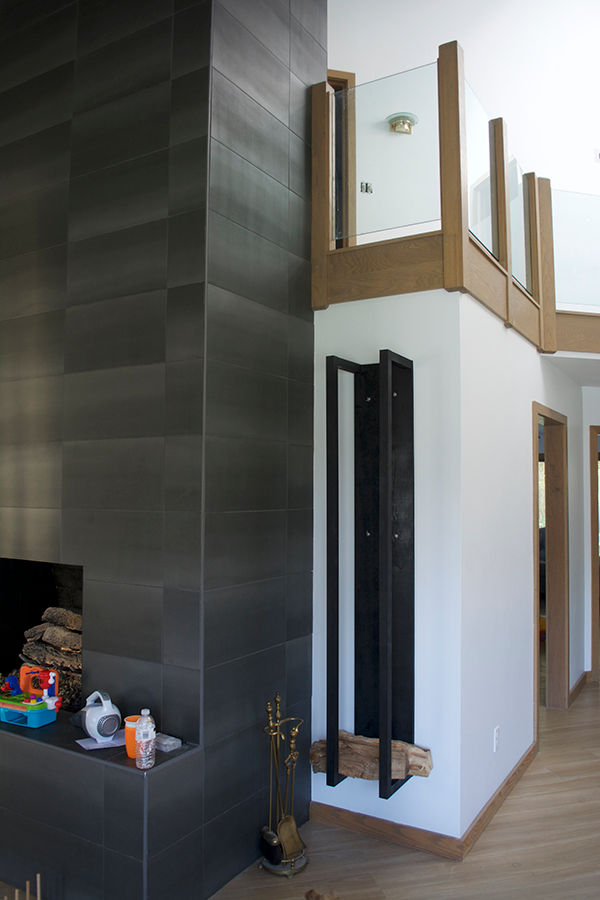
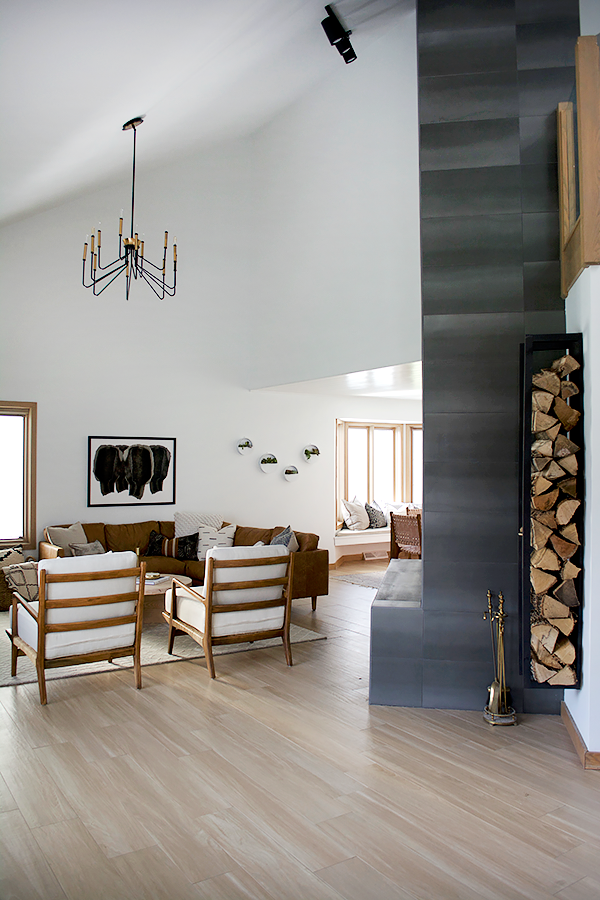
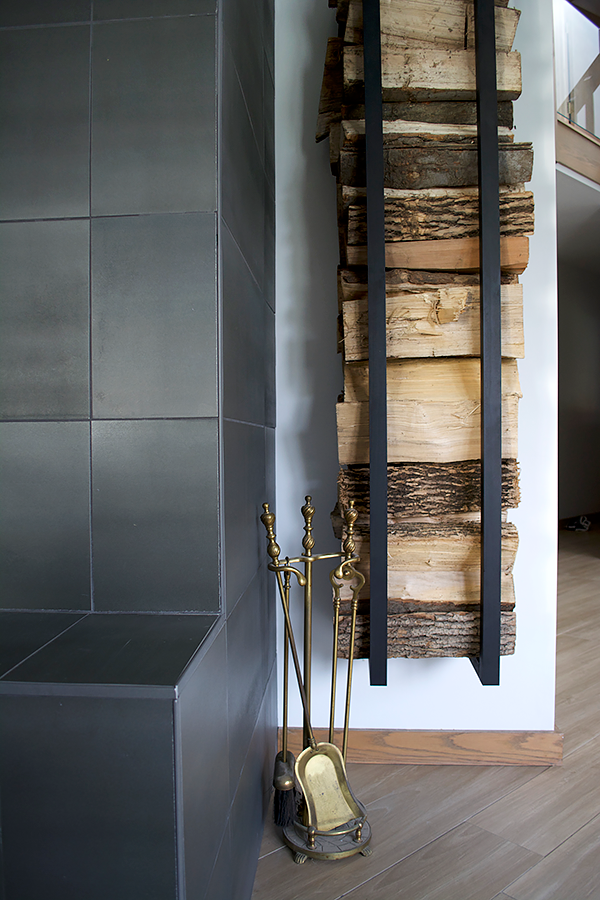
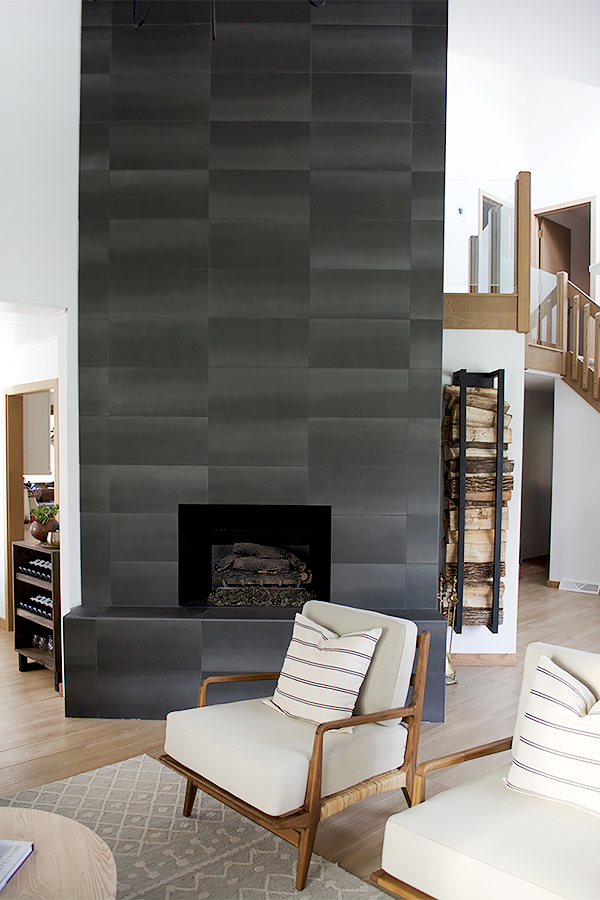
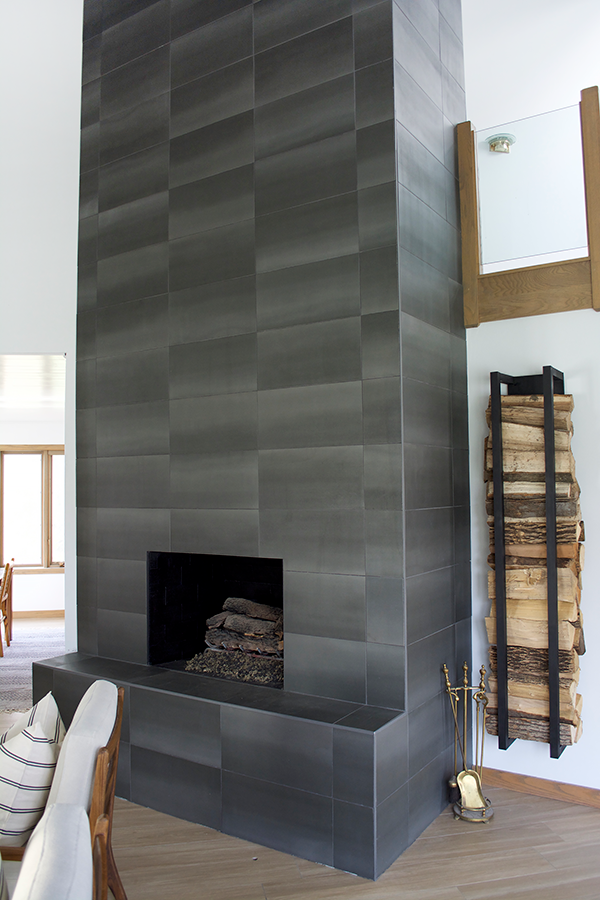
And now you have a super sleek and modern Floating Firewood Holder! Ours seems to be holding up great with the weight of all the wood. If you’re going to be using it on more of a daily basis you might want to add a few extra drywall anchors 😉
PIN FOR LATER!
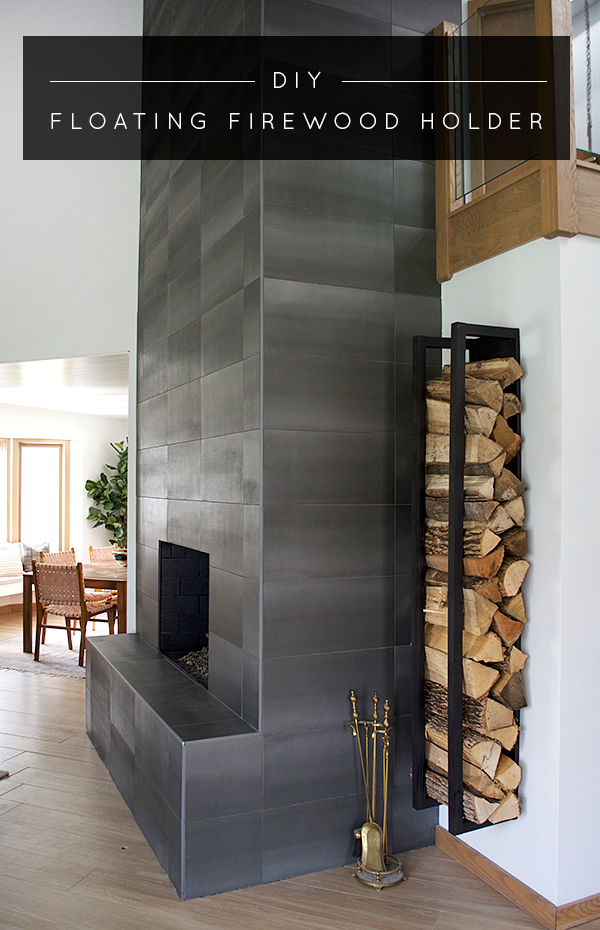
I’m SO happy with how this turned out and am so glad we decided to do this instead of a big built in cubby which I think would have taken away from the fireplace. It looks so perfect in our new family room and ties in perfectly with all the rest of the decor.





Azria Azria
Nice decoration
LAURYN
This looks so cool. Just love it!
Thank You for sharing
Catherine R. Valerio
Awesome idea, it gives vintage look very stylish love it <3
brepurposed
Thank you!
Valenica Abbott
wow this is GORGEOUS!! Love, love, love the color!
Handy Squad
Great idea, it is easy to make, the modern look blends in well. Thank you for sharing!