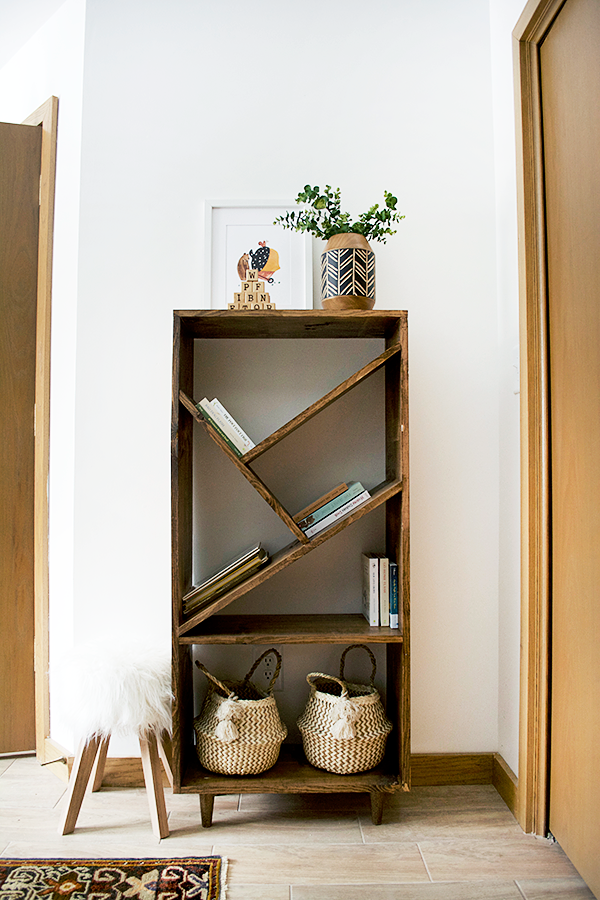
Hawkins’ nursery was such a fun room to work on since it was my first boy room. I loved picking some more masculine pieces while keeping it neutral and in line with my style and taste. One of my favorite things is the bookcase that my dad and I built together. It adds so much character and I hope it’s something that stays in our family for a long time.
DIY Bookcase with Angled Shelves

I had one empty wall I needed something for in his room and after realizing with Eloise, how many books kids have, I figured a bookshelf was necessary. I found a bunch that I liked but they were all expensive and pretty basic. Then I remembered this pin I had pinned a while ago:
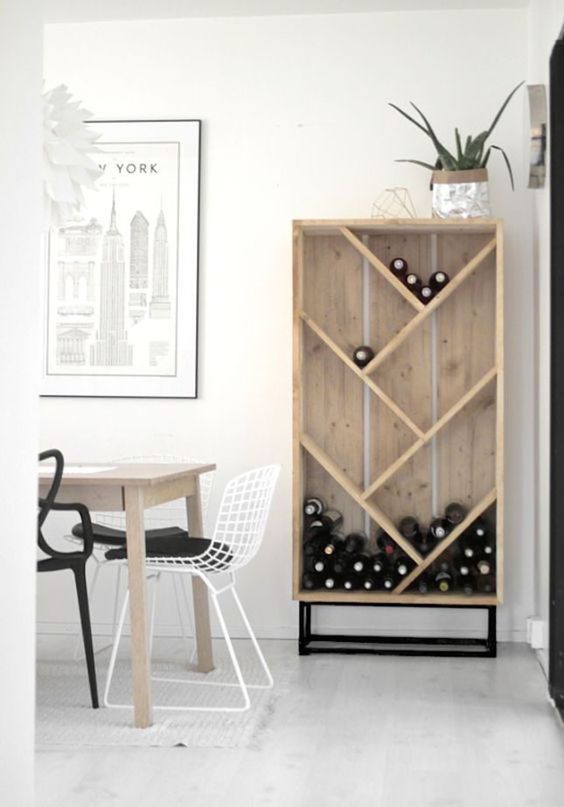
Although it’s used for wine, I knew it could be perfect for books too so I modified it a bit. Here’s what you’ll need.
SUPPLIES FOR DIY BOOKCASE WITH ANGLED SHELVES
12″ wide pine boards
1 Kreg Jig Pocket Hole System
Table Saw
Stain
Polycrylic
Polycrylic
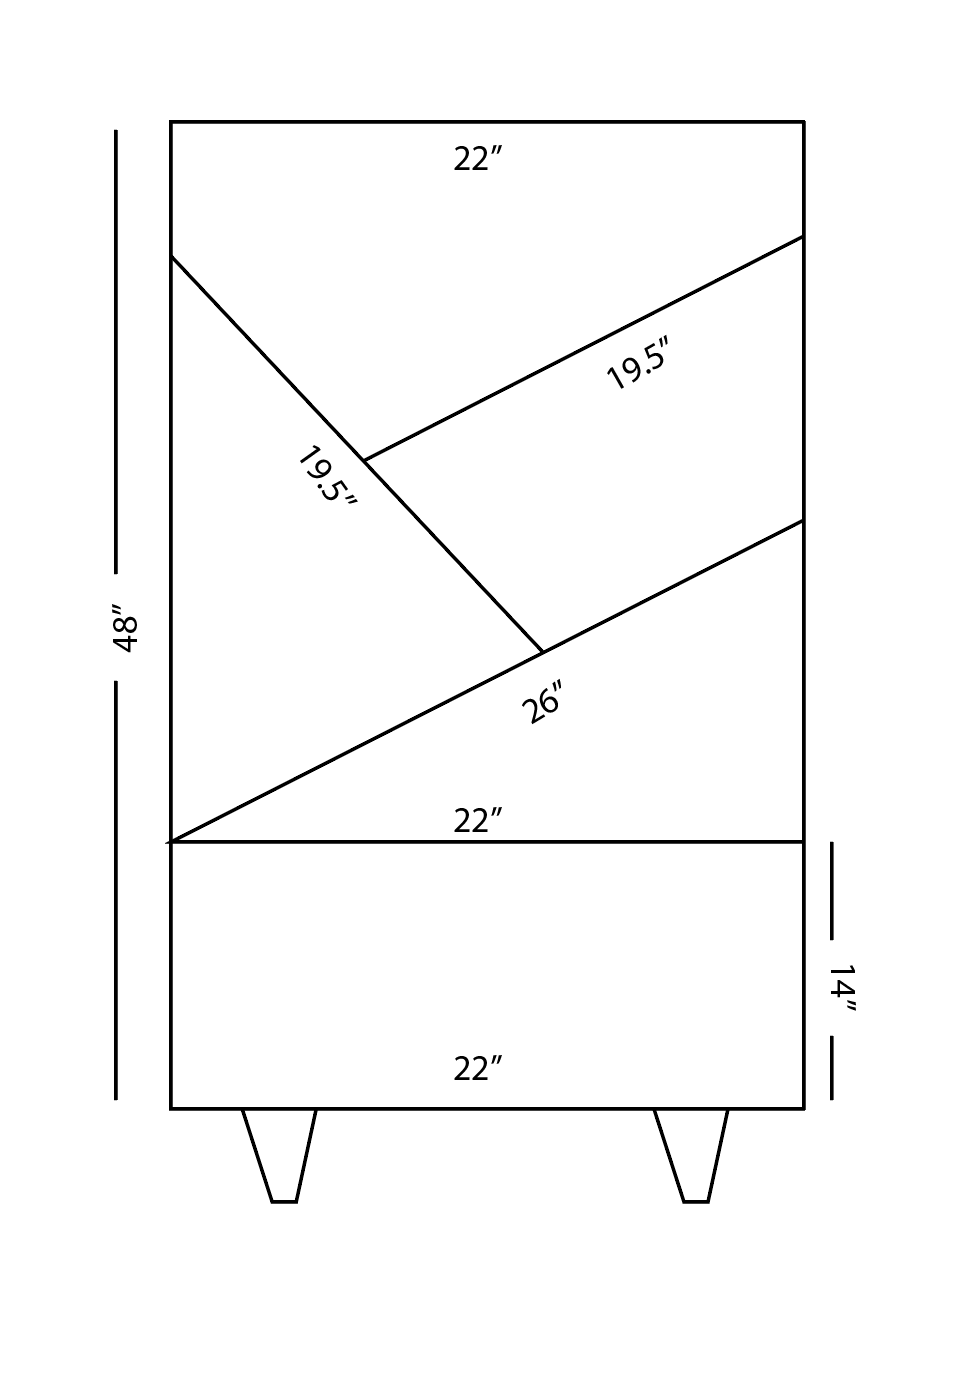
I’ll be honest we didn’t have much of a plan for this guy. I drew a little sketch of what I wanted which was a little different than the picture above since I didn’t need it to be as tall or have as many shelves. I handed it to my dad and off we went to Lowe’s to get some wood.
Here’s a picture of all the measurements that we ended up with.
We used regular pine which has a little more knots and imperfections but was a lot cheaper but you could definitely use select pine too.
Using my Kreg Jig we built the frame of the bookcase first which is 22″ wide and 48″ tall.
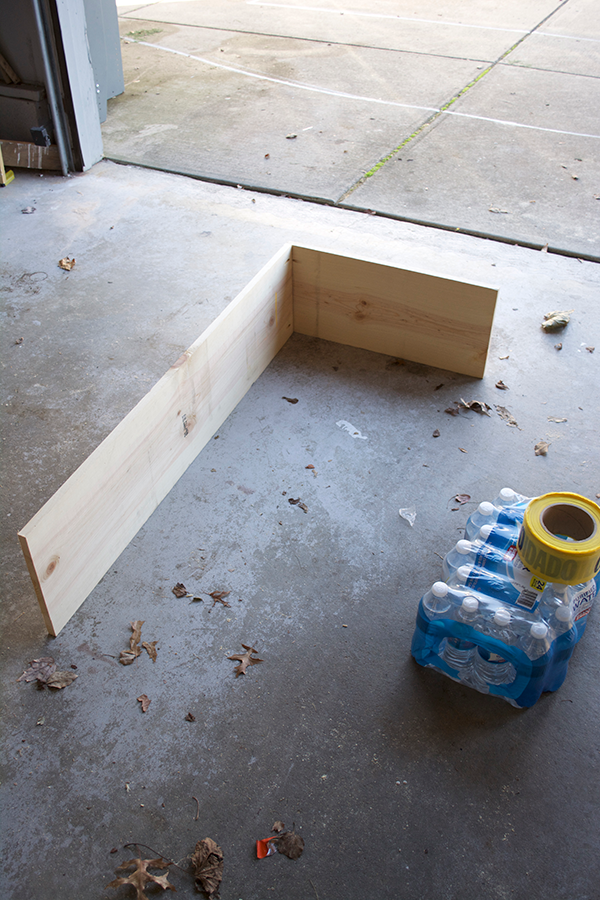
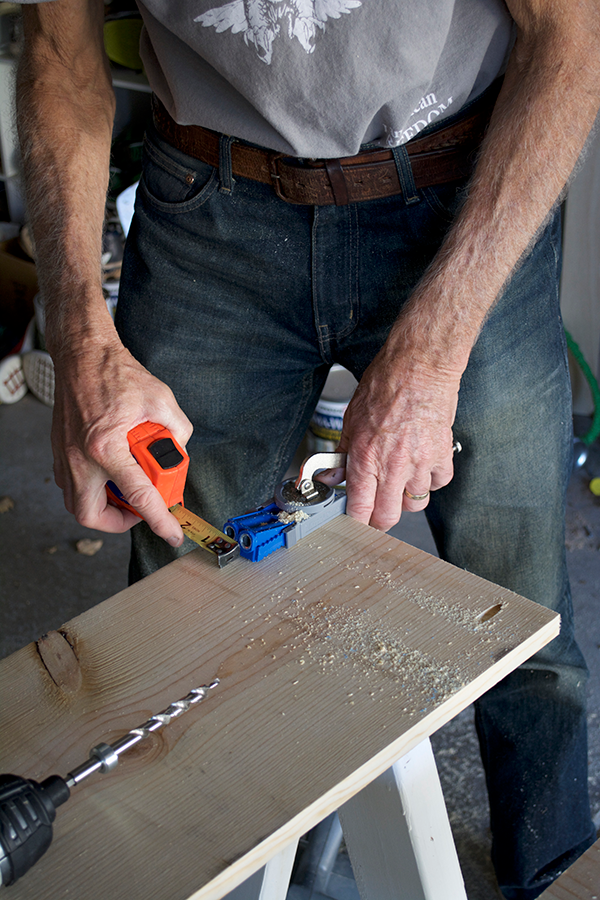
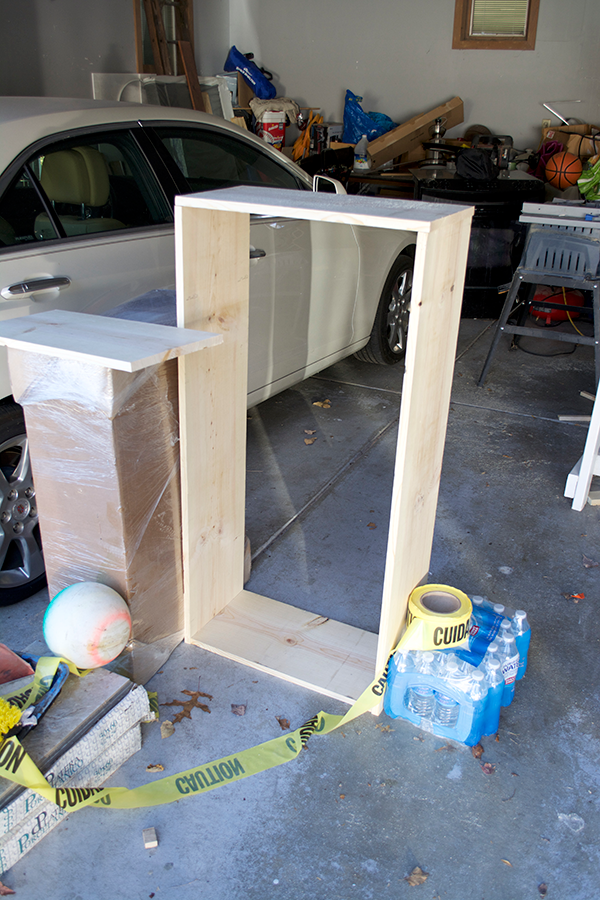
Once we had the frame built we added the easiest shelf first – the one that sits straight across the bottom. It’s about 14″ up from the base and I already knew I was going to put two little baskets under there.
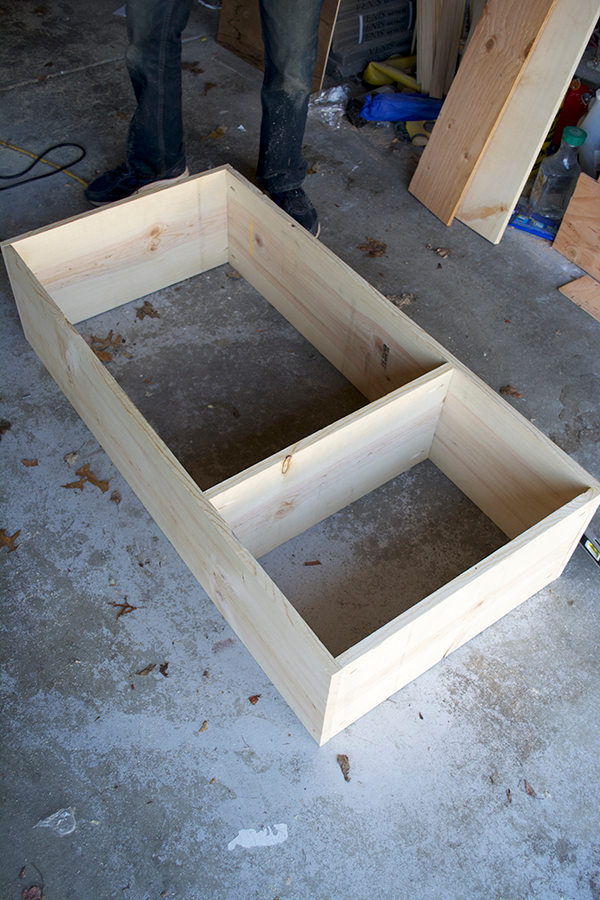
Then the fun part started; the angles for the rest of the shelves. I have to give all the credit to my dad here. I was about 8 months pregnant so I already wasn’t helping much, but these angles were super tricky to figure out. It took a LOT of trial and error and a lot of cuts on the table saw.
I tried to measure the angles the best I could with a protractor after the piece was complete for you guys:
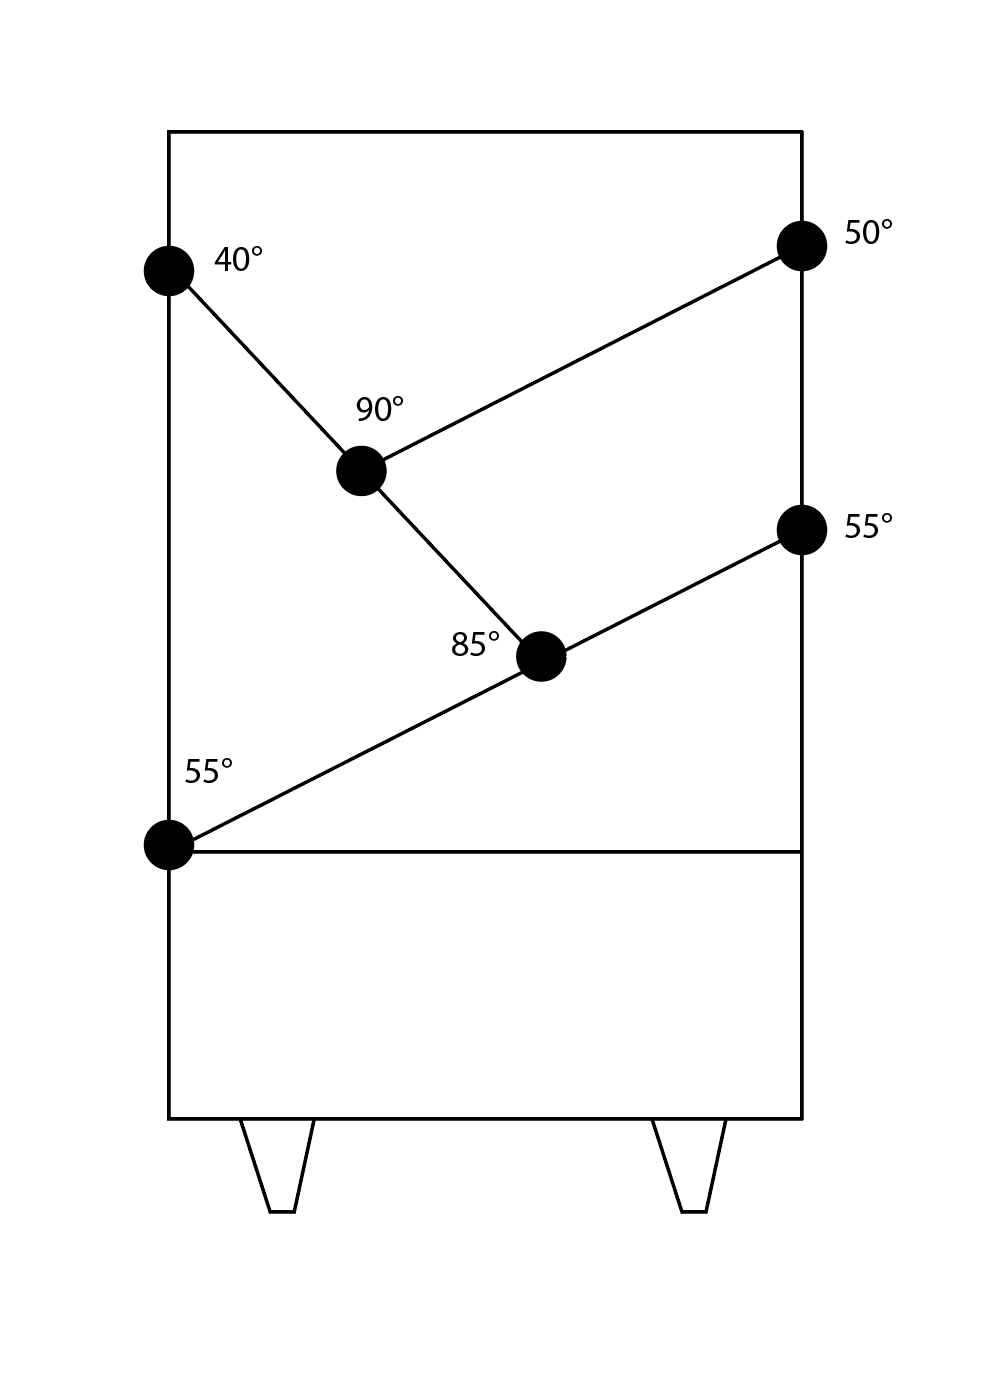
Hopefully that makes sense if you do try this yourself but if your measurements of the frame and everything else are a little different then the angles will be too. Just use your table saw and adjust the angle as needed.
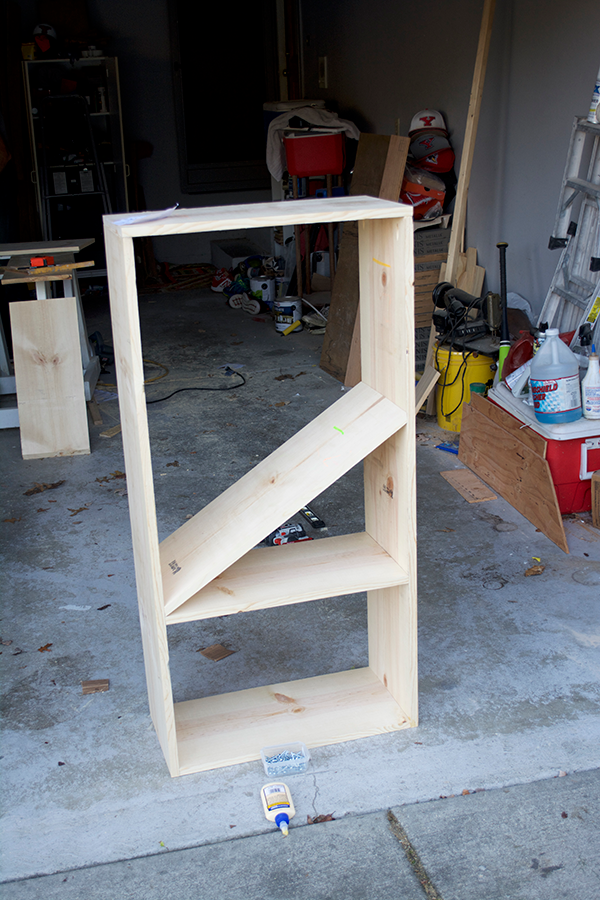
Slowly but surely it started coming together. I originally planned to have another shelf but once we started putting it together it felt too cramped so we only added one more after this.
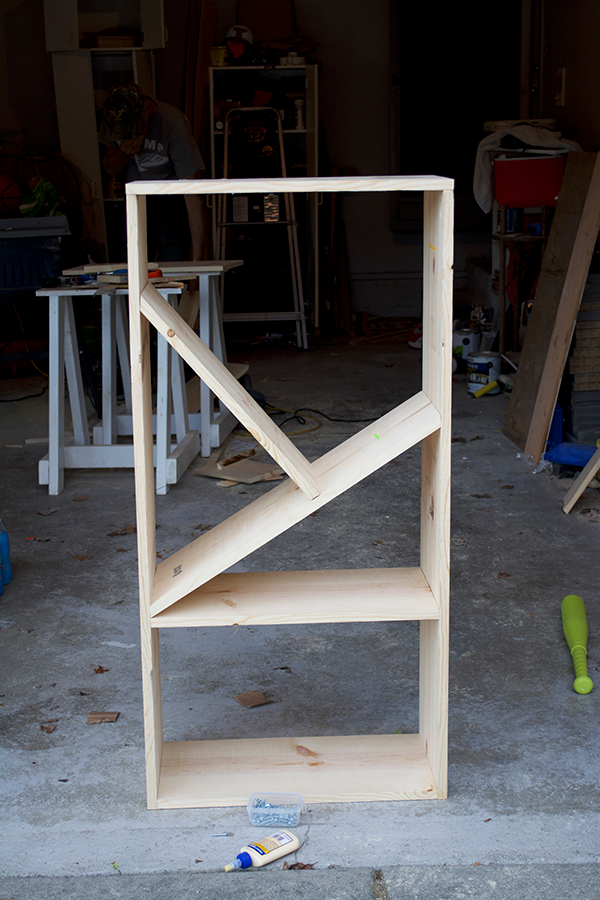
It felt way more balanced this way! Our next decision was whether or not to add a back or not. I originally thought I would, but after seeing it open like this I kind of liked it. And since it was going against a white wall, I thought the books and stain would pop off the white better than a wood back.
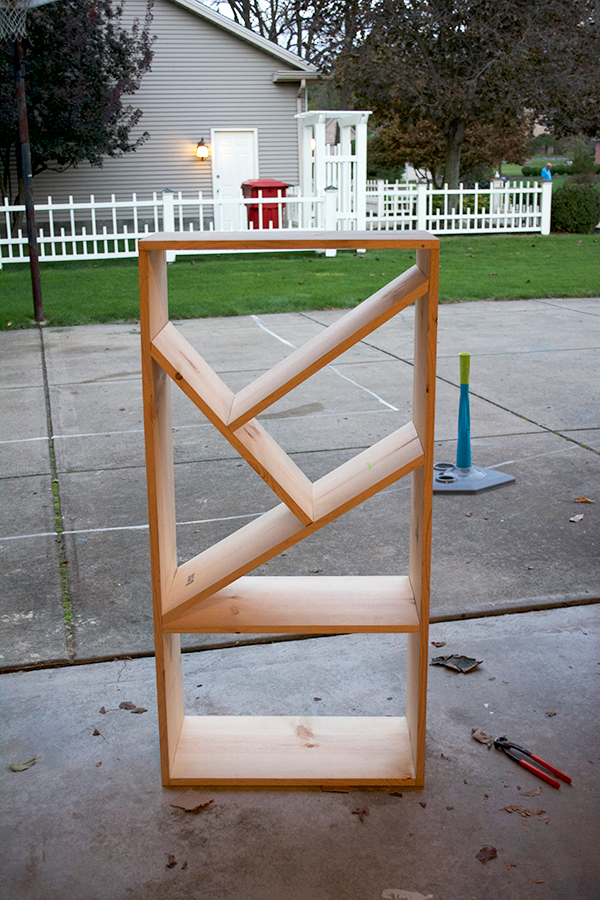
Once it was all put together my dad stained it using Dark Walnut and sealed it up with some poly.
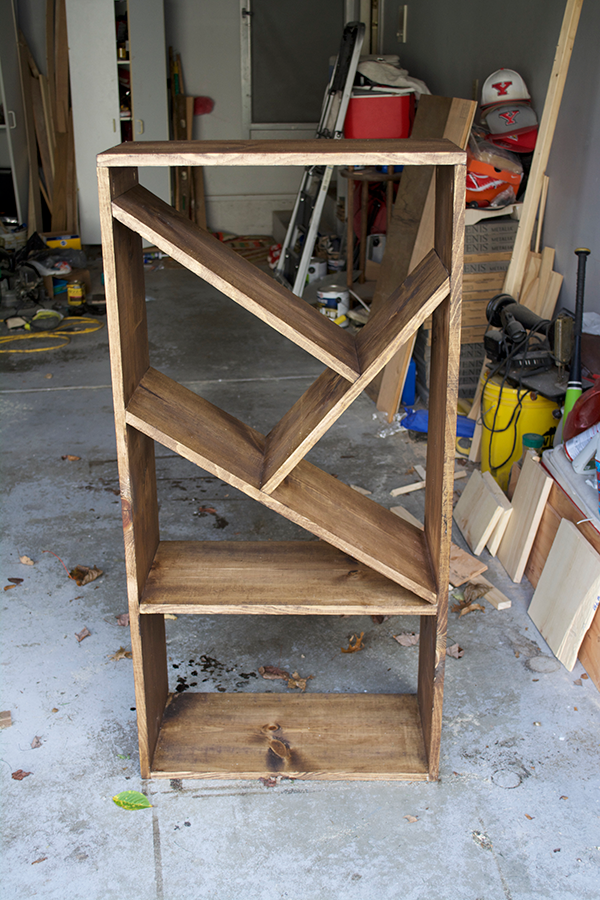
Then it was time to add some legs and we were done. I ordered THESE ONES off etsy and they got stained the same color.

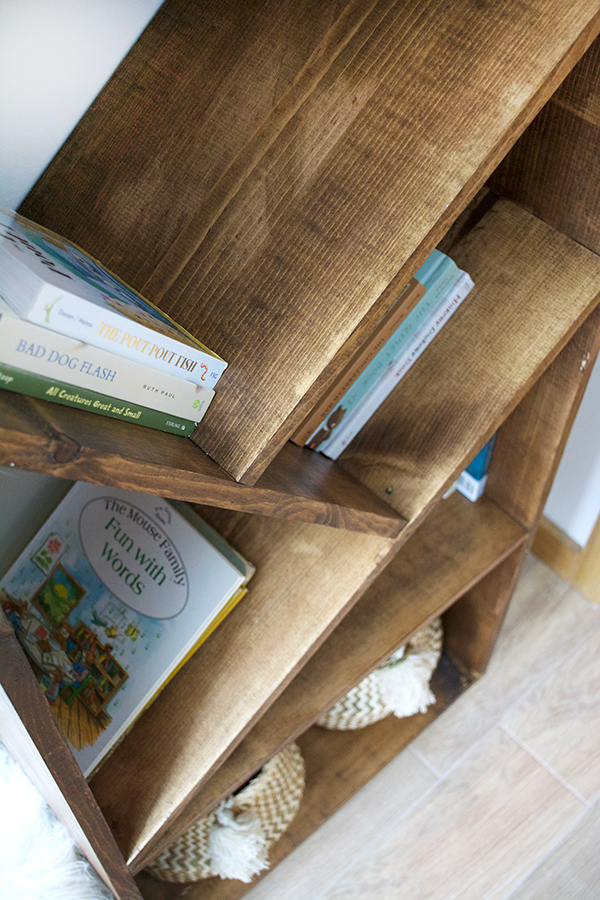
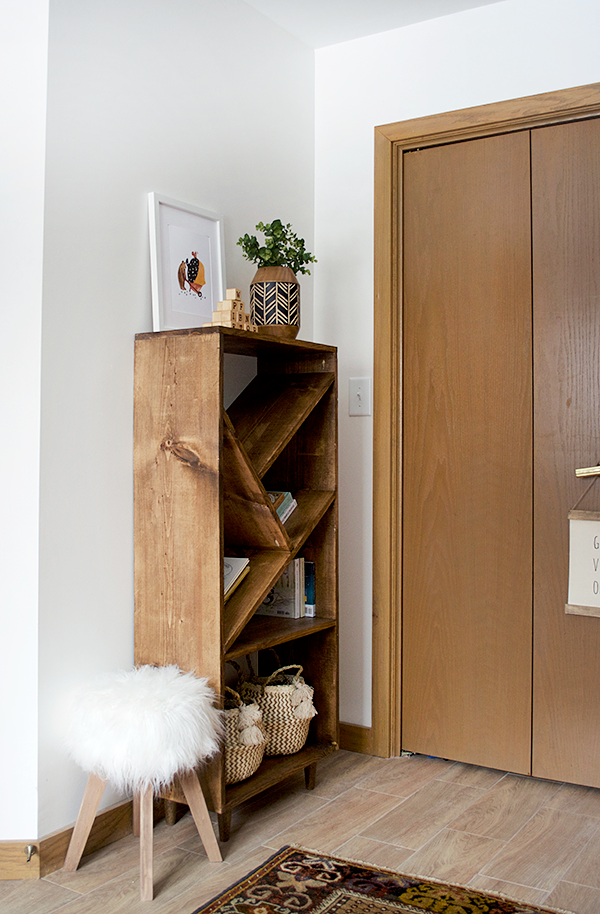
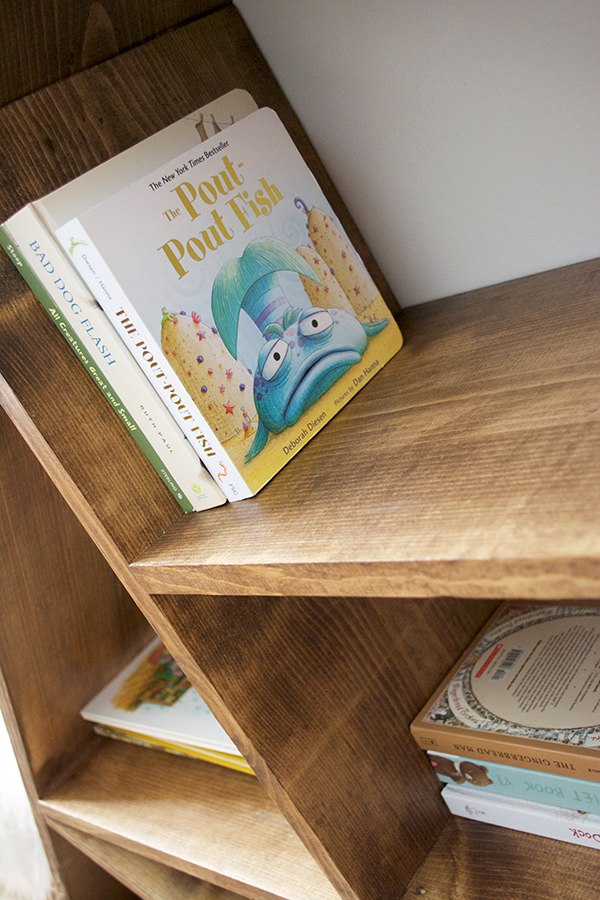
I looove how this piece turned out even though it was a bit tricky to make. It was super fun to work on it with my dad and watch my idea come to life. I hope it’s something that Hawkins will appreciate when he’s older and maybe some of my DIY skills will rub off on him 😉




Kelly
I love this!
I am planning on building this but have a Question, I noticed the top and bottom pieces are attached different…one is on the inside of the 2 sides and one is on the top of the 2 sides. Are the bottom cuz pieces 22 inches or do I need to account for the thickness of the 2 sides?
LARRY W DAVIS
Hello! I’m trying to build your bookcase, and have a question. How do you secure the angled shelves? I see you used pocket screws for the top, bottom, and first bottom shelf. Going by the pictures it looks like you used just glue.Thank you in advance………Larry
brepurposed
Hi Larry, we used glue as well as nailed them in with our nail gun!
Samy
BEAUTIFUL. Definitely going to make. I absolutely love! Thank you for the dimensions and beautiful pictures too.
Lauren
I love this!!!
How did you do the legs??
brepurposed
I bought them on Etsy and we just screwed them into the bottom 🙂
Joy
This is just beautiful and perfect for all the size variation of kids books. You did an awesome job, and those two tiny baskets at the bottom!!! Where are they from?