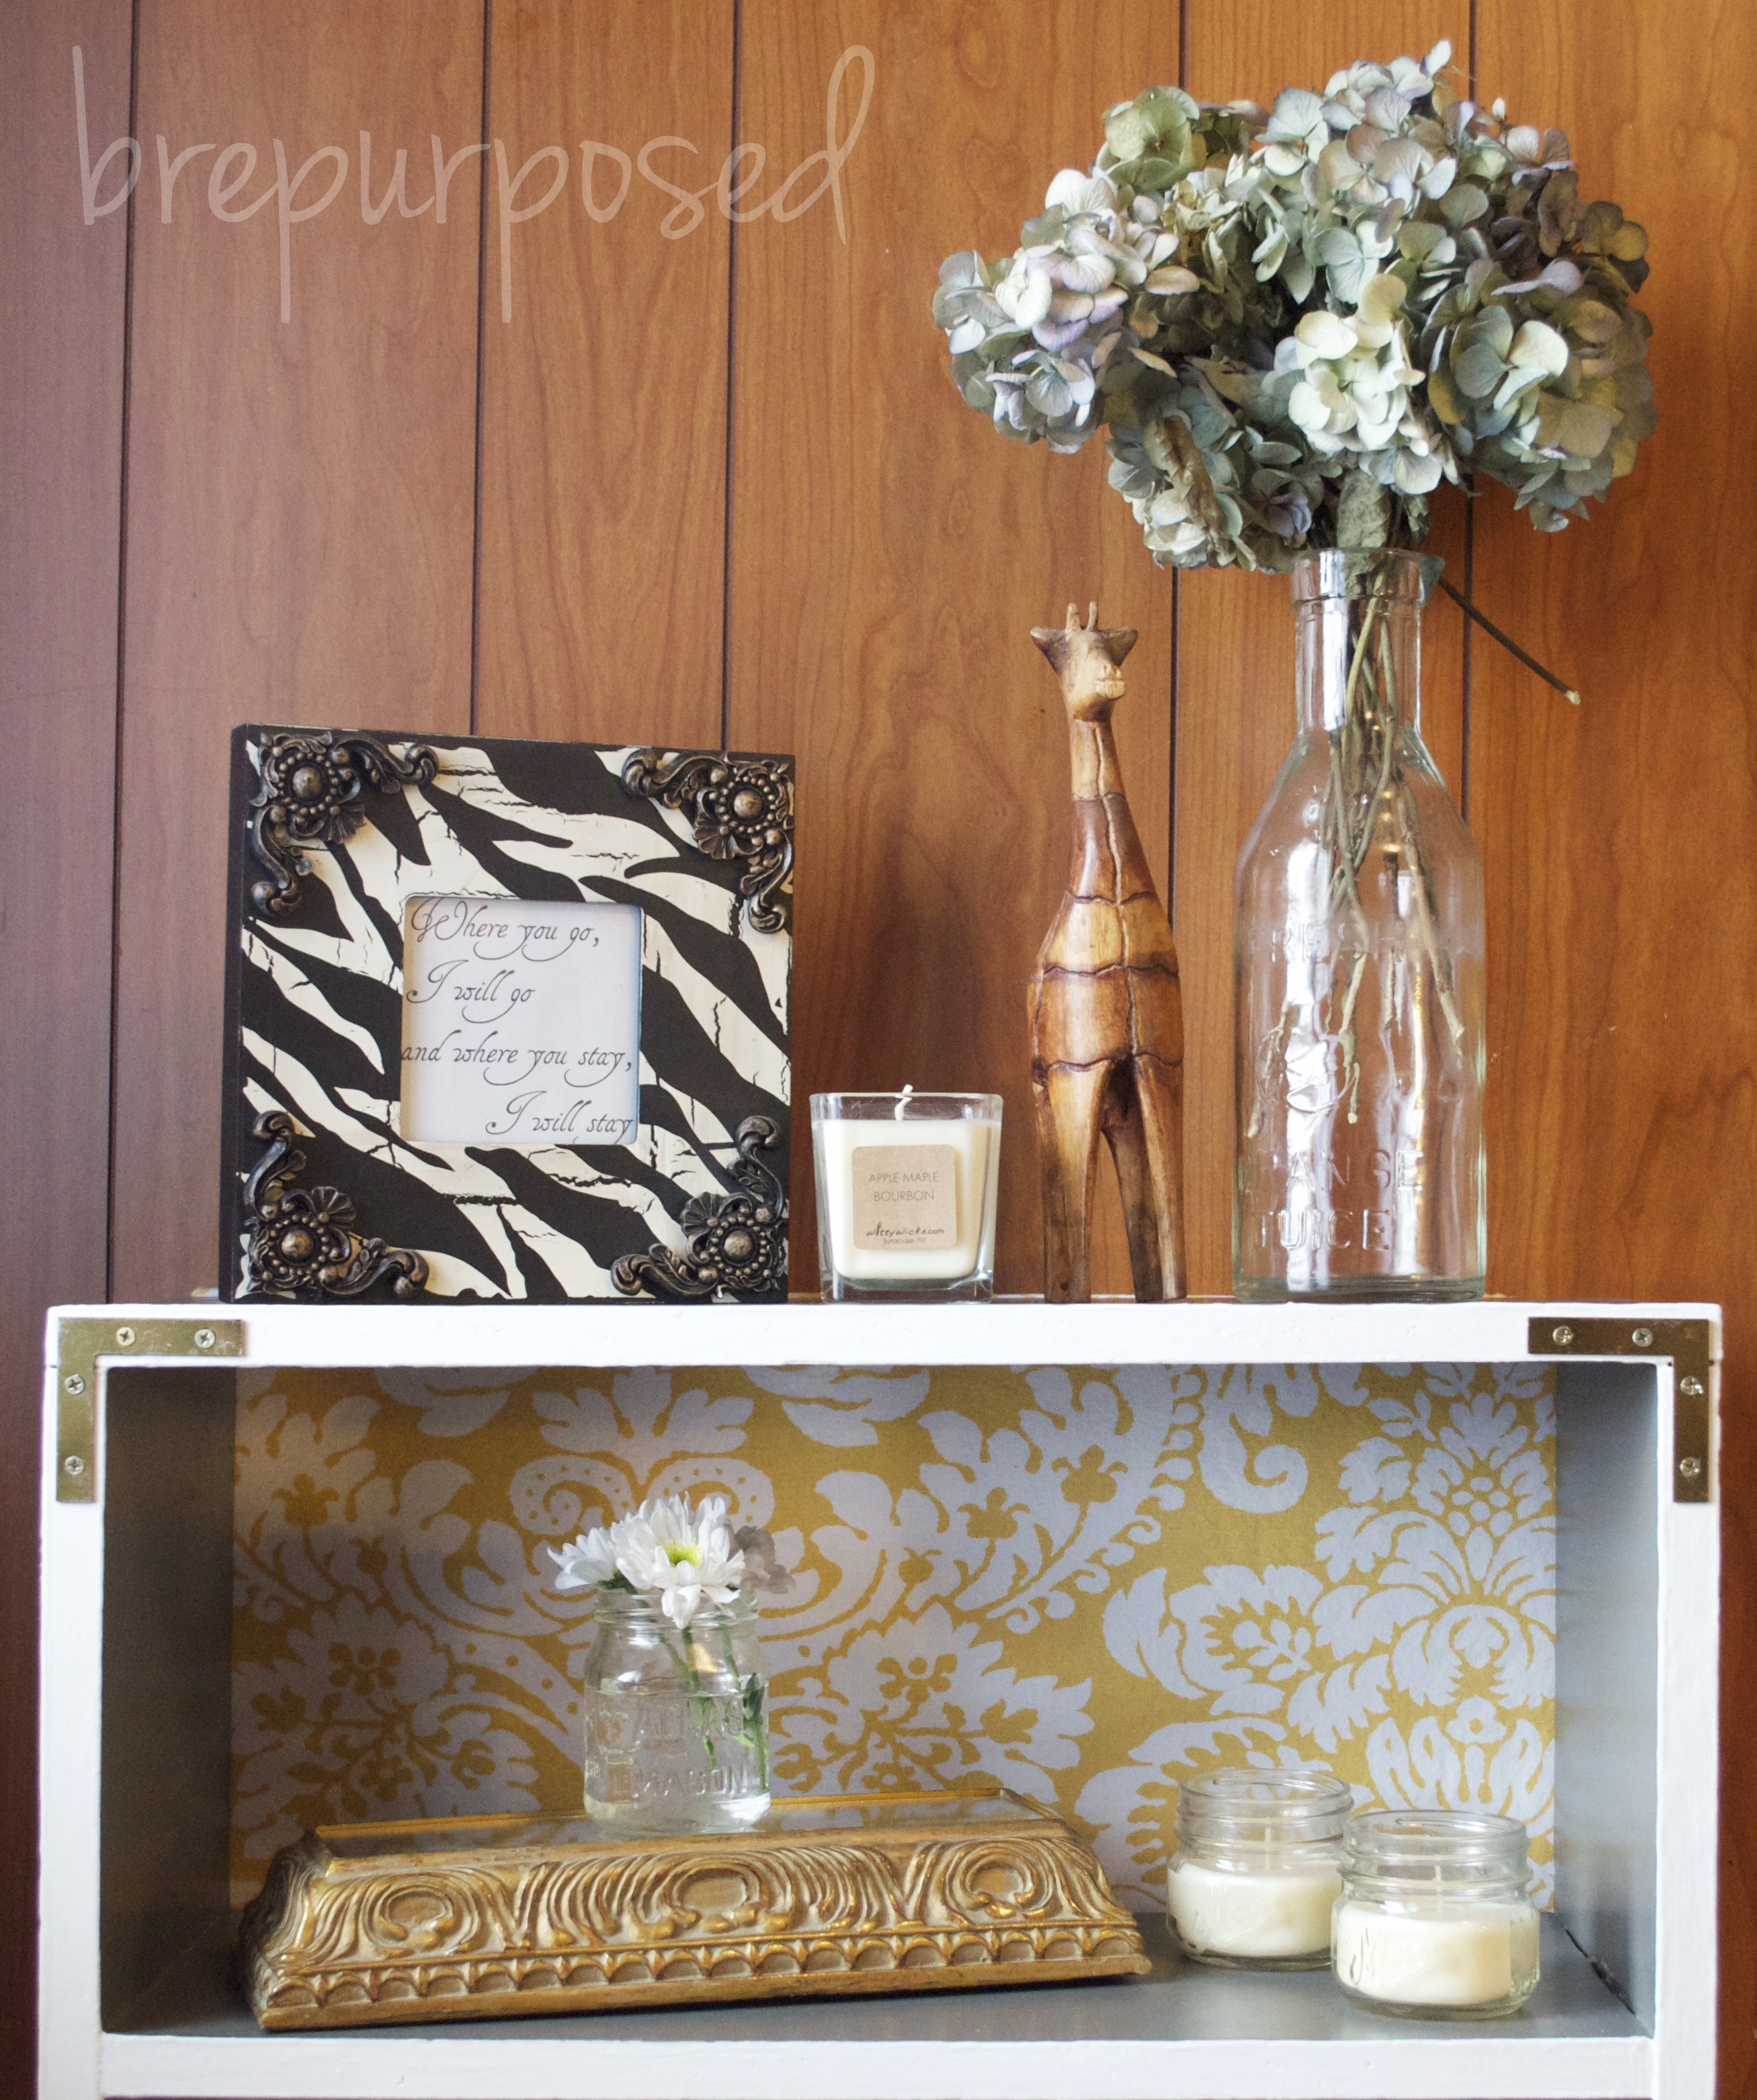
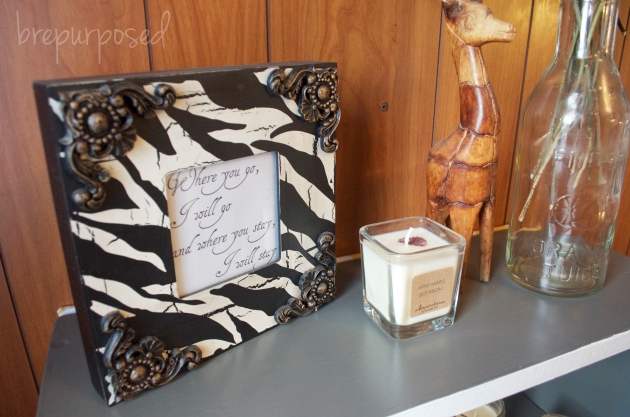
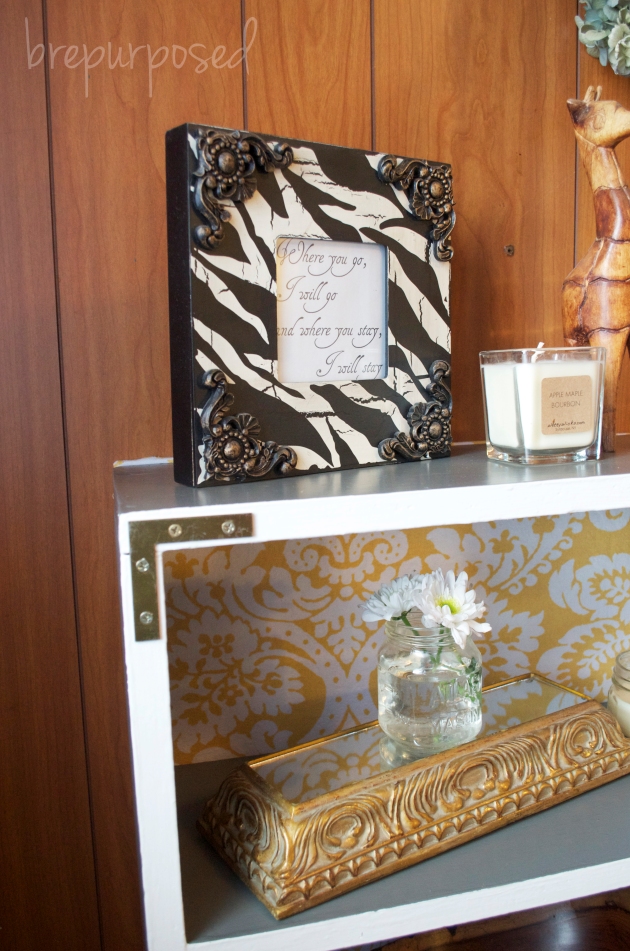
I love being able to make things for other people. Not only because I love seeing their reaction when they see the final piece, but because they have to make all the decisions! I am extremely indecisive, so pinning all the decision making on someone else takes all the pressure off me. You might remember my friend Beth, the one I made the Piano Bench Ottoman for. This bookshelf was hers since she was a baby, and the pink stenciled hearts on the sides just didn’t go with her and her boyfriend’s new space. Brepurposed to the rescue! She wanted it painted grey, with a back added on, covered in yellow fabric. Easy peasy – good riddance pink hearts!
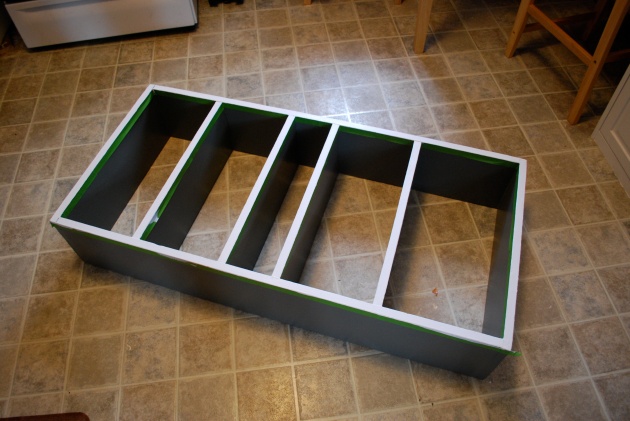
This bookshelf was in pretty rough shape and needed some serious TLC. First things first, a good sanding was in order. I smoothed everything out and cleaned all the dust off of it before applying two coats of primer. Once that was dry, 3 coats of Valspar’s Portland Twilight was applied.
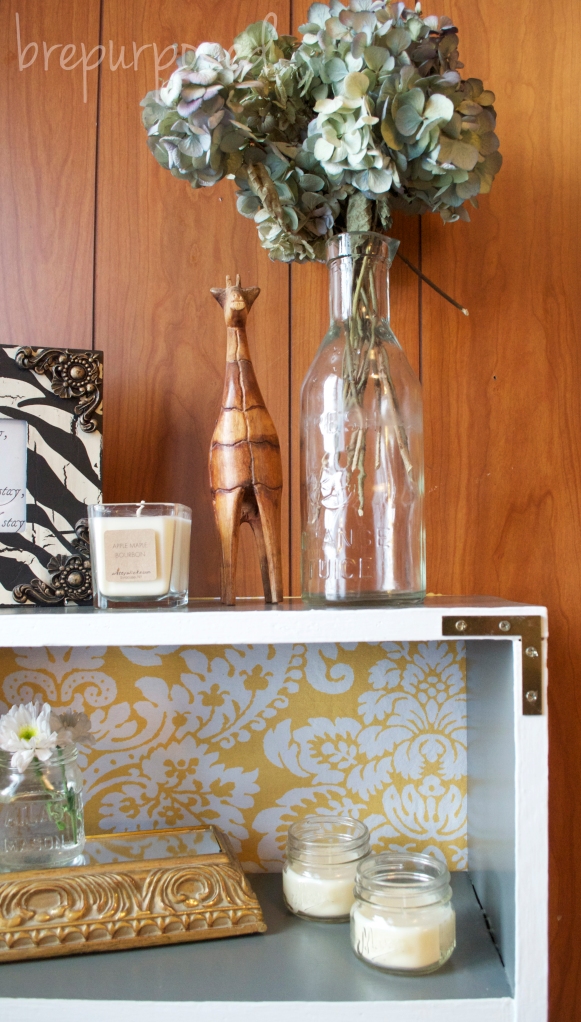
I liked the color but kept thinking it needed something else. I went back and forth about whether to paint the inside shelves white or even the side panels. I loved the way the white lines popped on my hub’s dresser I just completed, and thought I would do something similar for this. I painted the thin front panels white with some left over trim paint I had, and think it added the perfect touch.
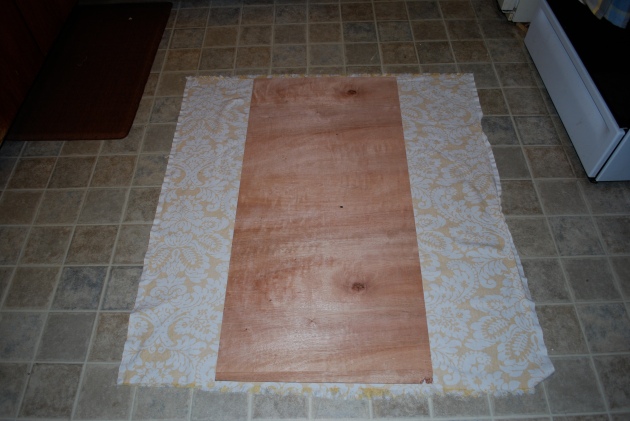
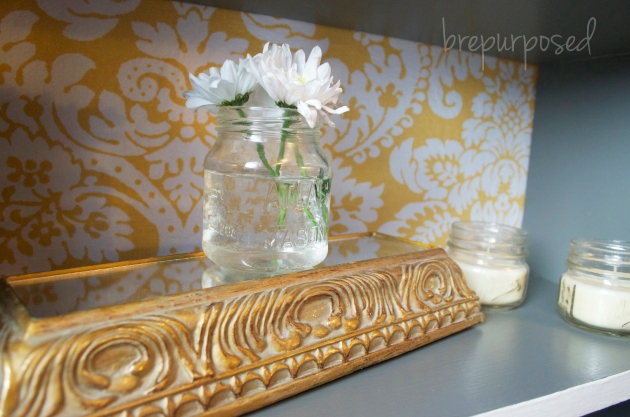
I got this beautiful fabric at Hobby Lobby and almost had to go back and buy more. I bought plenty to begin with, but could not iron out the stupid fold in the middle. After doing some research, I tossed it in the wash. After pulling it out of the dryer I had a minor freak out. All the ends were coming unraveled and it shrank like WOAH. Why I didn’t think about this before hand is beyond me, but luckily I had JUST enough fabric to cover my back. I bought a 2×4 sheet of Plywood at Lowe’s and had them cut it to size for me. This cost about $7. I used a staple gun to attach the fabric and didn’t really worry about the rest of the back being exposed since this would be against a wall anyway.
I screwed the back to the bookshelf and had the idea early on to add some corner braces on the front. I love the way they look on dressers and thought I would give it a try for this. Baby dresser no more! Beth lives in ‘Cuse so for the purpose of pictures I grabbed some odds and ends from around our apartment, but I can’t wait to see what she does with it when it makes it’s way home in a few weeks!
Happy Hump Day everyone!!








buy ammunition online
Hey, I think your website might be having browser compatibility issues.
When I look at your blog in Opera, it looks fine but when opening in Internet Explorer,
it has some overlapping. I just wanted too give
you a quick heads up! Other then that, wonderful blog!
bullets for sale
Heya i’m for the first time here. I came across this board and
I find It really useful & it helped me out much.
I hope to give something back and aid others like you helped me.
Maura
Made my way over from Kristi’s blog! What an awesome makeover! I love the corner bracket detailing. Simple and smart, my favorite kind of DIY.
brepurposed
Congrats on your nomination! So glad she linked us all up. I love those corner braces too and now I want to use them on everything! haha
Kristi
This looks fabulous! LOVE the fabric backing!
I’ve nominated you for a Liebster Award, check it out here: http://makingitinthemountains.wordpress.com/2014/03/26/liebster-award/