It’s time for another Monthly DIY Challenge! You know the drill; every second Wednesday of the month, I get together with some of my bloggy buds and we create a DIY based on the same theme or out of the same material. We’ve recently done pegboard and fabric, and this month was craft wood!
What exactly is craft wood? It’s a broad theme, but essentially it’s thin wood, like Balsa Wood or plywood that you can cut super easily without power tools. My product of choice was Balsa Wood, which I’ve used a bunch of times before and just love. It’s so easy to work with and you can literally use scissors to cut it.
DIY ALPHABET BLOCKS
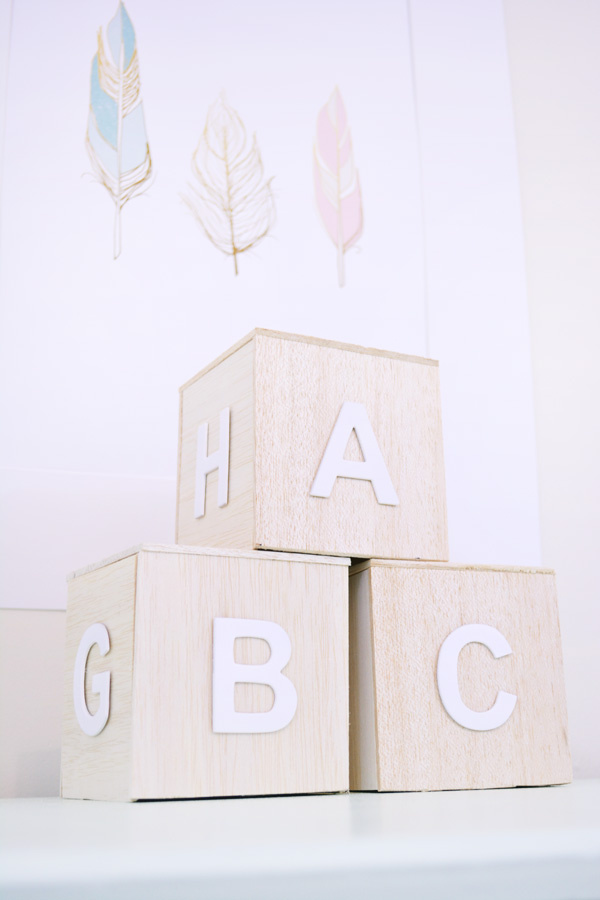
Now that we’ve moved into a new home, I’m really only trying to create projects that I know I’m going to use in our decor. Good thing I need to decorate pretty much every room in our house, so I’ve got a lot of possibilities. The living room is coming along quite nicely, which you can check out here, and my other main room of focus is of course the nursery.
I already shared this DIY Feather Mobile I made, and next week I’ll be revealing the little MCM piece of furniture I painted mint. It turned out pretty awesome if I do say so myself 😉
I’ve got a lot of the larger pieces for the nursery planned out already, so now it’s time to start focusing on some of the smaller details. Alphabet blocks are a common piece of décor used in nurseries, but the typical rainbow colored ones don’t exactly mesh with the rest of the aesthetic in the room. I thought it would be fun to create my own, on a much larger scale. Keep in mind these are only for décor and aren’t really meant to be played with.
MATERIALS
Two pieces of balsa wood
X-Acto Knife
Hot glue gun
Cardboard letters
White Spray Paint
I did say you can cut Balsa Wood with scissors, which you can, but I used pieces that were a little thicker and can sometimes cause splitting. No bueno. I used an X-Acto knife to make sure I got straight lines.
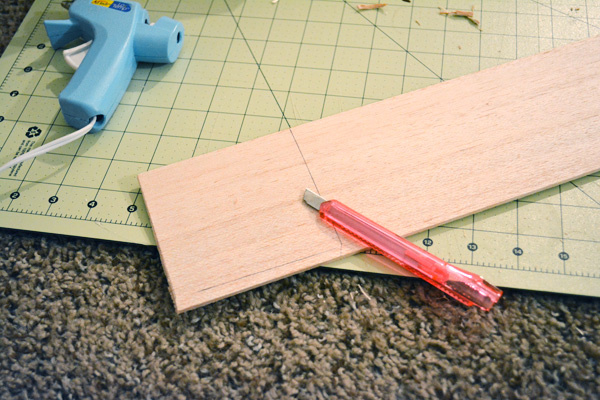
My pieces were 4 inches wide, so to make sure I had square blocks, I cut 3 pieces that were 4×4 . Then I cut two smaller pieces that you’ll kind of have to eye ball, to fit in between the other pieces on the sides.
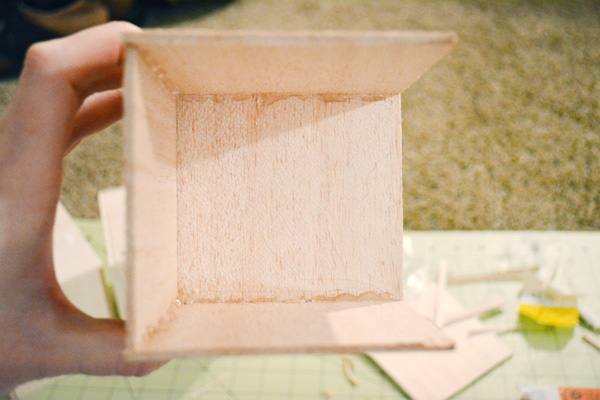
You can totally add a bottom if you want, but since these are mainly for décor, I decided to leave it off.
Using your hot glue gun, glue on the inside only, where the two pieces of wood meet. I started with the 4×4 pieces, and then added the other two last.
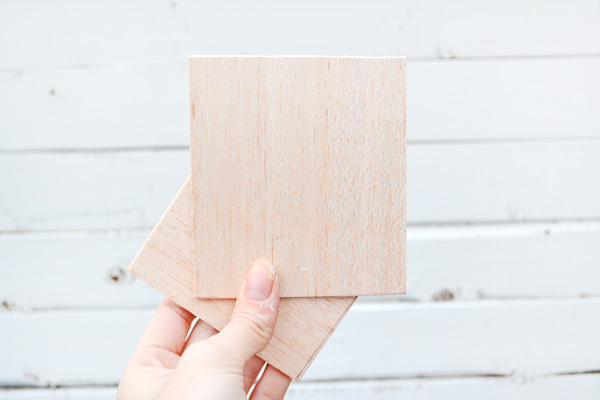
Of course I had a little bit of unevenness happening, so this is where I use my scissors to do a little trimming and make sure the blocks sat flat.
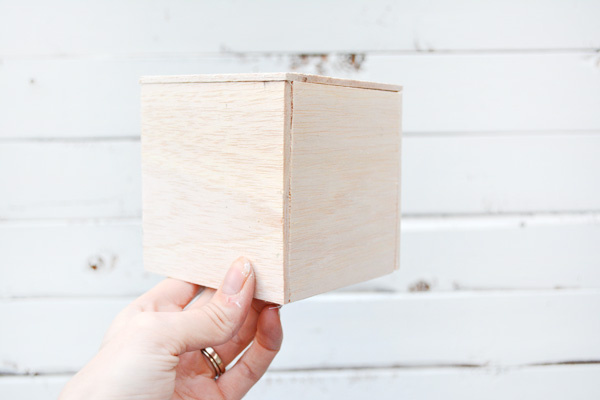
At this point, I was really torn about how I wanted to finish the blocks. Typical ones are wooden with colored letters, but I had a few ideas I was tossing around. All white with gold letters? Some sort of geometric pattern? All wood with white letters? All wood with the letters as is? I wanted to keep them somewhat neutral and not overdo it with the mint and peach.
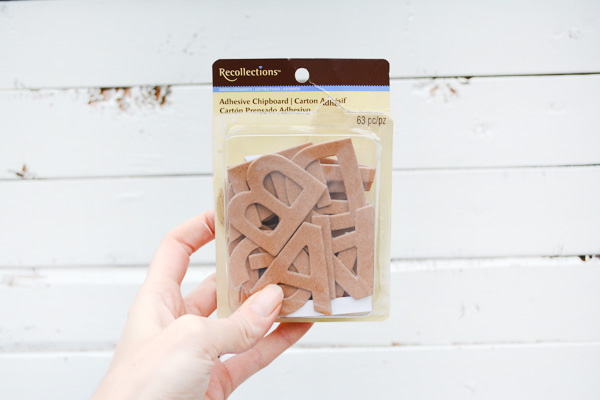
Bloggy buds to the rescue. The consensus was wooden with white letters, so that’s what I went with and I’m glad I did.
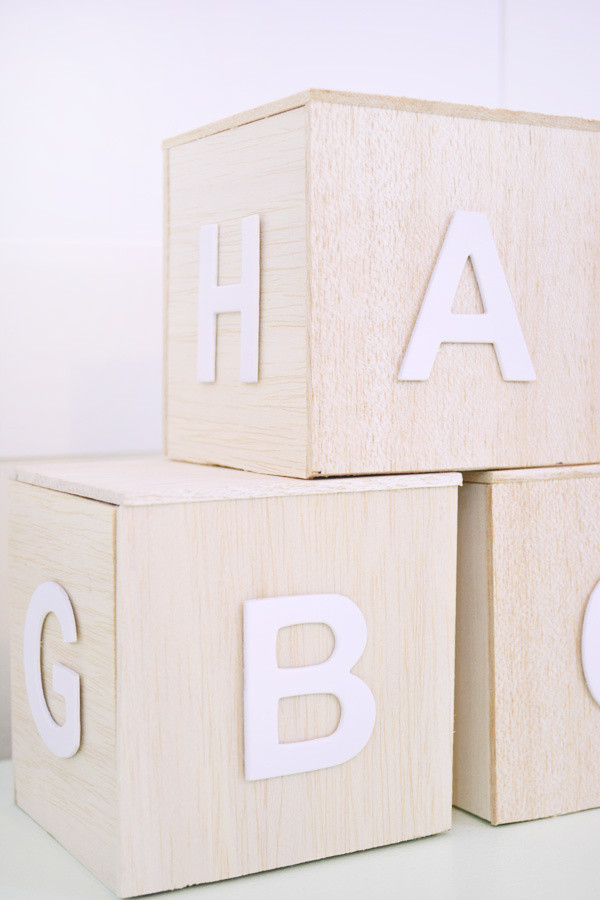
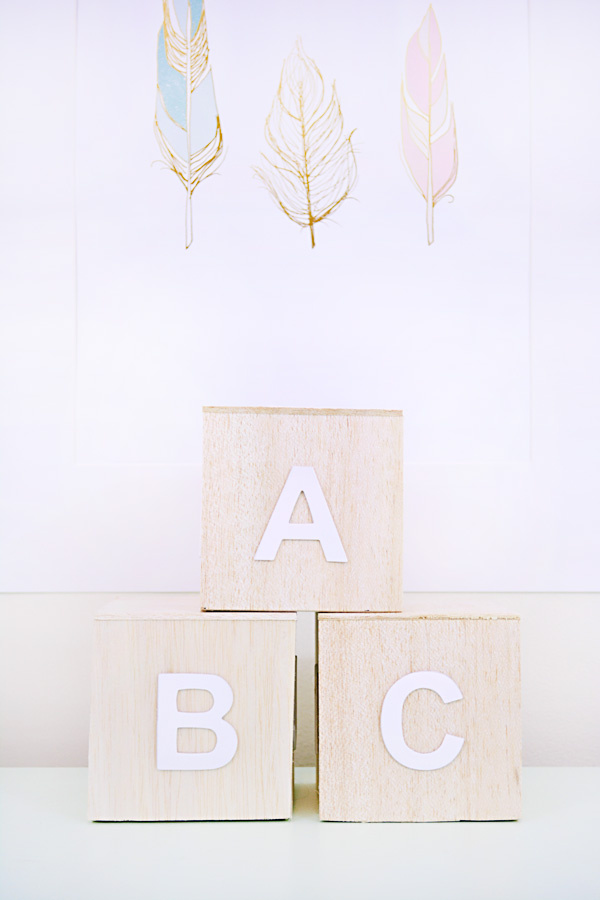
I had the hubs spray paint the letters white for me. Then I used my hot glue gun to attach them. It looked funny with letters on the top of the two bottom blocks, so I decided to leave them off!
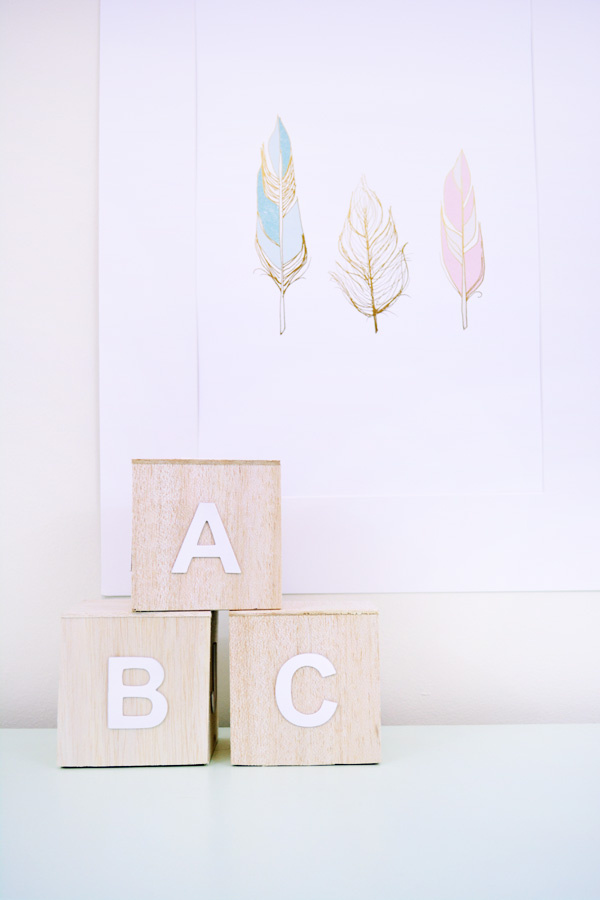
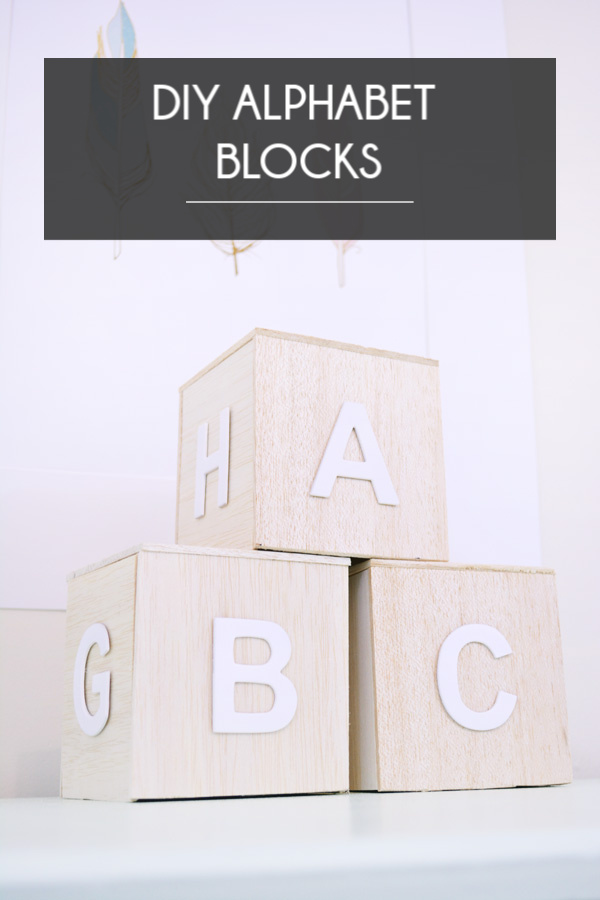
I put A, B and C on the fronts, but other than that I just threw on some random letters.
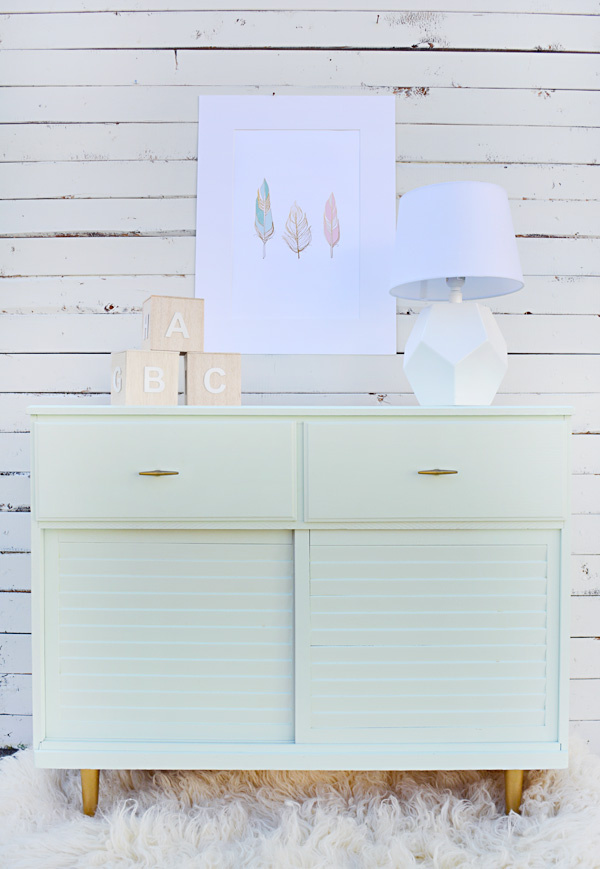
I love how big they are and how I only need 3 to make a cute little vignette that sits perfectly on top of my new mint piece.
I’ve done my fair share of research on nursery décor and there are some pricey items out there. Plus it’s hard to find things that fit the look I’m going for. So of course the solution: DIY, duh. Of course I won’t be DIYing everything. But, you can definitely expect some more nursery crafts from me and of course some nursery printables.
Don’t forget to check out all the other awesome craft wood projects below!




Amanda @ Dwelling in Happiness
These are so adorable!! And super easy, which I love. I think I may have to make a set of these bad boys for our new babe, too!!
brepurposed
Thanks girl! I definitely think your little babe needs some 😉
Erin
Yeah! DIYs for baby 🙂 These are adorable. Can’t wait to see the whole nursery and the little bambino enjoying it!!
brepurposed
Thanks Erin!! Nurserys are so fun to decorate!
Katie @ Little House of Four
Super cute! They are going to make such a great addition to your nursery. Your little one is so lucky to have such a talented mamma!
brepurposed
Aw thanks Katie!! xo
Lindsay - Shrimp Salad Circus
These are so sweet – I love how they’re a beautiful reminder of childhood toys but are such a nice neutral, too!
brepurposed
Thanks Lindsay! I’m trying not to overdo it with the mint and peach ha.
Sarah @ Little Red Brick House
So adorable, Bre! I’m dying to see your finished nursery! I know it’s going to be amazing. 🙂
brepurposed
Thanks Sarah!! I can’t wait to finish it and share!
Christina @ Operation Home
The perfect addition to any nursery!!! These are so clever and super cute!!!!! 🙂
Bre @ Average But Inspired
Aw, these are so sweet! I can’t wait for your nursery to be finished. It’s going to be adorable. Pinned your project! My kids had alphabet blocks in their nursery, too, but they weren’t handmade, which would have been much more special!
Marie from The Interior Frugalista
Very cute Bre! I can’t wait to see your nursery reveal – I have no doubt it’s going to be adorable, judging by these blocks, the feather mobile, and other elements you’ve given us sneak peaks of!
brepurposed
Thanks Marie!! It’s coming together and I can’t wait to share it all!
Kristi
Seriously, how cute are these?! LOVE!
brepurposed
Thanks Kristi!!
Amy | Canary Street Crafts
These are so cute, Bre! I can’t wait to see your nursery completely finished. Btw, Happy Birthday!!
brepurposed
Thank you Amy!!! xo