BI-FOLD CLOSET DOOR UPDATE
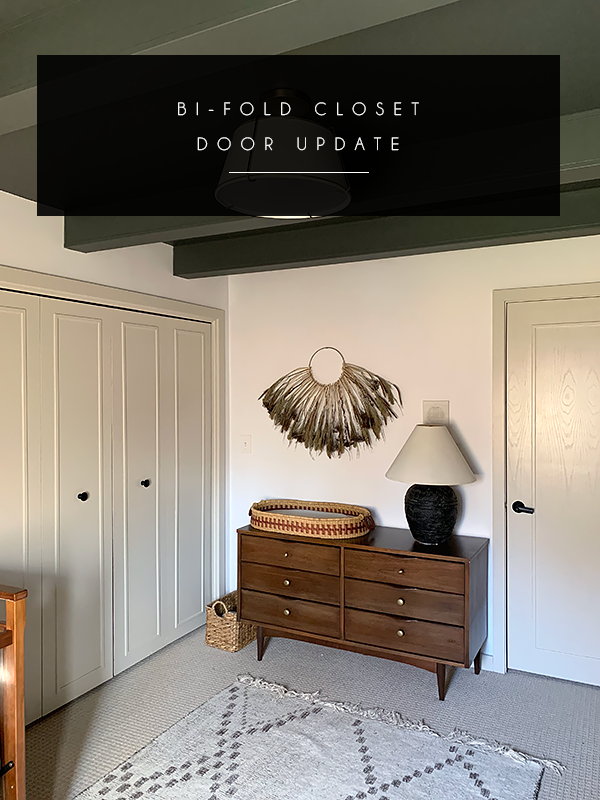
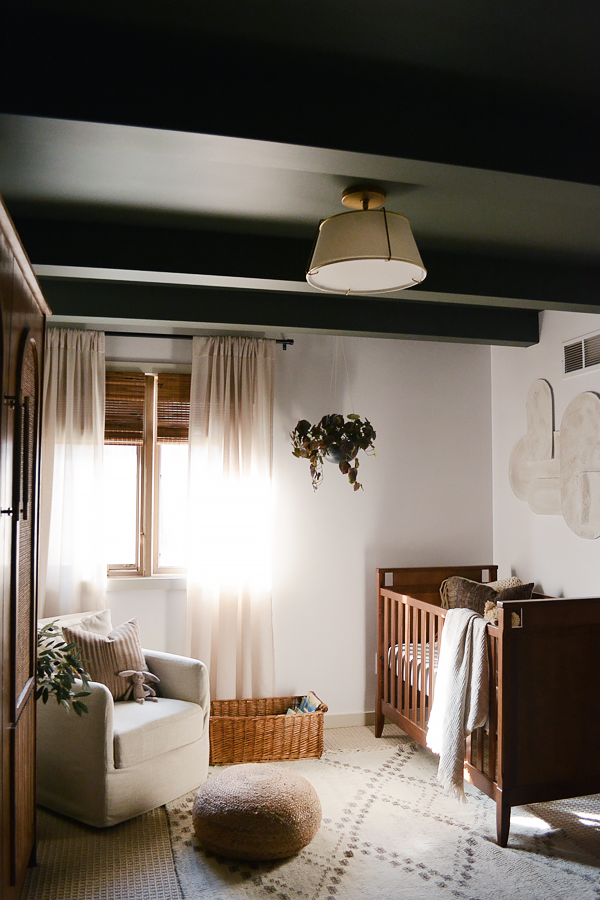
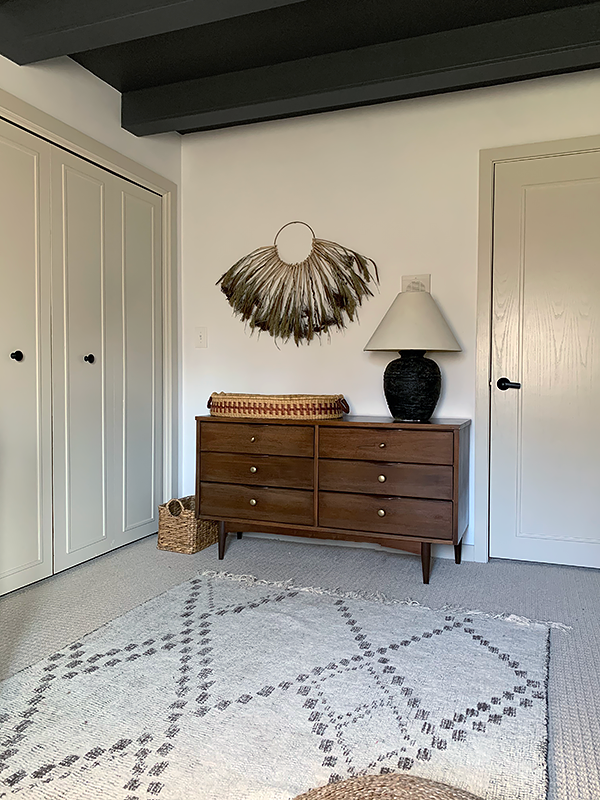
By updating the doors in the Nursery/Guest Room, it instantly elevated the space. By using a little paint and some trim, we completely transformed the dated Bi-Fold closet doors and main door.
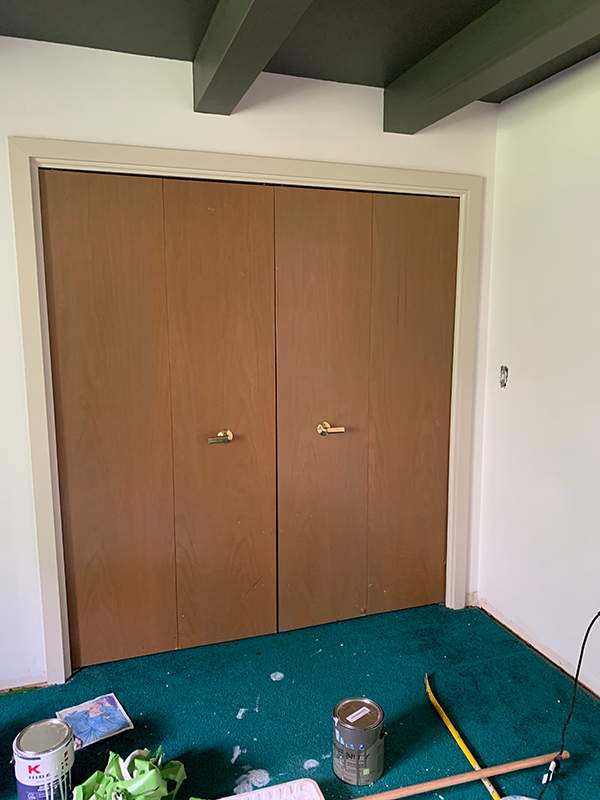
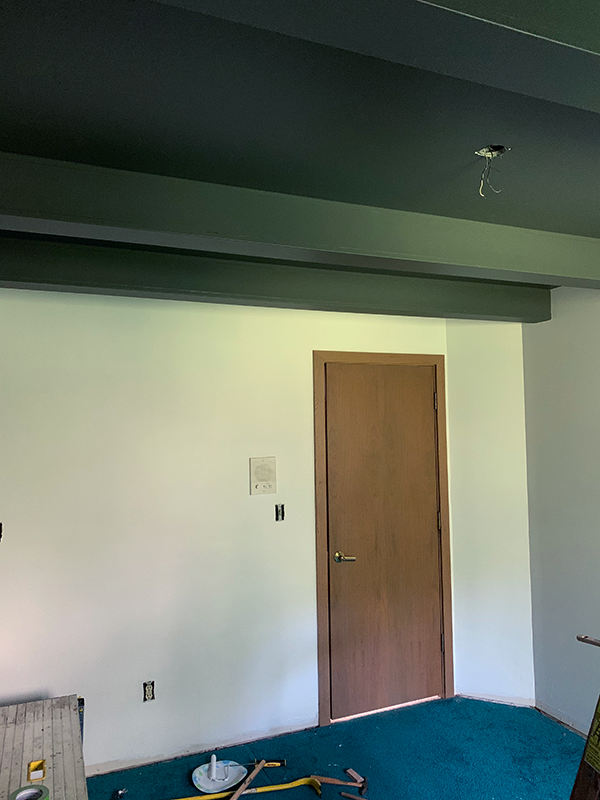
As a reminder, this is what the closet doors originally looked like. Along with ALL the other doors in our home. This was the first one I’ve painted and I’m not going to lie it felt pretty good.
HOW TO UDPATE DATED DOORS
Step 1
Figure out the design you want on your doors. This will determine what trim you use and how much of it you’ll need. I decided to do a simple rectangle on each panel.
Step 2
Cut your trim to size! We used this pine wood screen trim and cut each piece to length and then cut each end at a 45° for a more seamless look.
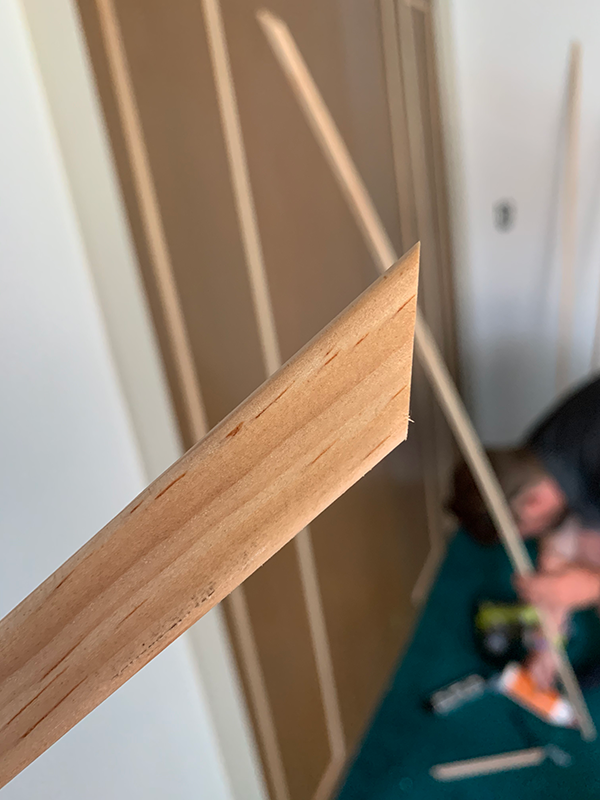
STEP 3
Apply some wood glue to the back of your trim.
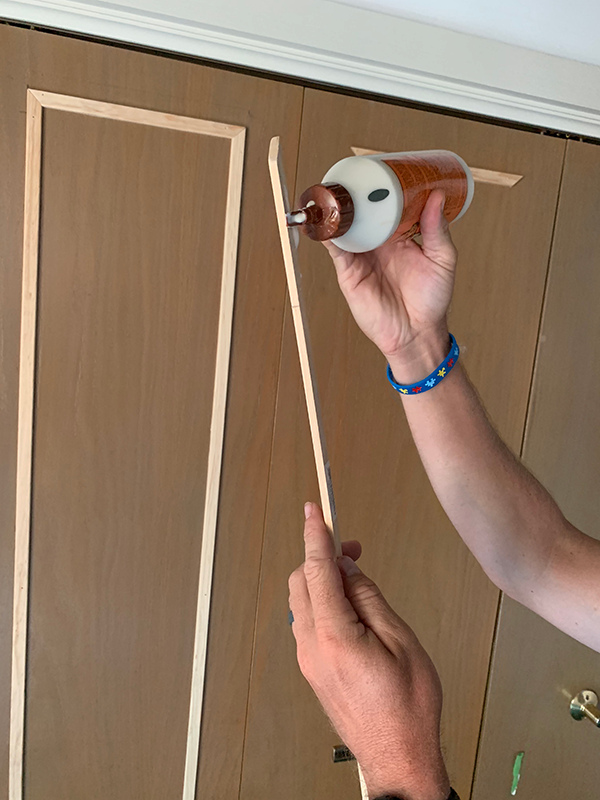
STEP 4
Use a nail gun to attach each piece of trim to your door.
TIP – be sure your nails aren’t too long and go through the back of your door!
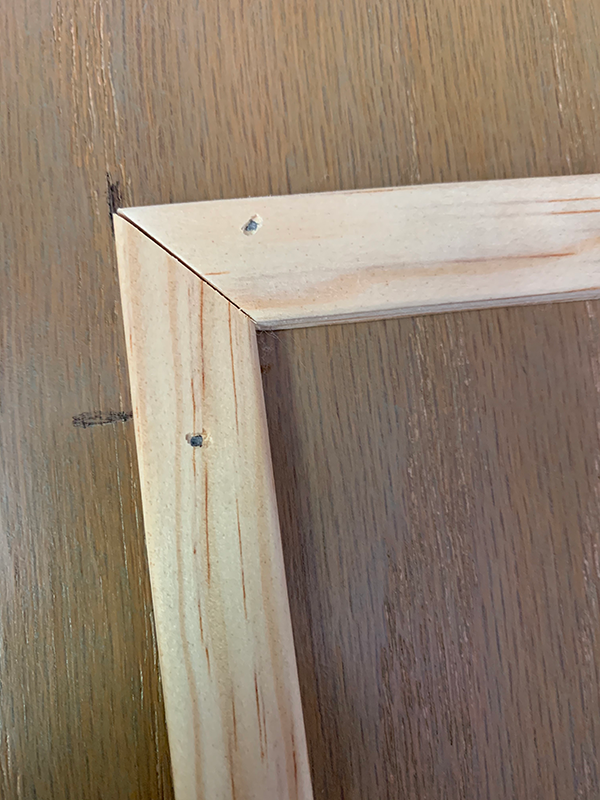
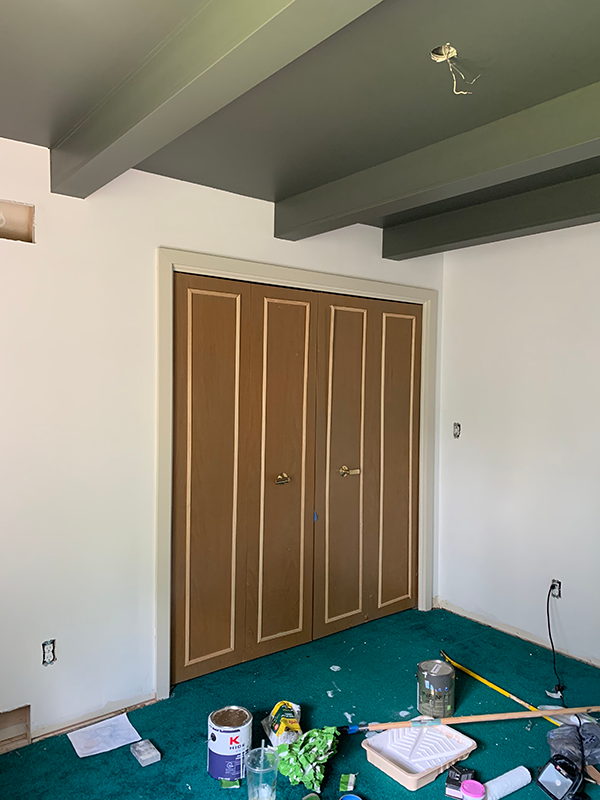
STEP 5
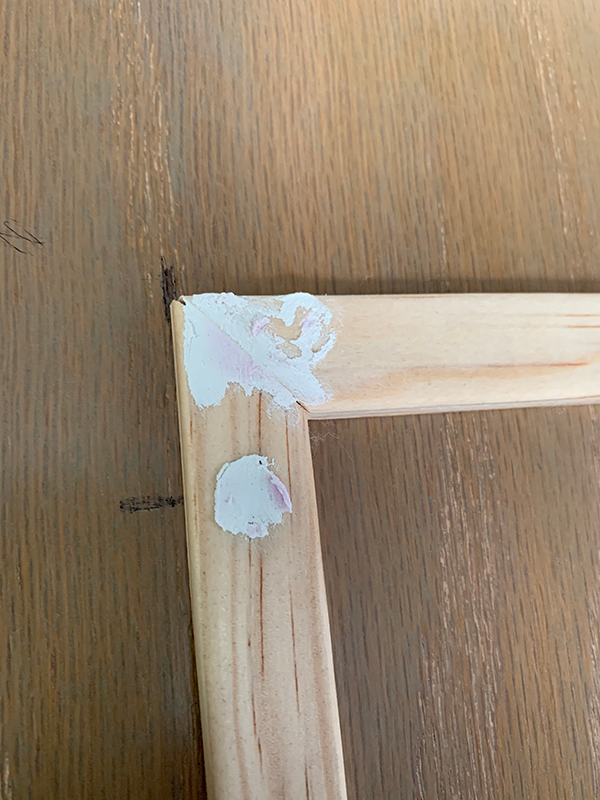
Fill in your nail holes using some spackling paste. Once dry, sand them down.
STEP 6
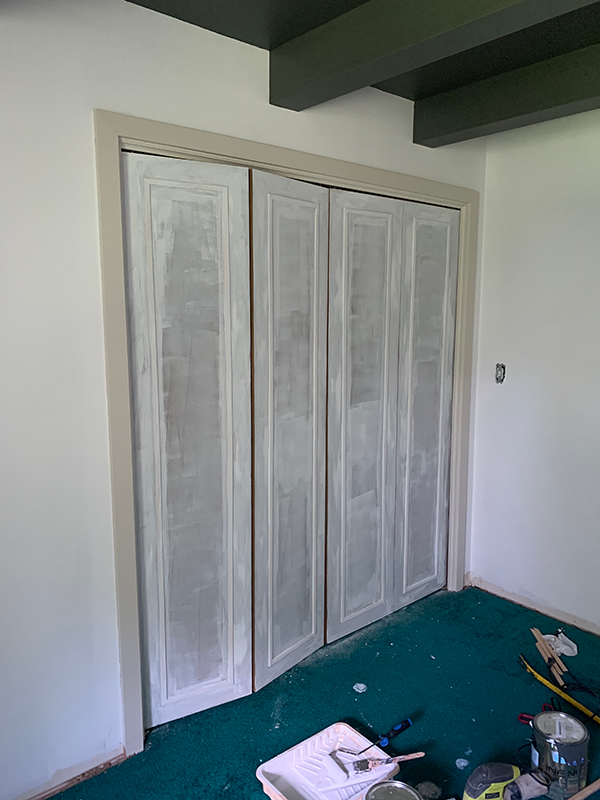
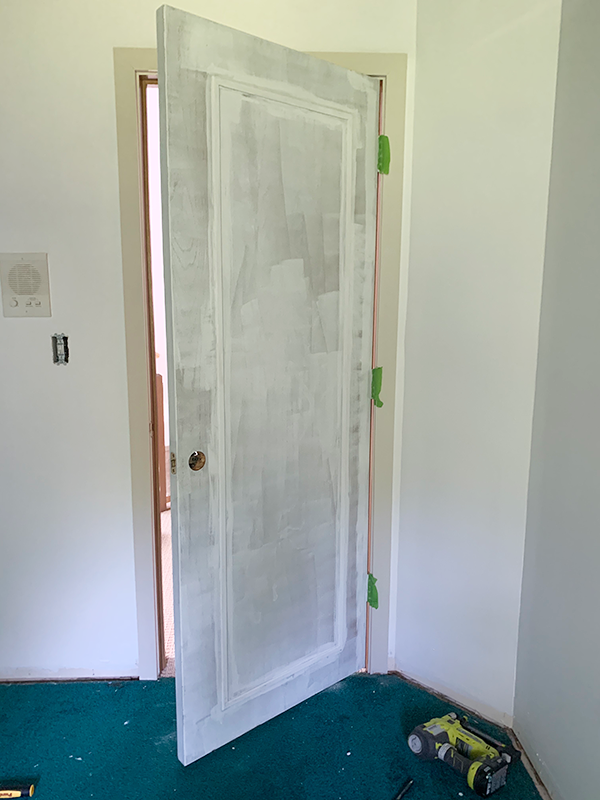
Prime your doors. I used Kilz All Purpose Primer and did one coat.
STEP 7
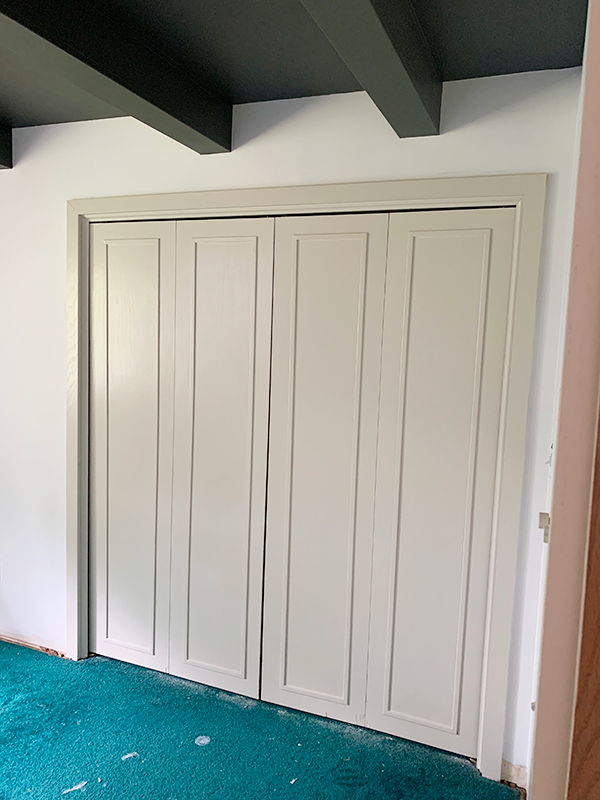
Paint! I used the color Baby Fawn by Benjamin Moore in their Advance Paint and used it on all the trim throughout the entire room. It’s the first time I did contrasting trim and I LOVE IT.
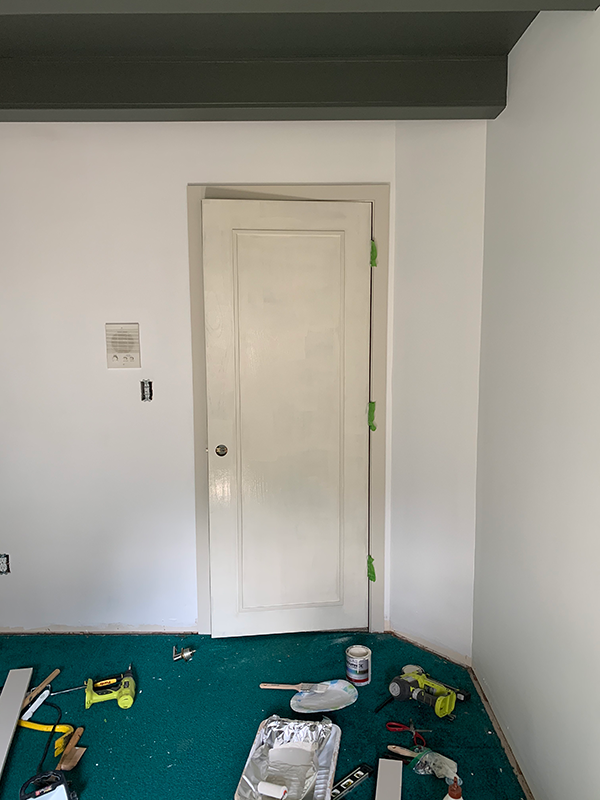
STEP 8
Add new hardware or update your old! This is the icing on the cake. I opted for some simple matte black knobs on the closet doors and spray painted the original handle on the main door. I kept the other side of the door wood and wanted to keep that handle the same to match the rest of the house so spray painting seemed like the best option.
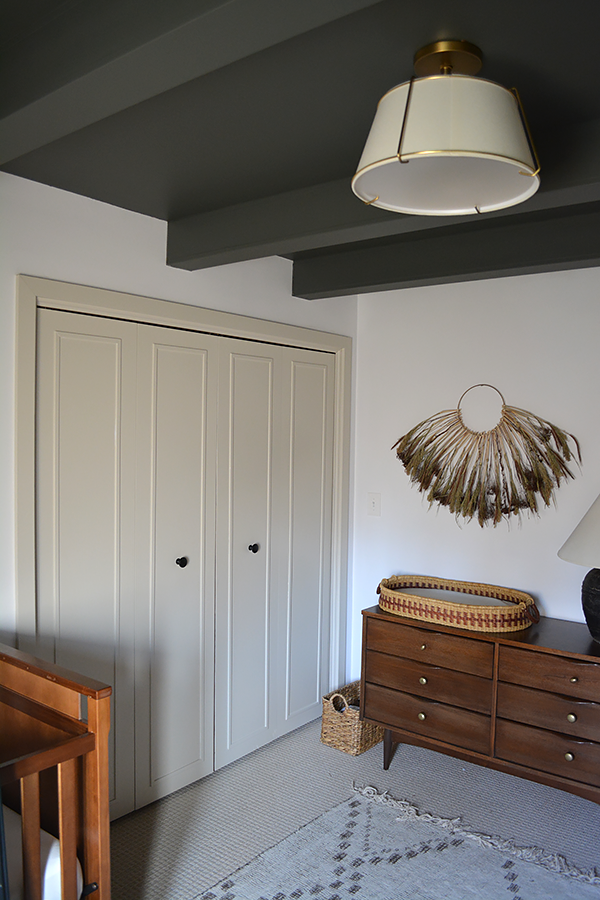
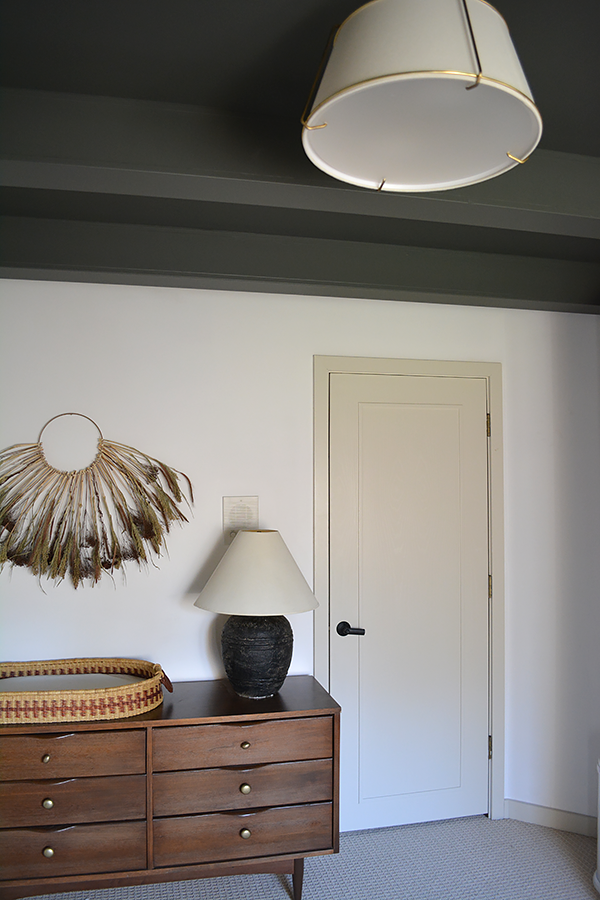

I’m amazed at how much of a difference updating these doors made! The power of paint is an amazing thing and totally brought a more sophisticated look to this space which is exactly what I wanted.

