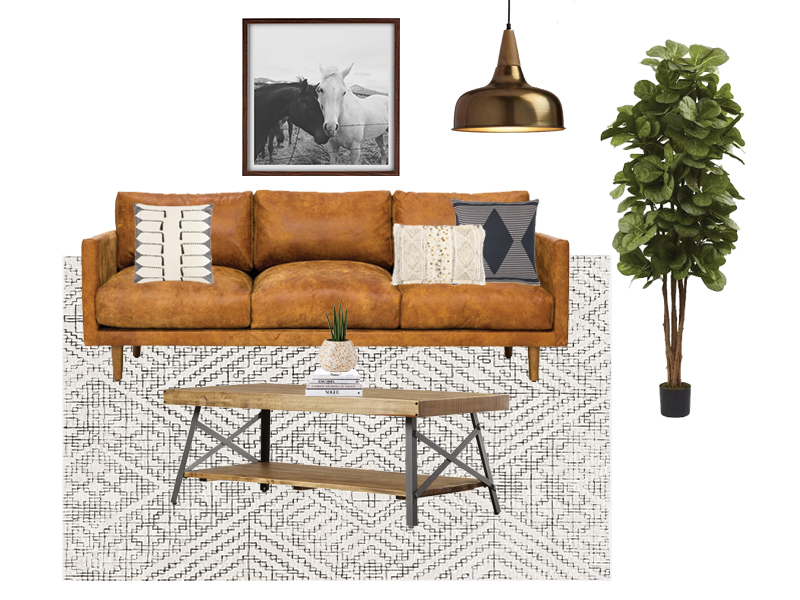
You guys asked, and I’m here to deliver! A follower on Instagram reached out and wanted to know how I made my mood boards in Photoshop. So I asked you all, and the majority said that you would love to see a tutorial, so here we are! Before I start any design project, I always make a mood board to visualize the space and set the tone for the room. I also use them for my e-design clients. Some of my favorite ones I made were for our Laundry Room and Hawkins’ Nursery.
I’m a very visual learner so I like being able to see first hand how something is done. I took a video recording of my screen so it’s easy for you to watch my process and learn how to make a mood board in Photoshop yourself. I hope you enjoy it!
HOW TO MAKE A MOOD BOARD IN PHOTOSHOP

To review – let’s go over some of the tips I shared to help you make a mood board in Photoshop
MAGIC WAND TOOL
This tool works best when your product is darker in color against a clean, crisp, white background. Just click and delete!
QUICK SELECTION TOOL
The quick selection took works best when your product is similar in color to the background. You can click and drag to select the image and then hit command + J to send it to a new level. Then just delete the original layer and you are left with your product perfectly removed from it’s background.
Switch between the + and – cursor to get as clean an outline as possible.
LOOK FOR HIGH RES IMAGES AGAINST A WHITE BACKGROUND
High res images work best so you have a clear vision of your space and don’t have hard to see, blurry images. It’s also easier to remove the background from a higher res image.
TAKE A SCREEN SHOT IF YOU CAN’T COPY THE IMAGE
A lot of websites these days won’t let you click and copy/save an image due to copyright laws. Take a screen shot using Shift + Command +4 on a Mac and then just open your file in Photoshop and remove the background.
Creating a mood board is such a great way to help you envision a space before you actually bring it to life. Hopefully these tips will help you create some dream spaces!
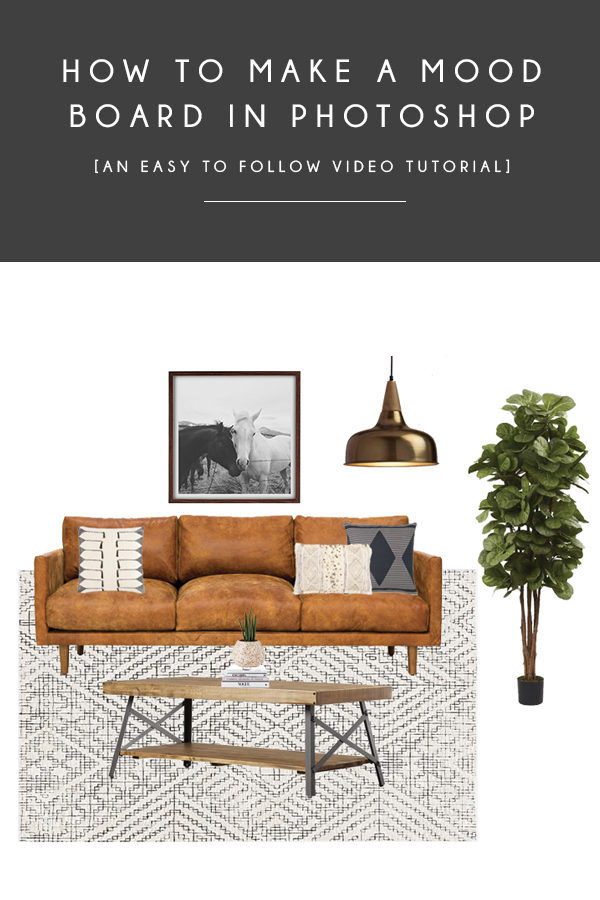
WANT THIS LOOK IN YOUR HOME? SHOP IT BELOW!
*affiliate links included
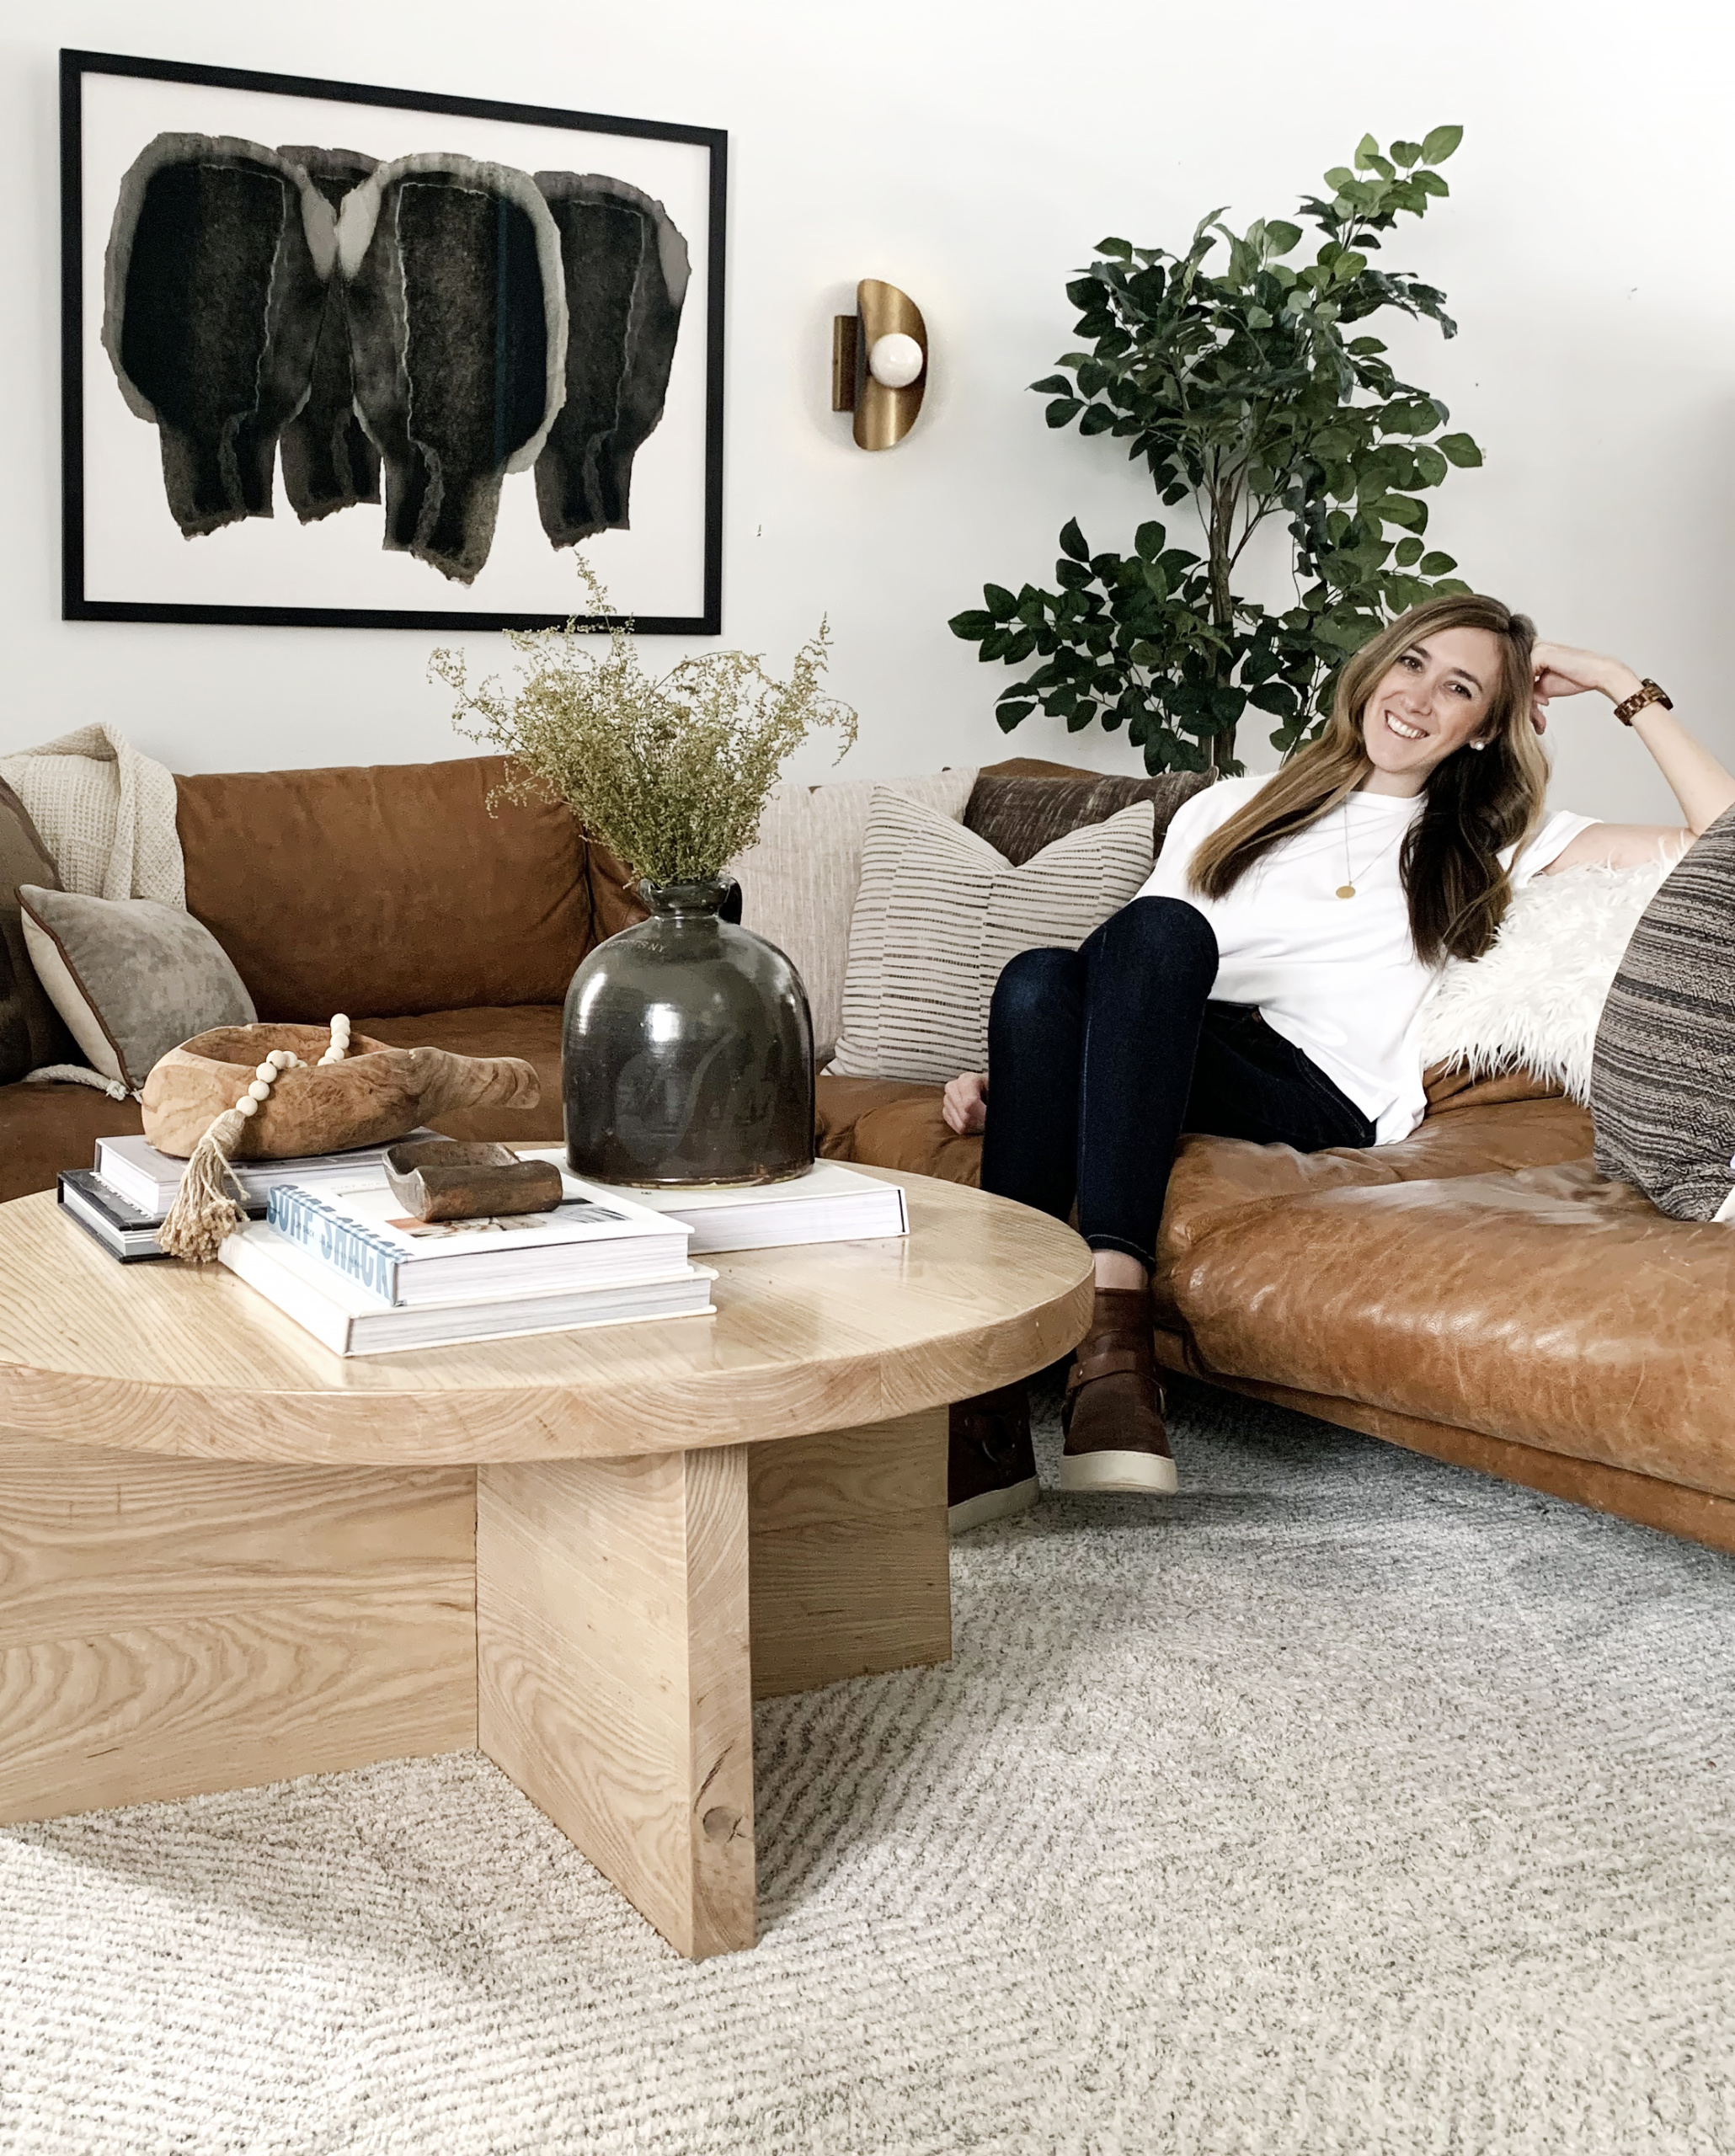
Not listed above: Camel Leather Couch



Anjel Arobi
Nice to read your effective article and appreciated. Thanks
Md Sumon
What a great tutorial . I have read this blog and appreciated your written content .
Charles Wilson
Thank you! It’s a incredible site. https://clippingpathlab.com
clipping
Hi, could you tell me how this use in Photoshop cc 2019, I am a new user for this.
Md Solaiman Hossain
How amazing this shared and your written article your effective . A lot of thanks for wonderful shared .
Rashel Ahmed
Awesome post. Its great tips for the photoshop. Thank you.
Amy | Delineate Your Dwelling
I think of myself as pretty Photoshop savy but this was SO helpful for a few little tips here and there! Thanks for doing this video, Bre!
brepurposed
I’m so glad to hear that! Thanks for watching, Amy! <3
Vritika| Flats in OMR
Bre, thank you so much for the photoshop demo! Thank you for demonstrating the tool purposes 🙂
brepurposed
You’re so welcome, I hope it was helpful!
Katie
This was an awesome video! How do you do the flooring + walls like in your Instagram post of the nursery?
Thanks! 🙂
brepurposed
Ah, I should have included that! I’ll try and add an additional video showing that soon! Thanks for asking!