This post is sponsored by Kreg, but as always, all thoughts and opinions are entirely my own.
We took a little summer break last month from our challenge but we’re back this month with a super fun build project. We teamed up with Kreg and put our woodworking skills to the test using their Kreg Jig. I’ve heard of this tool before but never realized how much of a game changer it was. I seriously can’t believe how easy it is to use and how much easier so many of the projects I’ve done in the past would have been if I had this. I started small and simple with something practical that we actually needed and I’m going to show you how easy it is to make!
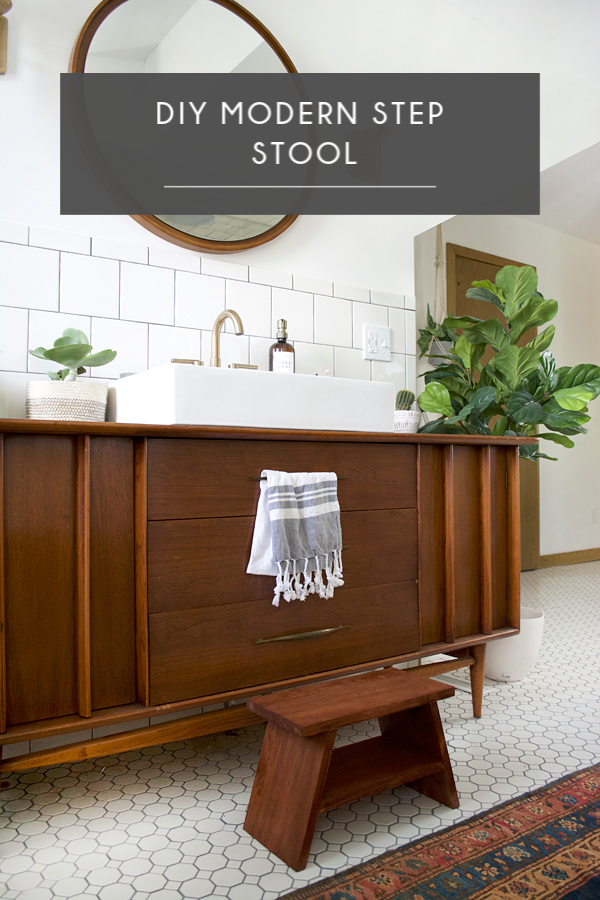
DIY MODERN STEP STOOL

Kreg sent us all their Kreg Jig R3 kit which comes with most of what you’ll need but you should also get a clamp as well as more screws depending on the size of your project.
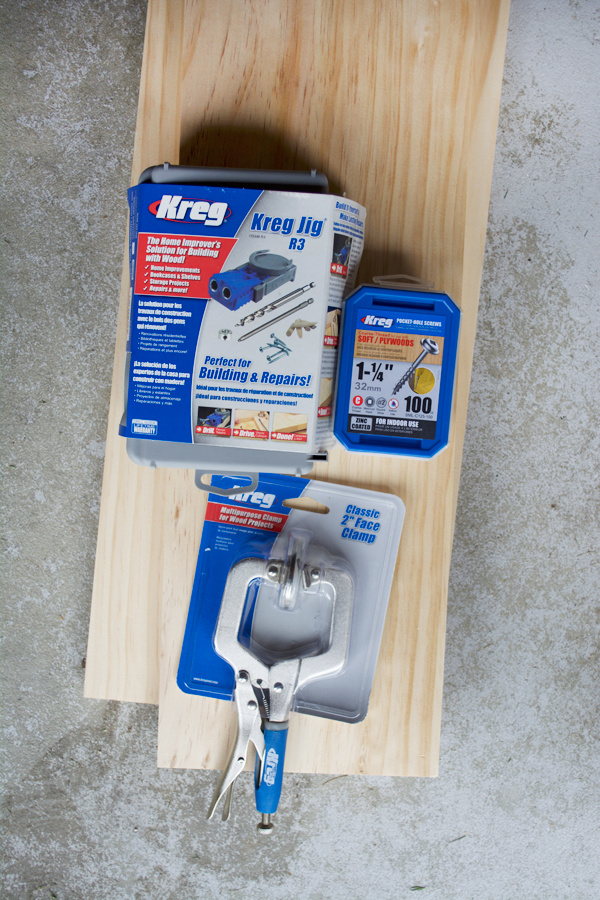
SUPPLIES FOR DIY MODERN STEP STOOL
Kreg Jig
Kreg Clamp (or any small sized clamp)
Kreg Screws
1 piece of 1x4x8 pine
I don’t know why but I was super intimidated to use this tool and kept putting it off but once I was done I felt silly because it’s SO EASY.
I watched this little video on YouTube just to give me an idea of what all the different pieces did.
That should give you the basic rundown and help you get started.
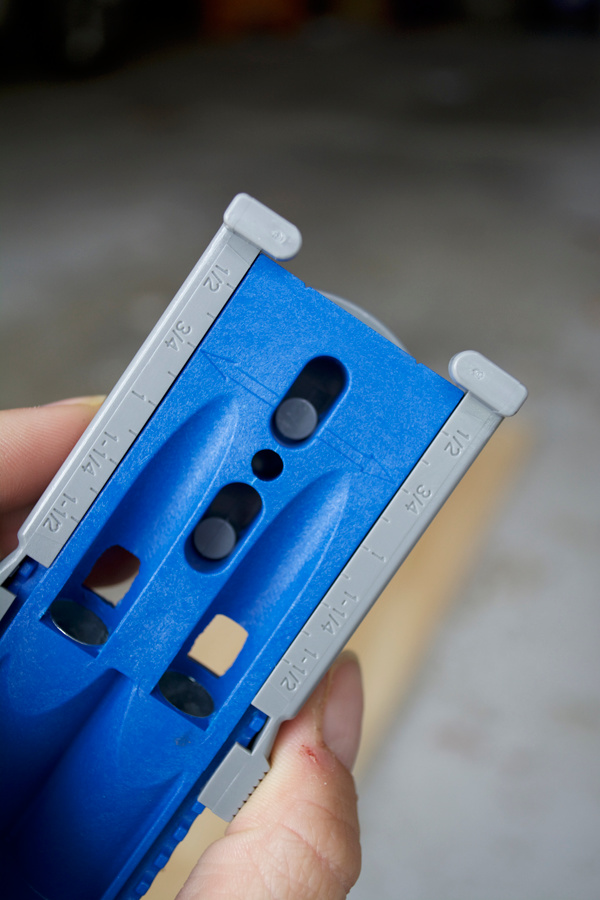
So first up you’ll want to set your Kreg to the width of your wood. Just line up the arrows with the correct number and you’re good to go.
The kit comes with a little guide that tells you exactly what to set it at as well as what size screws you need.
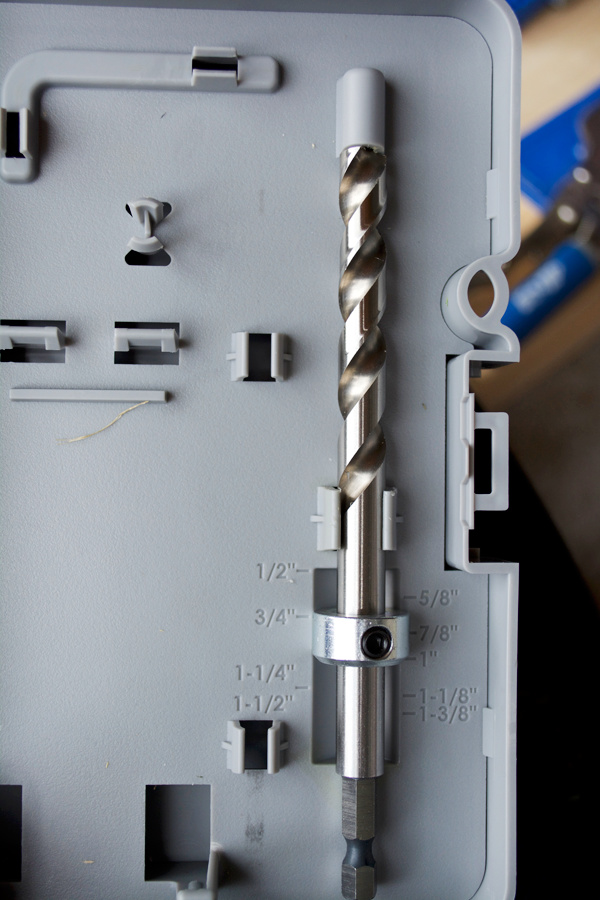
Then you want to set the drill to the correct length as well. Make sure the top of the little silver washer thing is lined up with the number you want. In this case, I wanted 3/4″, then you can just tighten it to set it. It’s super handy to be able to do this right in the little kit.
Ok so before you start drilling you’re going to want to cut your wood.
STEP 1 -WOOD CUTS
Top – 14″ long
Sides – 10″ long
Middle – 12″ long
STEP 2
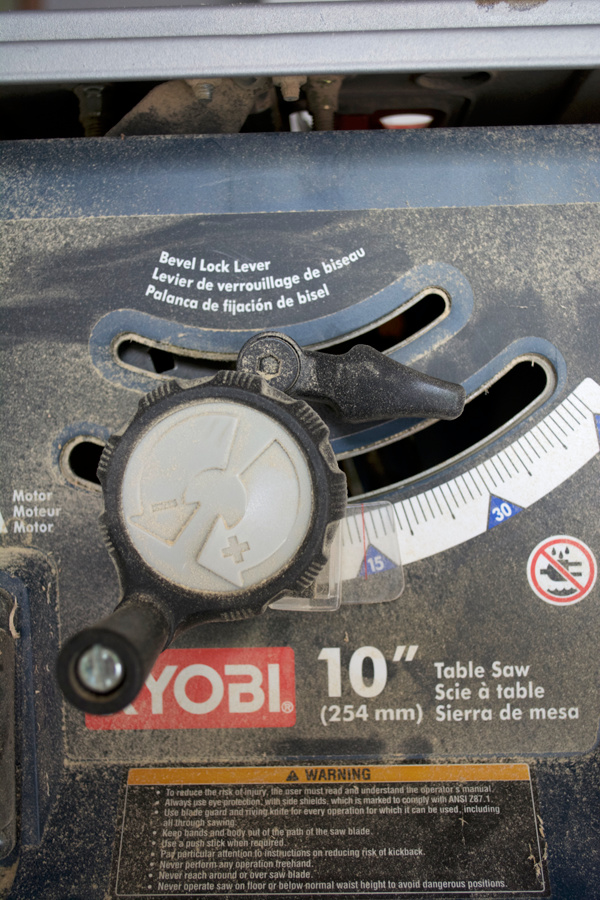
After you cut them to length, you want to mitre your two side pieces and middle piece. I used our table saw and set the angle to about 15° then just ran both sides through.
STEP 3
Now you can start using your Kreg! You’ll need to make two pocket holes at the top of each side piece of wood. All you do is clamp your kreg down, insert the drill and give it some power. The drill will stop where you put the washer so it won’t go through the wood.
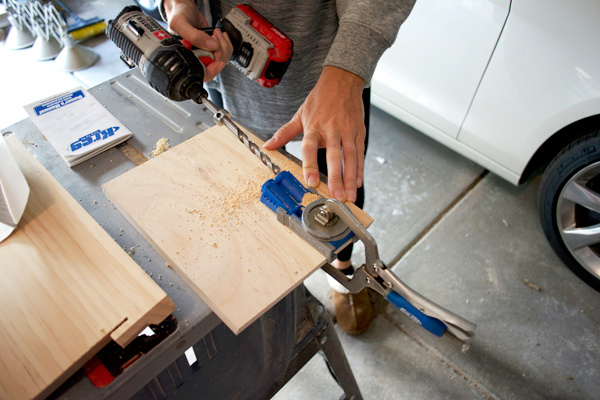
And that’s how you make pocket holes! So easy, right?
STEP 4
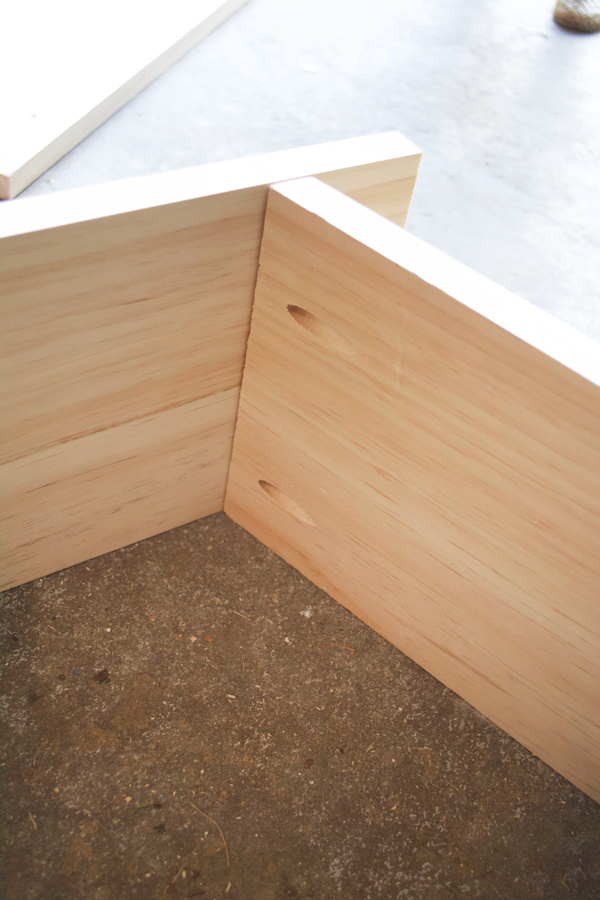
Once you’ve drilled your holes you just insert the screws and use the square drill bit that comes with your kit to attach the wood.
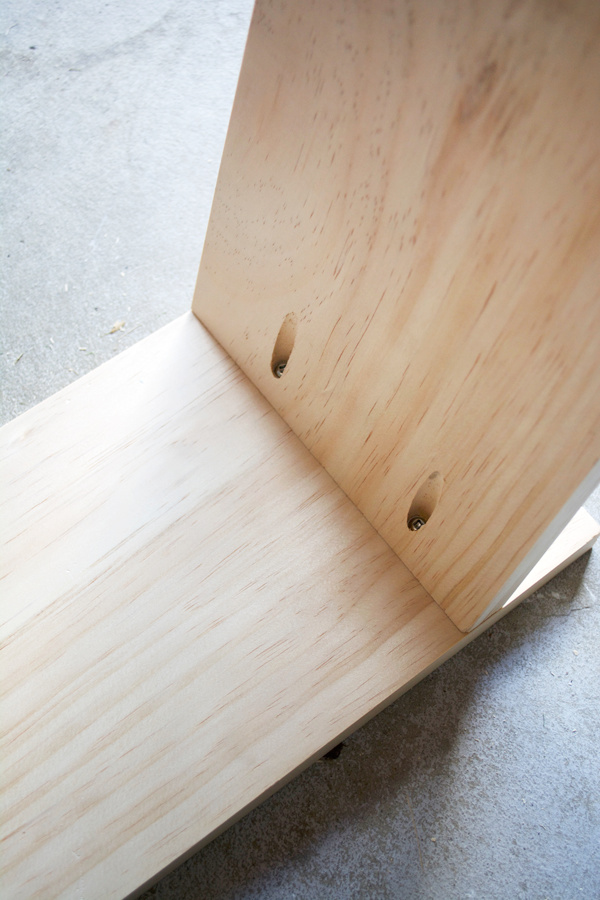
Repeat for both sides.
STEP 5
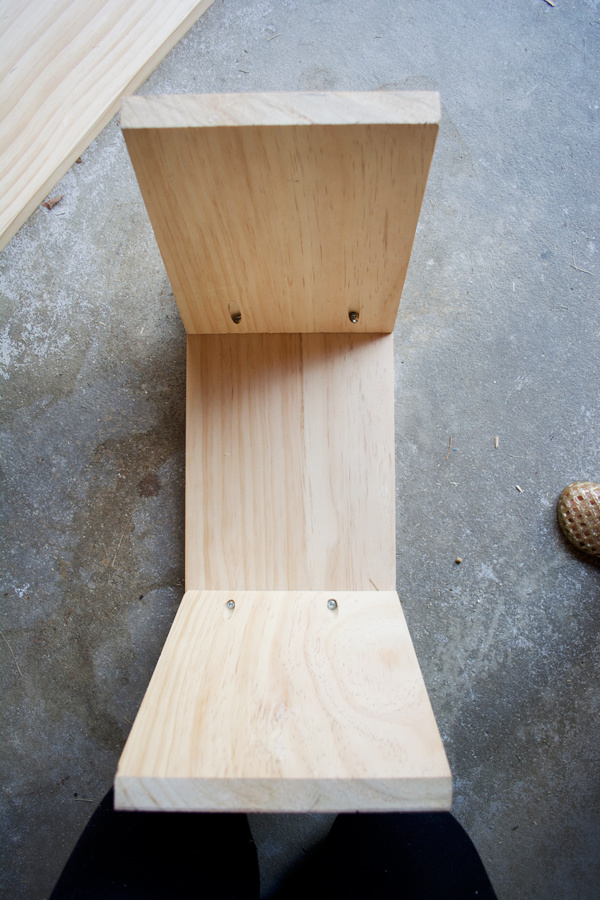
Then take your middle piece and create two pocket holes on either side of the wood and add your screws to attach and you’re left with this! I took a picture of it upside down so you can see where all my pocket holes are.
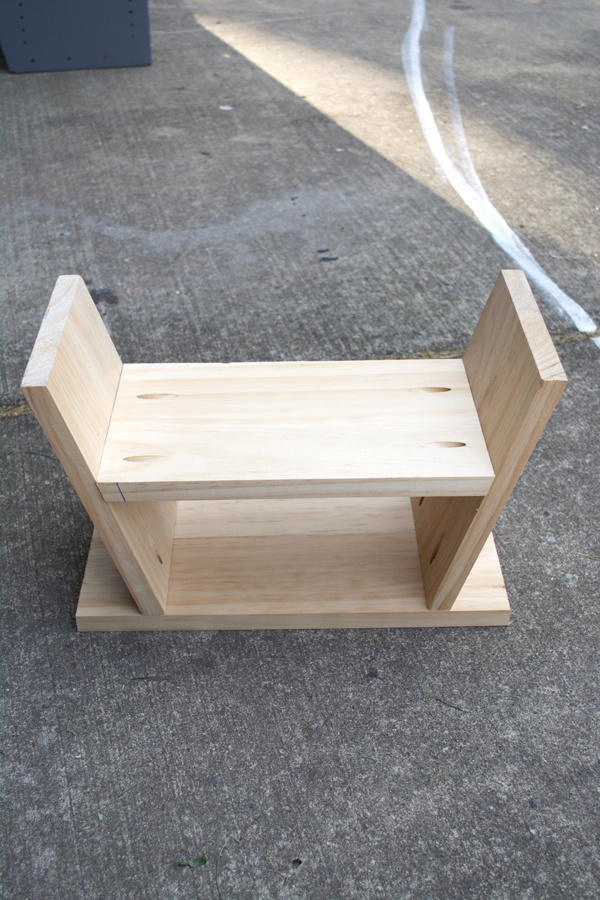
Eloise was already a fan.
STEP 6
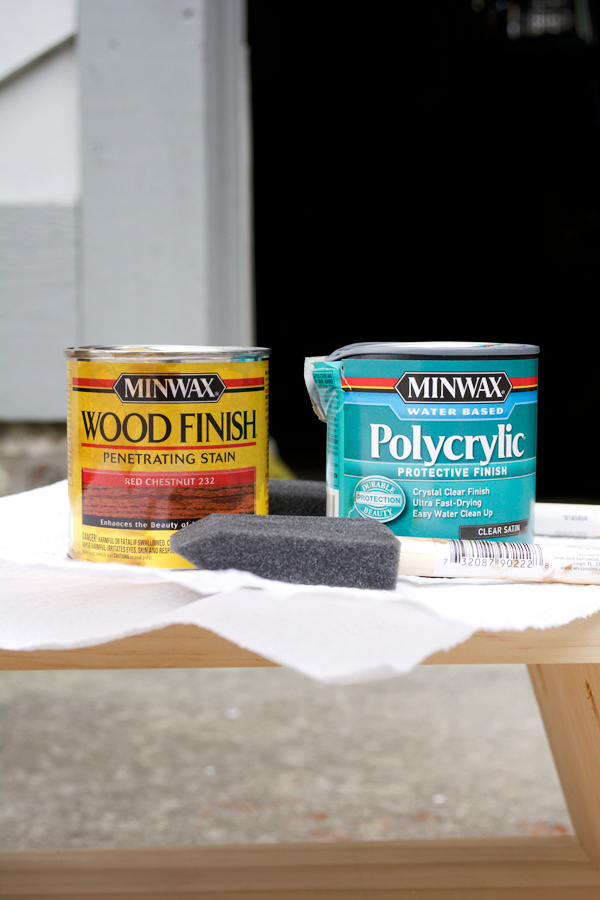
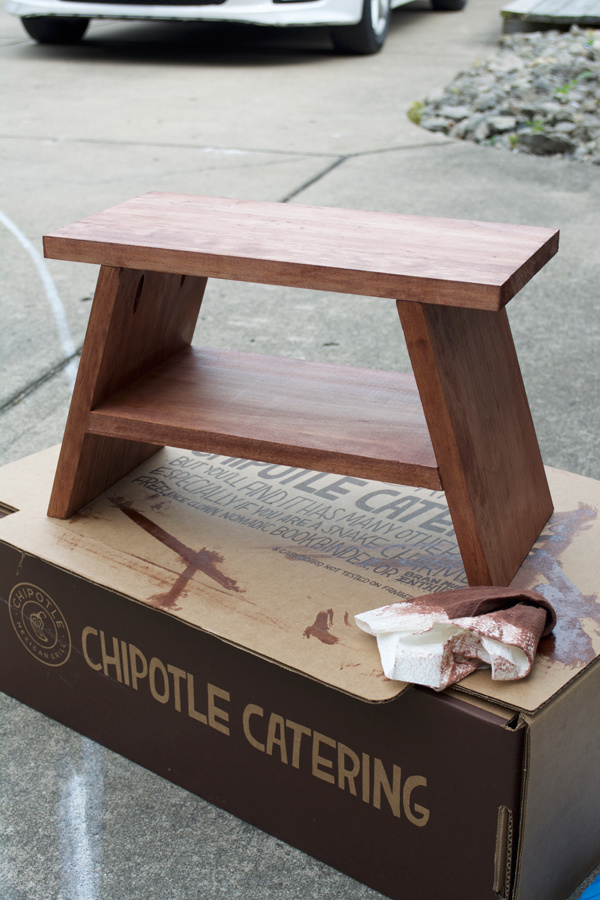
Then it was time for some stain. I used the same one I used in the rest of the bathroom since this is where it was going – Red Chestnut. Then sealed it up with some Poly.
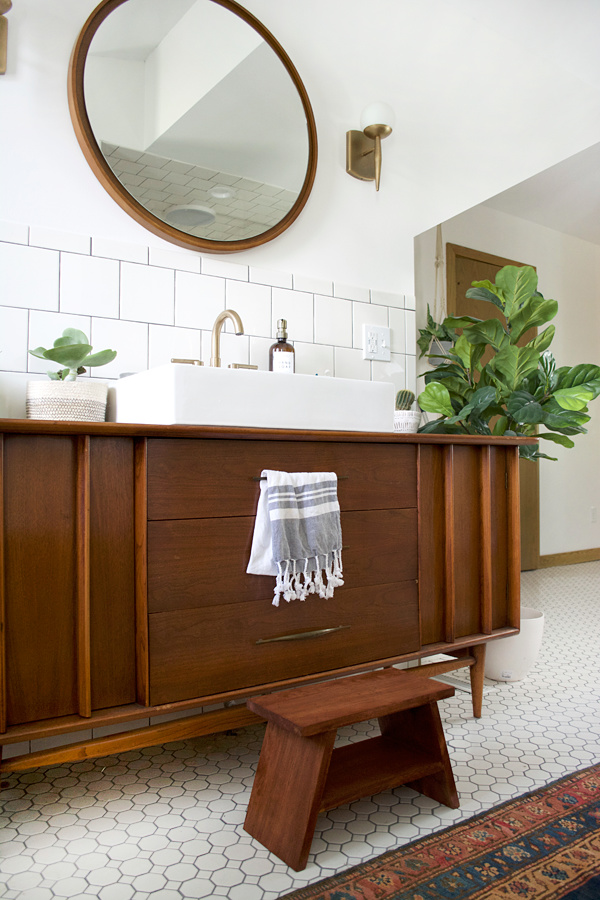
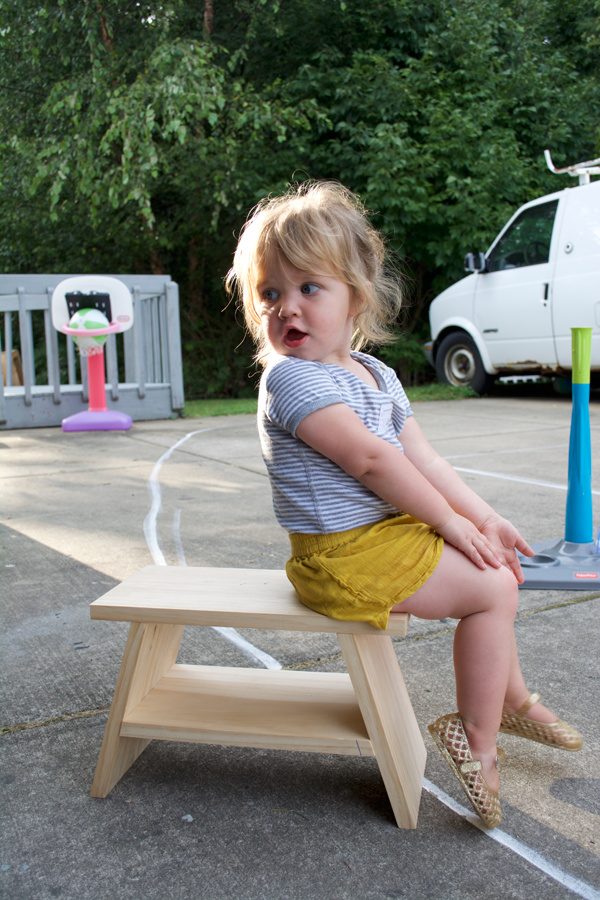
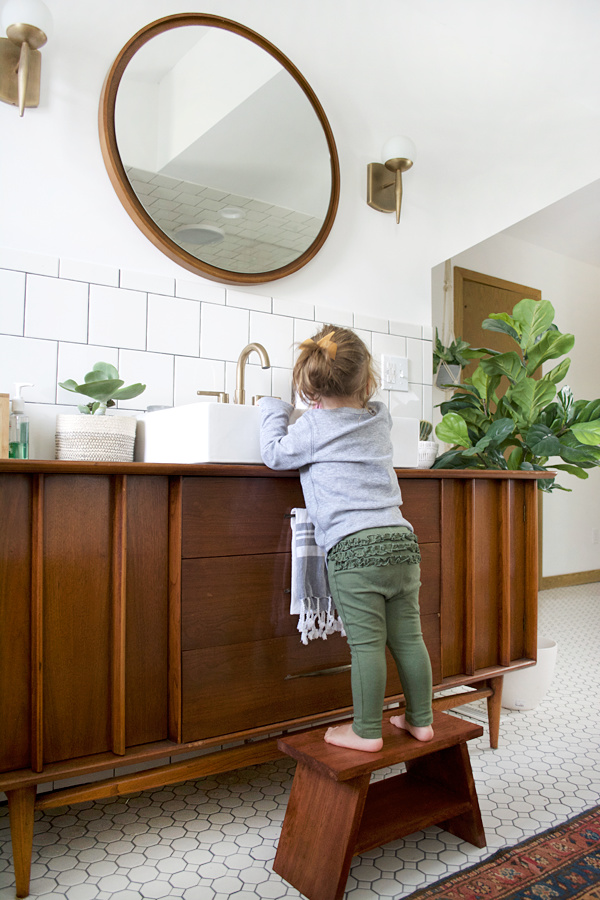
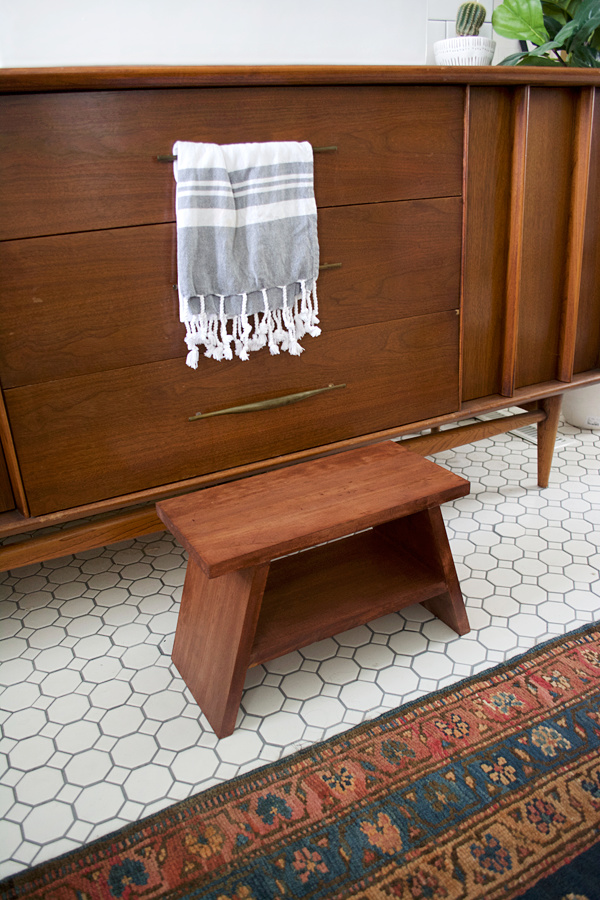
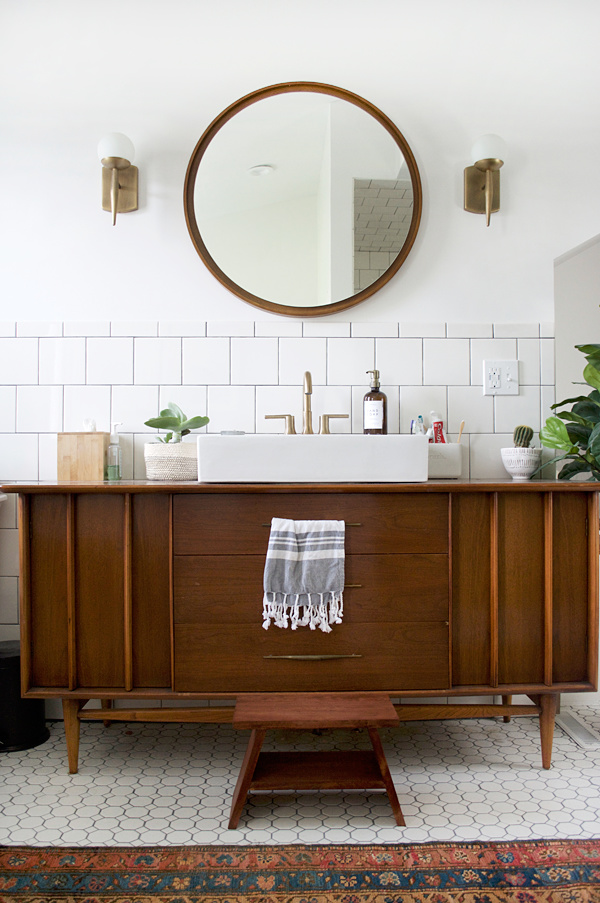
And now Eloise has the perfect little step stool so she can wash her hands and brush her teeth at the bathroom sink!

I’m so excited to build more stuff with the Kreg and try out some of their other cool products too like their new Accu-Cut and Rip-Cut which help you cut down big sheets of plywood without needing a huge table saw.
If you’re looking for more wood projects to build at the beginner level, be sure to check out my Ladder Shelf tutorial!
And don’t forget about all the other insanely awesome projects my bloggy friends made! Seriously, they’re all way cooler than my little stool ha.





Go AccessLtd
I remember my son using his as a seat instead of a stool!
Krystal Herrera
The model is cute, haha! Anyways, this one is definitely a great idea for the kiddos. Thank you for sharing them. Cheers!
chris
Very cute, as is your model! I would use wood more for outdoors but that is my personal preference
Michael P
The list of supplies should be a 1″x8″x48″
DealinDiva
I would use it to make a bench for my garden and a few other garden projects I have in mind.
Diego Lopes
This step stool looks great! I was looking to buy one but now I’m set on making my own. Thank you for sharing the details!
brepurposed
Thanks Diego! It’s definitely an easy project!
Amanda Fettig
This is the cutest little stepstool!!! And your model is pretty darn cute, too! 😉
Bre
SO perfect in your bathroom, Bre! Eloise looks like she just loves it, too!
BLake
Love the handiwork! So clean and useful! I need to overcome my woodworking fears so I can add more personal touches to our new home.
brepurposed
You can do it! Just start small and you’ll be hooked!
Amy | Canary Street Crafts
Eloise is the cutest thing, Bre! The step stool looks amazing too!
Anne
I’d love to make the same stool for my new bathroom! I’ve been looking for one just like yours for ages, suspecting it would be too difficult to make my own, but now I know I could make it! Thank you for the inspiration!
brepurposed
It’s totally doable! You can do it!
Kristi
What a great idea Bre! It fits in so perfectly with your design style and just look at that little ruffle bum putting it to work! SO cute!