DIY KIDS TABLE WITH TRAPEZOID LEGS
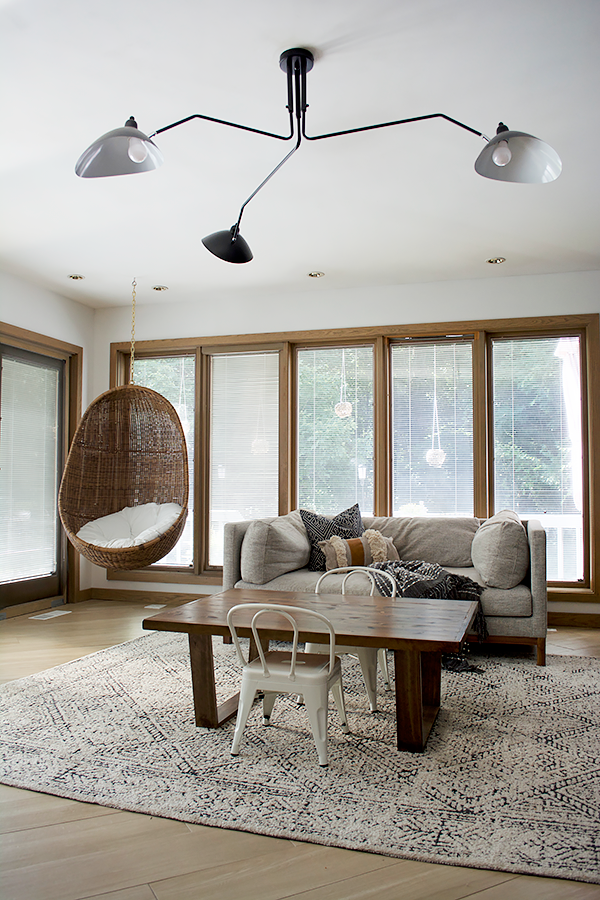
Our playroom is still a work in progress but we finally added a new kids table that we designed and built ourselves. We ran into some trouble and it took us three tries to get it right, but it was totally worth it. And now I have all the details to share with you on how we built this DIY Kids Table with Trapezoid Legs.
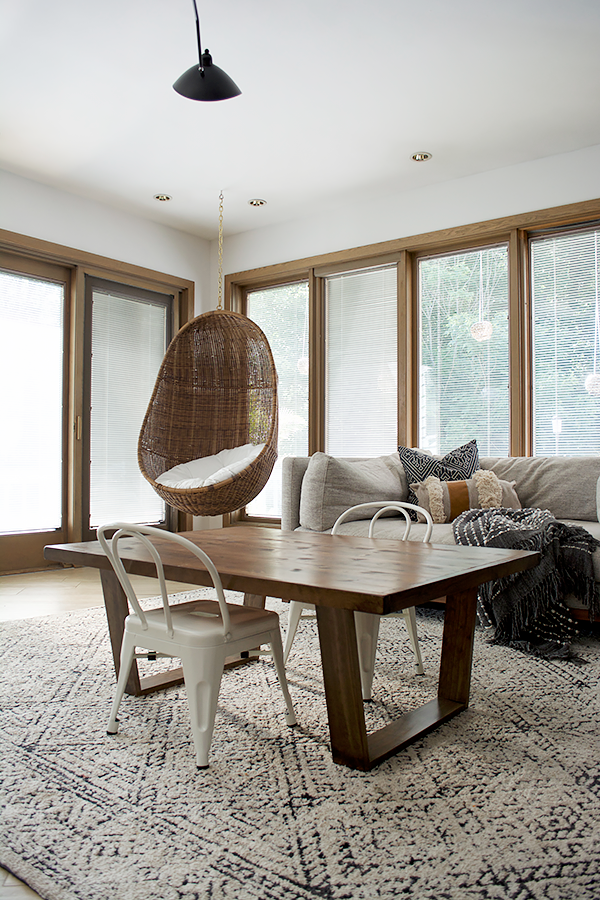
We had this small kids table from IKEA for a couple years now, but it was just that – small. Both kids could sit at it but there was no room to do much else, so I wanted something larger. I couldn’t find any I really loved and the ones I did were way more than I wanted to spend. So I figured we would just make our own!
As I was researching what style I wanted, I came across some beautiful dining room tables with trapezoid legs and fell in love with them. Most are made out of steel but some were made out of wood so I figured we could give it a try.
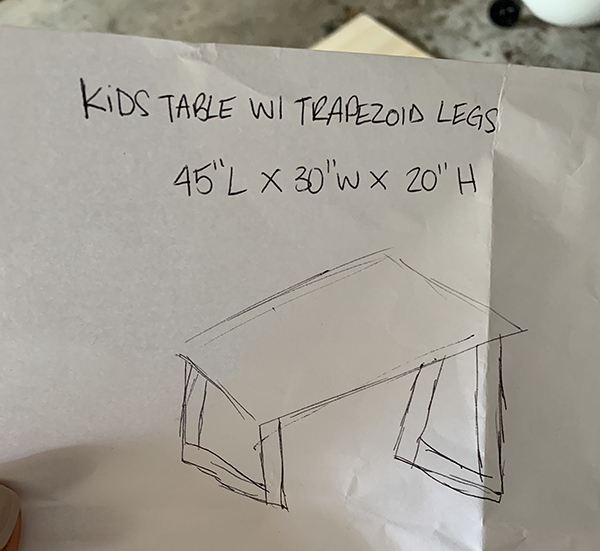
I came up with this super profesh drawing to show Dan and we got going from there. (The dimensions ended up being a little bit different).
*NOTE: I used Pine and spruce for this table, which in hind sight may not have been the best idea since it’s a soft wood and will get some marks on it from the kiddos. But I don’t mind it adding some character. If you want something more durable I would use a hard wood like oak, walnut or maple.
SUPPLIES FOR DIY KIDS TABLE
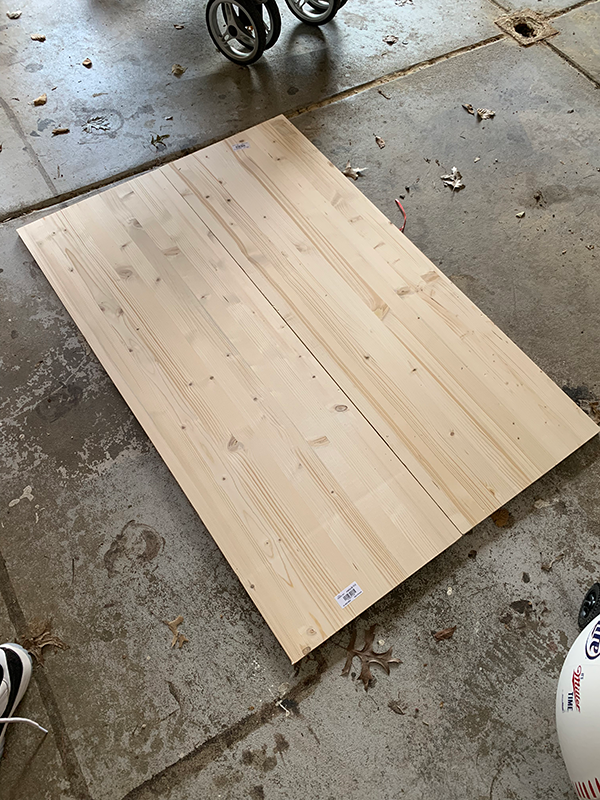
2 – Laminated Spruce boards (16″ x 48″) – for the top
3 – 1″ x 4″ x 6″ select pine boards
3 – 1″ x 2″ x 6″ select pine boards
Wood Glue
Nail Gun/Compressor
Wood Filler
Screws
Metal Brackets
HOW TO BUILD A DIY KIDS PLAY TABLE
STEP 1
Cut your two spruce boards for the top to the desired length you want. We kept ours at the full width but trimmed them to be 44.5″ long.
STEP 2
Attach your spruce boards together to form the top of the table. Glue them first and then clamp.
STEP 3
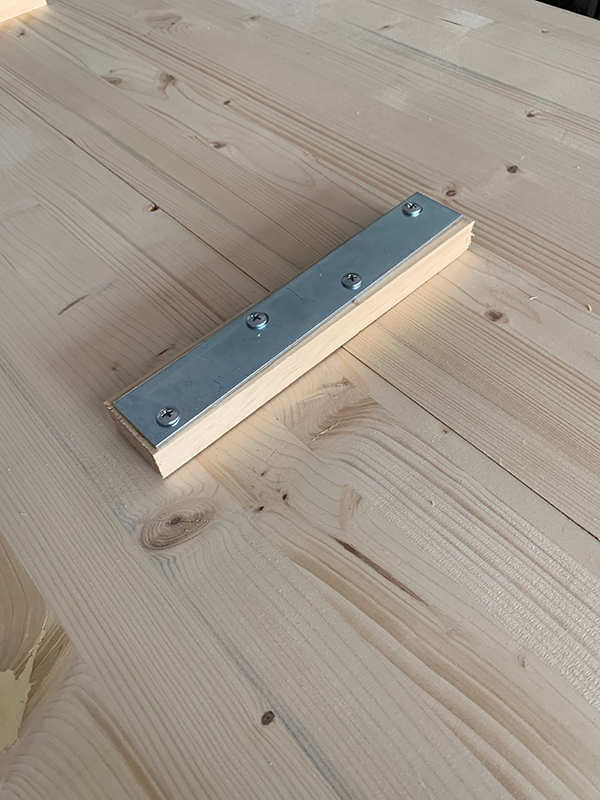
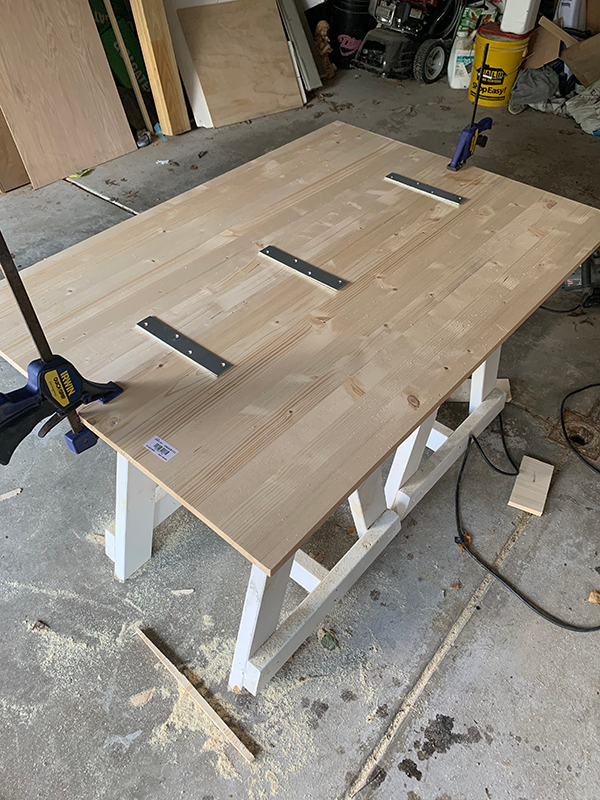
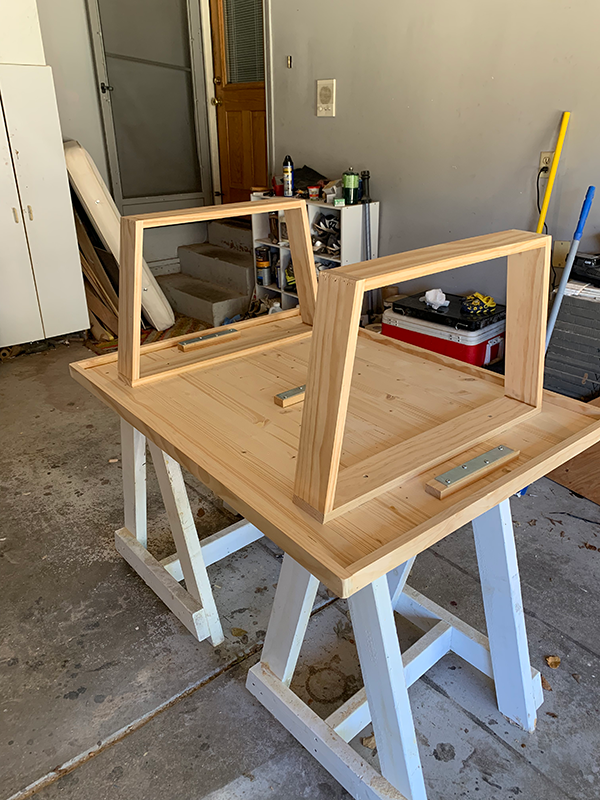
Once dry, add some additional support underneath using some brackets and scrap wood. We used the scrap wood to add some additional height since the top piece of wood isn’t too thick and we didn’t want to risk screwing through it. We used some left over pieces of the 1x2s and screwed three total in the middle of the top to help hold it in place.
STEP 4
Cut the wood for the legs. This is where we had the most trouble. It took some time to figure out the right angles but we ended up using 10° angles for all the boards.
The first time we made them too tall. The second time we made a wrong measurement. And the third time was a charm
You will have four boards total for each leg. Here are the measurements we used on ours.
Bottom – 19.5″ long
Sides – 16″ long
Top – 26″ long
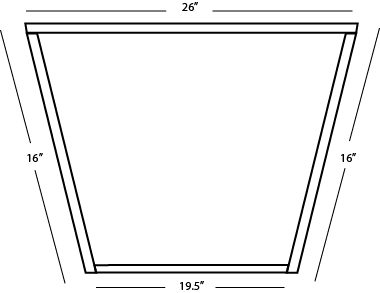
Notice the direction of the angle. This is important for allowing them to fit together correctly.
STEP 5
Assemble your legs. This was challenging as well, but we found a method that was super sturdy. You will definitely want two people for this part.
- Apply wood glue to the inside of the board where it will attach to the other one
- Have one person hold the boards as tightly as possible together
- The other person will use their nail gun to shoot in a few nails. We used smaller nails for this step because it was easier to get the smaller gun close to the wood.
- Next, use larger nails/gun and shoot in a few more nails for additional support.
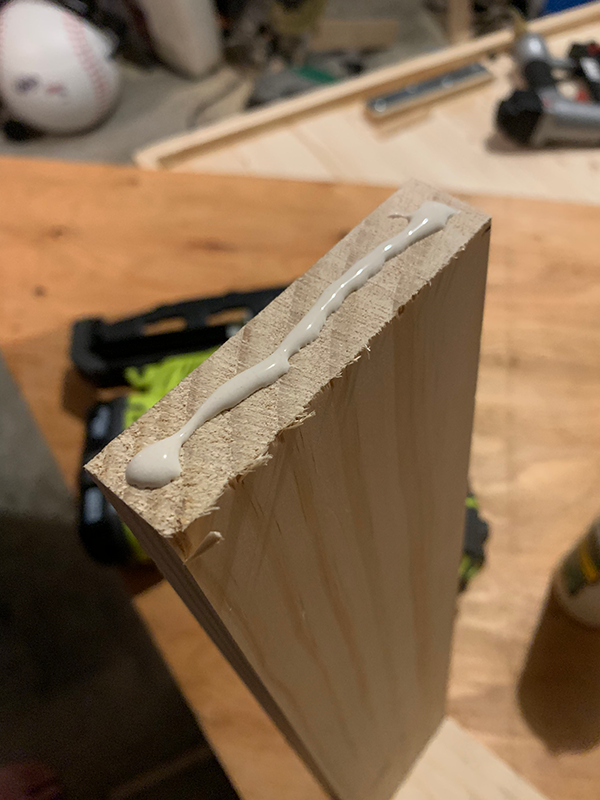
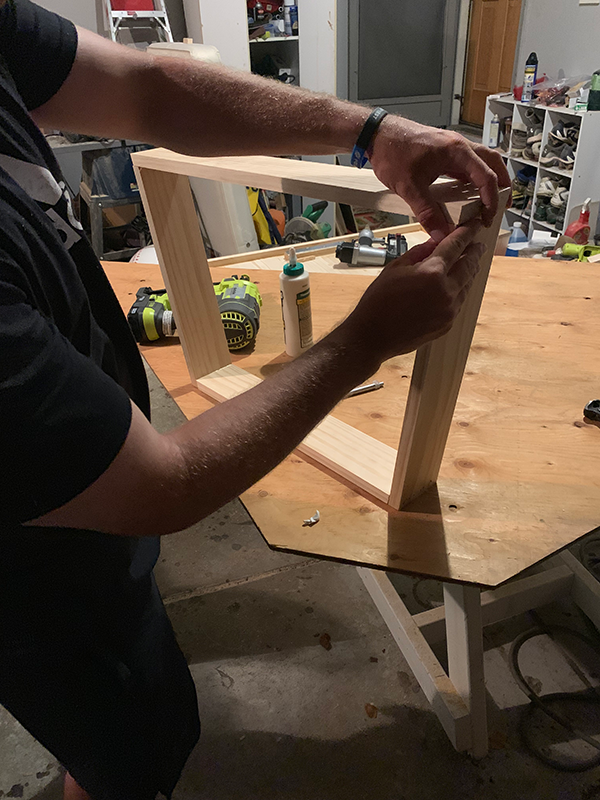
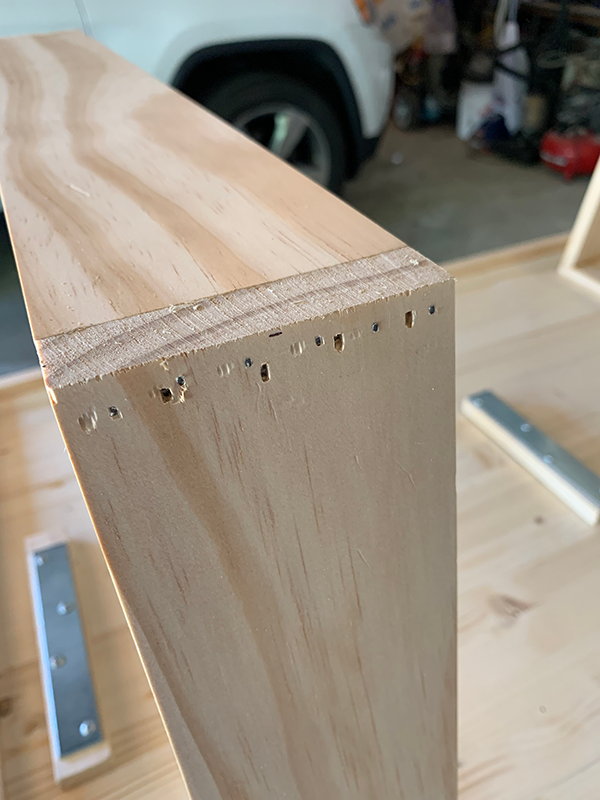
We found this to be the strongest method for us. Obviously this isn’t the most professional way to do it, but it’s the easiest and doesn’t require any crazy wood working skills. Below is the angle of the top piece.
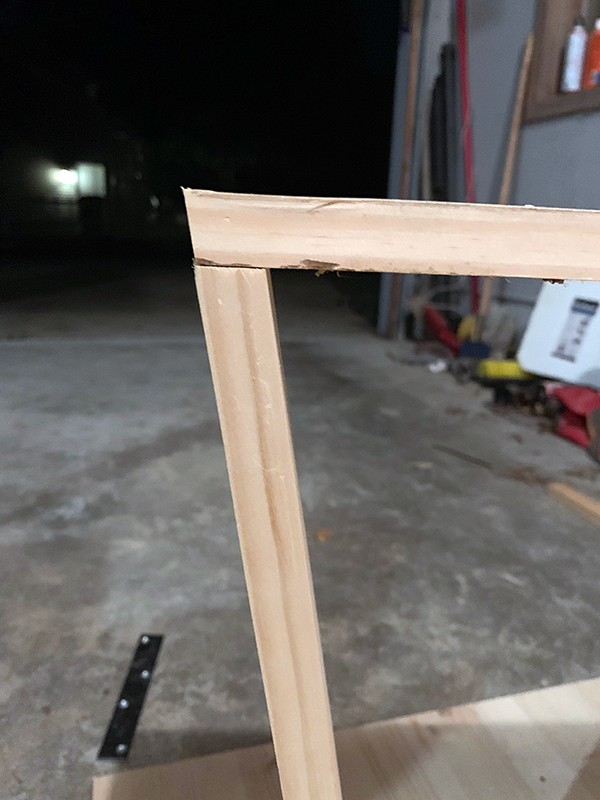
STEP 6
Once you have your legs assembled, you can attach them to the bottom of the table. I used three screws on each one.
STEP 7
Add trim to the top of the table. I used the 1x2s for this step and used wood glue first and then our smaller nail gun to shoot it into the top. I then used my corner cat sander to round off the edges so they weren’t as sharp and a little safer for the kiddos.
STEP 8
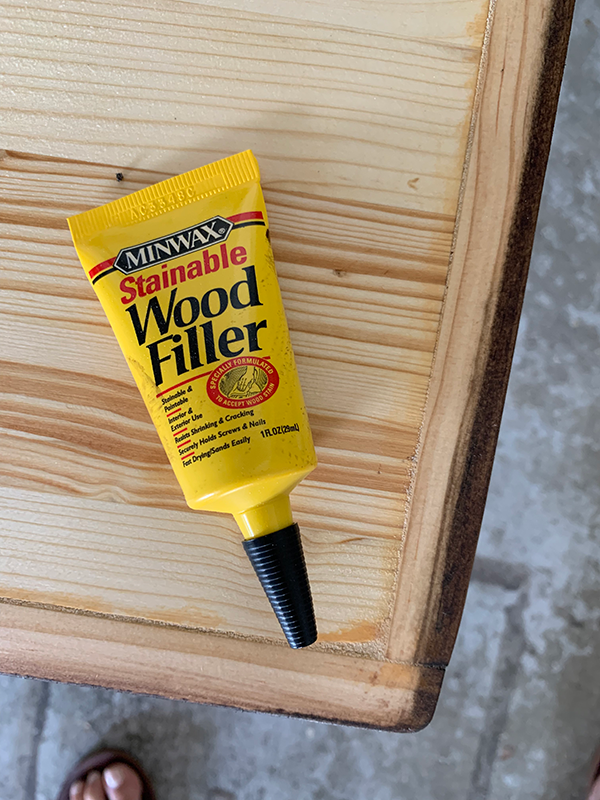
Fill in holes and cracks using wood filler. I’ve found this Minwax Wood Filler to work the best. Just make sure you sand it off good around the holes or it will leave an orange residue that doesn’t stain well.
STEP 9
Sand your table down for a smooth surface and prep for stain.
STEP 10
Stain! I used one coat of Red Oak by Minwax and one coat of Dark Walnut by Minwax.
STEP 11
I tried a new finish called Vermont Natural Coatings and so far I’m really impressed. It’s all natural and made with whey which is crazy. it doesn’t smell at all but seems to be super durable.
I applied 3 coats as recommended and sanded in between coats using a fine grit sand paper.
The can said it takes 7 days to cure so we let it sit in our garage for a week before brining it in. Which is torture if you ask me. I don’t usually follow those times but since the kids will be using it a lot and eating on it I wanted to make sure it was fully cured before we let them use it.
And then it was time!

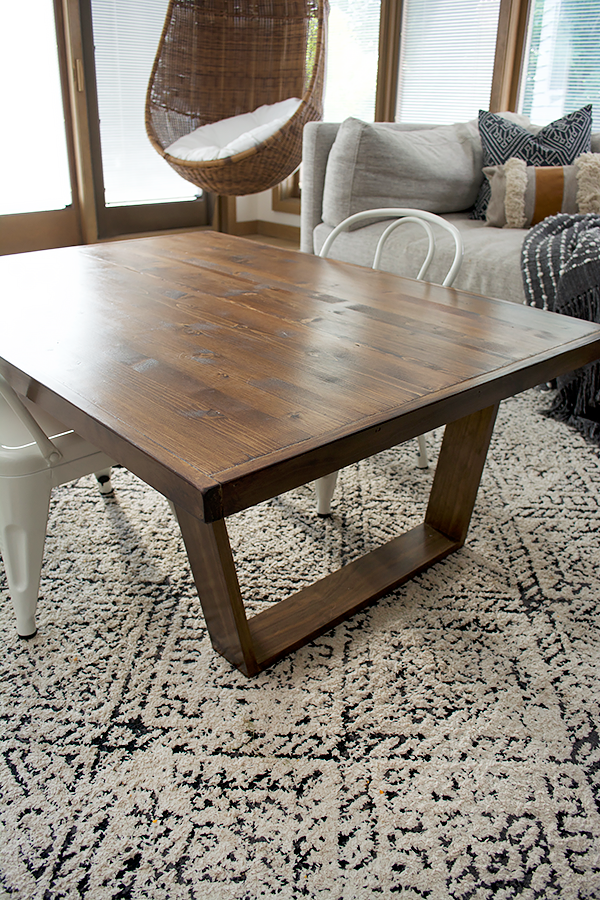
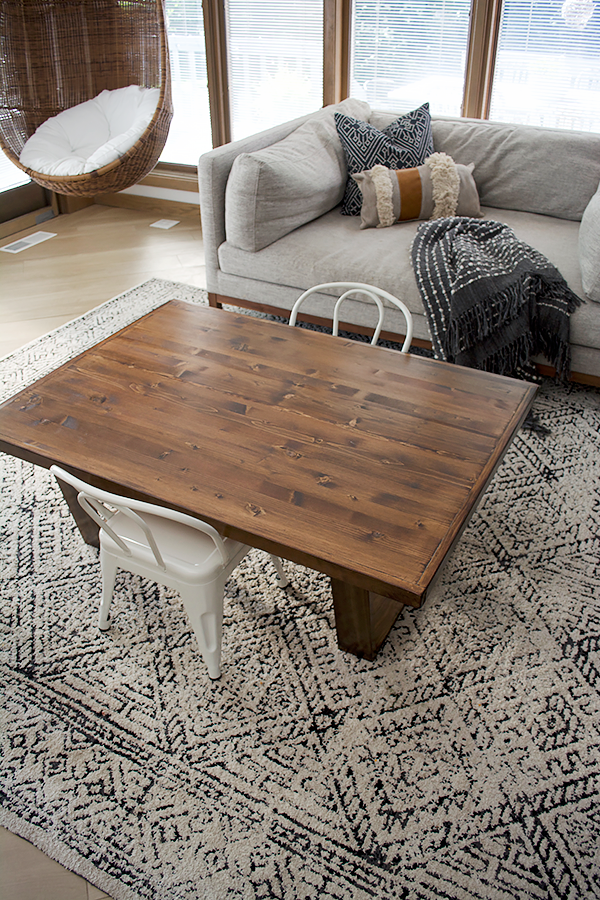
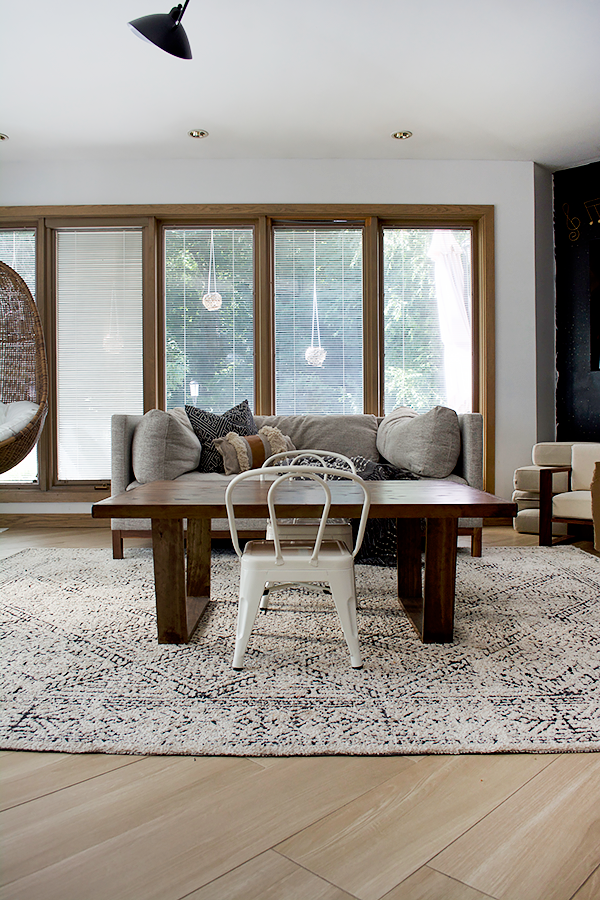
I’d say they like it 
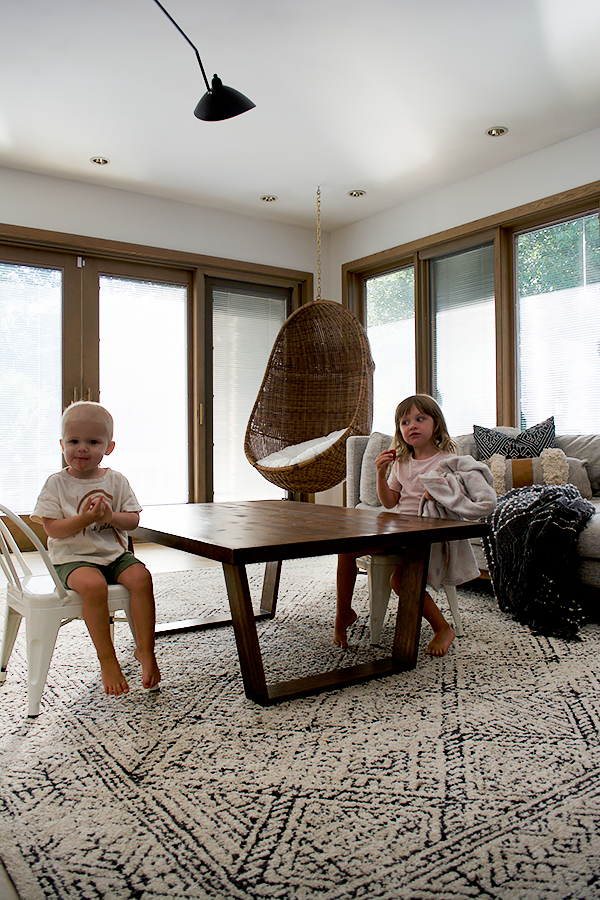
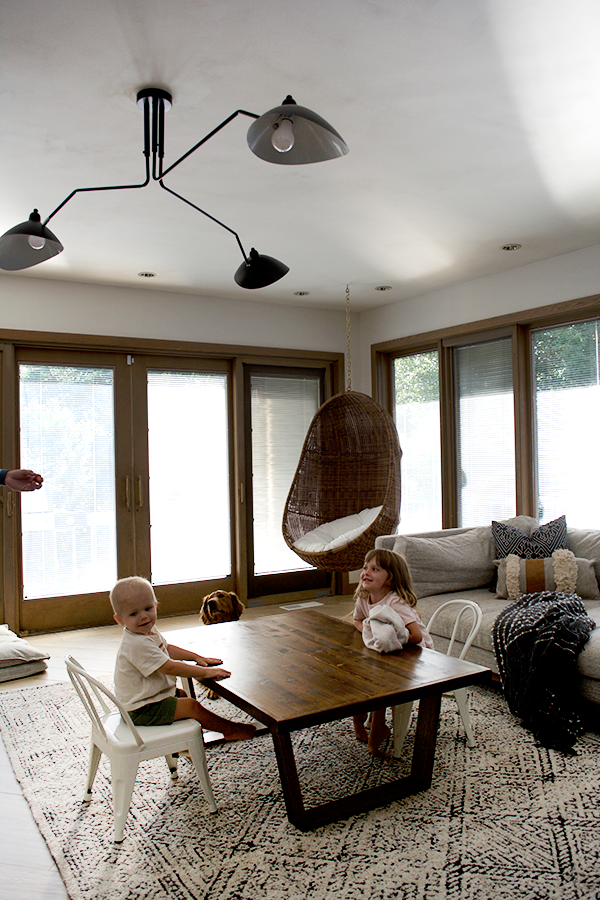
I love how much space they have now to eat, color, play and do ALL the things. DIY doesn’t always go as planned and this table definitely gave us a run for our money but I’m so glad we stuck with it and kept trying. It’s a piece we’re both proud of and I love the story it has behind it now.
What do you think? Would you try and build this DIY Kids Table with Trapezoid Legs for your kiddos? It could also totally work as a coffee table


 the things I


 these recaps always make me appr
 I’
I’