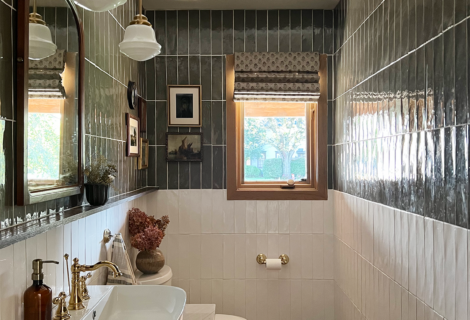
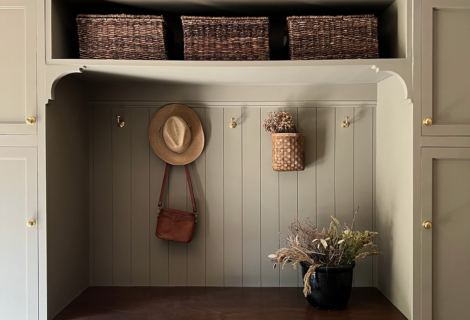
When it came to the design for our half bathroom, I was inspired by Hawk’s nursery which meant I wanted a wall to wall shelf splitting the green and white tile. Floating shelves are so popular right now, especially kitchen floating shelves, and there are so many different ways to install them. If you don’t plan on having a lot of weight on them, this method of installing a floating shelf between tile using no hardware is a great option.
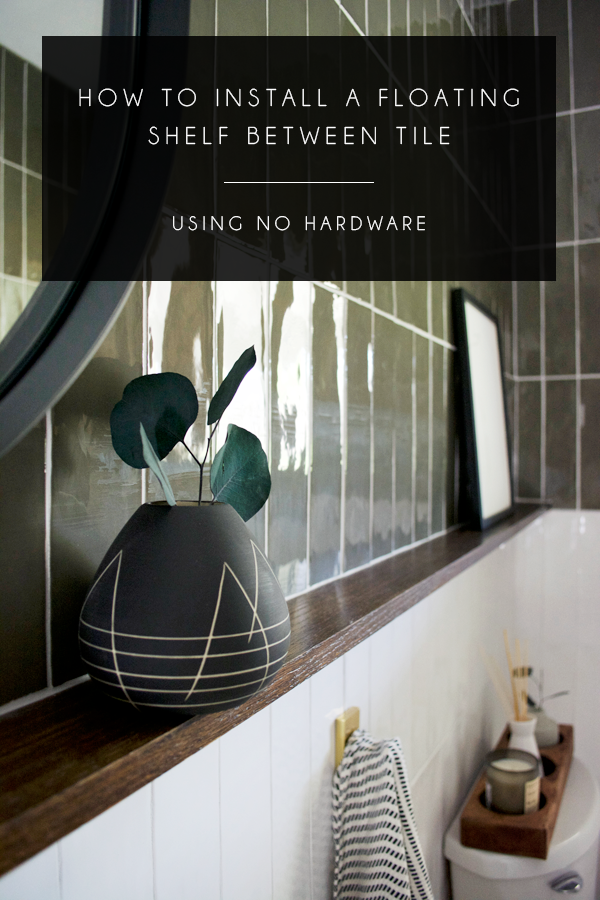
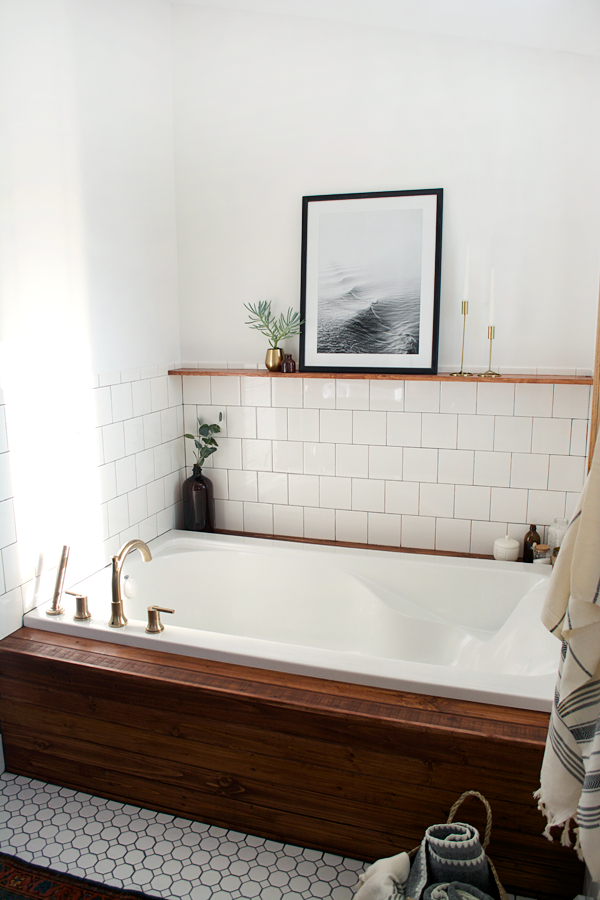
We’ve used this method once before in our master bathroom makeover when we put the floating shelf above the bathtub. That was a little bit different since there was no tile above it, but we used a bullnose to cap it off and create a clean look.
SUPPLIES FOR INSTALLING A FLOATING SHELF ON A TILE WALL
- Wood Cut the length of your wall
- Loctite PL Heavy Duty Sealant (or other brand of heavy duty sealant)
- Laticrete (or other brand) Sanded Caulk
- Wet Sponge
The size wood we used for our floating shelf was a 1×4. The one we used up in our bathroom was a 1×6. I wouldn’t go too much wider than that for this method!
HOW TO INSTALL A FLOATING SHELF
STEP 1
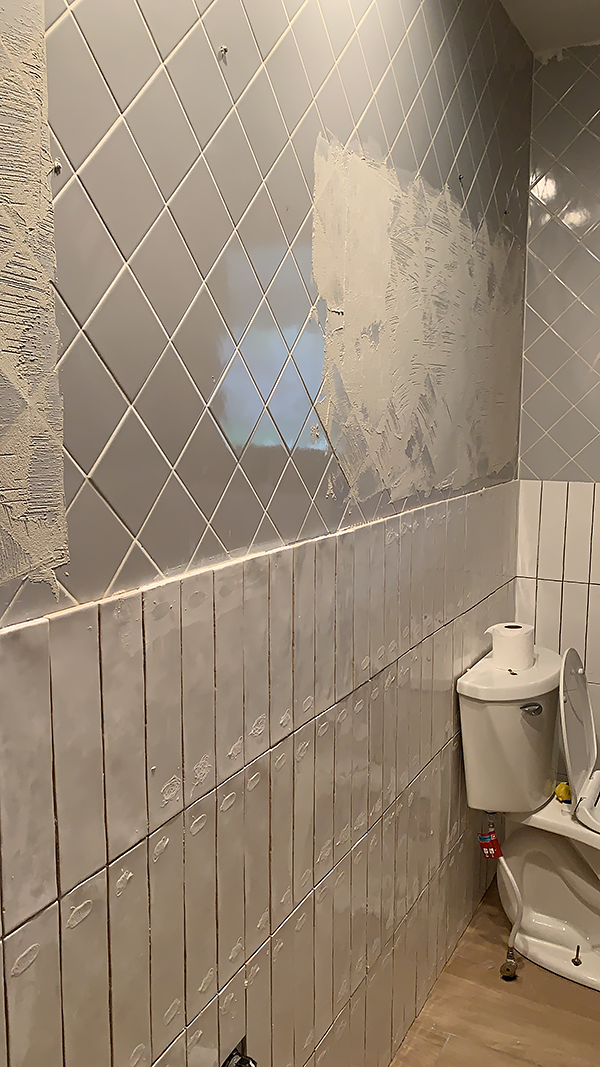
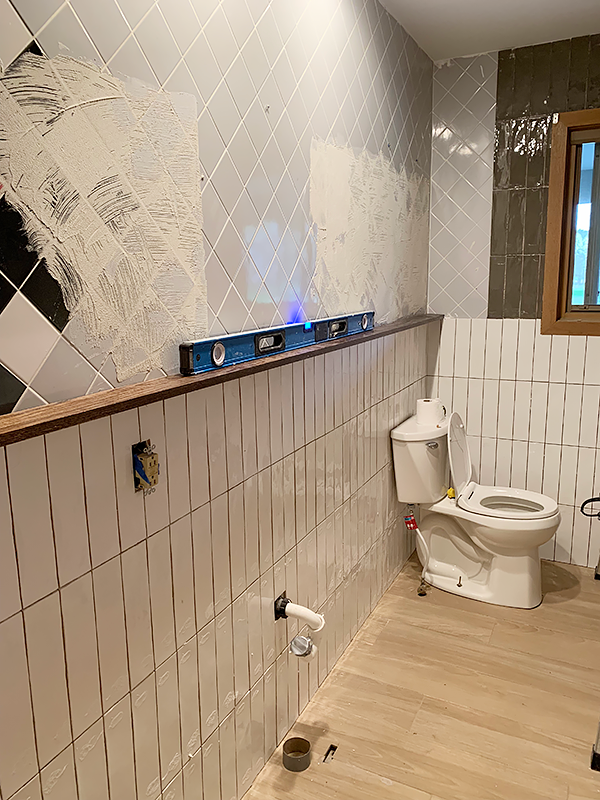
Install your tile up to the point where you want your shelf to go.
STEP 2
Prepare your shelf by cutting it to size and then staining it in your color of choice. I used Minwax Dark Walnut on our floating shelf.
STEP 3
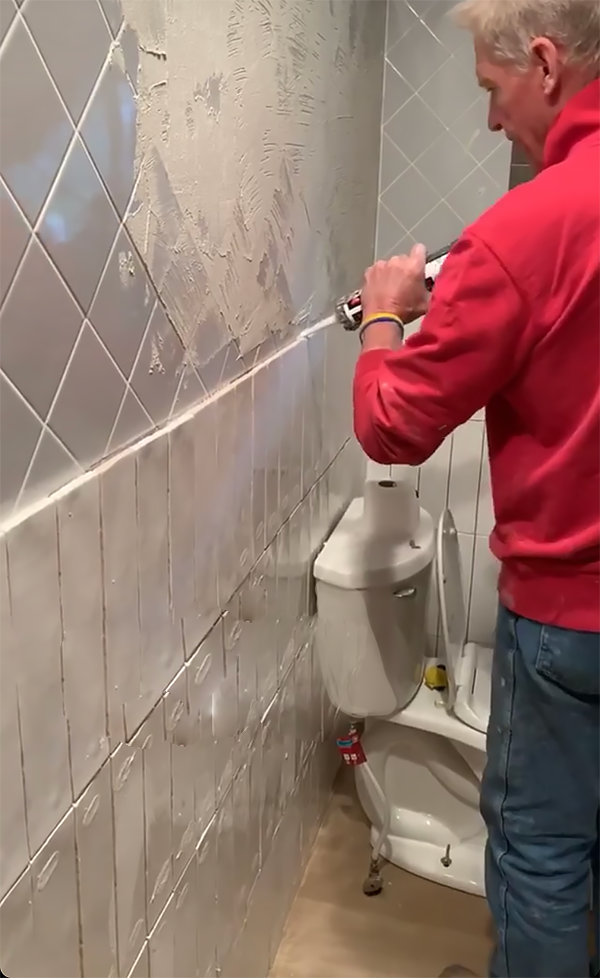
Add a layer of glue with your heavy duty sealant on the top edge of your tile and on the back of your wood that will go against the wall.
STEP 4
Rest your piece of wood on top of the tile and hold down firmly. Once somewhat secure, you can release it. I would suggest resting a long piece of wood up underneath it to keep it from falling off until it’s completely dry in place.
STEP 5
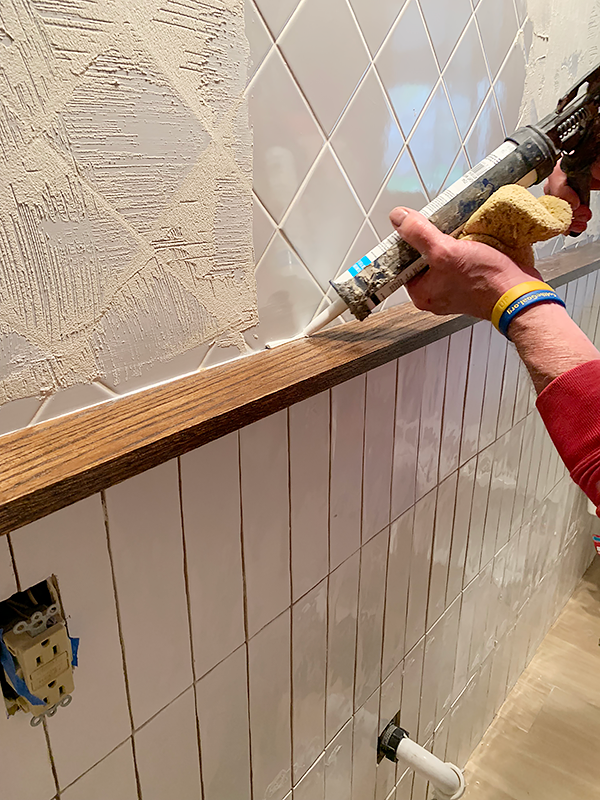
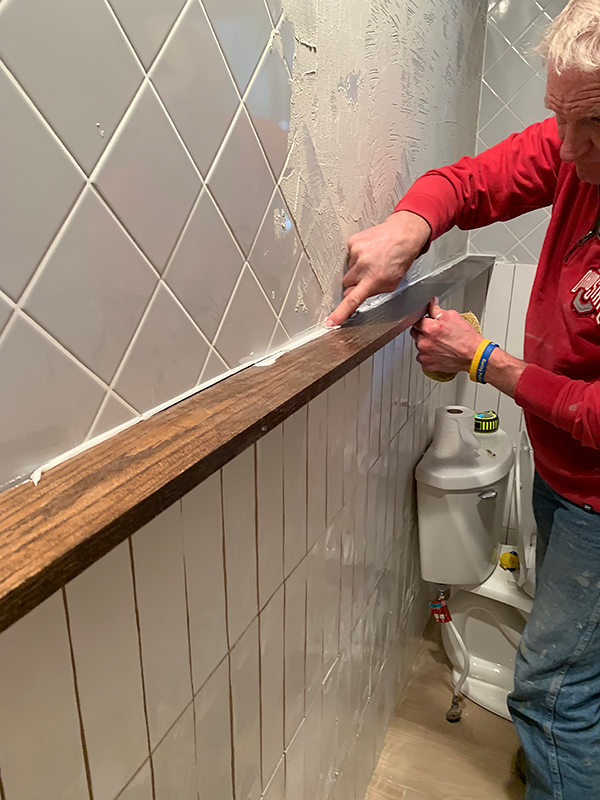
Use your caulk to fill in any gaps along the top edge between the wood and the tile. A good tip is to use your finger to press the caulk into the gaps and make sure it fills completely. You can be less precise with the caulk because it wipes off with water.
STEP 6
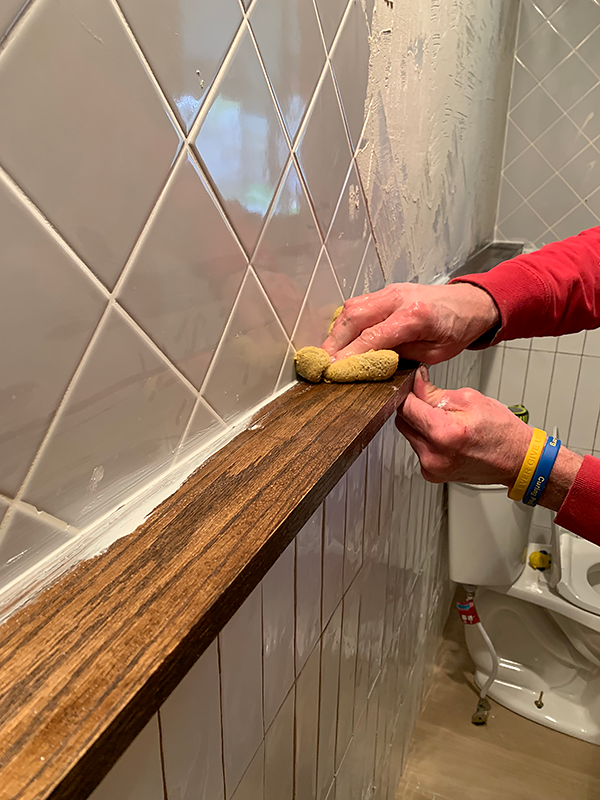
Wipe off any access caulk around your wood with a wet sponge.
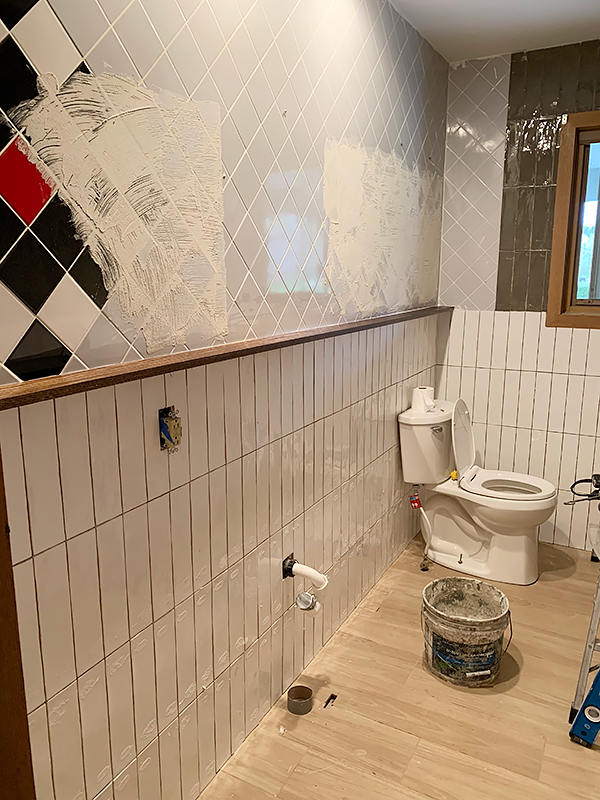
STEP 7
Finish tiling resting your next row of tile directly on top of the shelf. If you aren’t doing tile all the way up to the ceiling you can use a bullnose tile to finish it off.
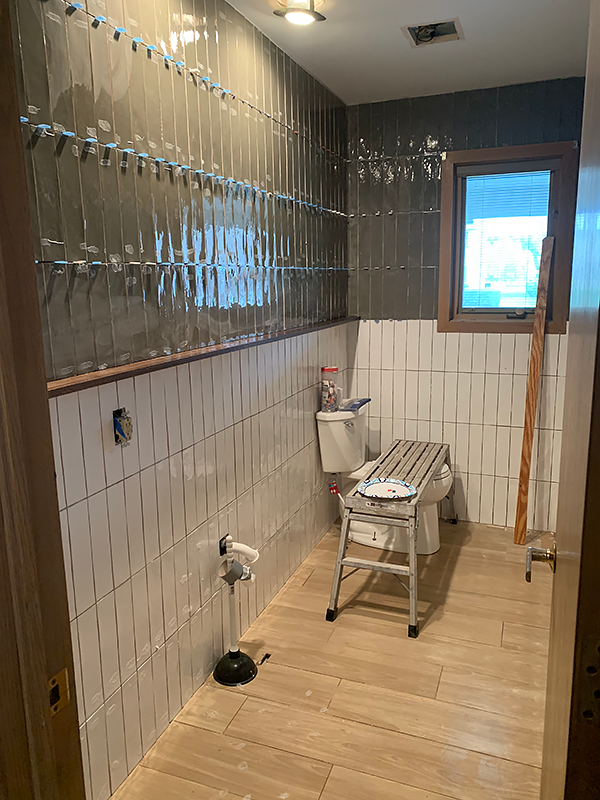
For the corners, we just cut the tile to notch around the wood.
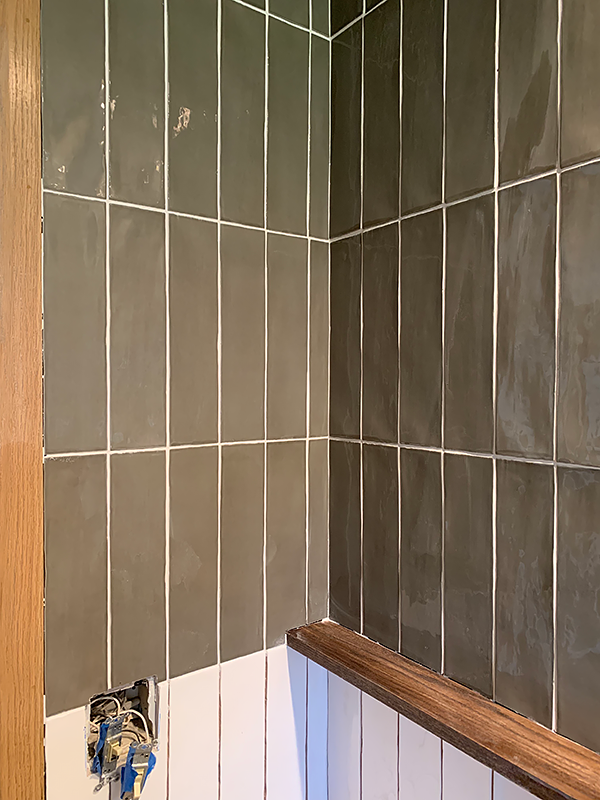
STEP 8
Add another layer of caulking where the tile meets the wood if needed. This will give it a polished look after you’ve grouted!
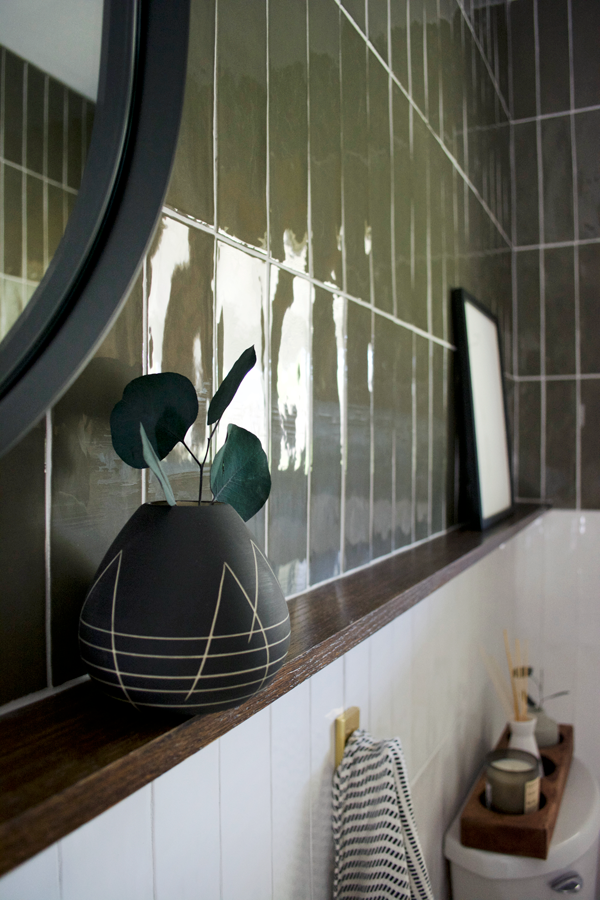
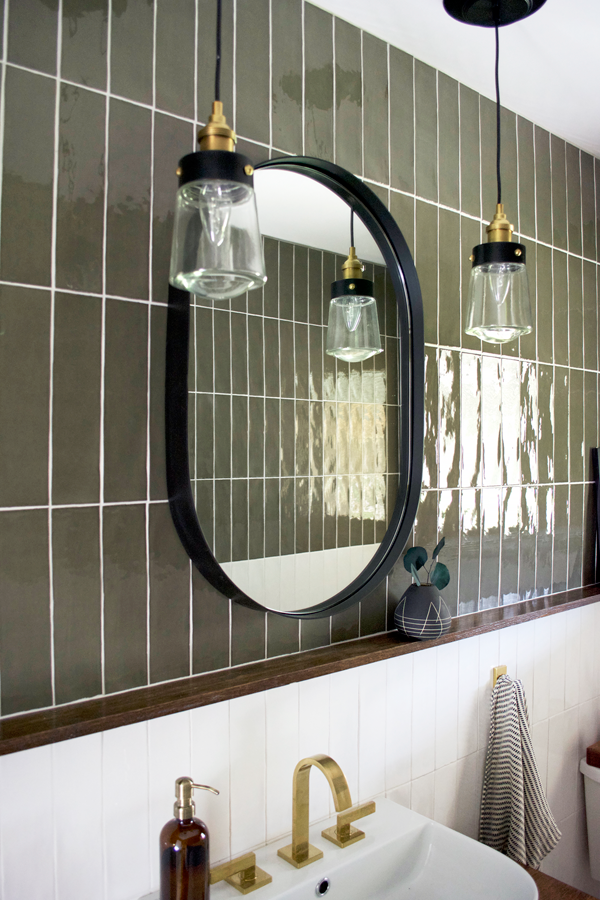
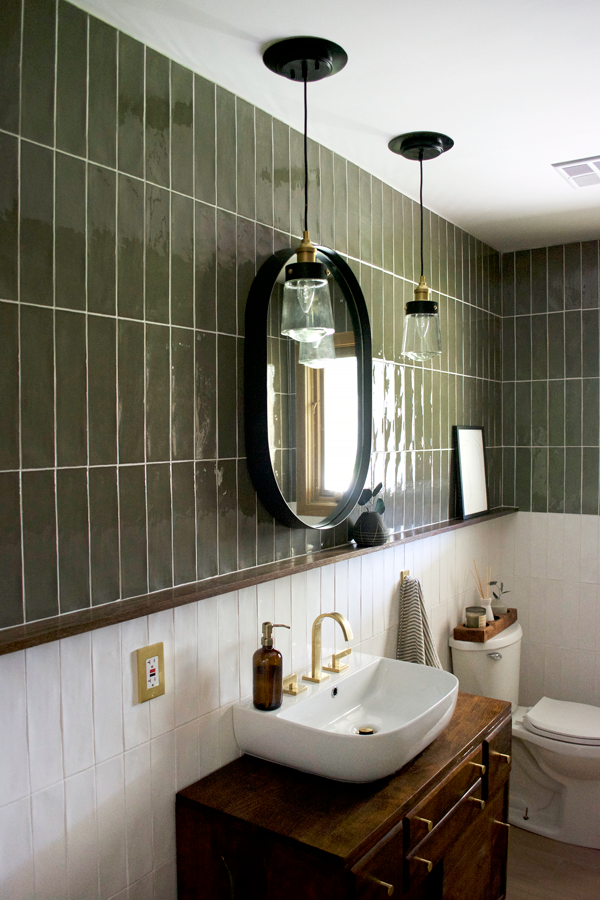
So as you can see, this is really a pretty easy process. Of course this probably wouldn’t work on floating kitchen shelves if you need somewhere to put plates and other heavy things. If you want a good tutorial on that, check out my friend Ashley’s post on How to Install Heavy Duty Kitchen Shelving.
This a great option when you want to add a little more character to a space but don’t want to worry about drilling into the wall.
I put little vases, and some artwork on both of our floating shelves and the weight of them has never been an issue. Once everything is dry and your shelf is installed, if you give it a little tug, you’ll realize just how secure it is. A floating shelf on a tile wall doesn’t have to scare you anymore!





Pat M.
Doesn’t seem as thought it would stay just being “glued” to the wall – but you’ve shown in your home that it does work. Would it work on just a flat wall, one not tiled, or does it need the stability of the edge of the tile underneath it?