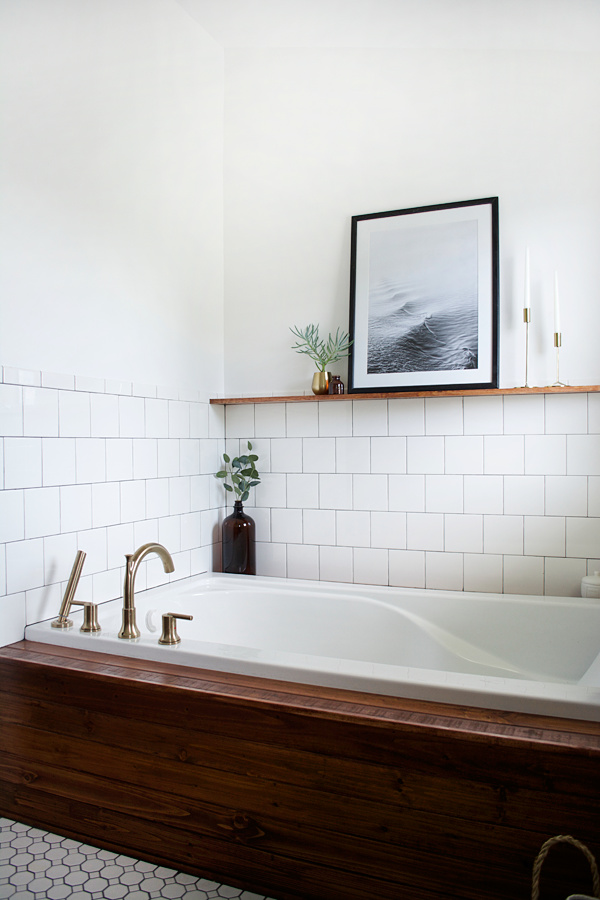
I was really torn about whether I should get a drop in tub or a free standing one but when I saw some pictures of gorgeous wood planking around a bathtub, my mind was made up. Drop in it was! And I couldn’t be happier with my decision. With so much white in our bathroom, I needed some large areas of wood to contrast against those lighter areas. I’ve gotten a lot of questions about how we added the planking, what we used and how we sealed it so I’m going to share all those details with you today and show you How to Install Wood Planking on a Bathtub!
HOW TO INSTALL WOOD PLANKING ON A BATHTUB
What You Need
*affiliate links included
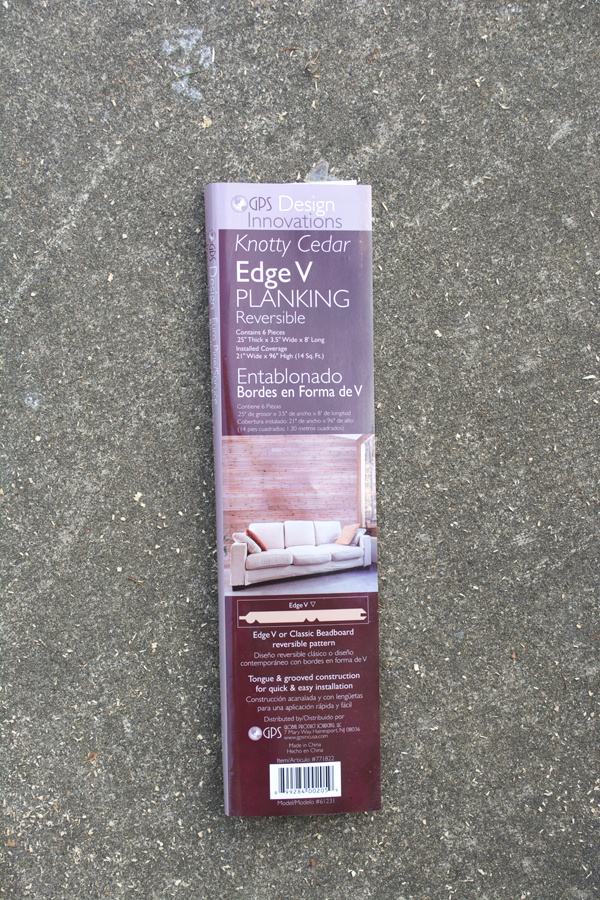
Knotty Cedar Edge V Planking
1/2″ Plywood
Stain
Tung Oil
Nail Gun
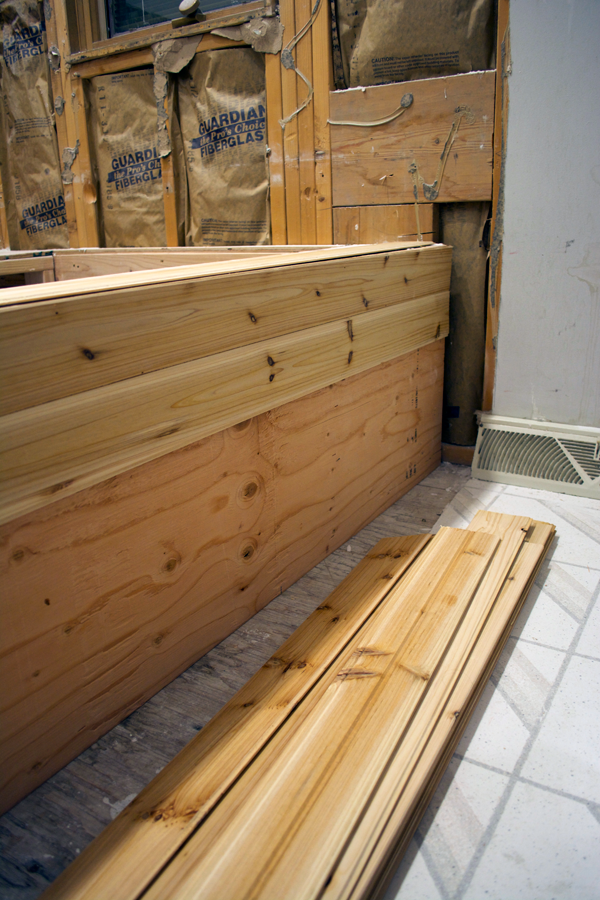
I’m not going to go into too much detail about building the frame for the tub because our contractor did all of that, but here’s what it looked like before added the planking.
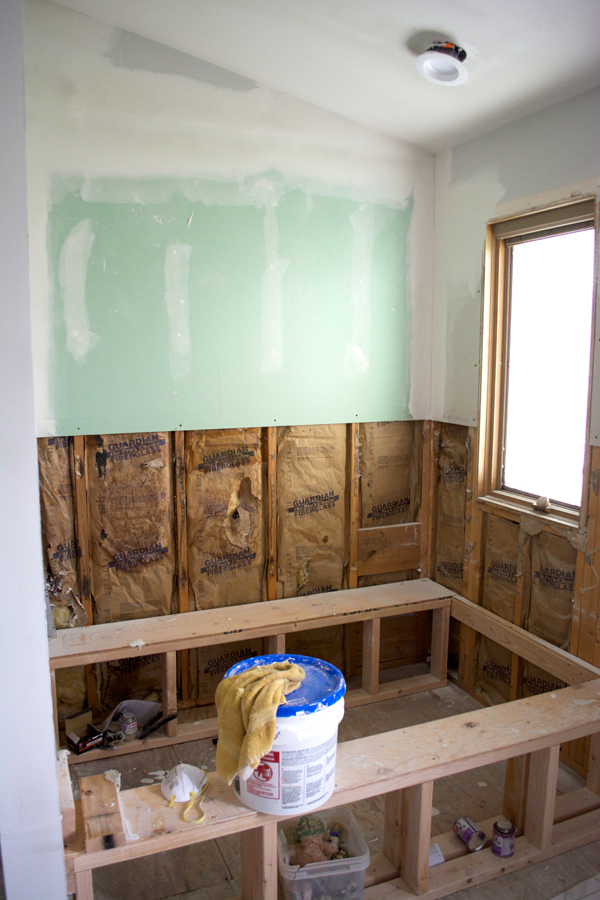
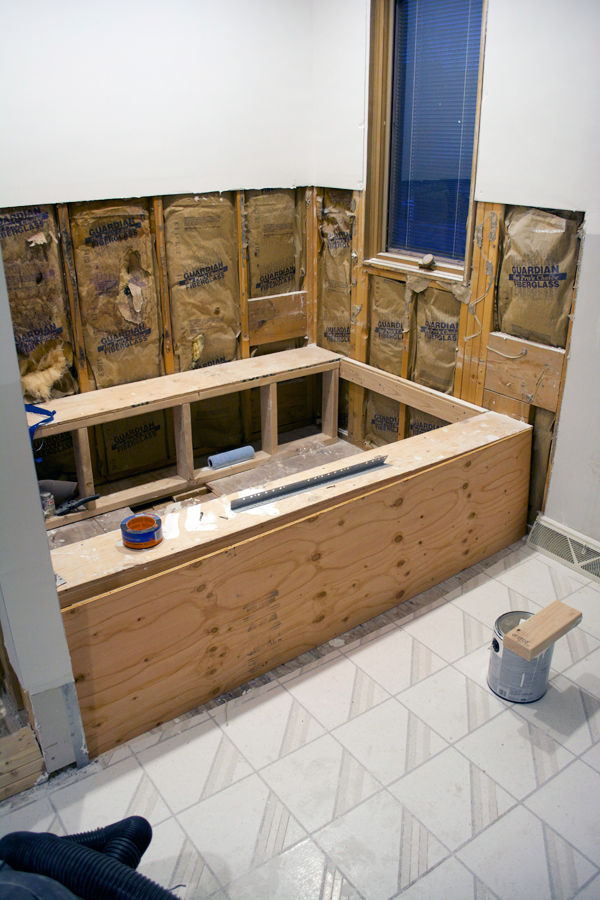
So your first step is going to be adding plywood to all the areas where the planking will go. So we added a large piece on the side of the tub as well as two smaller pieces on the top on other side of the opening.
Then you’ll want to cut your cedar planks to size. We used these ones from Lowe’s and they were 8 ft. long but our tub was only 6 ft. long.
Next you can start nailing your planks onto the plywood. Try and get them in the studs as much as possible and add reinforcements along the way. The tongue and groove of these were kind of a pain in the butt to get together since they’re so thin so just be patient if you use these specific ones.
I did a lot of research on what type of wood to use and ended up going with cedar since it’s a water resistant type of wood already (even though you still need to seal it) and I just happened to find these planks at Lowe’s so it was perfect. But basically you could use anything as long as you seal it well, which we’ll get to in a bit.
Once your planks are all nailed in then you can stain. We used Red Chestnut to match everything else in the bathroom.
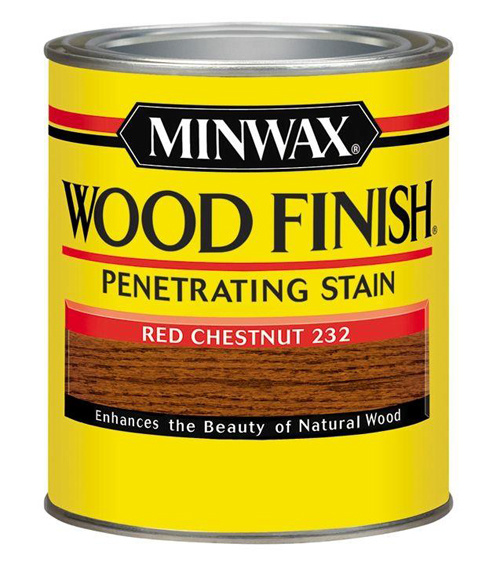
It has just the tiniest hint of red which was what I needed to closely match the vanity.
Something we added before we sealed the tub was some corner trim where the top and side planks meet. We knew we were going to need something since it wasn’t a clean edge but didn’t figure something out until after we stained. You could (and should) add this before you stain to make things easier. And I just used some wood glue to secure it. You’ll see some up close pictures of it below.
Now to seal the wood, you need something that will protect against water and moisture. I did a ton of research and at first we were going to go with Waterlox. I even bought some but then the more I read up on it, the more potent I realized it was and I’m pregnant so that was a big no no.
Even if I wasn’t the one doing it, since the bathroom is in our bedroom, I basically wouldn’t be able to be in there at all and it takes 24 hrs. to try between coats. But if you wanted to stain and seal your wood BEFORE you nailed it onto the tub – or aren’t going to be home much during your project, then Waterlox would be a great option.
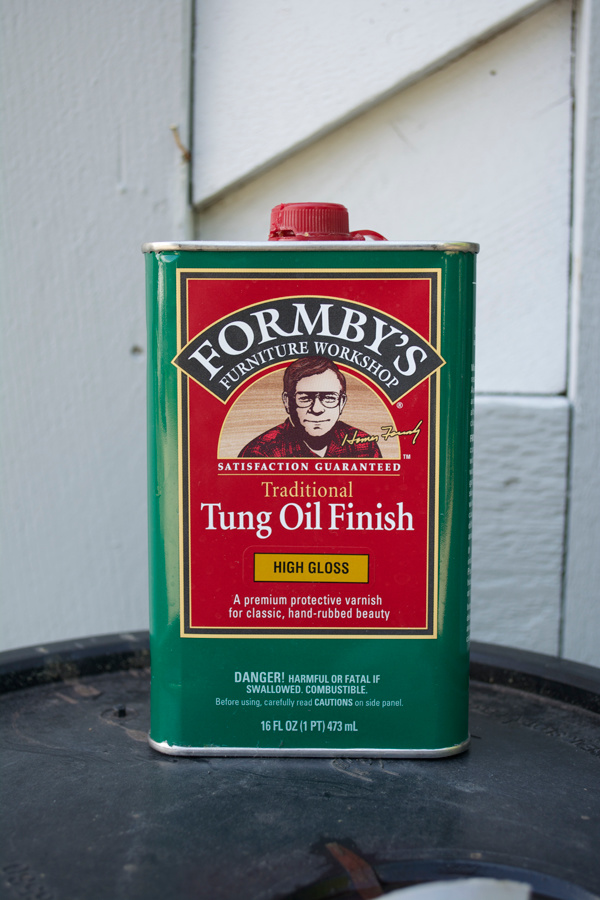
We decided to go with Tung Oil though instead. It’s all natural and gives you the same results. We applied 4-5 coats and it has a much less smelly odor than Waterlox does. Also, you can find this stuff in the hardware store whereas you have to order Waterlox online.
After a few weeks of using the tub, this stuff has held up awesome. The water just beads right off of the wood. I’ll definitely keep you updated and let you know how it holds up long term but so far we’re super happy with it!
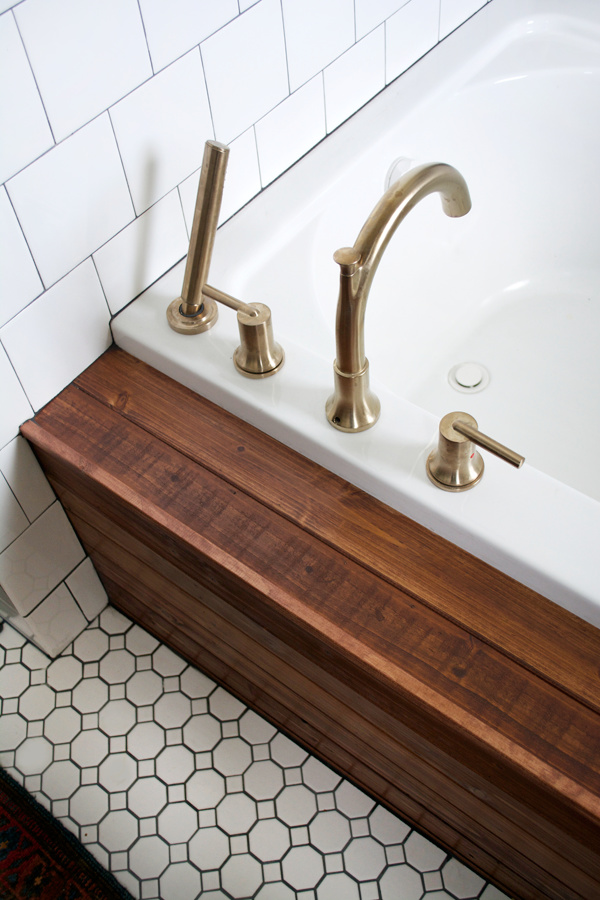
You can see the corner trim piece we added here.
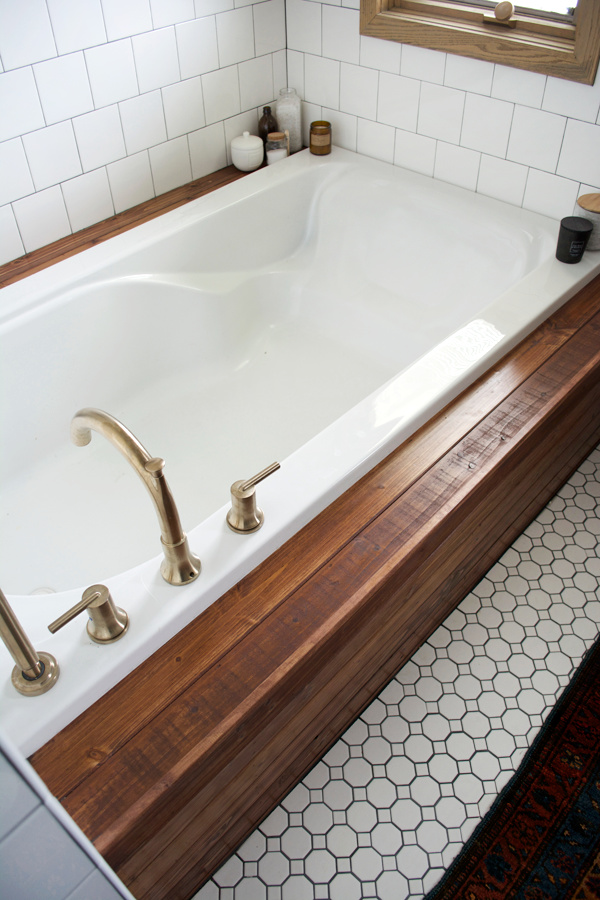
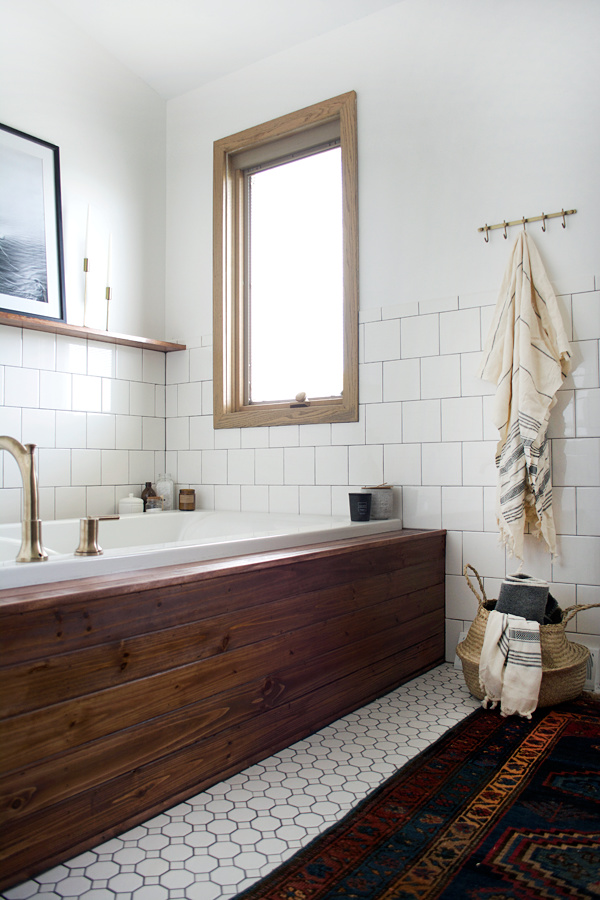
I love the warmth that the wood adds to the space and it totally makes it feel like a spa! If you’ve ever wanted to add wood planking to your bathroom, here’s your moment. There are some great options that will help protect your wood and help turn your bathroom into a dream space 🙂




Josiah
What grout color did you use for your subway tile backsplash?
We’re trying to do the same and love this whole wood grain tub surround with clean white subway tile backsplash. Looks great.
Also, how’s it holding up 4yrs later?
brepurposed
Thank you! It’s French Gray. And it’s held up great!
Jayson Michael Dooley
Why is plywood required prior to the planking?
brepurposed
So you have something to attach them to!
Robin-Lynn
Hi! I wanted to say first, I LOVE this! Second, how has the wood held up around the tub? I’m having a hard time getting my husband to say yes ????
brepurposed
Thank you! It has held up super well! No issues at all!
Gina
Can you link the corner pieces or did you make them out of the existing planks?
Laura
Thank you so very much for your blog post – I love your bath and will be trying to create the same effect in my new bathroom – this is so helpful! 🙂
Laura, (UK)
Aaron C.
The hardest part of putting a tub in is getting it level. I remember taking several tries to install a new tub. Talk about a nightmare! Thanks for writing!
Bre
Did you use the same sealer on the wood vanity as you did on the wood bathtub? How is the wood vanity with the sink holding up? I’m considering doing a butcher block vanity top in a bathroom remodel and was curious what you suggested for that? I’ve heard good things about Waterlox for sealing as well..
Tiffany
This is gorgeous!! You did a great job!
brepurposed
Thank you Tiffany!!
Offrs
Such a beautiful bathtub! I love it!! Thanks for sharing <3 <3
brepurposed
Thank you so much!