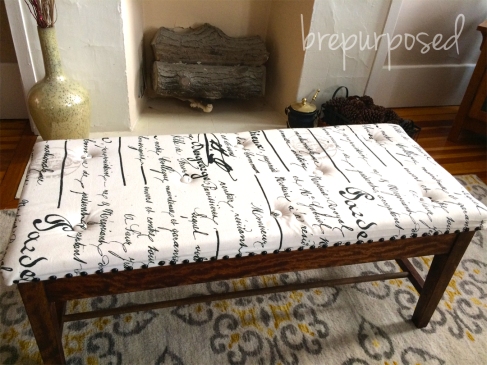
My friend Beth brought me my next project and I can’t wait until she sees the final piece, when it travels back to Syracuse this weekend. She picked it up from craigslist for $10 when we lived in DC and after recently moving into a new apartment, she had a new vision for it. This project brought on a lot of firsts for me, and I’m pretty impressed with the way it turned out! Let’s see where this Piano Bench Ottoman started:
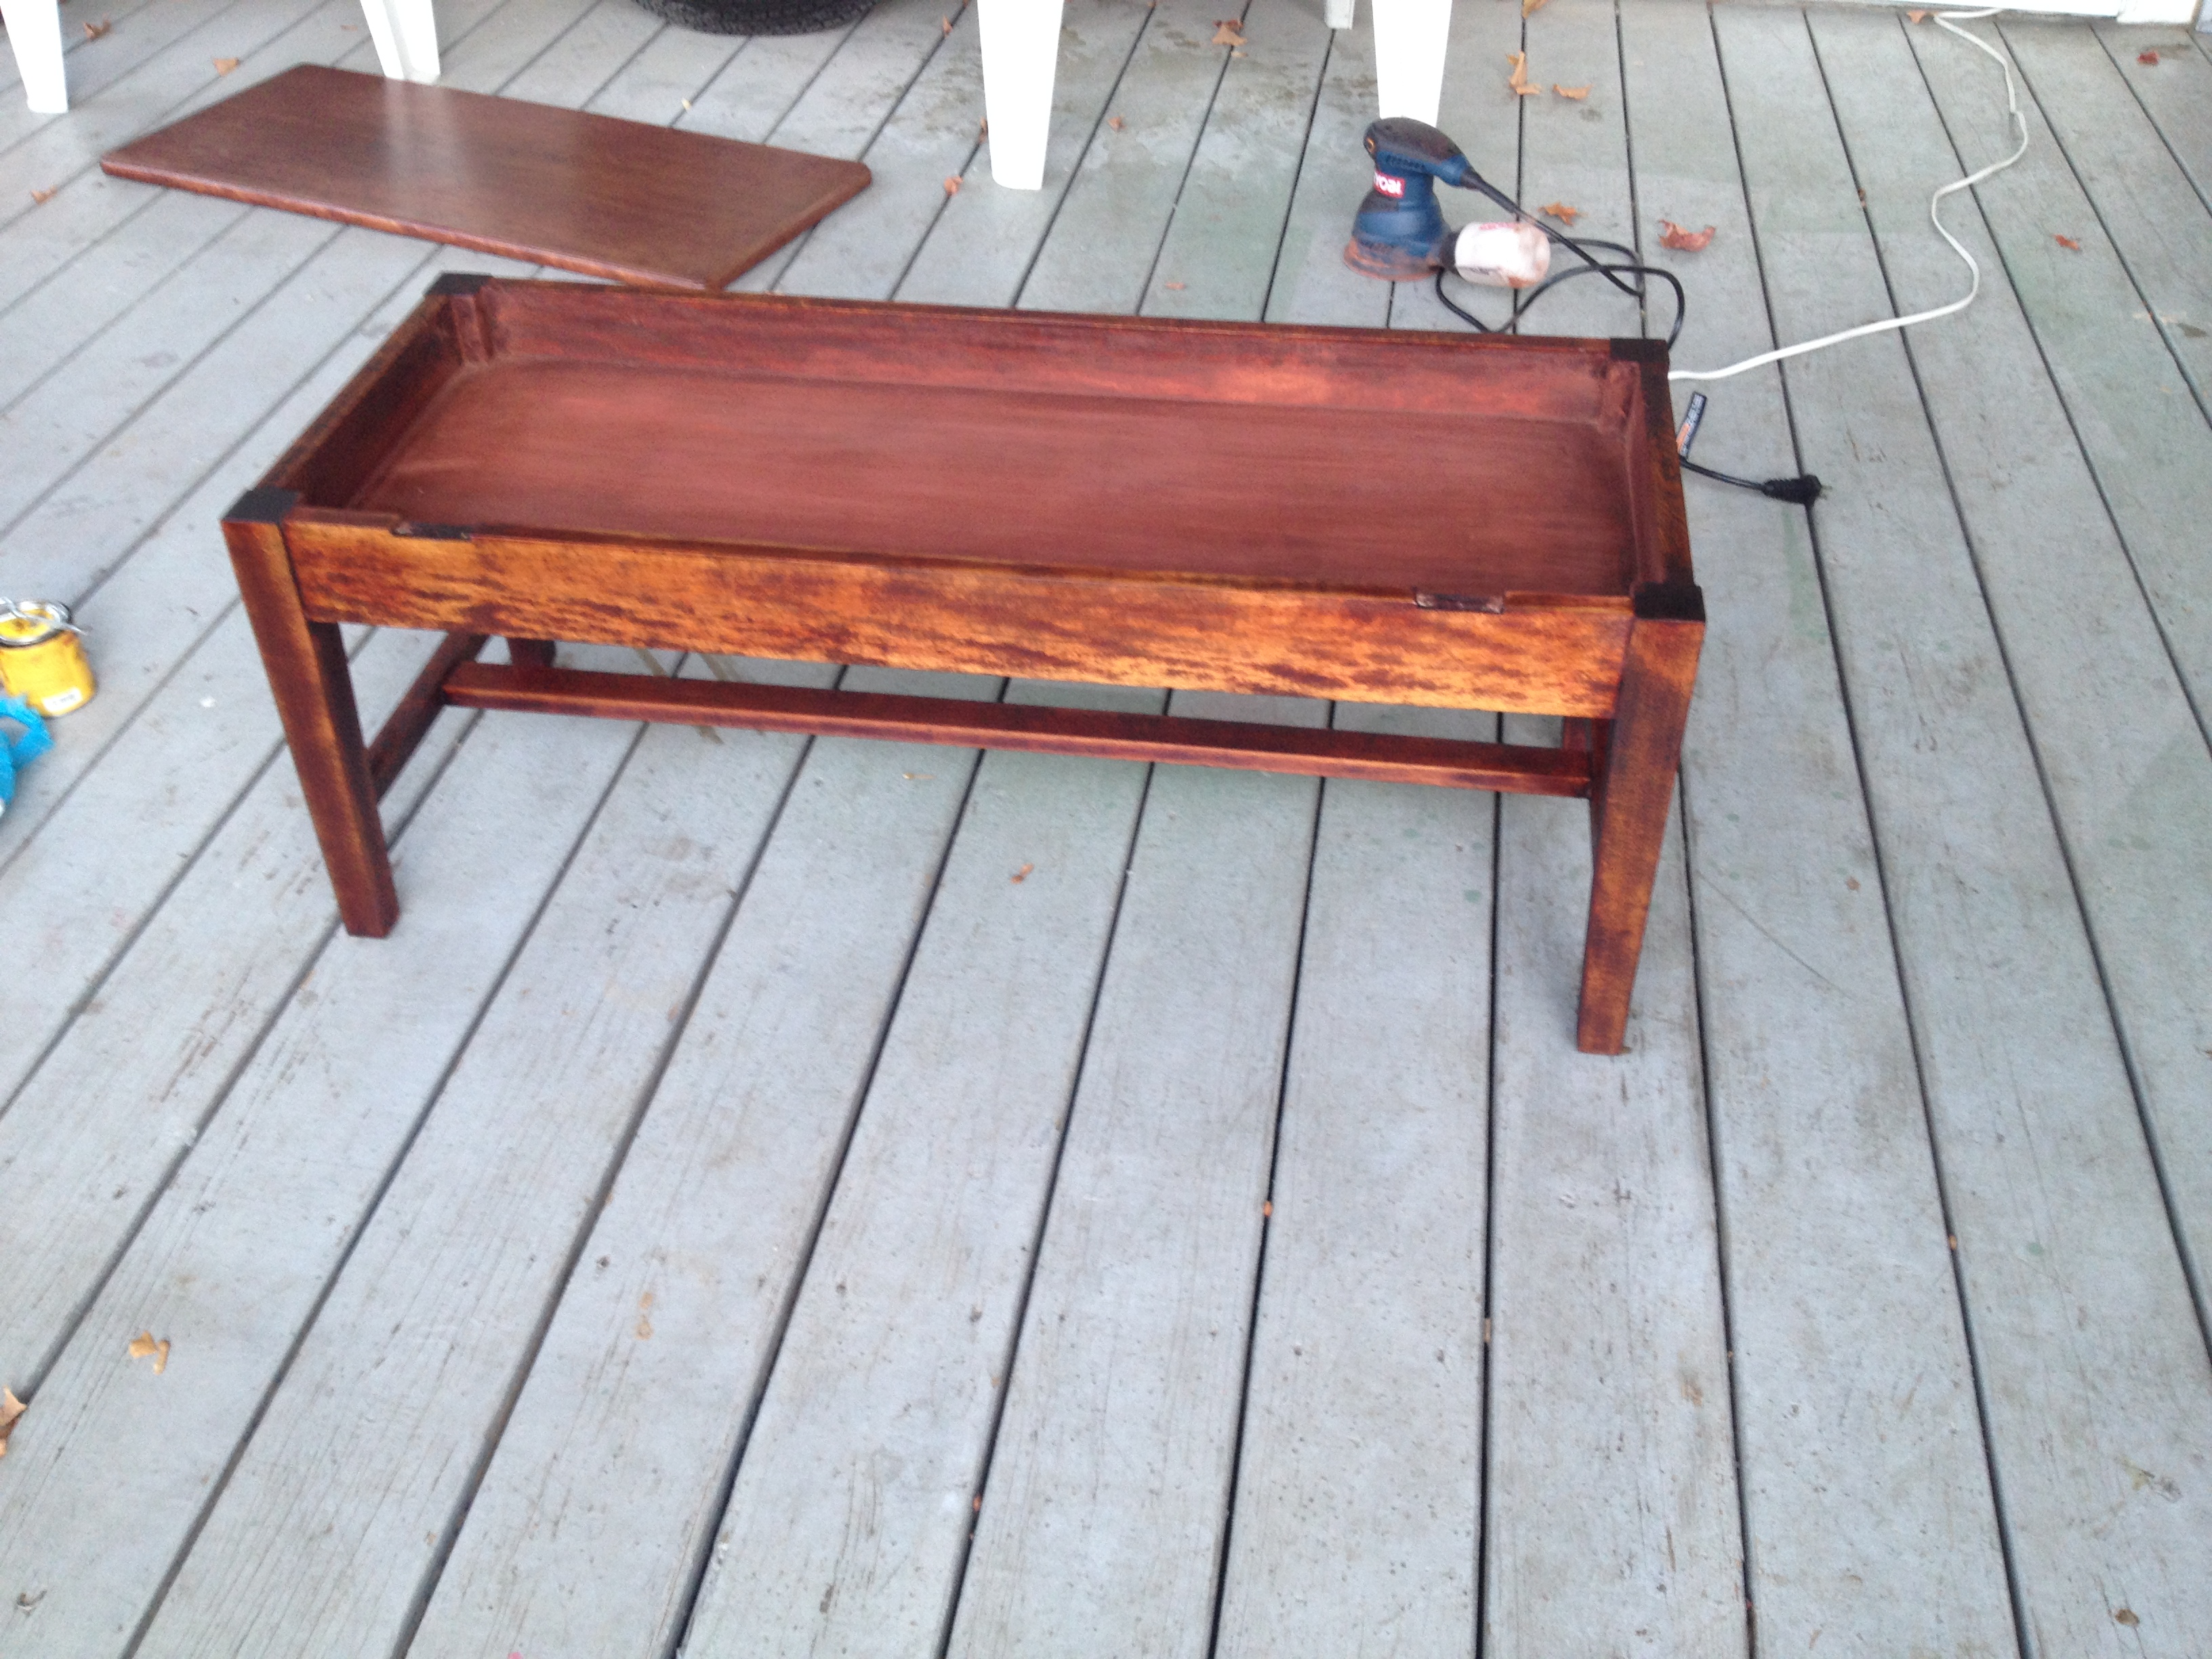
Beth wanted to keep the wood so the plan was to restain. I sanded the table, but not down to the original wood; which ended up giving it some interesting patterns which I think makes this piece even more unique.
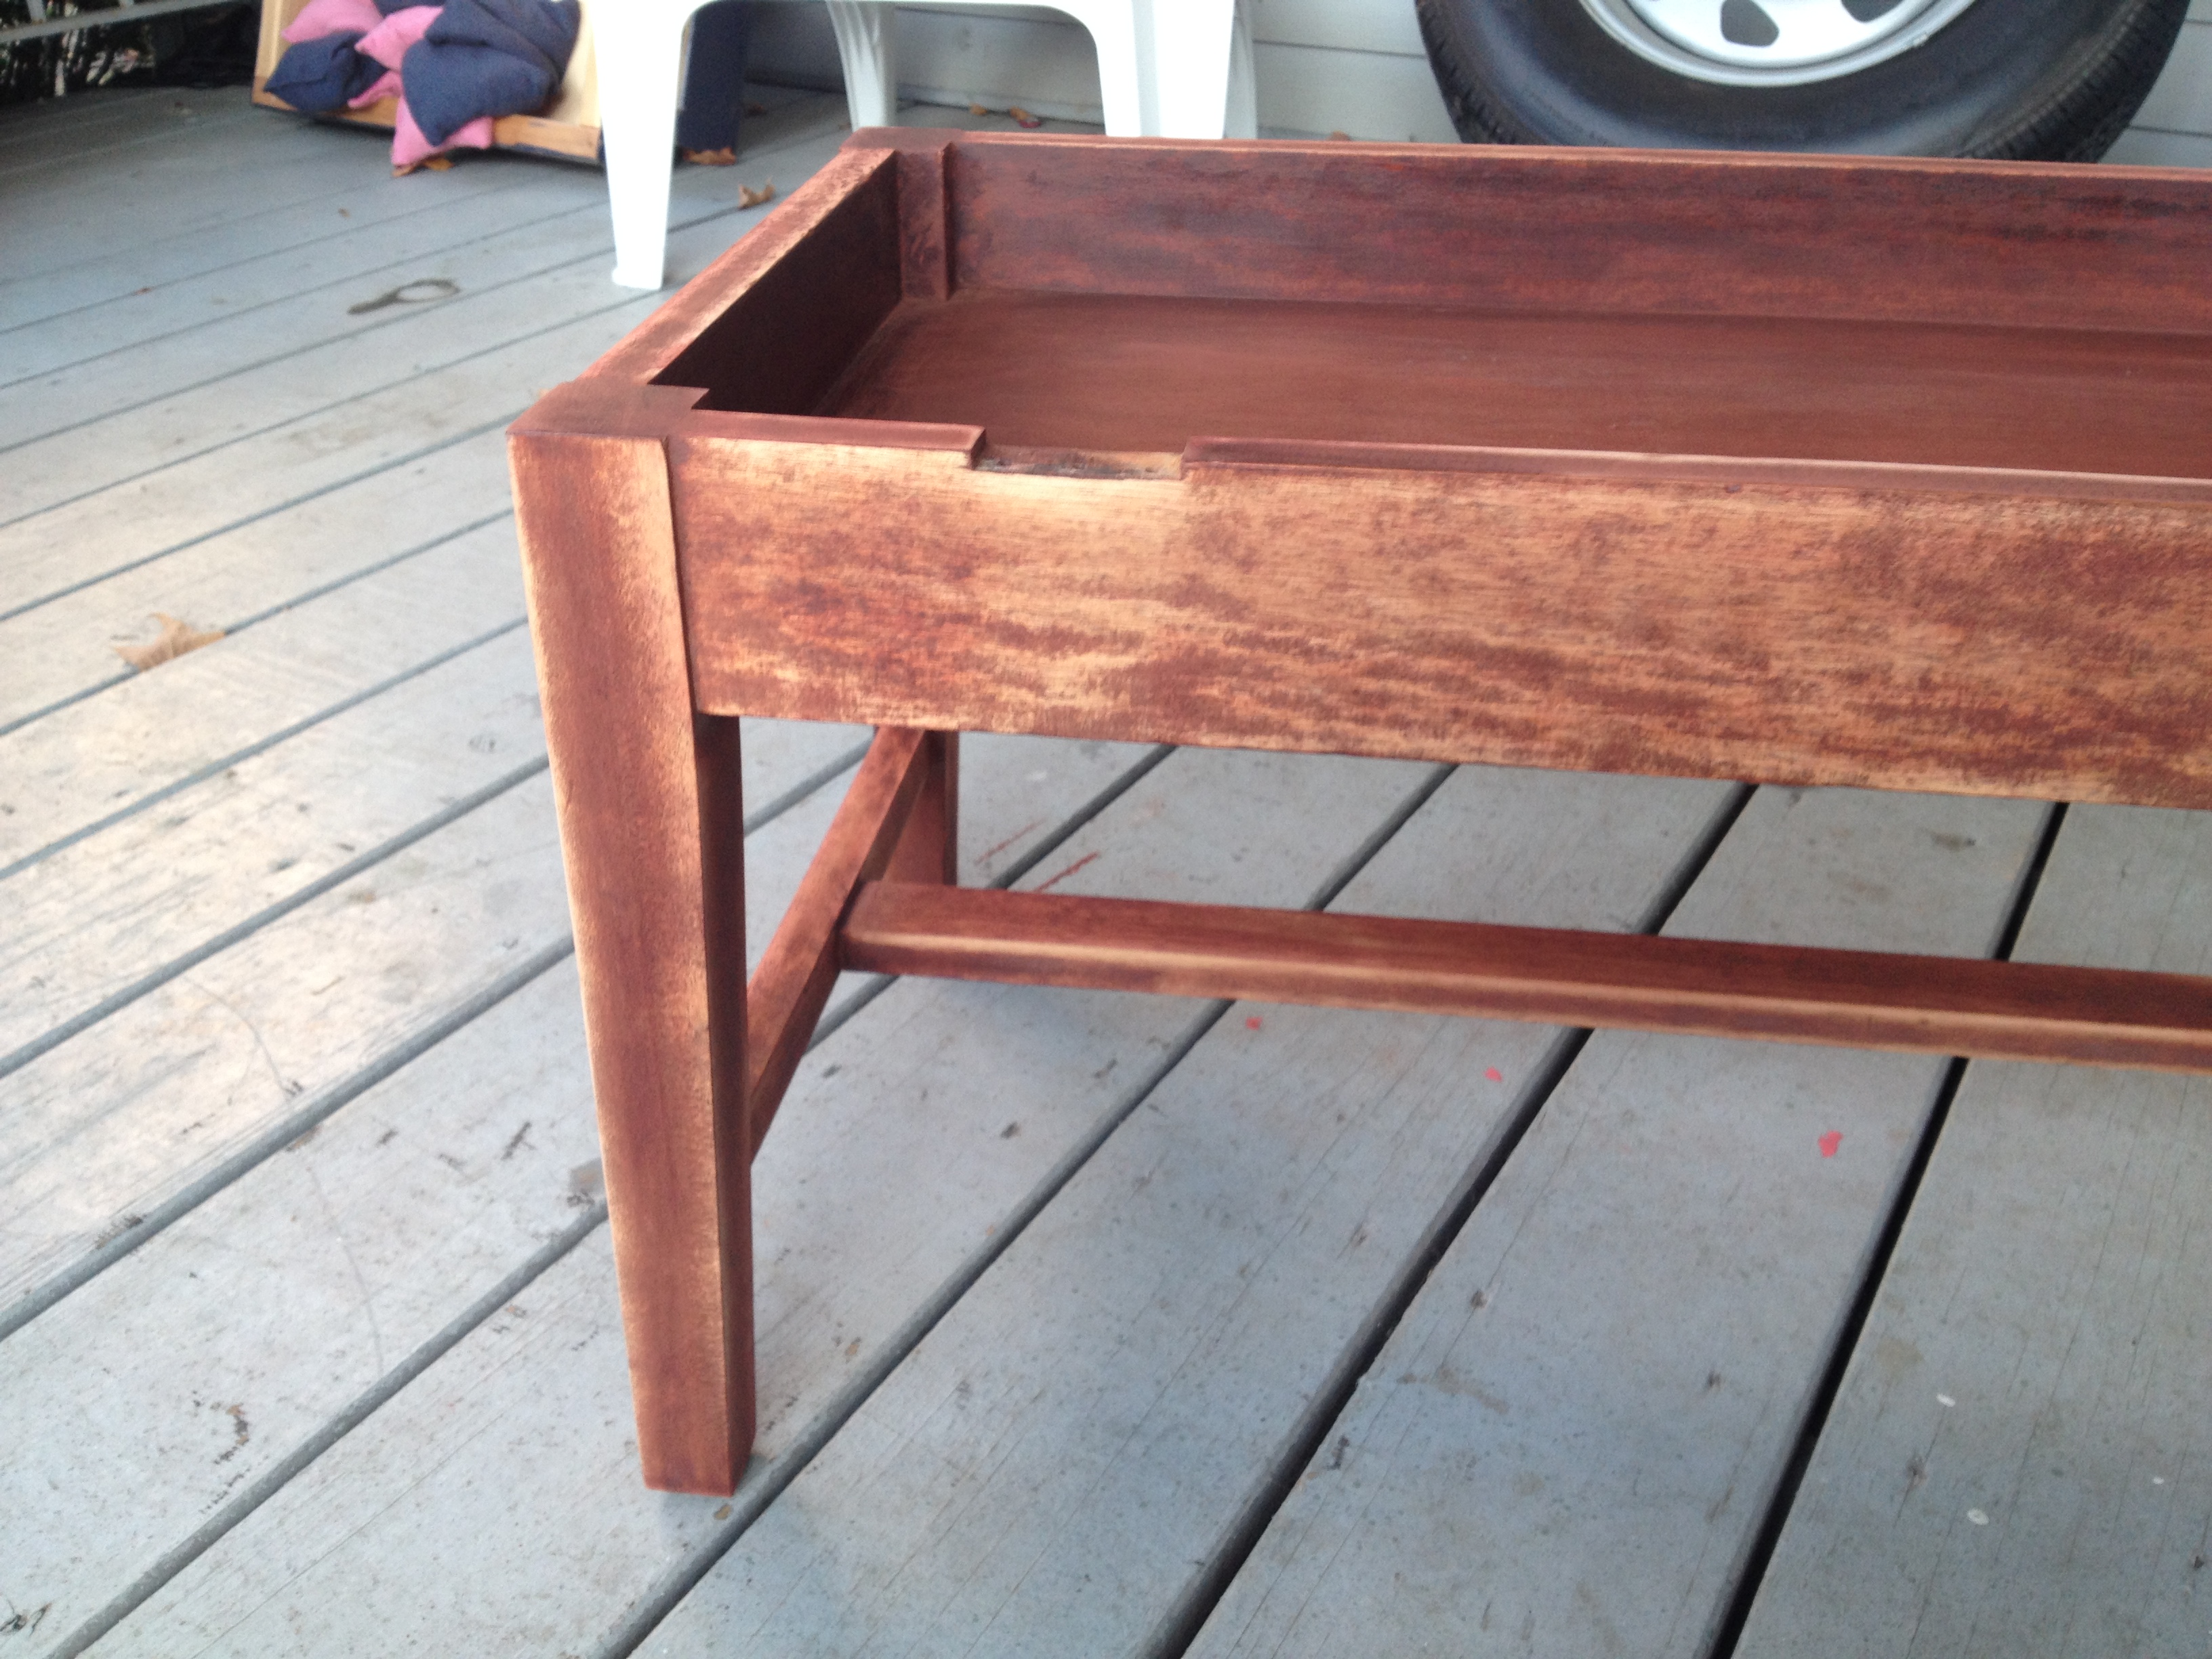
Here is what it looked like after I applied the stain:
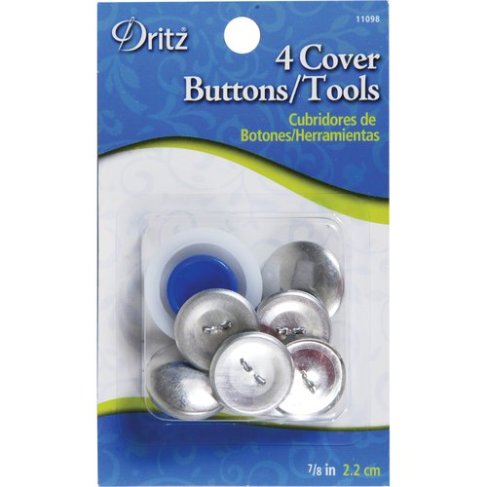
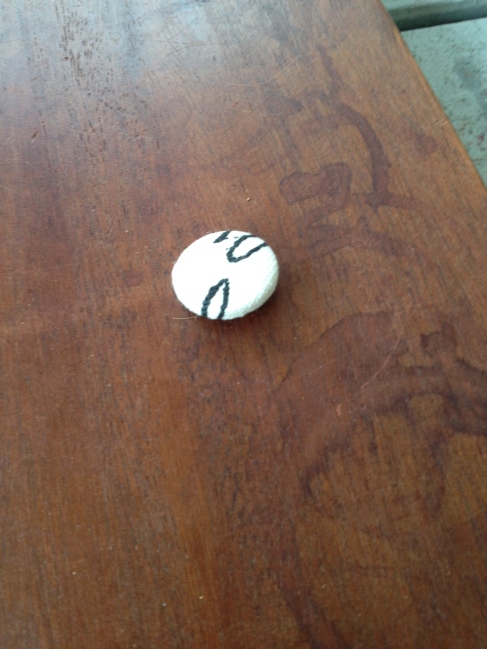
Now on to the top. I was originally just going to cover it with the fabric we got and call it a day, but I started reading about tufting on some other blogs and figured it would be easy enough. First step: making the buttons. This handy kit I got from Wal-Mart amazed me beyond belief and was really easy to use!
Using some of the extra fabric, I made 8 buttons. Each time I made one I couldn’t help but say “Boom, Button!” This thing seriously amazed me.
Next, I laid out all my buttons on the top piece of wood where I wanted to drill my holes in order to tuft.
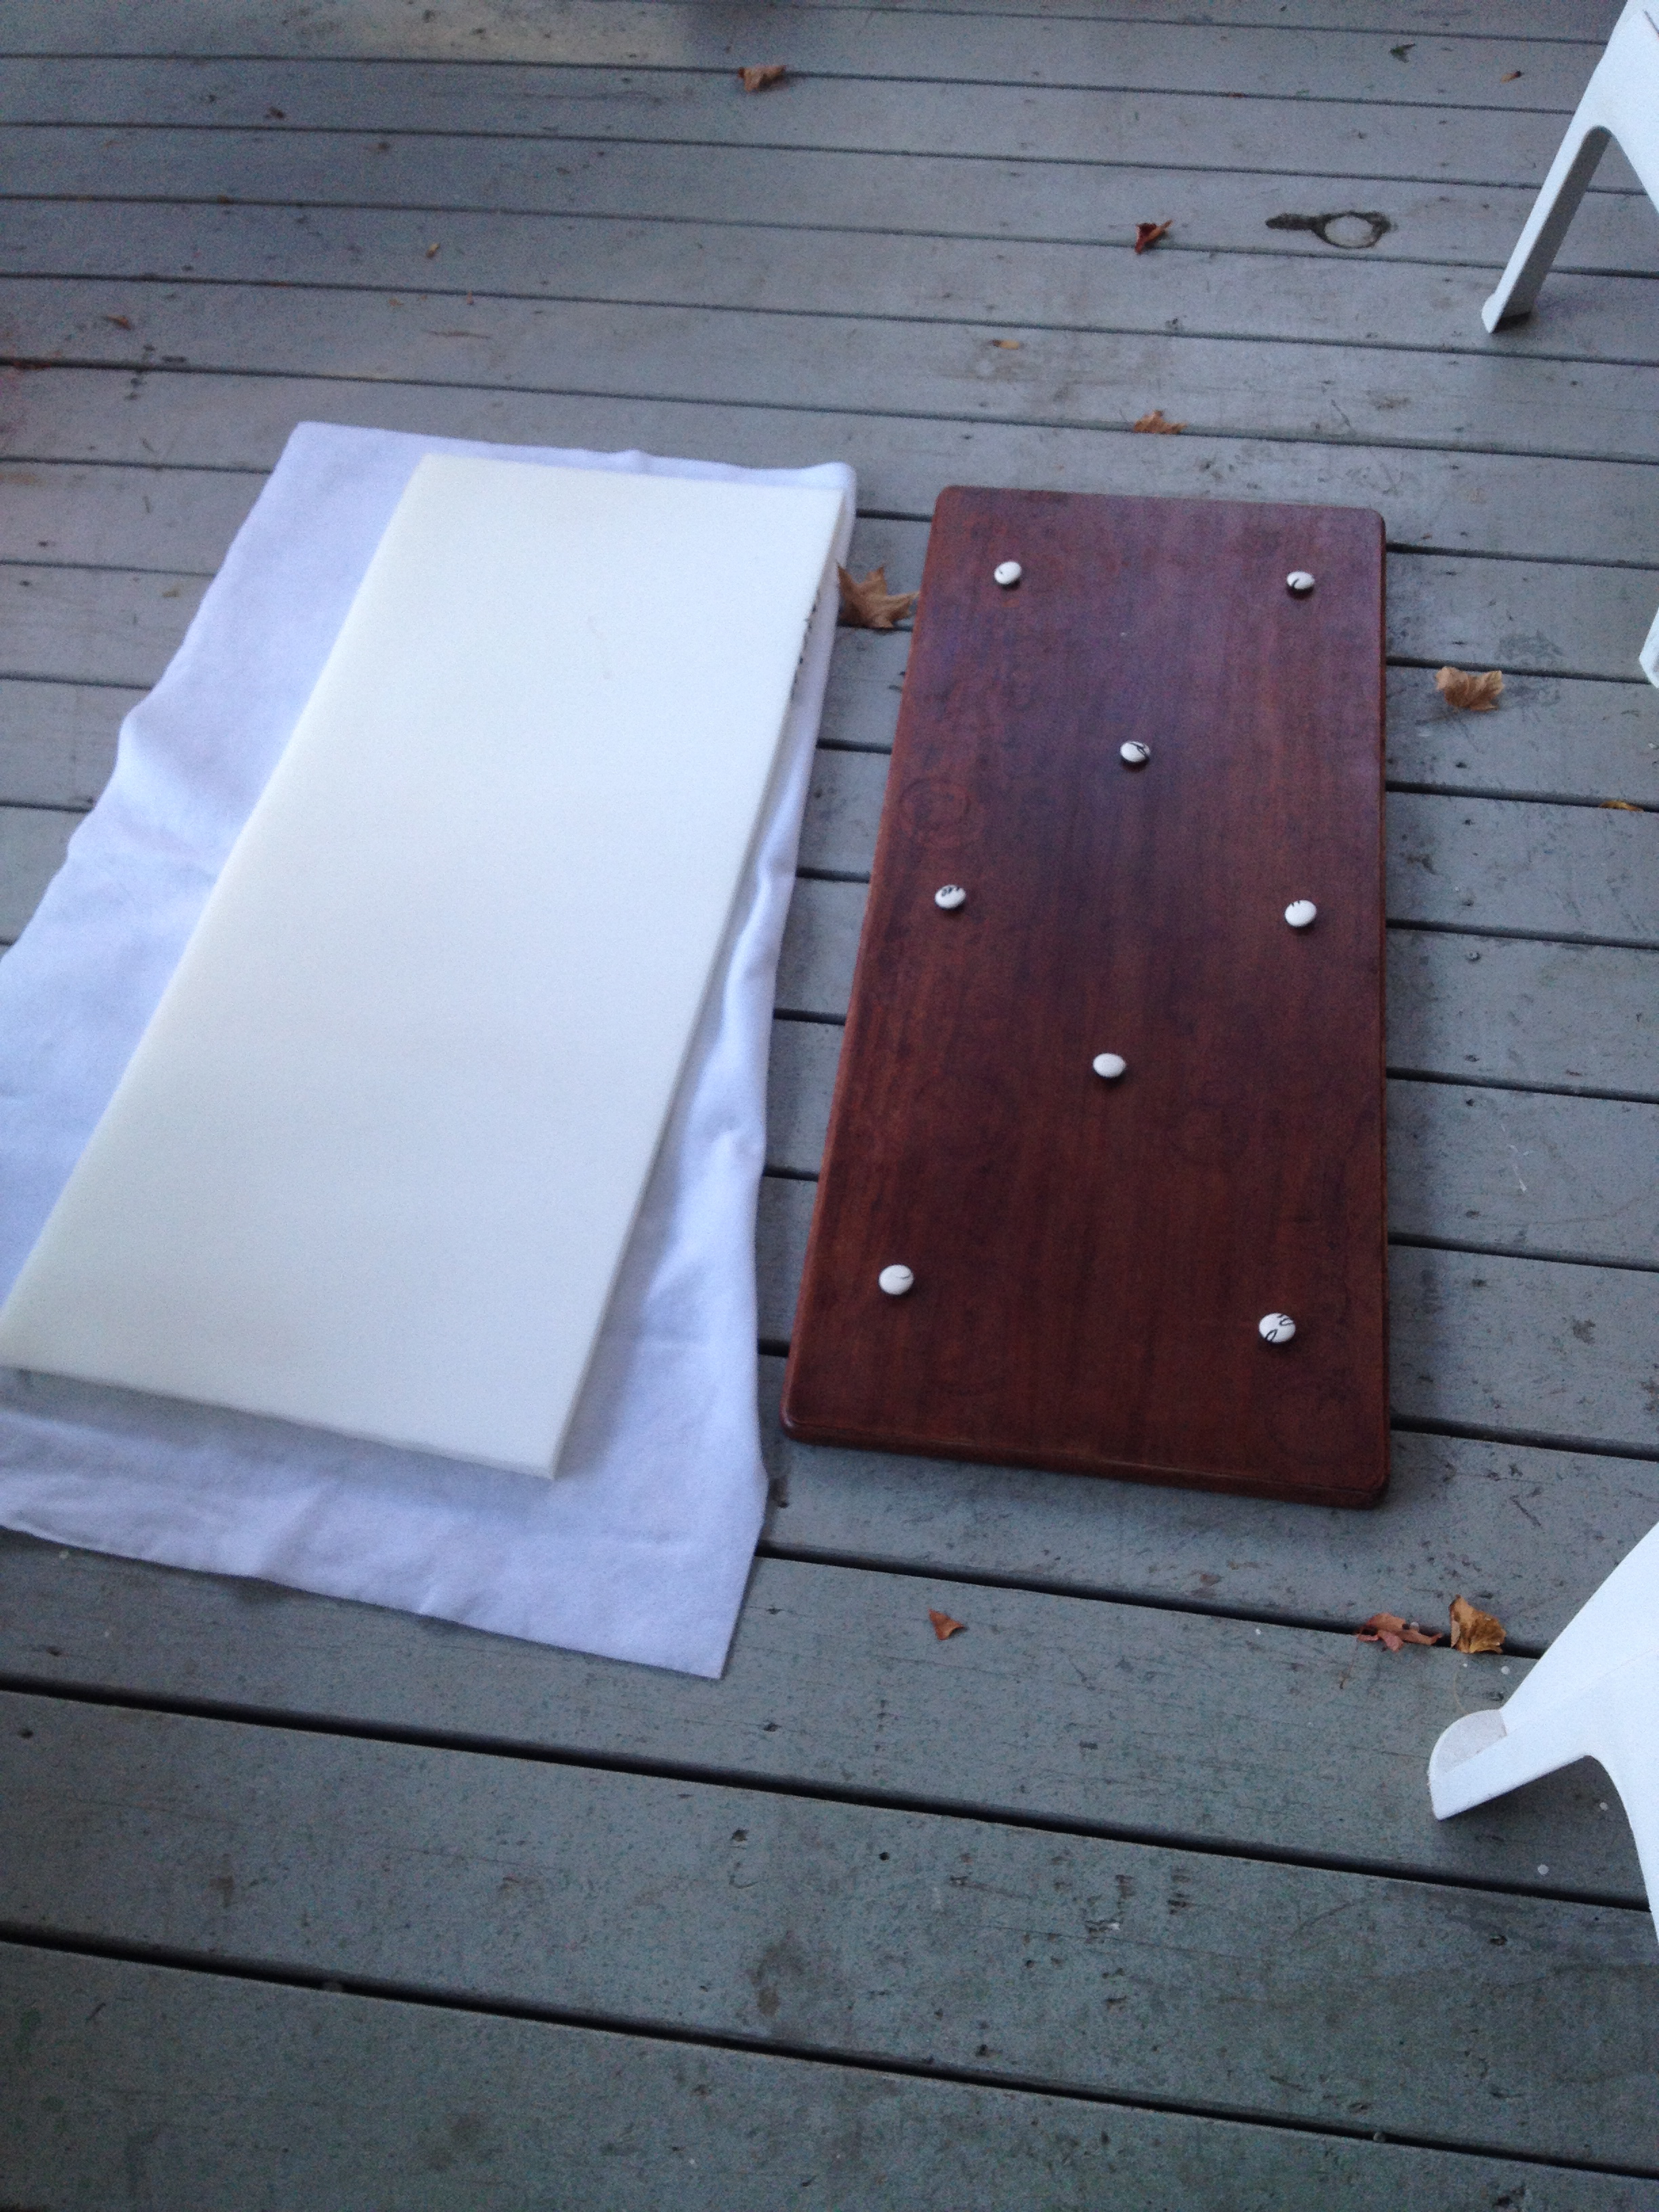
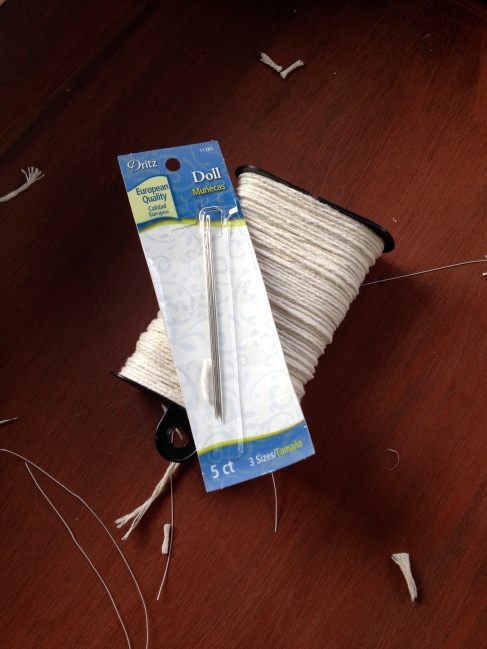
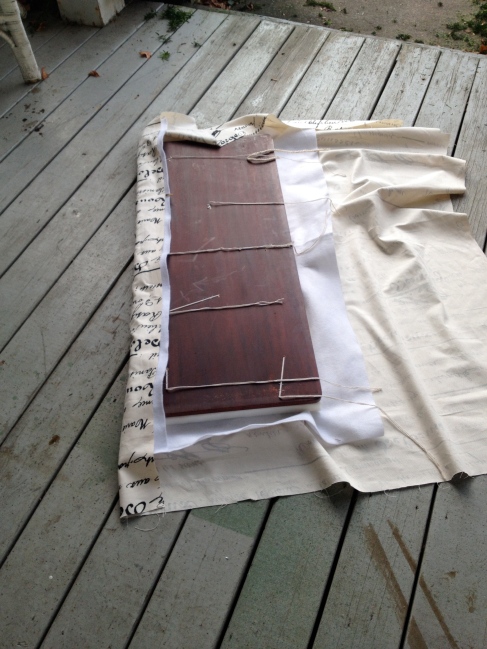
Once this was finished, it took a minute to figure out the best way to proceed. I thought it would be necessary to match up the hole marks on the fabric as well, but I just placed the wood (with batting, foam and fabric) on top of another brepurposed piece hanging out on our porch. This way, it was easier to work from underneath. I originally bought “Upholstery Thread” which turned out to be WAY too thin. A late night run to CVS had me back on track. This is the string I used, with these needles I got at Wal-Mart.
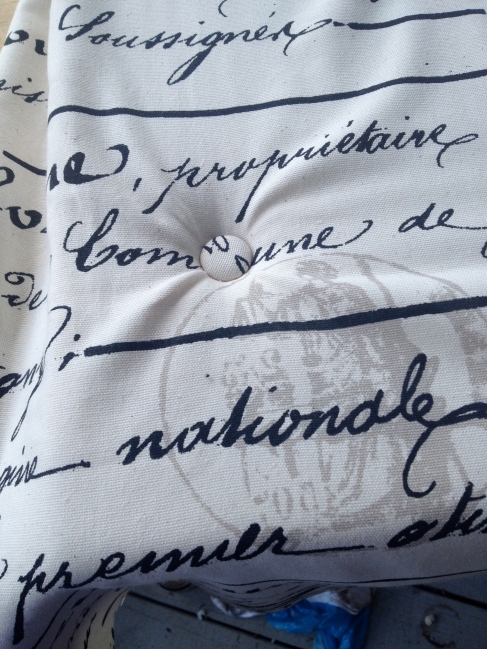
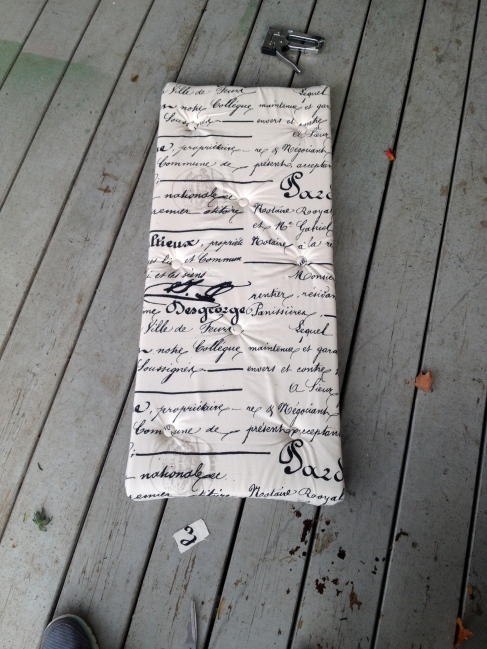
I poked the needle up from the bottom to figure out where the button would fall on the fabric. I double threaded the needle and with the button strung on, I pushed the needle through the hole. The hardest part was the actual tufting. In all my research, I read that you just simply pull the string as tight as you want, and then staple it to the wood. Sounds easy, right? This proved to be quite tricky in the beginning, as the string didn’t seem to be quite thick enough to catch the staple. After a few attempts, I got the hang of it, and made sure to put at least 3-4 staples on each string that came through the back.
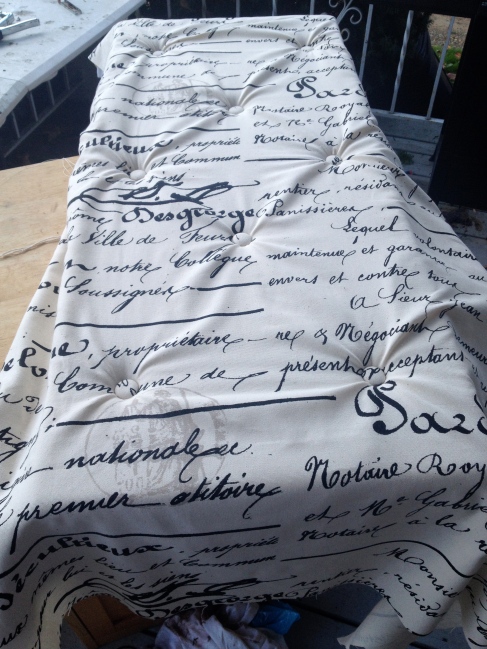
As a first time tufter, I was super excited about the way this turned out 🙂 Next was stapling the fabric and batting underneath. The hardest part about this was the corners, and they definitely didn’t turn out perfect, but I’m not a HGTV design star so I’m cutting myself some slack 🙂
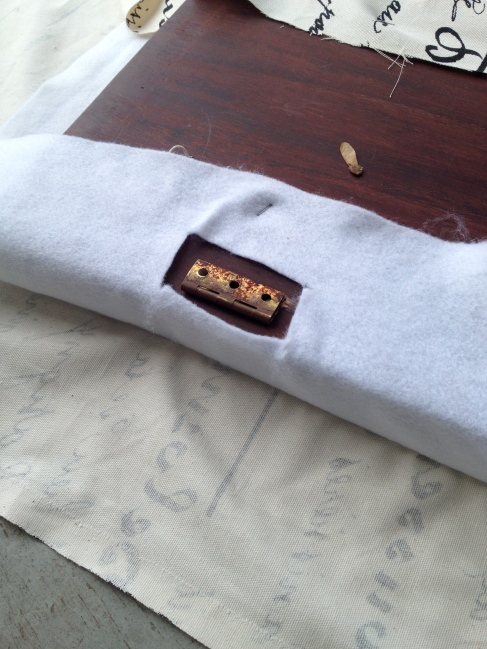
Since this bench opens up, I had to leave room for the hinges. I folded the fabric over the edge, and used an exacto knife to cut out a rectangle around the hardware.
Viola!
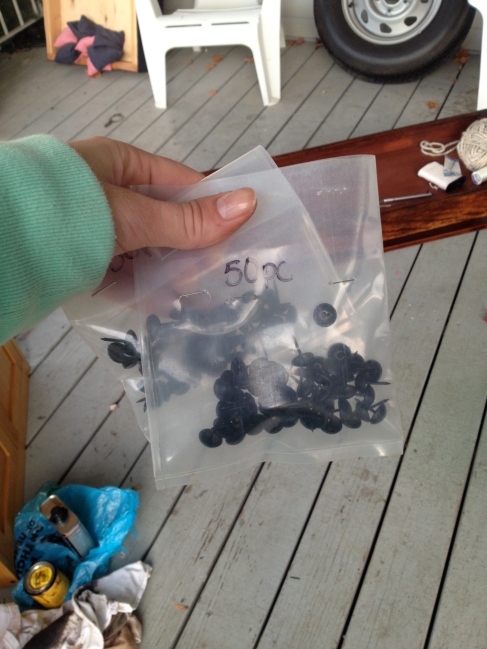
I had one more touch I wanted to add to the top. Upholstery nails around the perimeter. I got these at The House of Foam and Fabric (who knew this place existed?) I’m sure now that I’ve found it I’ll be a frequent customer.
I used a ruler and a pen to mark spots every inch. Using a hammer, I nailed these babies in. Since my corner folds were a bit bunchy, I couldn’t go to the very end, but I think this was the perfect touch to really bring the top piece together.
Once that was completed, I was ready to reattach the top to the table.
Almost done! Beth wanted me to add more pieces of wood to the bottom, so she could have a shelf under there. I completely forgot about her request when I started and already had the table sanded and stained. While at Wal-Mart I picked up two dowel rods that happened to be almost the exact length I needed. With some help from the hubs, we drilled holes to fit the ends of the rods. Using a hack saw, I cut off about an inch on each one for the perfect fit. Shelf complete!
It’s pretty close, and since these are going on the bottom and will most likely be covered with books or magazines or whatever Beth plans on putting down there, I figured (and hoped) she wouldn’t mind 🙂
Hope you enjoy it Beth!!







Lindsey
I love this fabric! Where did you get it?
brepurposed
Thanks Lindsey! I got it at Hobby Lobby 🙂
kathie
Love this bench. It automatically atrracted me
brepurposed
Thank you!
ejddiy
Bre, this is so cute! Love the idea and your choice of fabric.
Emily
brepurposed
Thank you so much Emily!
Tanisha @ myknottedlife
I LOVE this!! Such a great repurpose!
brepurposed
Thanks, Tanisha! And thanks for following Brepurposed 🙂