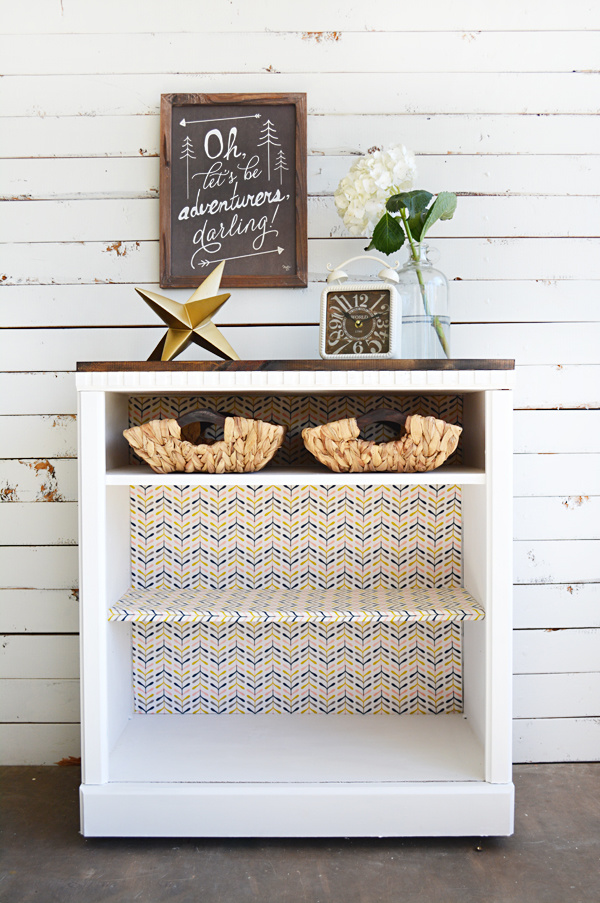
Hey friends! It’s time for another Themed Furniture Makeover Day. I took the month off last time so I’m excited to be participating again! Although this piece gave me a little trouble here and there too, I got it done just in time 😉
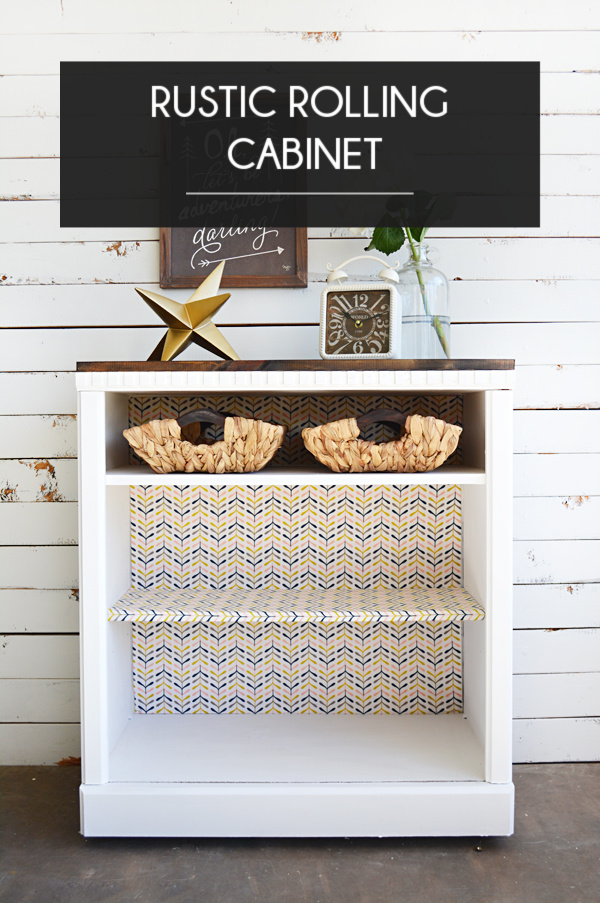
RUSTIC ROLLING CABINET

So this month’s theme was Rustic. There are so many ways you could interpret this and I have so many pieces on my porch right now I had to choose from. A lot of them are more modern pieces, but this guy I knew would be perfect.
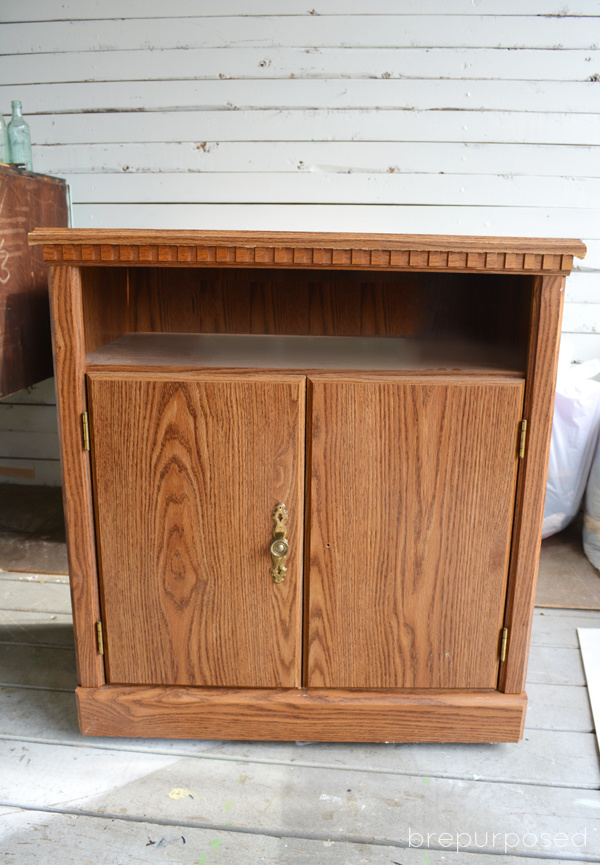
It had this really weird top that spun about 15 degrees to the left and right. I suppose it was originally made for a TV, but I’m pretty sure the amount it moved really wouldn’t have made much of a difference if you couldn’t see it in the first place. Anyhow, that sucker was coming off and a new wooden top was getting put on.
I really struggled with whether I wanted to take the doors off too. I have these super cute deer head pulls that I’ve been dying to use, and although they would have fit the Rustic theme perfectly, I didn’t feel like dealing with painting the doors. They had these shelves on the back of them too which were pretty ugly.
For the paint I used Folk Art’s White Adirondack. I honestly wasn’t a big fan either. I don’t know if it was because the piece isn’t made of real wood or what, but even after 4 coats and some touch ups, I still felt like there were some spots showing through. It felt really thick and goopy to me too.
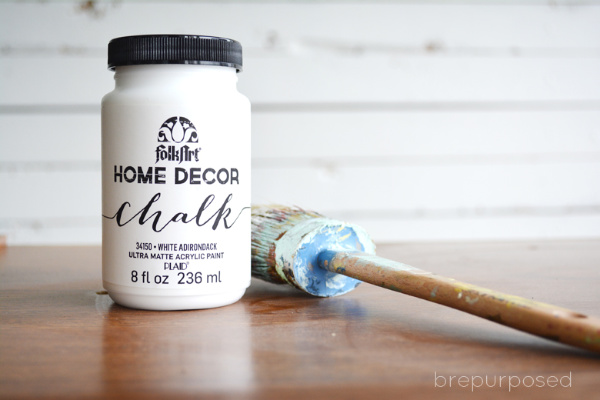
But I decided to just go with it because I wasn’t about to sand it all off and start over 🙂
For the top I originally planned on doing planks of wood, but when I went to Home Depot and found the perfect whole piece that seemed like a much better and easier solution.
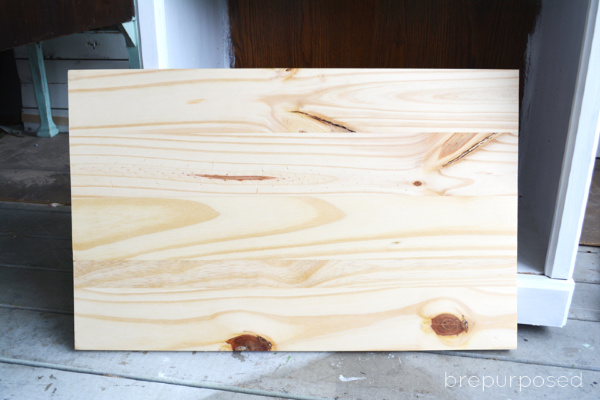
I stained it using Minwax’s Dark Walnut and sealed it up with General Finishes Flat Topcoat. To attach it I just nailed it down in each corner and it was good to go.
For the back panels I wrapped some pieces of foam core in cute fabric I found at Jo-Anns and attached them with some glue.
Now those baskets. Ugh those things. It took me FOREVER to find ones that were going to fit in that little space. Hobby Hobby had the best selection, but the only ones that would have fit were pretty hideous. Then I tried Marshalls, Target, TJ Max, Ollies and finally At Home. Anyone else have this store near them?
It just opened here a couple weeks ago. I feel completely overwhelmed when I walk in there. It feels like a Christmas Tree Shoppe on steroids. But luckily they pulled through and had these cute little guys that fit perfectly. The handles were more of a reddish color so I gave them a quick coat of stain so they would match the top.
I sealed the painted parts in General Finishes Satin Finishing Wax, my new BFF.
My favorite part about this piece is that it’s on wheels. Not only does it make it so much easier to paint and work on, but it adds to the versatility. This would be one cute microwave cart huh?
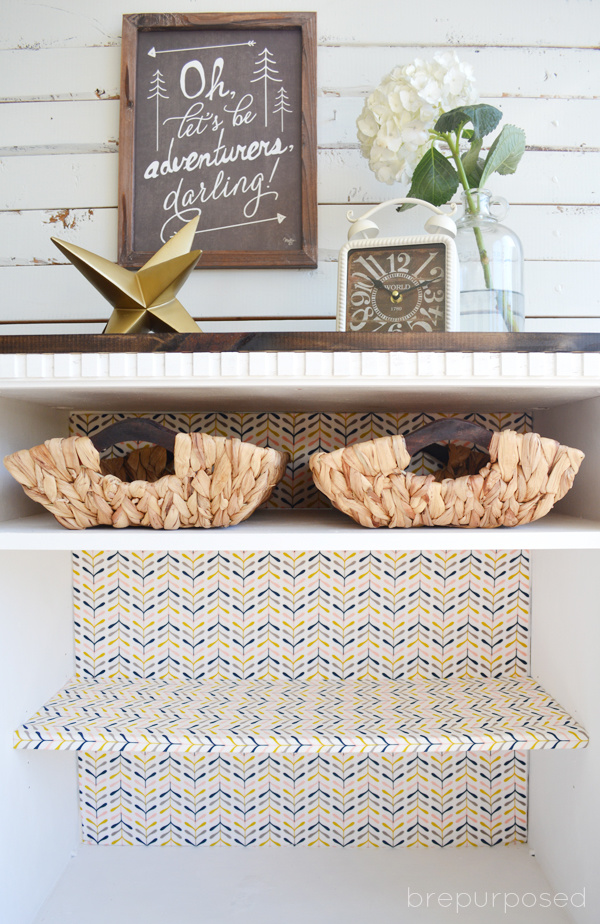
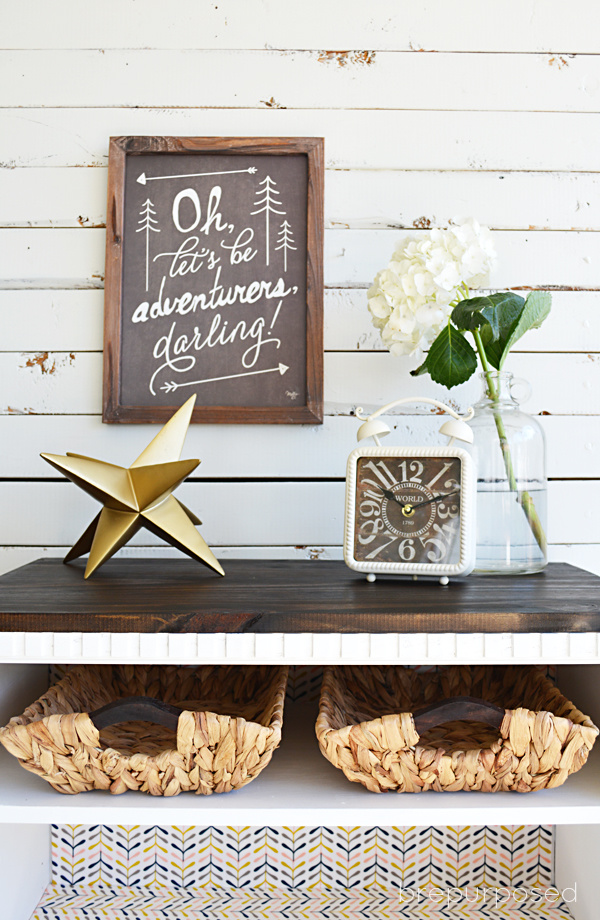
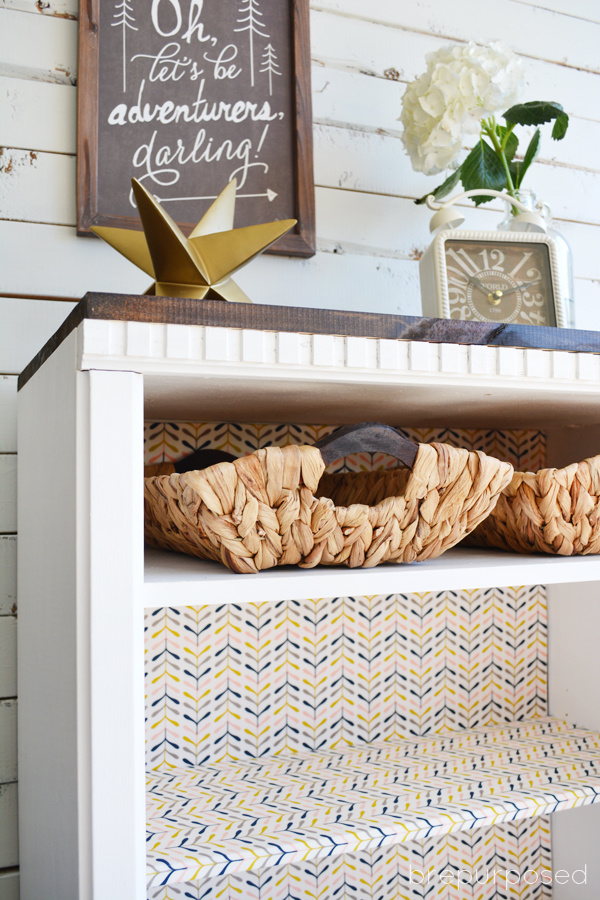
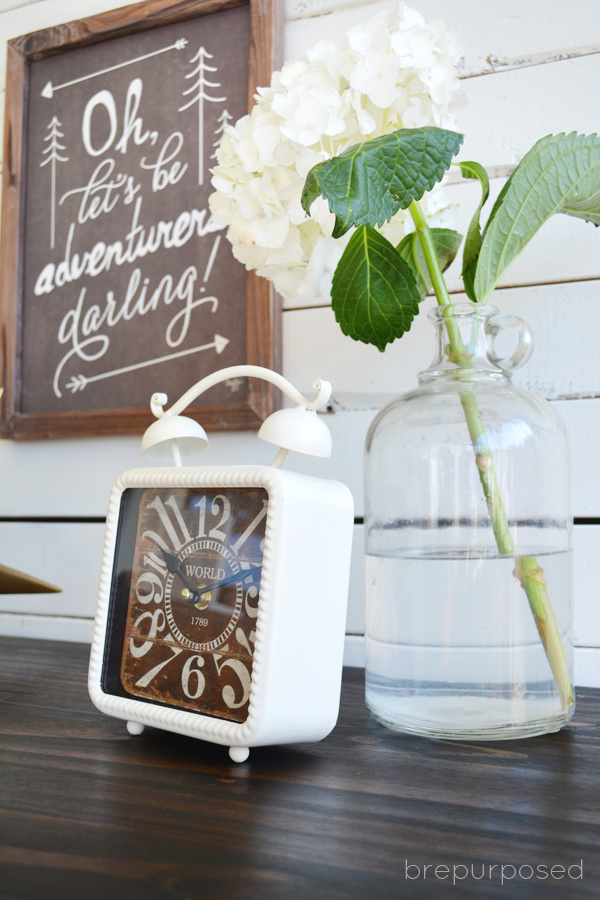
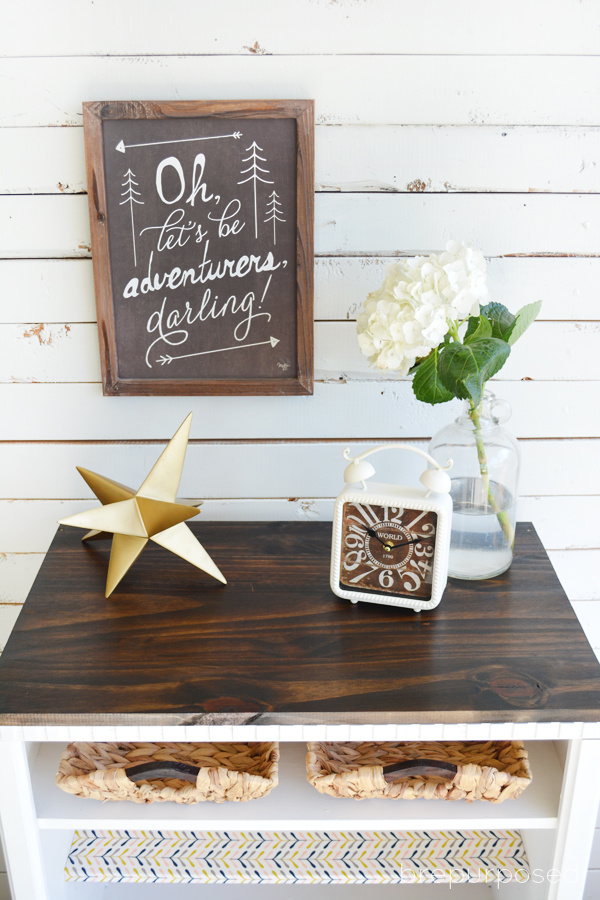
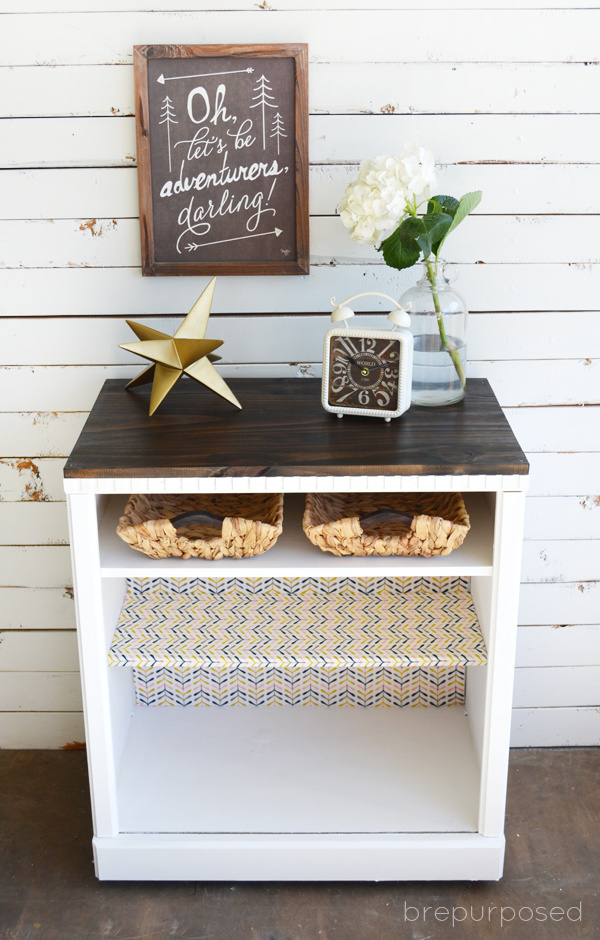
Although I’m pretty happy with how this piece turned out, I was reminded why I don’t like to buy furniture that isn’t real wood. Some parts of it started doing this weird bubbling thing after I started to paint it and other areas on the inside had this rough surface that wasn’t fun to paint either.
I’m just a sucker for a good deal and believe every piece deserves a chance. I can’t help myself! Yes I have a problem.
Ok now go check out all the other fantastic rustic makeovers by my bloggy friends!





Nancy
Really a nice finished piece. I’m tempted to redo my old one like this!
brepurposed
Thank you! You definitely should give it a try!
Dezignable
The dynamics of the cabinet are so beautiful. Thank you for sharing!
Mary
Removing the top really made the detail stand out. Great job on saving that sad piece!
brepurposed
Thank you so much Mary!
Jeanette
Bre, what a great piece. It would be so useful on our porch. Great idea to cover one shelf with the fabric too. This is my favorite time each month. ~Jeanette
Christy@Confessions of a Serial Do-it-Yourselfer
Super cute, Bre! Love the addition of the little baskets and that you stained the top! It came a LONG way! 🙂
brepurposed
Thanks Christy!! It definitely needed it!
Trish
This looks amazing. I love how it turned out,
brepurposed
Thank you so much Trish!
Wendi @ H2OBungalow
I would not have known this was the same piece without you sharing the before! Serious vision on this one! Wow. love the happy & bright color on the shelves and back too:)
brepurposed
Thank you so much Wendi! I’m glad I could give this piece new life!
Meegan
Every detail has been covered perfectly. I love this makeover. What an inspiration, Bre…
brepurposed
Aw you are so sweet!! Thank you Meegan <3
Andrea
Such a beautiful transformation! Love the pattern and colors. I’m such a sucker for anything rustic!
brepurposed
Thank you Andrea!!
Jenna
That is some makeover particularly when you see the “before”. I’d like to include this in my weekend features post going out on Sunday with a link back to you if that’s ok. Love it!
brepurposed
Thank you so much Jenna! And go right ahead 🙂
Corinna - For My Love Of
I love it! That patterned paper is so cool!
brepurposed
Thank you Corinna!!
Mary
Wow did not expect this!! Totally love it !
Mary
Wow, I was not expecting this!! Totally love it !
brepurposed
Thank you so much Mary!!
Chandra
Love that pattern and the contrast between the top and botttom. Stellar job!
brepurposed
Thanks so much Chandra!!
Kimm at Reinvented
So cute! I love the patterned paper. Just bought some Satin Finishing Wax on your recommendation, but I’ve yet to try it! 🙂 Have a great weekend Bre!
brepurposed
Thanks Kimm! And you’ll have to let me know what you think!!
Katherines Corner
Please tell me you shared this at the Thursday Favorite Things blog hop! I love it!!. hugs P.S. ( you can share until Sat at midnight)
brepurposed
I did!! Glad you like it 🙂 Have a great weekend!
Katherines Corner
thank you, please watch for your feature on Monday xo
Amy W
Love how it turned out, Bre!!
brepurposed
Thanks Amy!!
Marie@The Interior Frugalista
Love that fabric Bre! You turned cheap and ugly into stunning (I wouldn’t expect anything less from your creative talent).
brepurposed
Thank you Marie! <3
Katie @ Little House of Four
It looks great, Bre! I love how the new stained top pops against the white base. And that artwork, love!
brepurposed
Thank you Katie!! <3
Amy | Canary Street Crafts
Wow, Bre! I would have walked right by that ugly cart but you managed to turn it into something amazing. I love your vision and talent.
brepurposed
Thank you so much Amy!!
Rachel
Bre this is beautiful! LOVE all the design choices you made to this! I always overlook those cheapy looking bookcases… you totally made this adorable and much higher quality! And your styling is on point.
brepurposed
Thank you so much Rachel!!
Karin Chudy (ART IS BEAUTY)
I can’t even believe this is the same piece! WOW WOW WOW! What an amazing transformation!
brepurposed
Thank you so much Karin!!
Erin
GIIIIIIRRRRLLLL!!! You are inspiring 🙂 I’ve seen so many of these fugly carts at the thrift shop and I’ve let them go. Not gonna do that anymore after seeing what you’ve done here! Love it!
brepurposed
Never pass up those old carts again! Everything has potential 😉
Paula@SweetPea
You made an ugly cart into a chic one! Most people wouldn’t give this piece a second glance and now it is quite charming.
I’ve got to look for some GF Finishing Wax.
brepurposed
Thank you so much Paula!!
Larissa ~ Prodigal Pieces
Fantastic transformation, Bre! It’s useful, colorful, and rustic. I love it!
brepurposed
Thank you Larissa!!