Hi guys! I’m so excited to share this Dresser Turned Bar Cart Furniture Makeover with you today! I did it for my coworker Abby and I’m so happy I was able to transform this piece for her!
DRESSER TURNED BAR CART
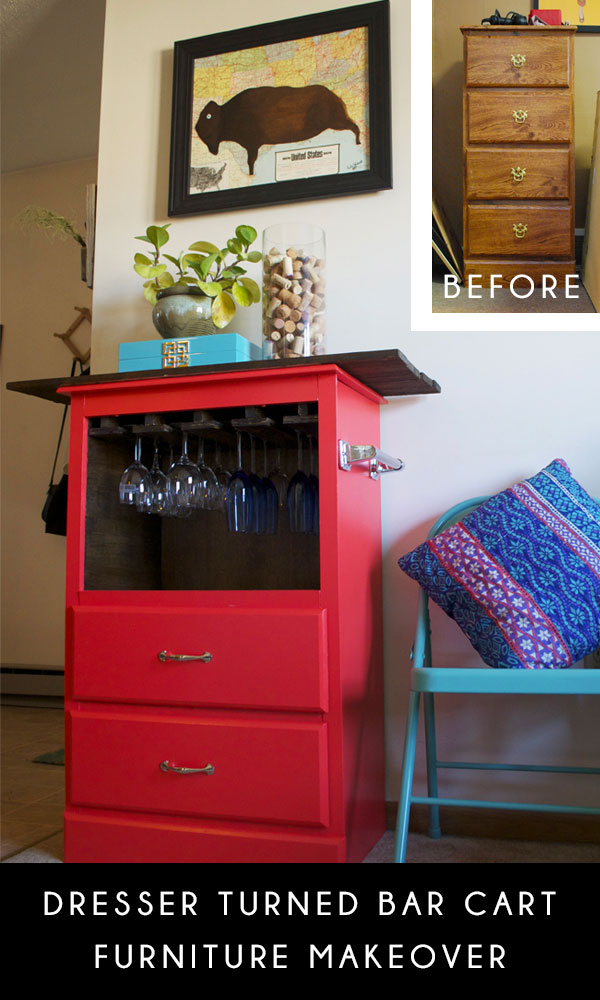
This poor guy came from my most favorite place: the free category on Craigslist and I have to give a shout out to my other coworker, Chris for coming with me on our lunch break to pick it up. After waiting in a sketchy parking lot of some apartment complex for what felt like an hour, the girl finally showed up and led us into her equally sketchy building. Pretty standard Craigslist pick-up.
There it stood in all its glory and my head was already spinning with ideas. Abby was originally looking for something for her bedroom that she could put socks and such in, but the dimensions just didn’t work. I thought I’d just have to come up with my own plan for this piece but Abby had another idea.
She had the perfect empty space in her living room and on the edge of her kitchen where this guy would fit beautifully. She needed some extra storage for her wine glasses and miscellaneous kitchen items, and that great idea turned into this gorgeous transformation.
PAINTING
To start things off, I had planned to take out the two top drawers and make two separate shelves, but that wasn’t going to allow enough room for the wine glass rack. I ended up just making it into one big shelf which I think ended up working much better.
It didn’t have too many scratches or imperfections on it other than the top which was getting covered anyway. I did a light sanding and then applied a coat of primer. Zinsser Cover Stain works great and gives good coverage. I’m not sure why I only did one coat, but I should have done 2 because I had to apply about 4 coats of paint to get the coverage I wanted. Oops.
Anyway, I picked about 20 different paint swatches from Lowes and Home Depot for Abby to choose from and I love that she eventually ended up going with the first one that caught her eye: Valspar’s Scarlet Sun. I loved this color when I first saw it in the store, but fell even more in love with it when I started applying it to the dresser. GORGEOUS. The perfect combination of red and orange, which is exactly what she wanted. I sealed it up with Minwax’s Polycrylic in Semi Gloss. 
THE SHELVES
Now that the easy part was done, it was time to tackle the shelving, which turned out to be a little more difficult than anticipated. I’ll have to admit I had a lot of help from the hubs on this project so I have to make sure he gets the credit he deserves 🙂 I thought about painting the inside shelves but decided I wanted to stain them to match the pallet boards I was going to use on the top.
We took some measurements and I sent the hubs to Home Depot for me to get some wood. He came back with 4 thin pieces of plywood cut and did they fit? Of course not. Something was off and we couldn’t quite tell what. We measured the boards and they appeared to be cut straight but when we put them in they were crooked. Whatever the issue was the boards needed to be adjusted ever so slightly. Dan took the boards over to our friend’s who has a Dremel and fixed them up.  I stained the boards using Minwax Dark Walnut, which is my go to and sealed them up with some poly. Once they were dry it was time to attach them. I had to make sure I used short screws so that they wouldn’t pop out through the sides. The back and side boards went in pretty easily, it was the bottom one that gave me some trouble.
Corner brackets and L braces from Home Depot were used to help hold it up. Looks pretty ghetto, right? But hey, it does the job! And no one is gong to see it 🙂 It was hard screwing in all those screws because this thing is not very big and it created a lot of weird angles for drilling. Shelves completed. 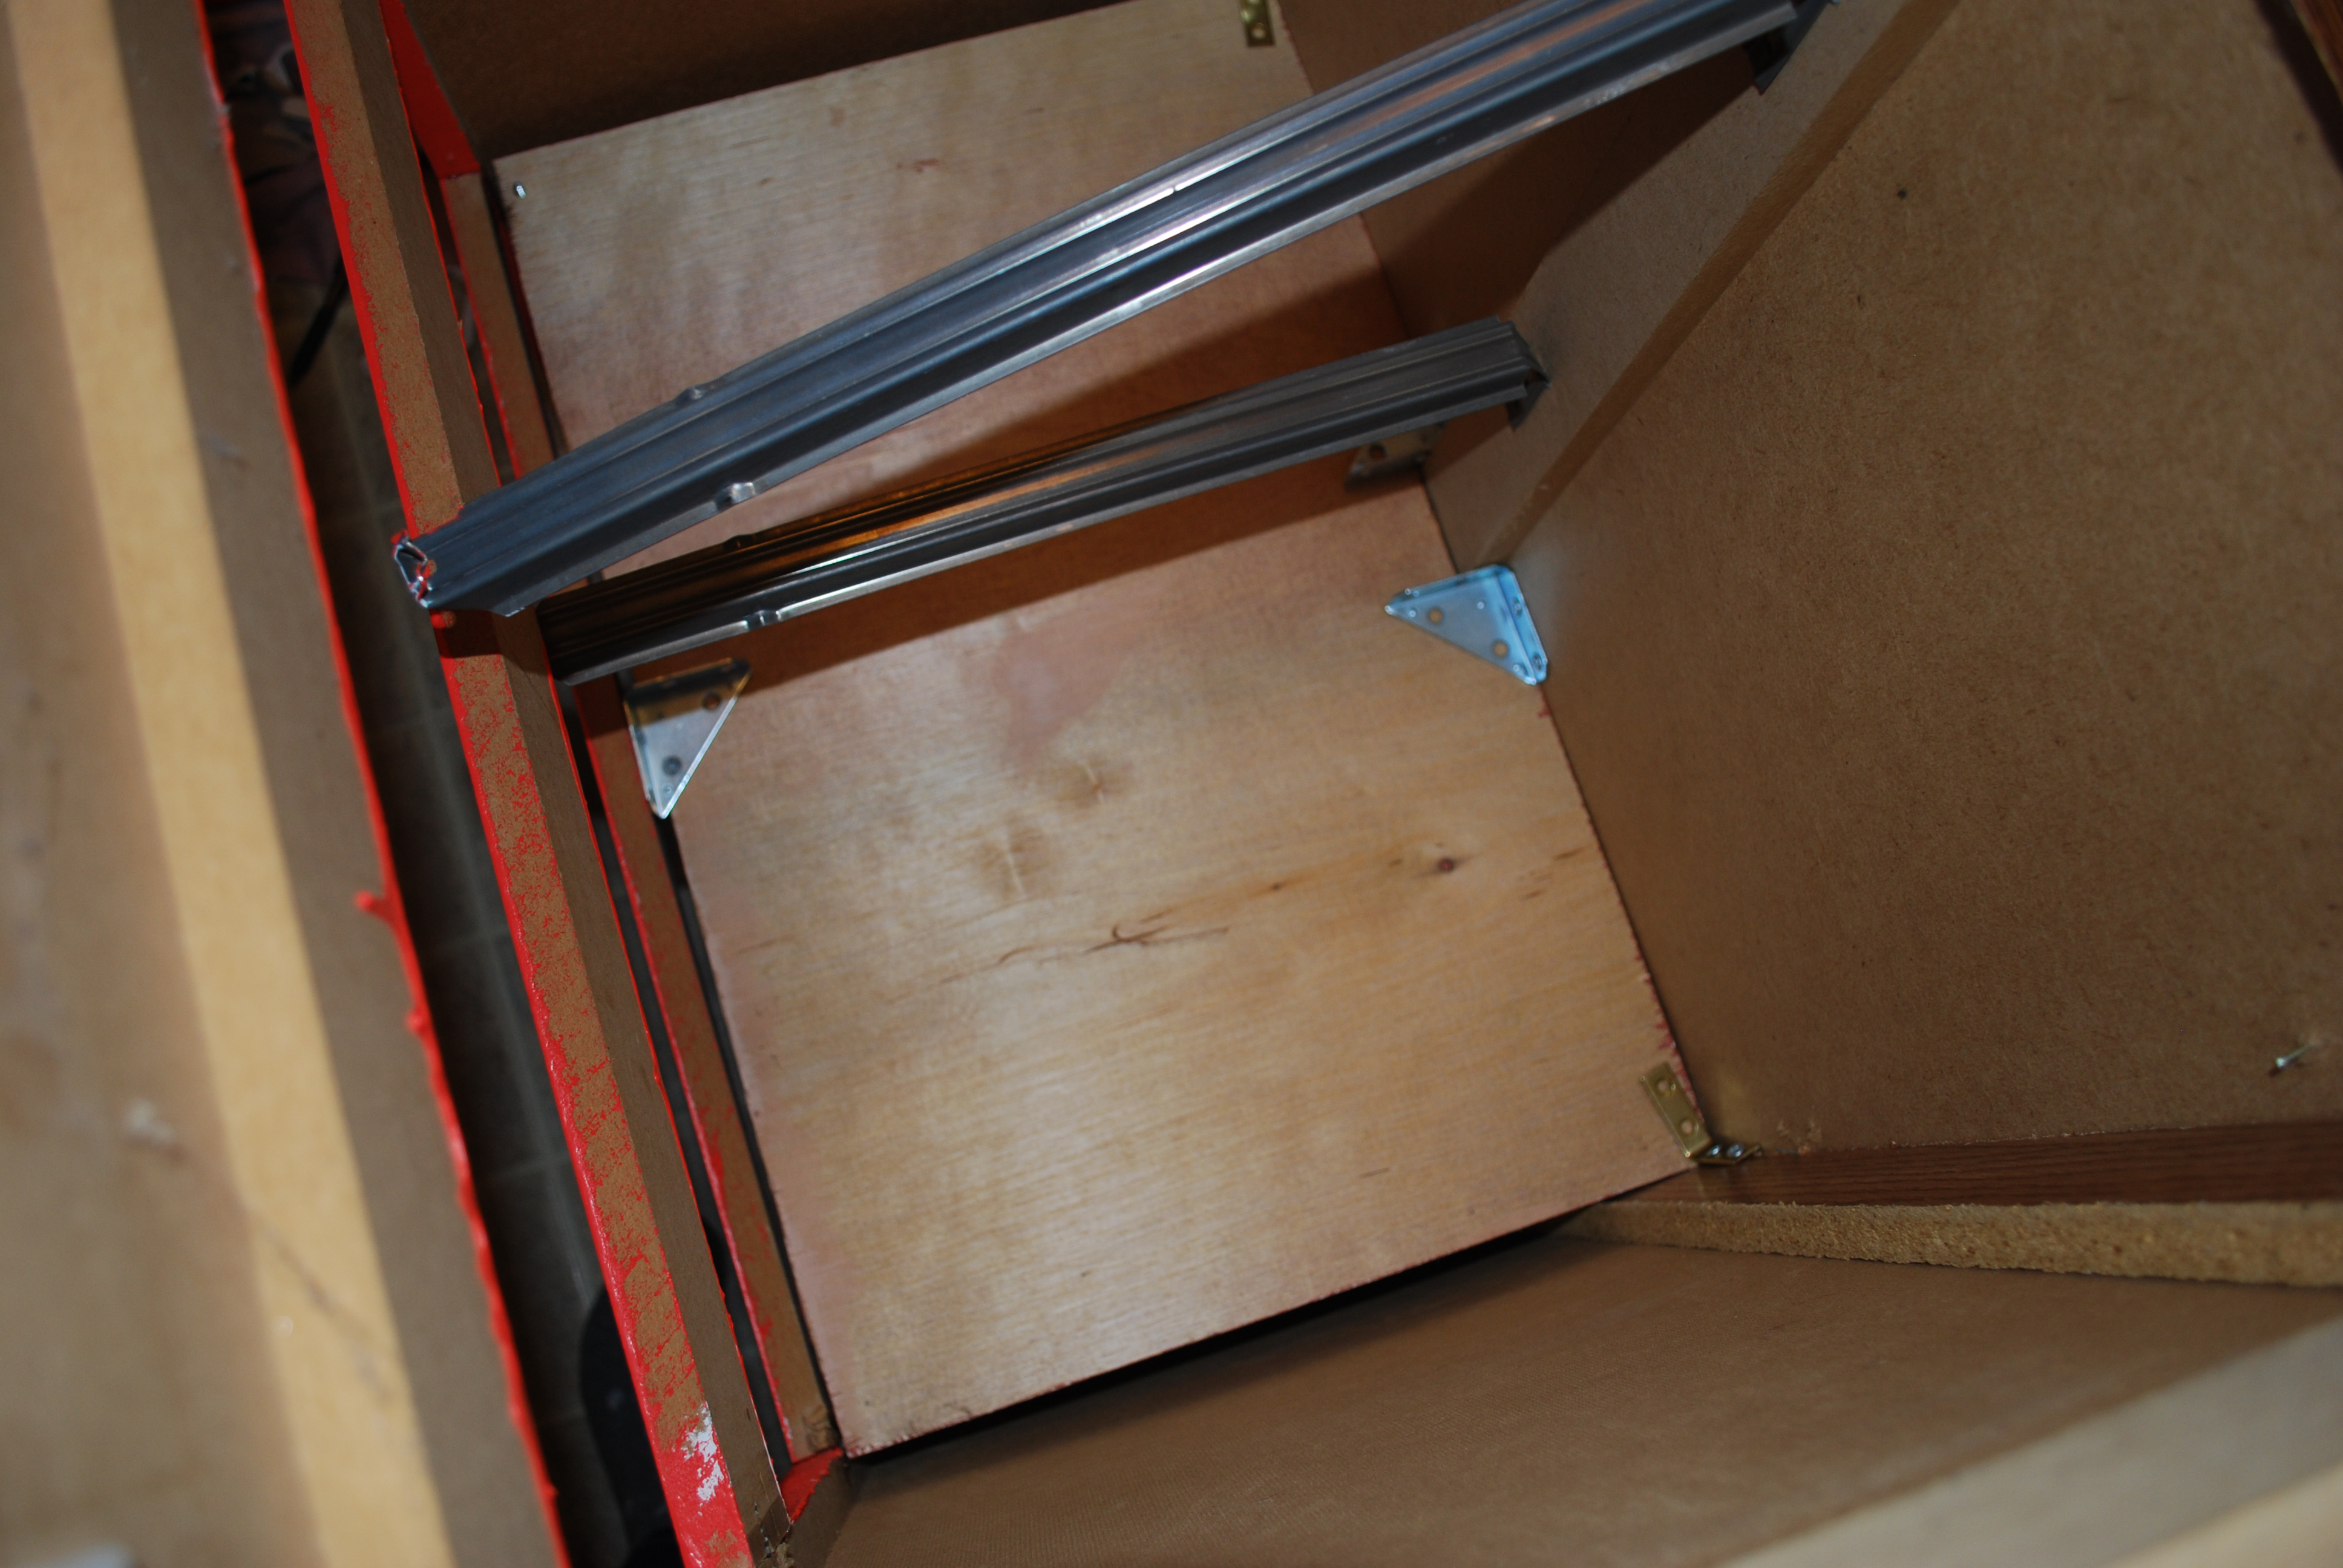 Next was the rack for the wine glasses. I found this tutorial over at Frugal Ain’t Cheap that I used as my guide. We measured out how many boards we were going to be able to fit, which was 5. When Dan went to Home Depot for the wood for the shelves he also got this trim that we needed to create the ledge for the glasses. We thought we were going to be able to use some left over pallet for the base boards but they didn’t quite work.
Off to Home Depot to get the hardware for the drawers and the towel racks for the sides. I headed over to the lumber section and told the guy what I needed. I guess when I said 5 boards cut to 3×13.25 he assumed I meant 3 feet. My baddddd. He lugged this huge sheet of plywood over to another guy to cut for me and he proceeded to cut a board that was 3 feet wide and not 3 inches.
STOP!
I told him what I really needed and he was clearly not happy with his fellow employee who gave him this huge piece of wood when all I needed was a small portion of it. But of course it wasn’t my fault 🙂 Free wood for me! Woo hoo! Looks like we know who’s going to Home Depot from now on 🙂 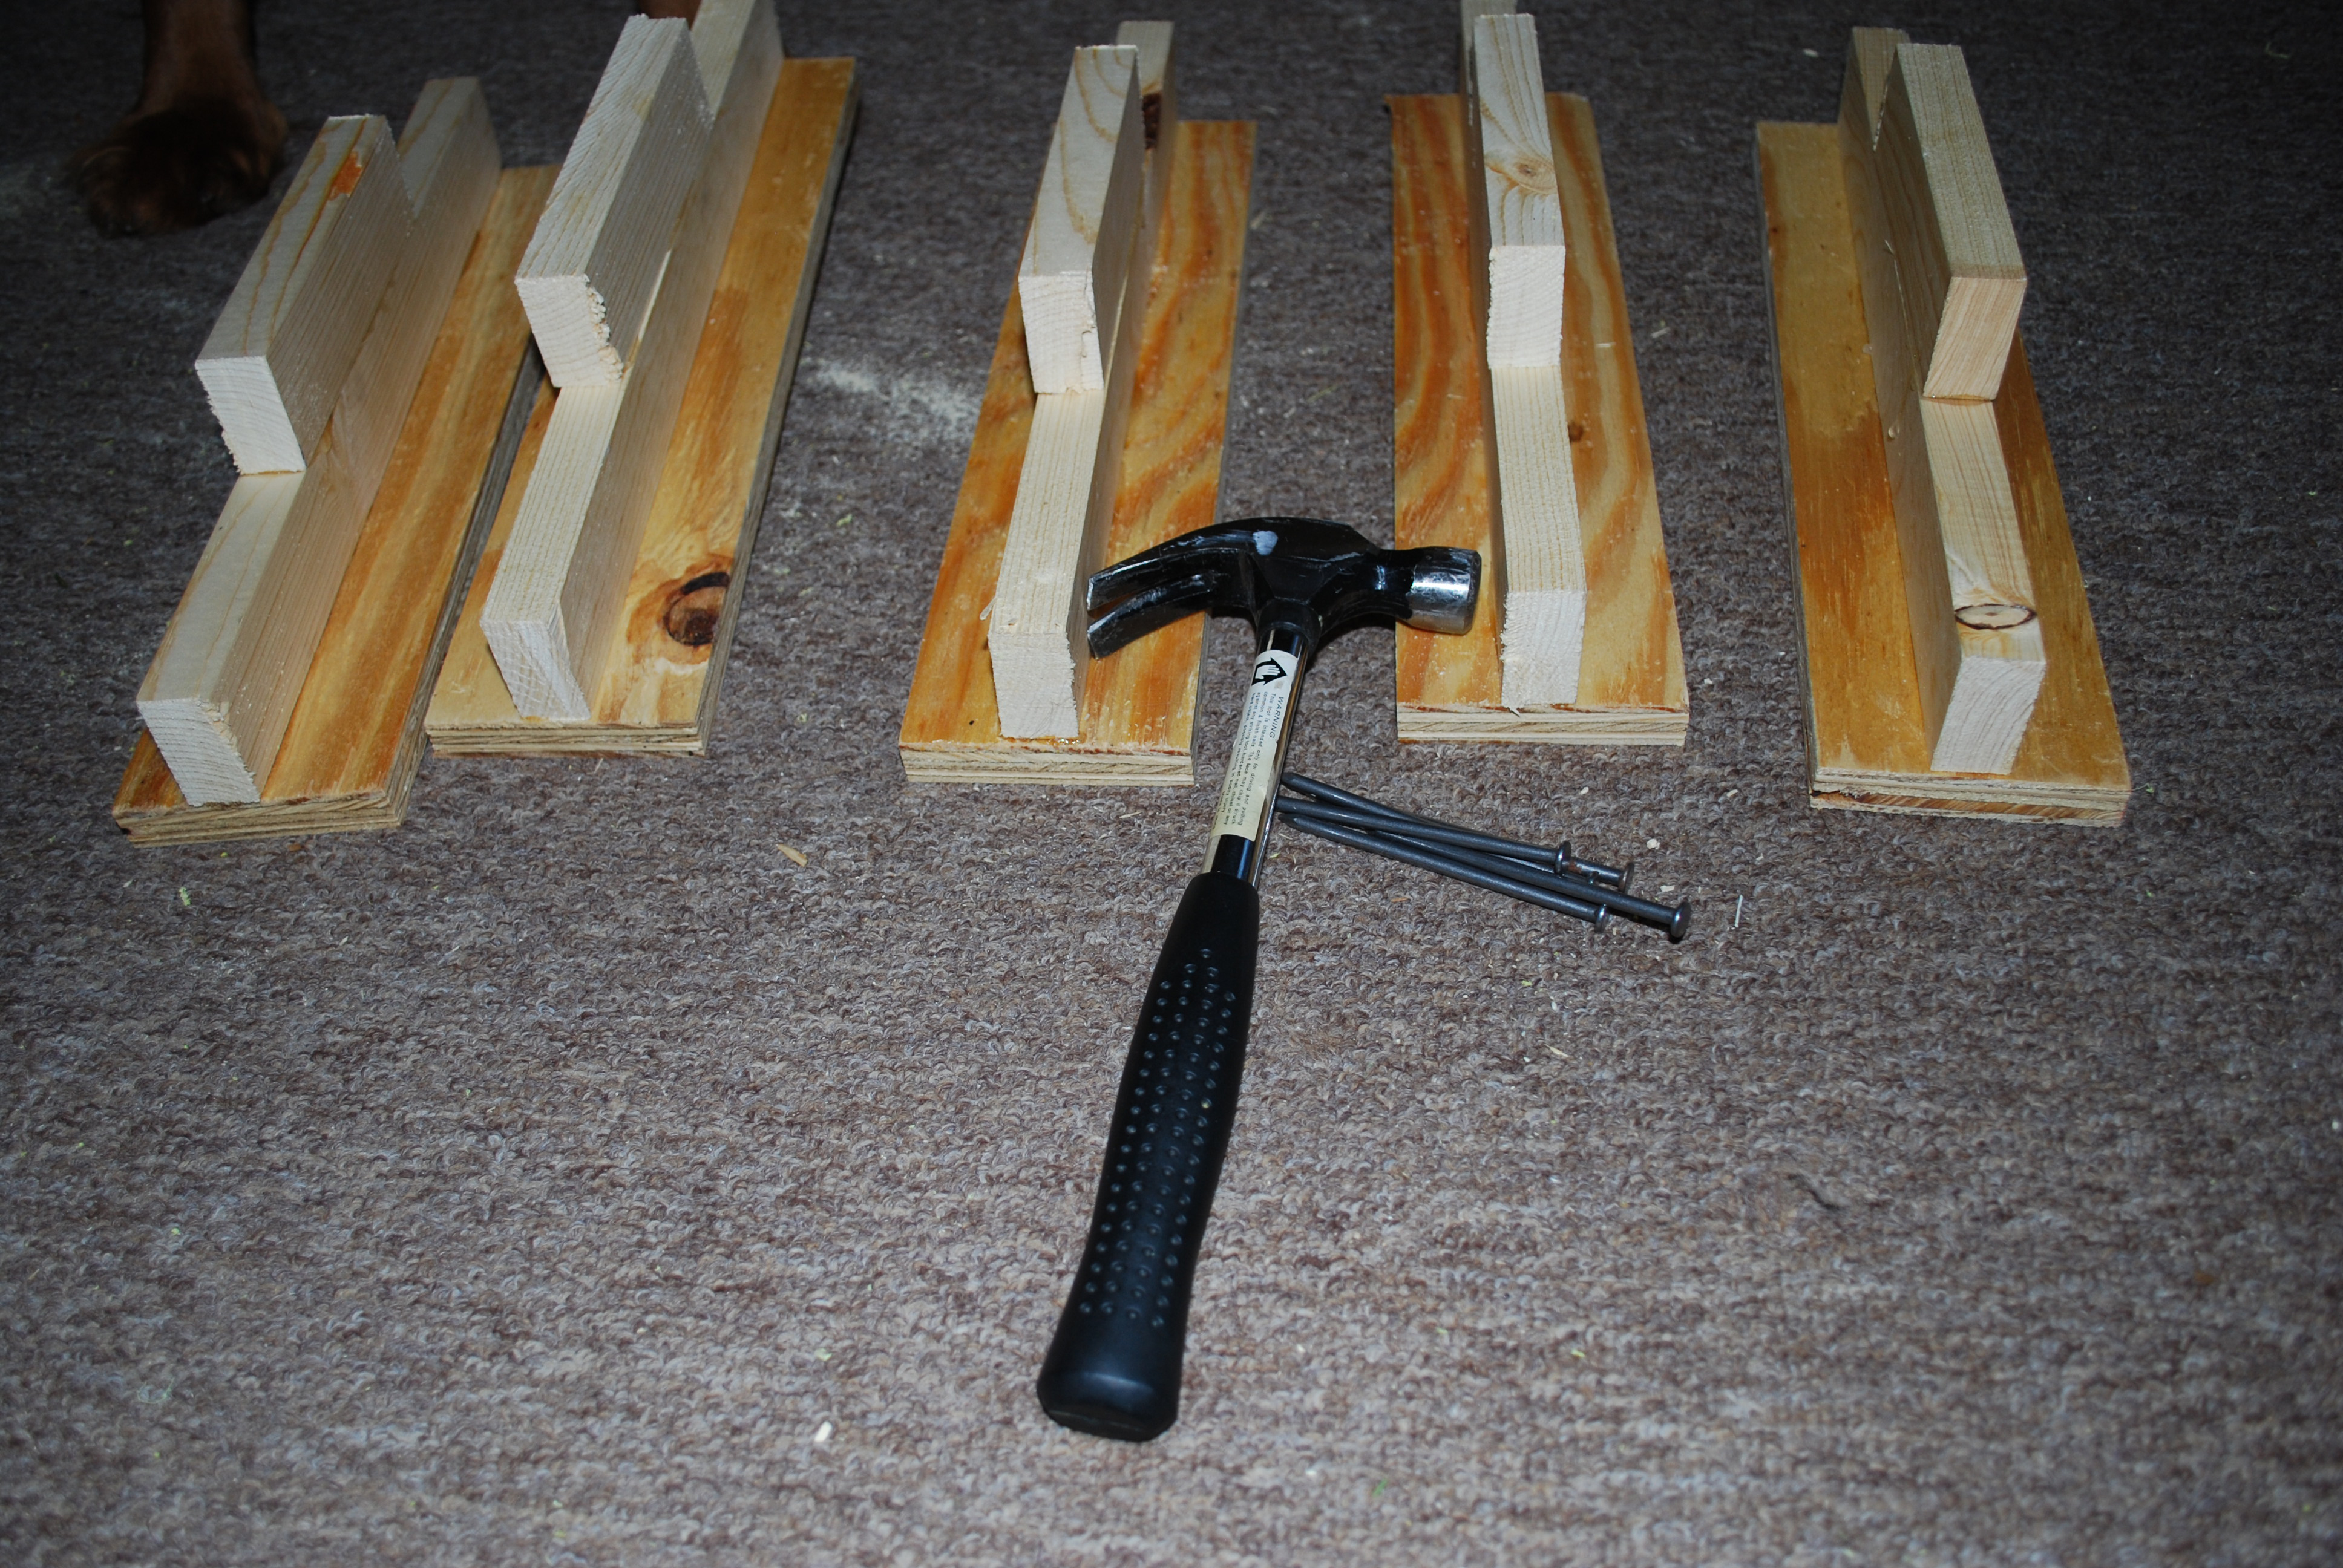
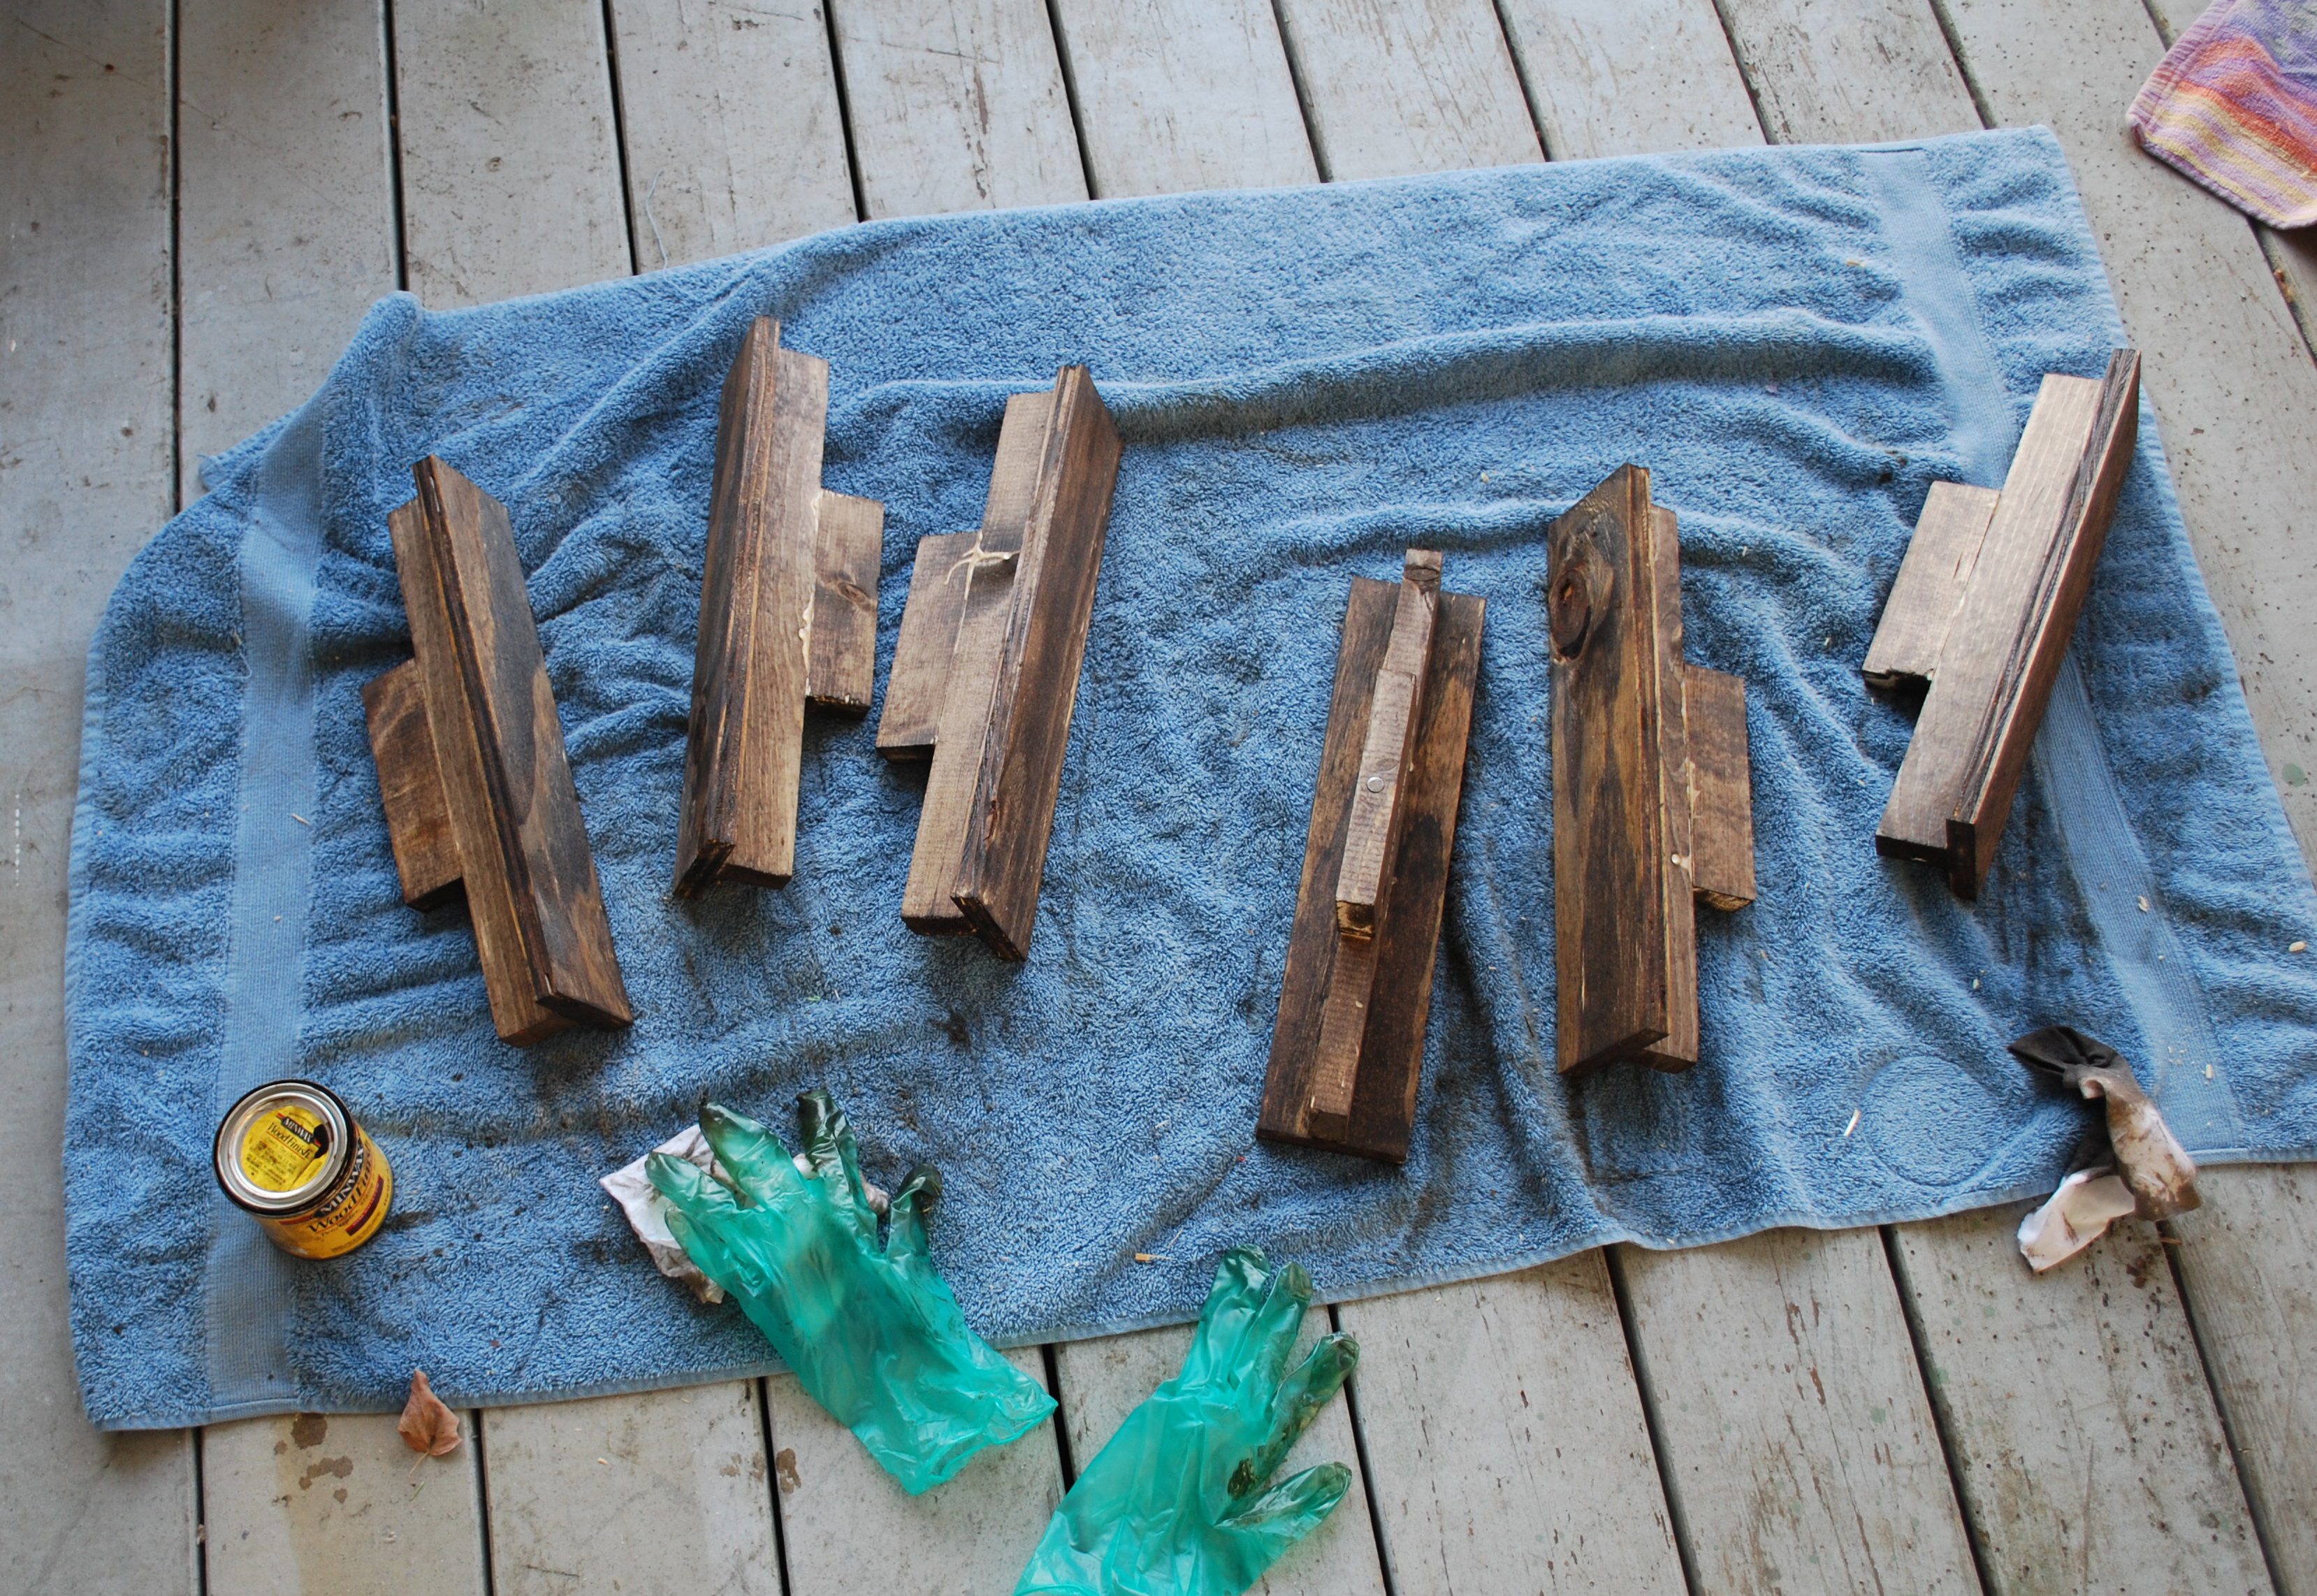 Gorilla Glue Epoxy is so amazing and I used that to attach the trim to the base boards and ended up having to stack two pieces of trim on top of another to get the desired length I needed. After the glue dried, I hammered a nail in each, for extra support. These suckers weren’t going anywhere.
I used the Dark Walnut stain again and applied some more poly. The original plan was to use screws from the top to hold these in place but it seemed easier to just use the glue and I’ve come to trust this product and knew it would hold up. Crockpot and cook books = great “clamps”. 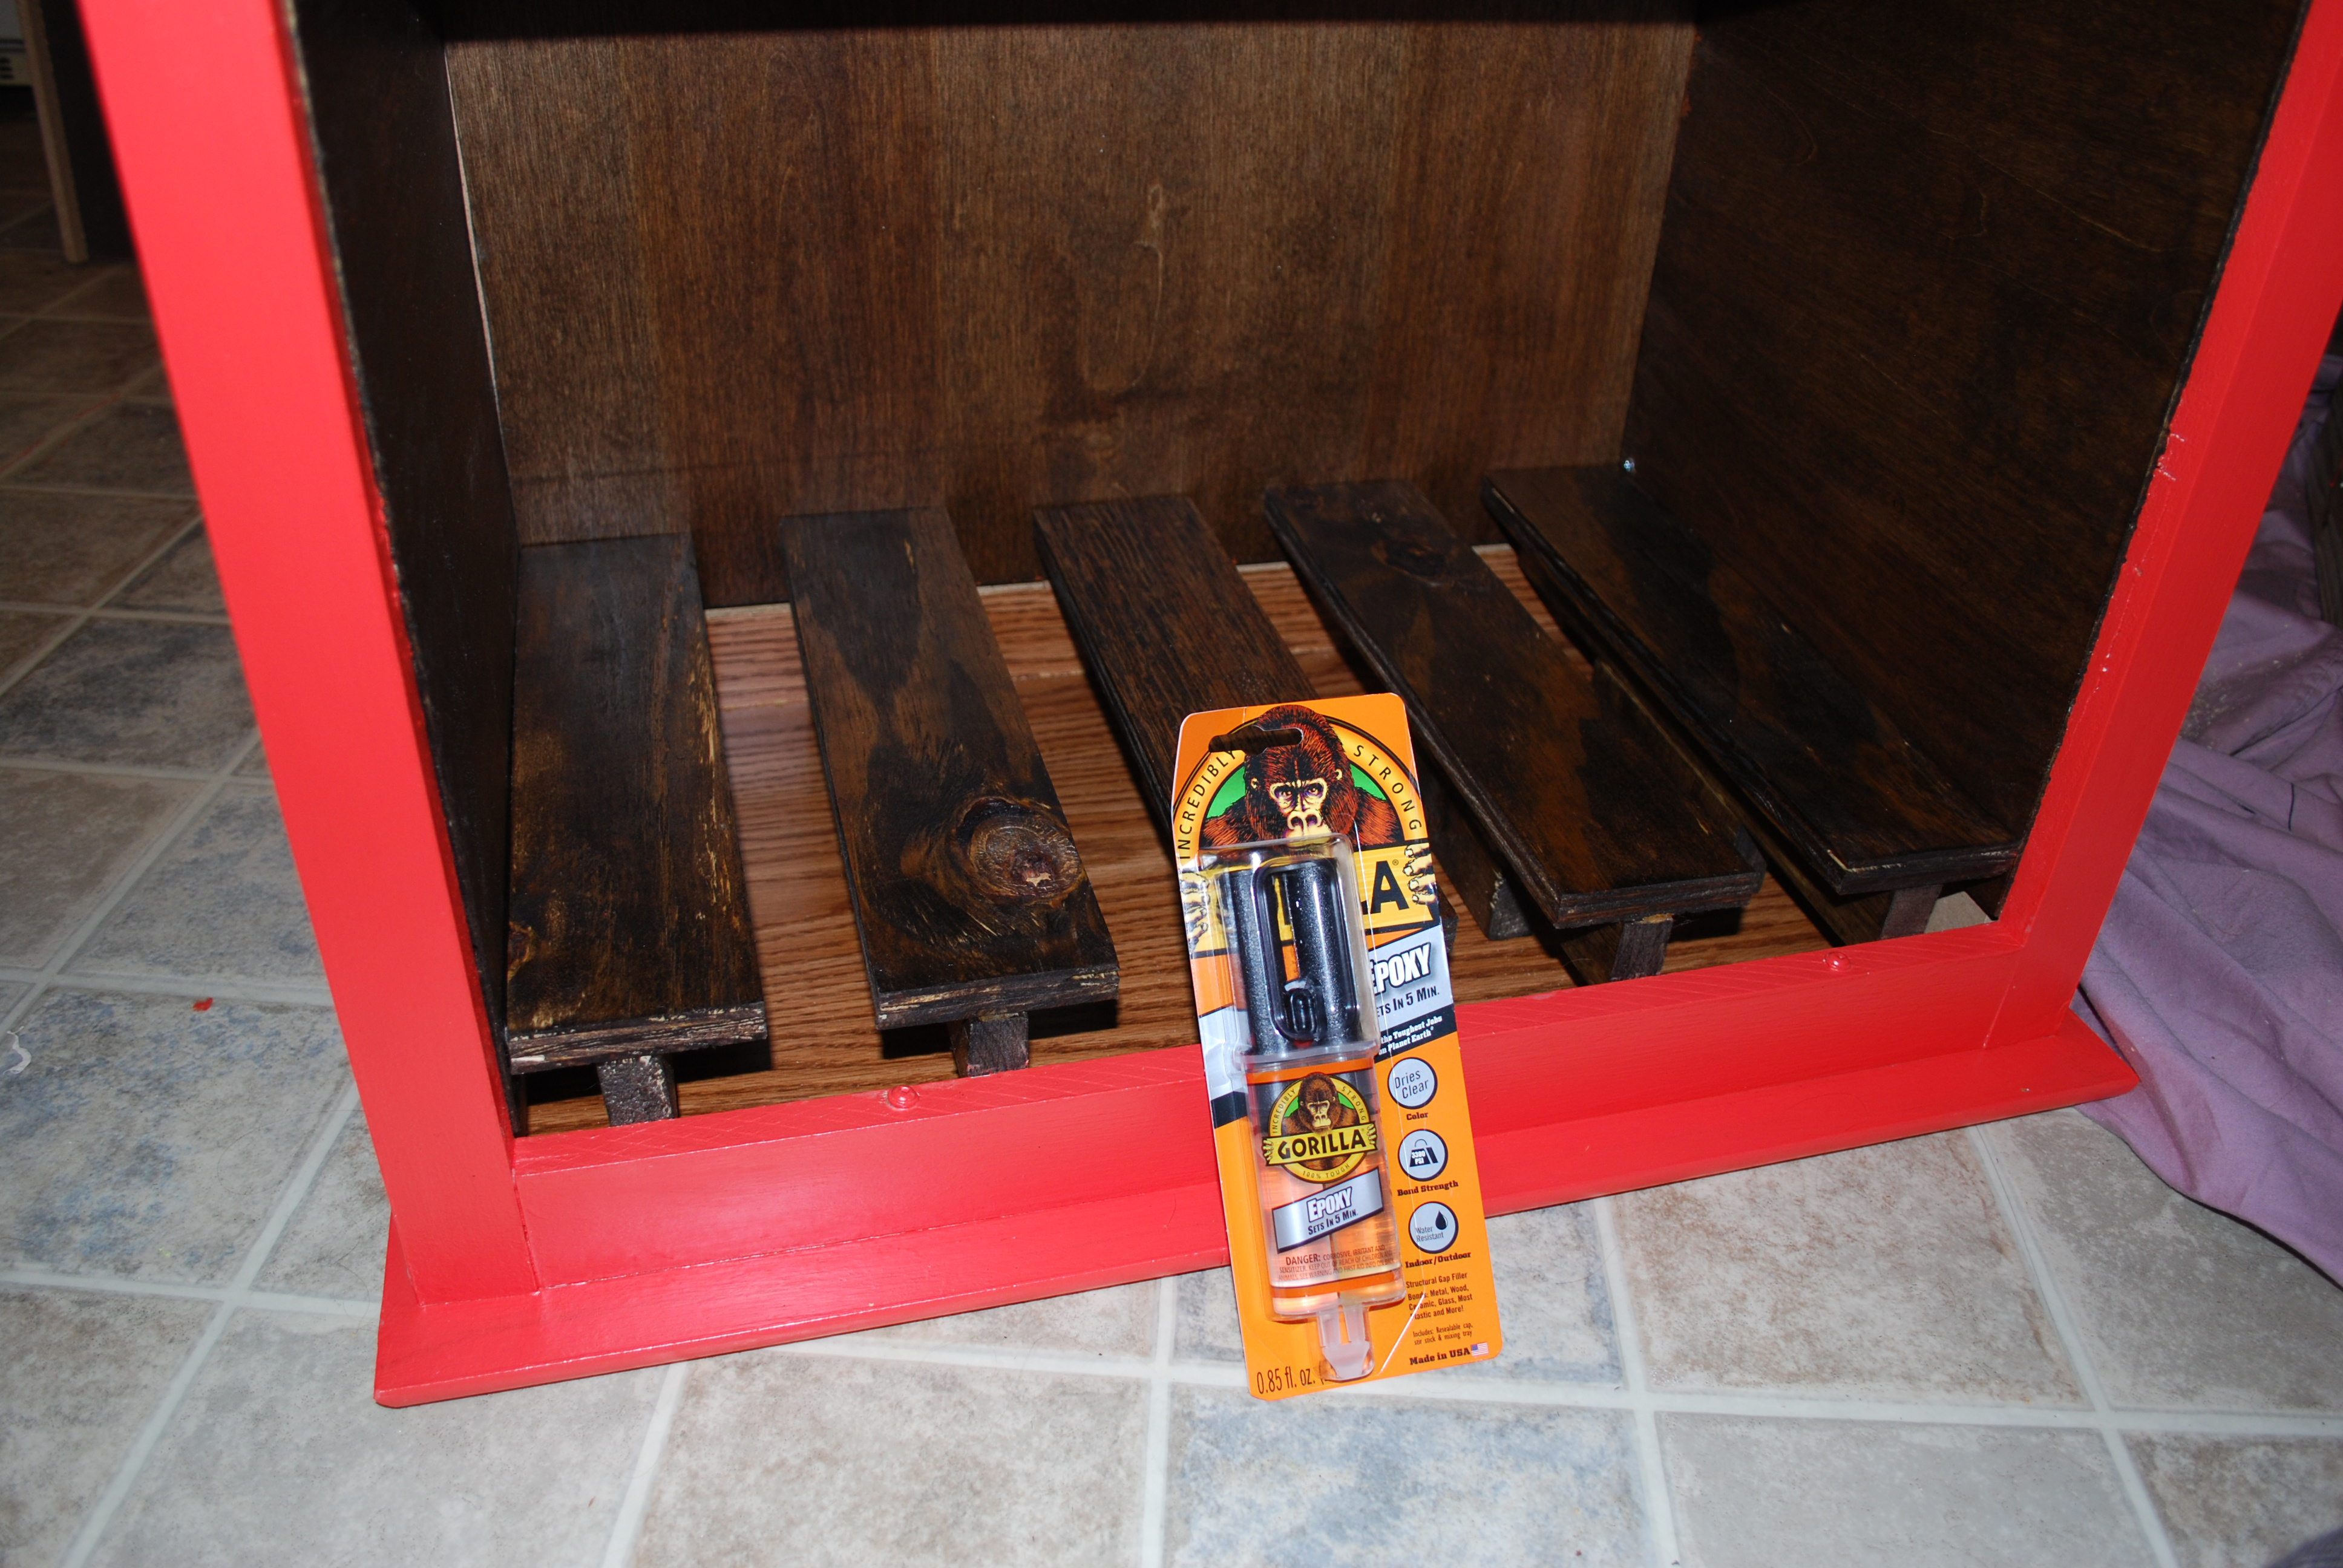
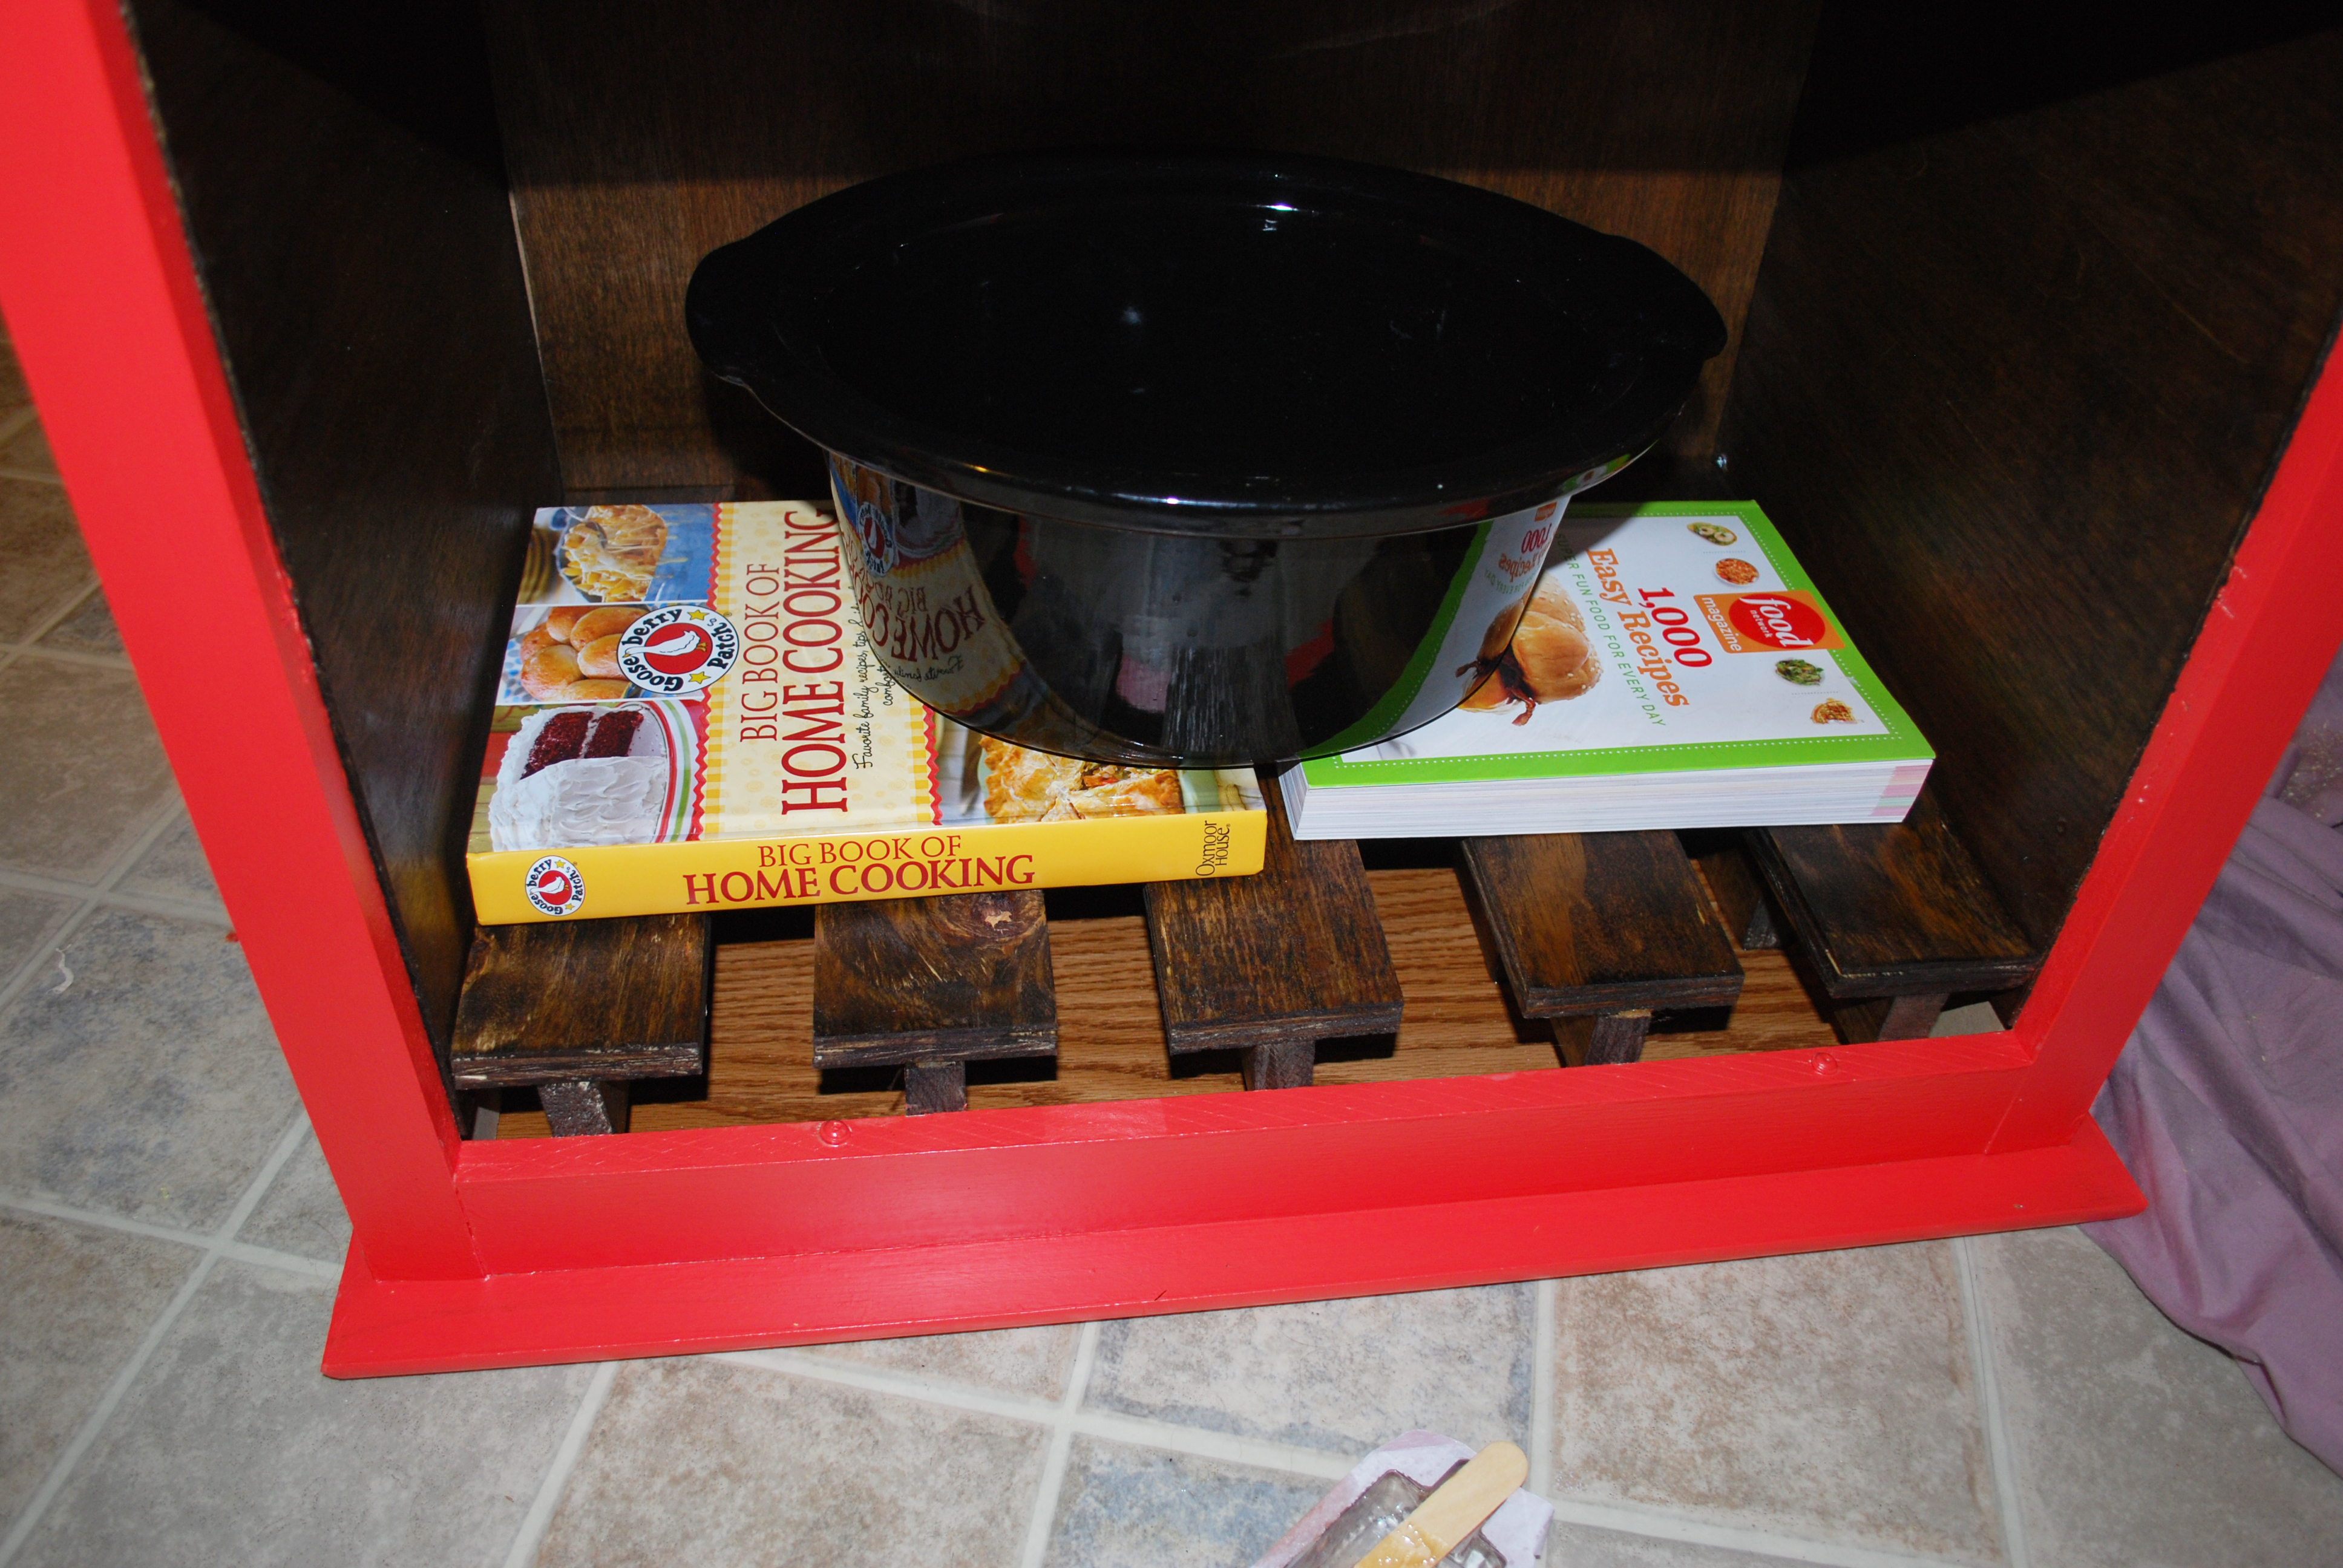 This thing was starting to look pretty phenom. I got some simple silver hardware for the drawers and silver towel holders for the sides. Except they aren’t towel holders. Apparently they only come in 18″ and 24″ and that was way too long for the sides.
I was starting to get worried and thinking I was going to have to DIY them. Luckily, I spotted some Assist Bars that were only 9″. You know, the ones you put in the shower/bath tub for older people so they can hold themselves up? Yep, they were perfect. 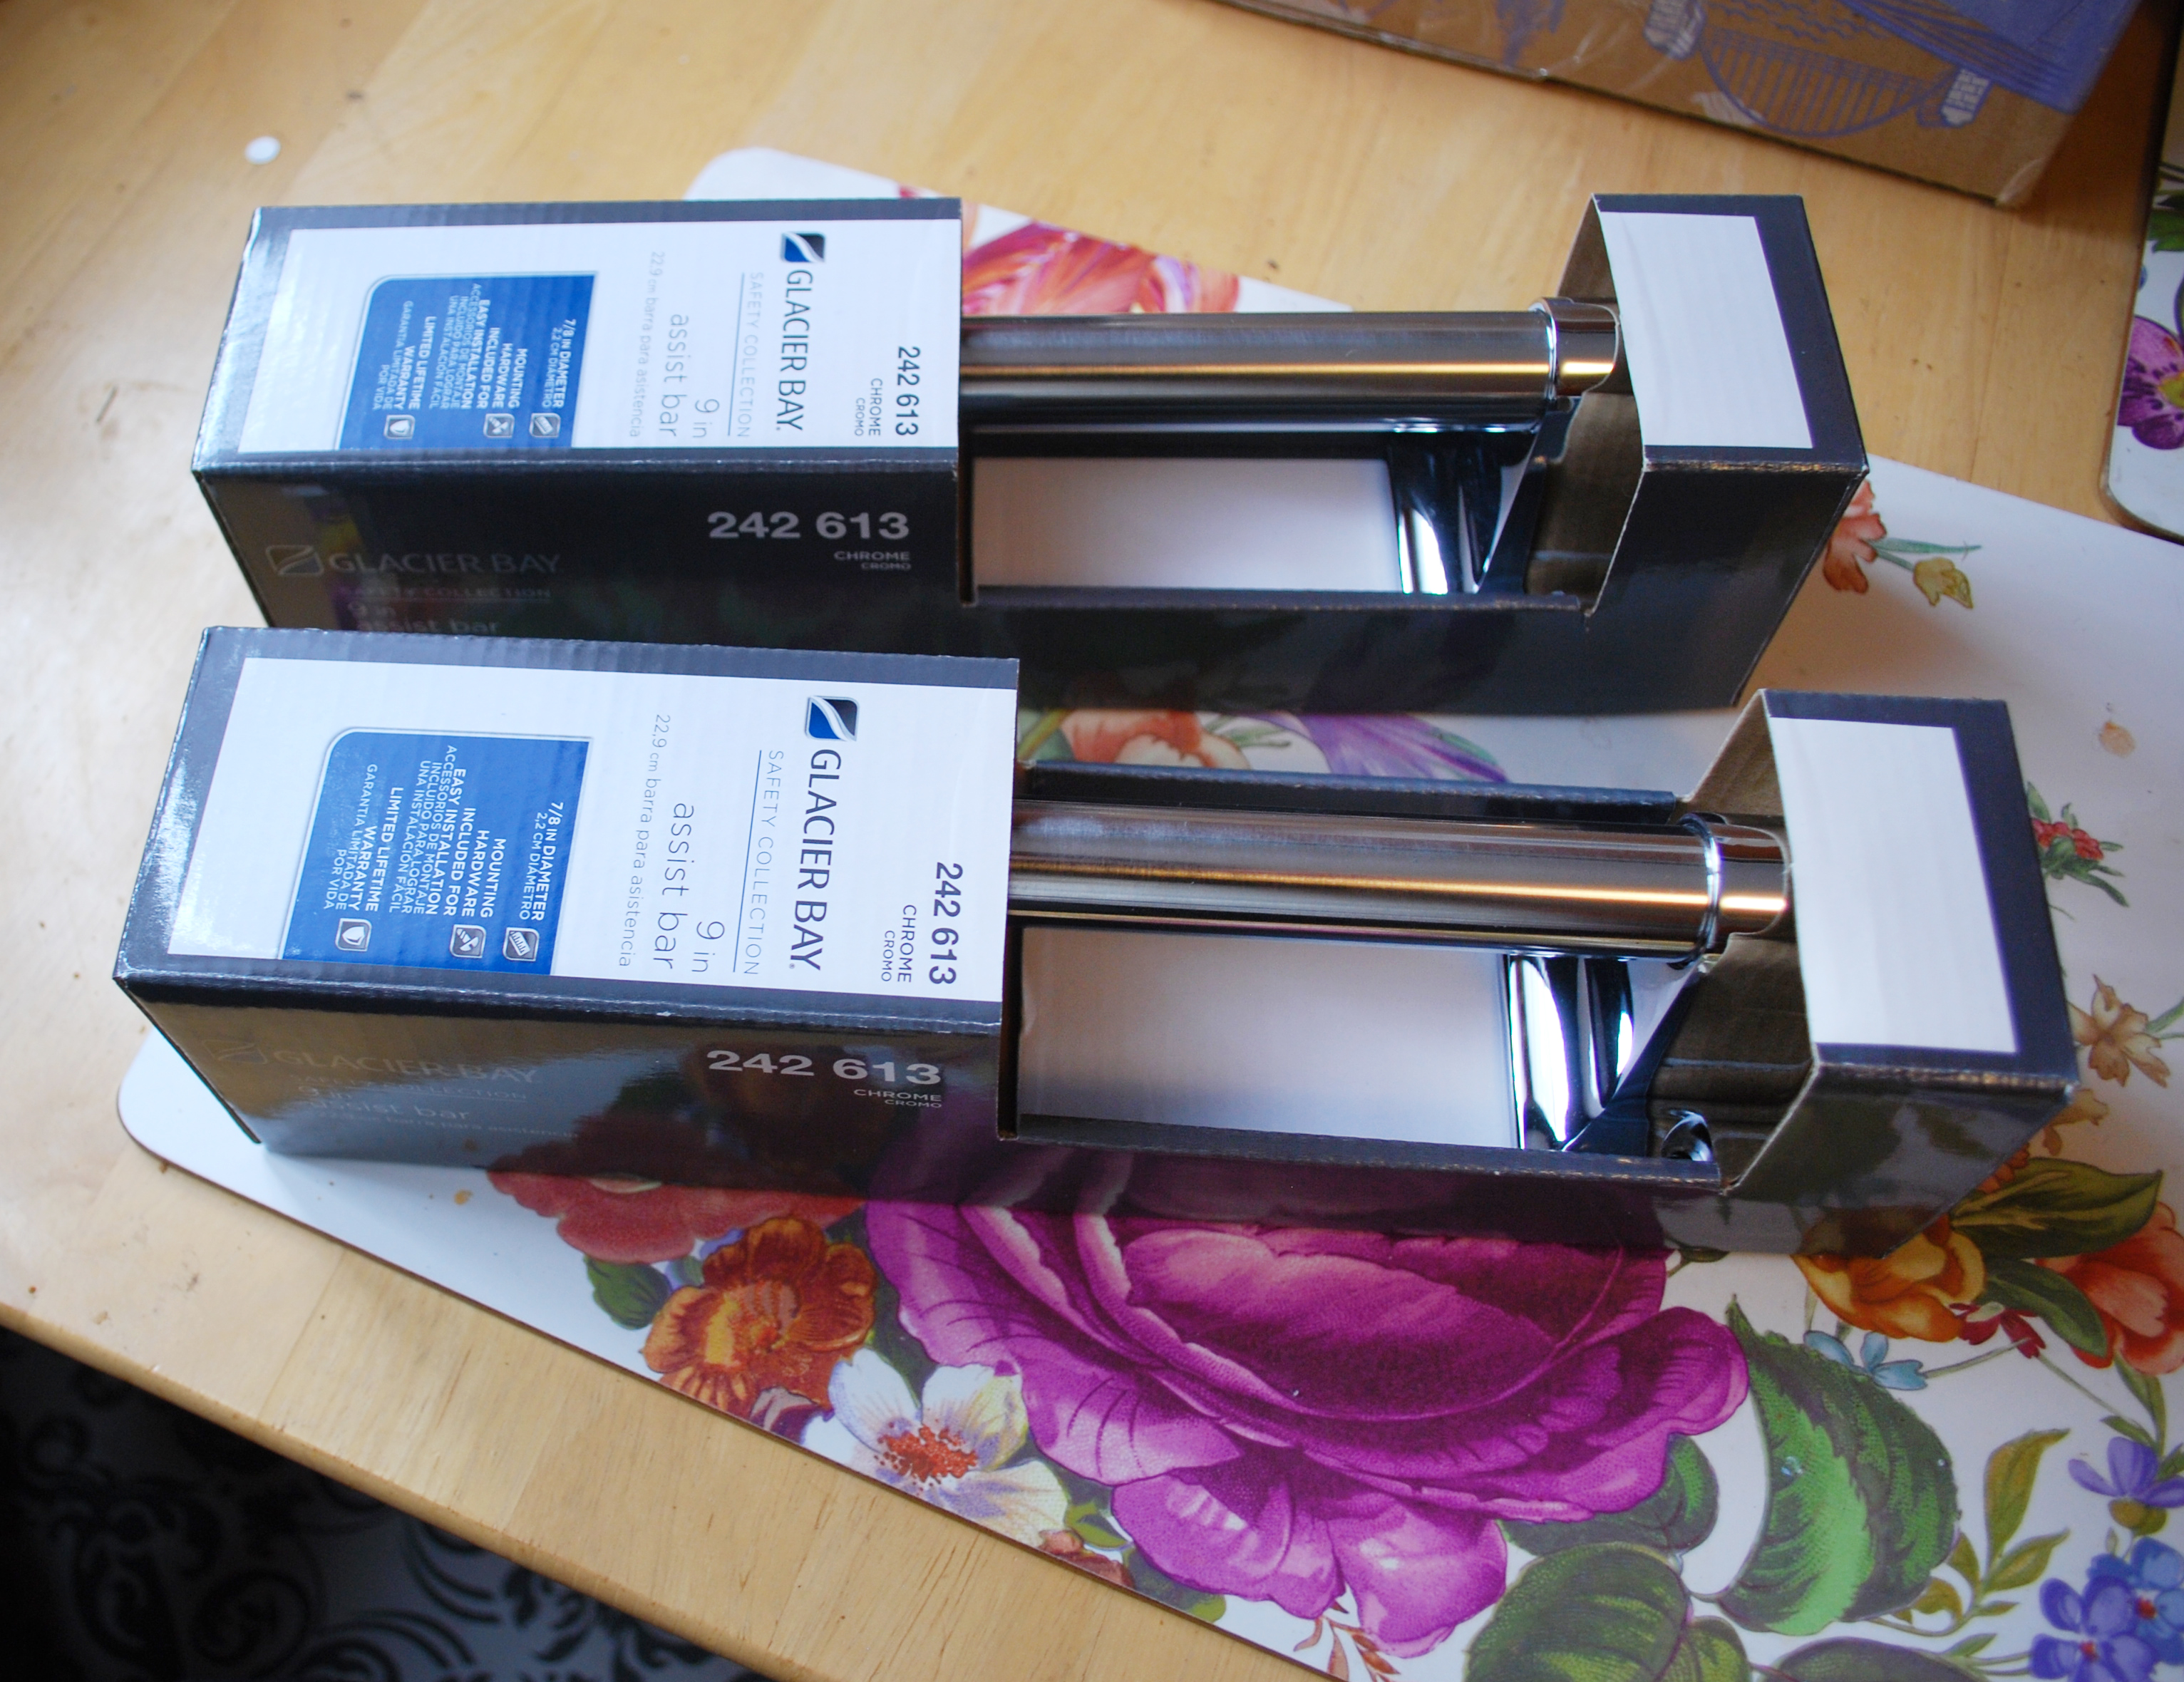
I thought we had another issue when I went to screw these in. I needed to drill holes first but the inside shelves were already up and I didn’t want to drill through those on the inside. I dried just using a screwdriver and applying a lot of pressure but I was getting nowhere. I let it be until Dan got home and told him what was up. He didn’t seem concerned at all.
The inside board wasn’t flush against the dresser so there was enough room in there for the drill to go through the outside but not through the board on the inside. I let Dan handle this, because I just didn’t trust myself not to totally lose control and let the drill fly through the shelf. Crisis averted. For the top, I used an old pallet board that I got from work.
This one was a bit harder to get apart and once again, hubs to the rescue. Anyone have any good tips for taking apart a pallet board? He just gets after it with a hammer and actually had to use our circular saw to disconnect some of the pieces. Once it was disassembled, the pieces were actually the perfect length. I love using pallet boards and seeing all the unique coloring and imperfections they have.
Adds great character to a piece! Since we didn’t need to cut them to size, I just gave them a good sanding and again used the Dark Walnut stain with some poly to cover them. Using my trusty Epoxy again, I glued the boards onto the top of the dresser.
Final touches were next. I thought about surprising Abby with some fun drawer liners but couldn’t find any that I really liked. I had some left over fabric from my Bedside Table Makeover and decided to use that on the sides of the drawers, to add a little surprise each time she opened them up. I cut the fabric to size and simply applied it using some Mod Podge. 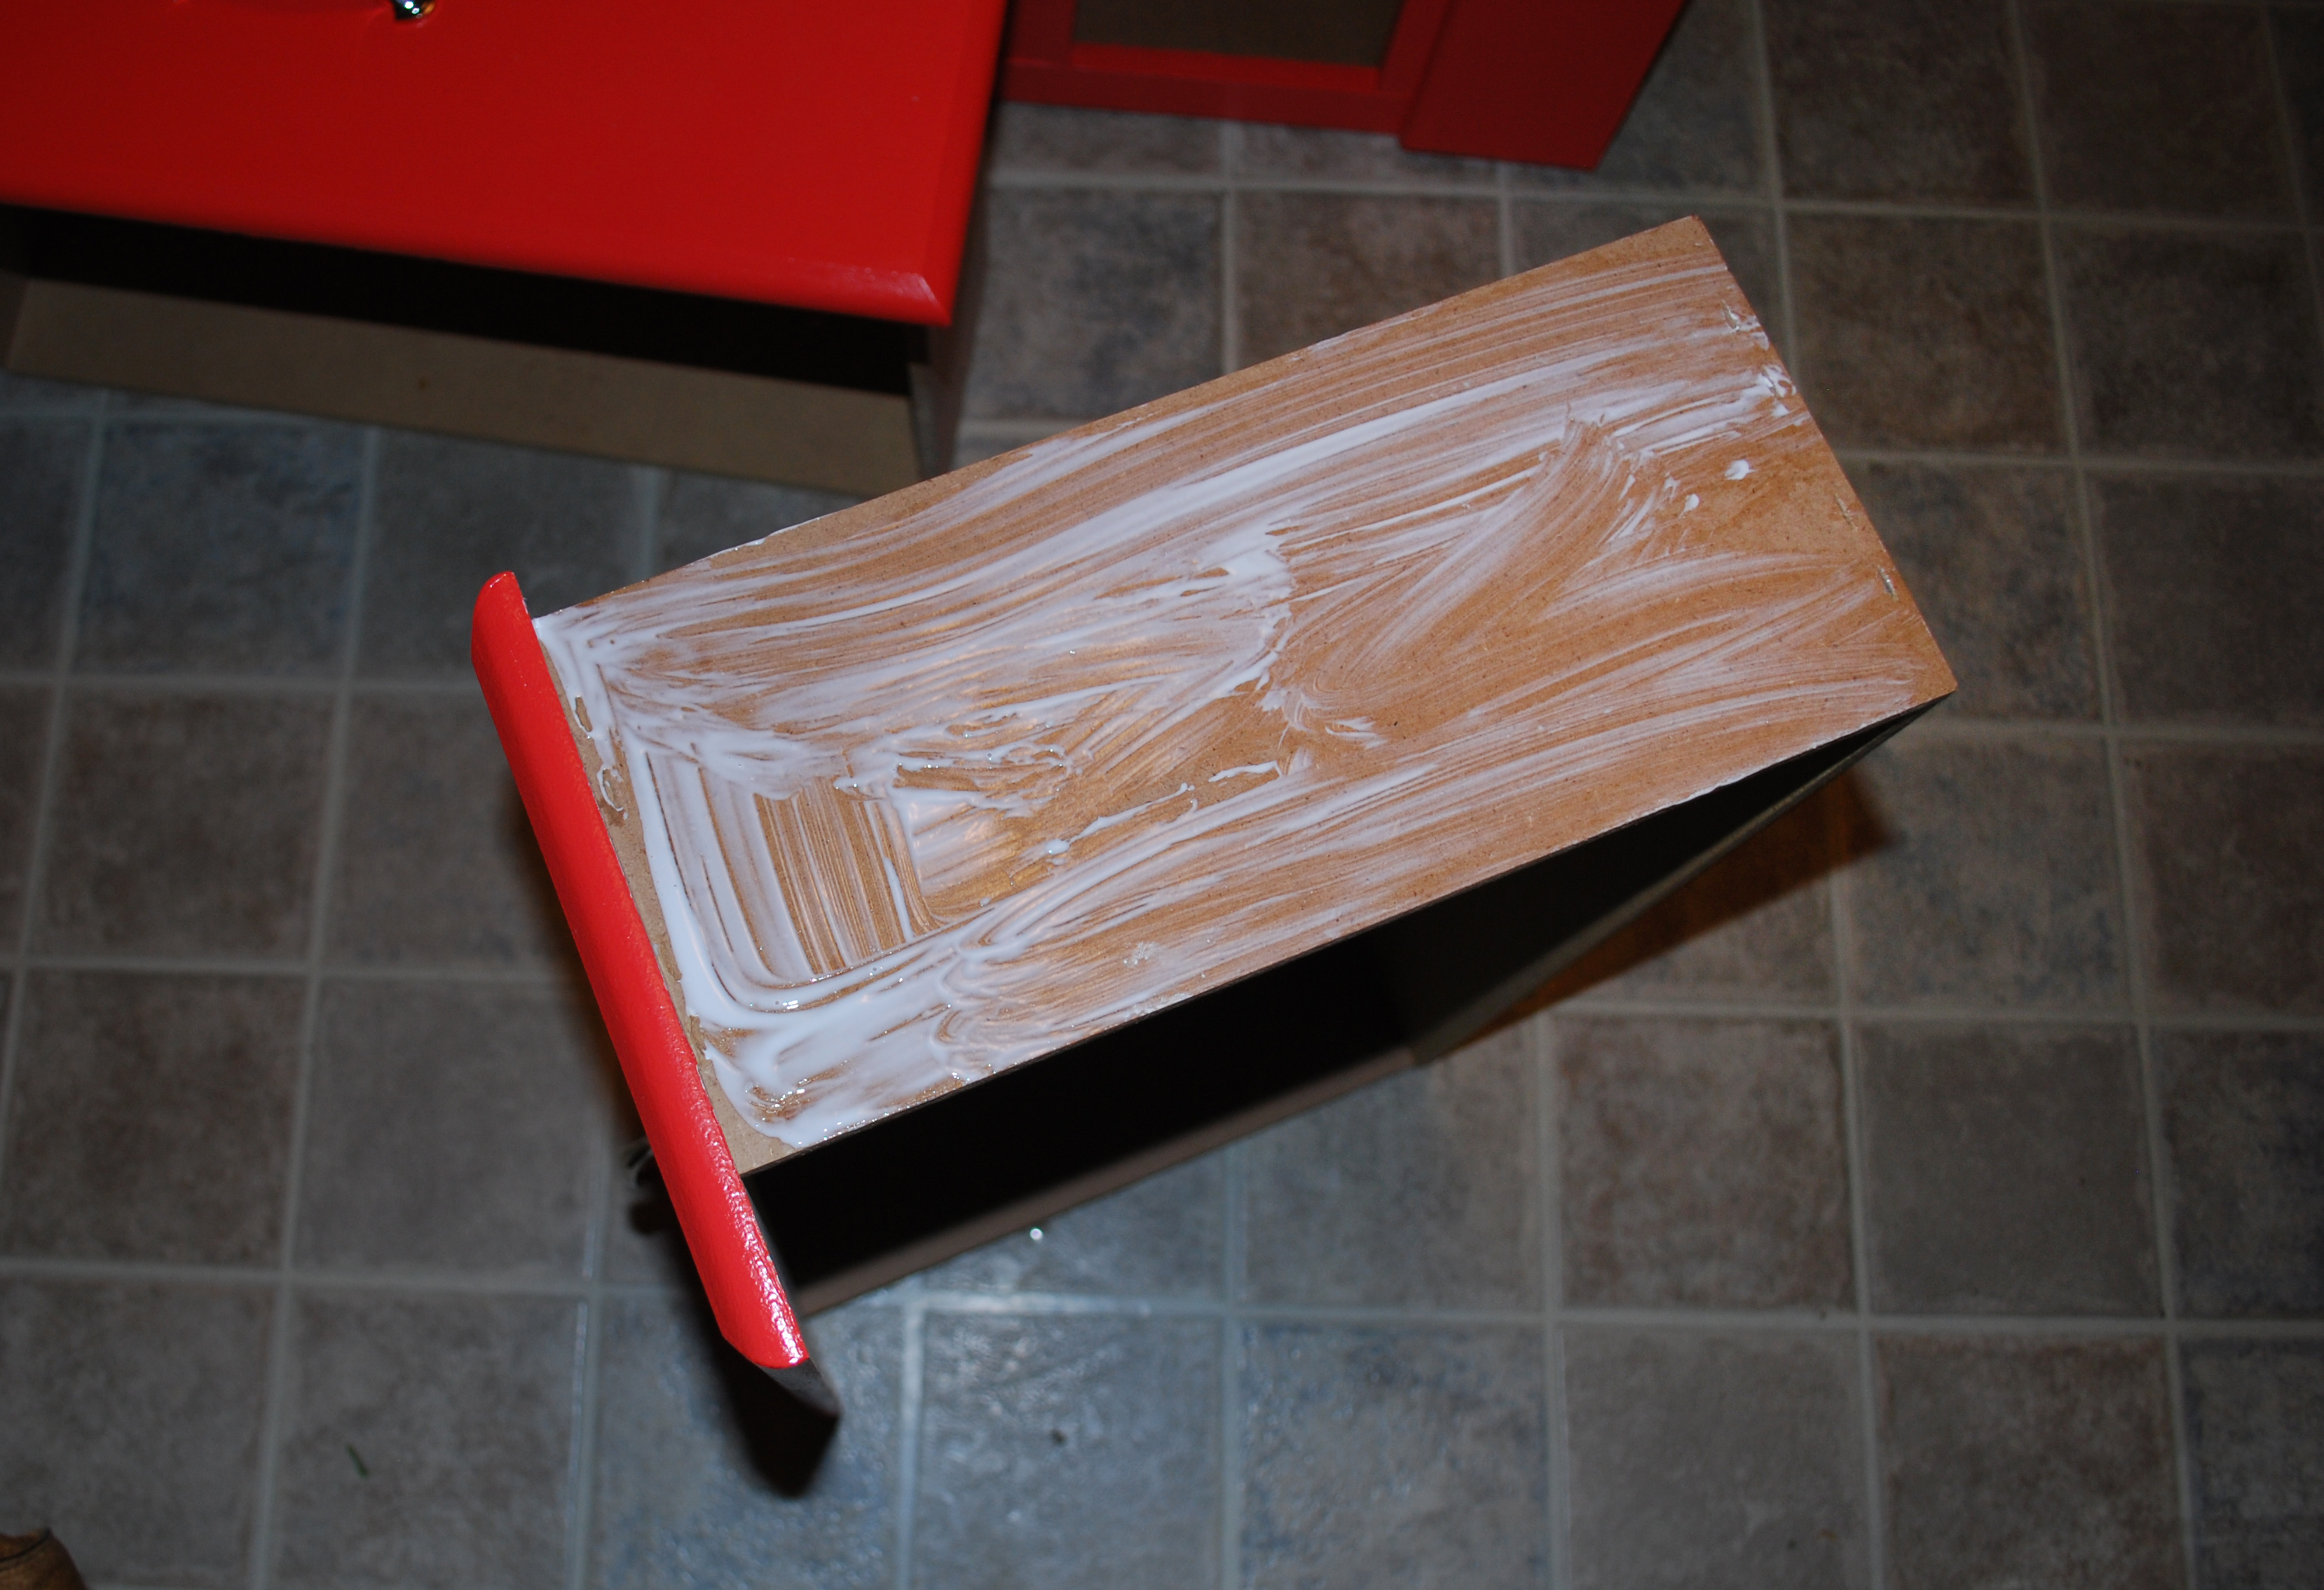
Can you even believe what this looked like before?! I was so pumped when I dropped it off at Abby’s and she fell in love with it. That’s one of my favorite parts about making things for others. I love seeing their reaction when it’s all done and seeing them get so excited. I love it!
I’m so happy I was able to give this piece new life and a new home. Abby is actually having a little get together at her apartment tomorrow and this is going to be the perfect conversation piece and I can’t wait to see it in action!
THE END RESULT!
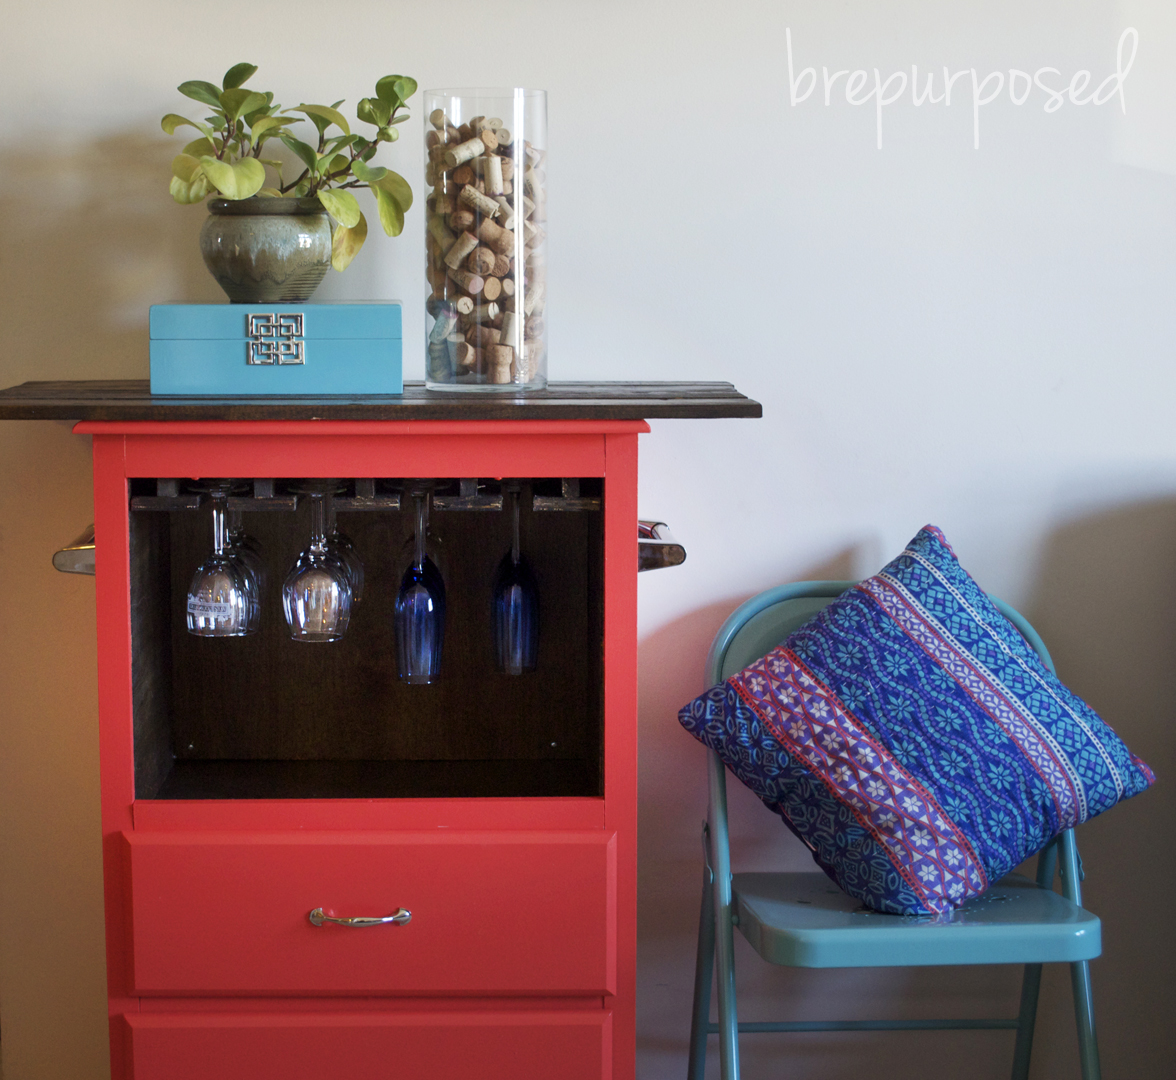
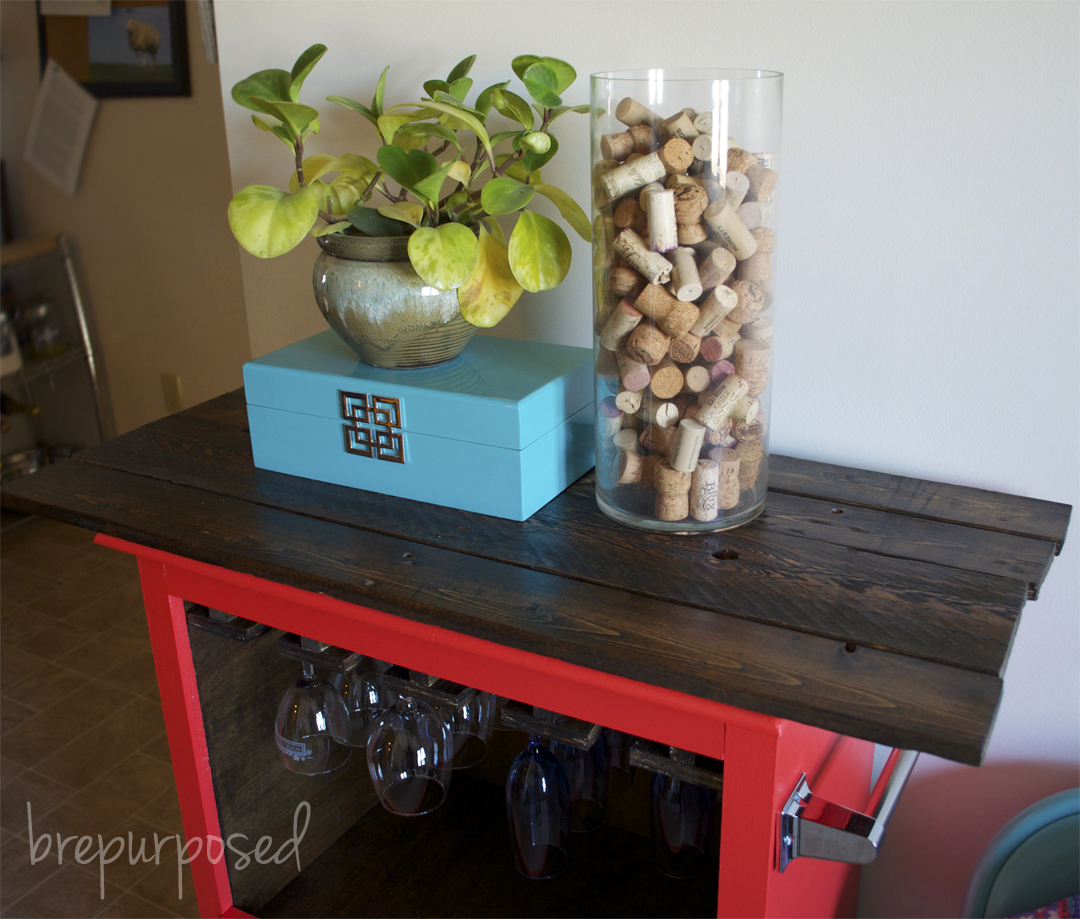
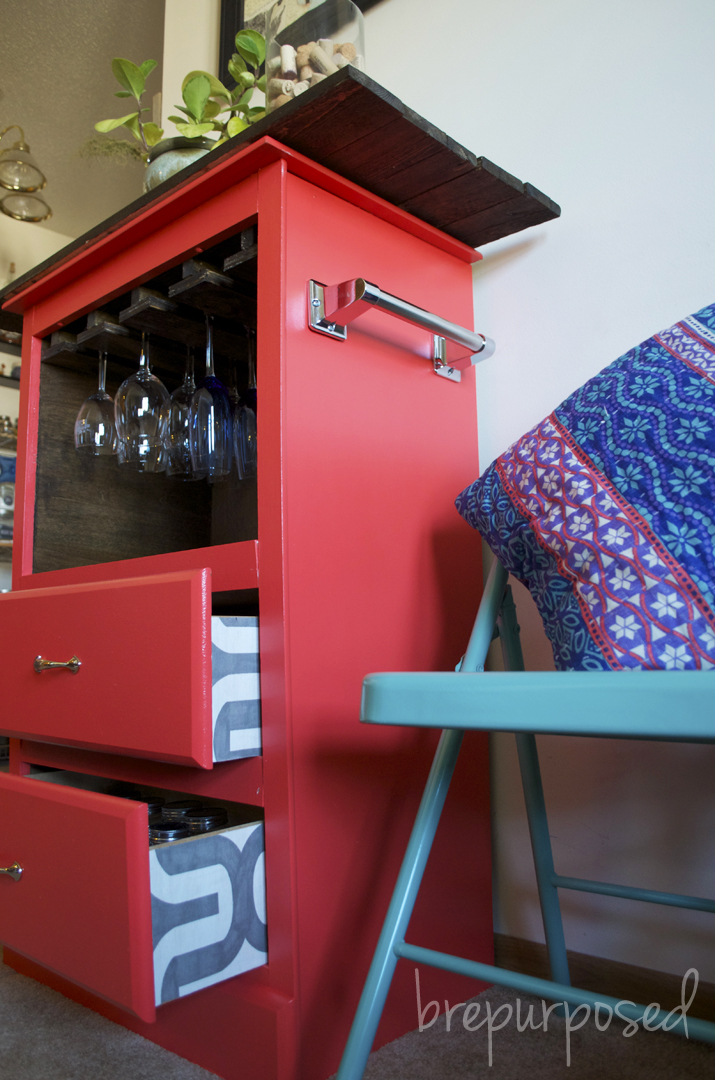
Thanks for stopping by and have a great rest of the week!




Bev
Love your ingenuity in creating something useful from something that was being discarded. We all need to learn ore about how to re-purpose so that we can loving care for out earth (and ourselves!)
brepurposed
Thank you Bev! I totally agree, upcycling is such a great way to reuse what we already have! 🙂
Audrey
I saw you on Better After blog! This project is really great and I like how you showed it step by step. It helps to have a great guy like Dan to help you out!! You are very creative.
brepurposed
Oh my goodness how ironic!! I’m so glad I found Better After, isn’t it so fun to see all the transformations?
And thank you! It was definitely helpful to have Dan’s help on this one 🙂 Have a great day!
Jen @ West Street Story
Wow, this is amazing! I love the red/orange color as well. Great choice!
brepurposed
Thank you so much Jen! I’m so glad my friend decided on using a bright color, it really turned it into a statement piece 🙂
Brandi
Such a great makeover. I love how you re-purposed the dresser.
brepurposed
thank you so much brandi! glad you stopped by 🙂
Good Time Charlie
I love this idea. What a an awesome DIYer to make all those changes! Sharing at my party today that starts at 1:00 PST. Thank you!
brepurposed
Oh thank you so much, made my day! I’ll be sure to stop over later 🙂
Ashley @ musingsandoats
This is brilliant!! Seriously, never would I have thought to do that. It turned out great 🙂
brepurposed
Thanks so much Ashley! Glad you stopped by 🙂
Deborah
What a transformation! It really turned out great. You and your hubby are great problem solvers. Love the added detail on the sides of the drawers too! Thank you for sharing at What We Accomplished Wednesdays. Have a great week! ~Deborah
brepurposed
Thanks for stopping by Deborah! Love linking up at your party 🙂
Sharon @ Elizabeth & Co.
Pretty and functional! And I love the wood top!
brepurposed
Thank you, Sharon!
Alison Agnew (@Nancherrrow)
Love that pop of color! And such a perfect little solution for cute storage in your space. Thanks for sharing at Fridays Unfolded!
Alison
Nancherrow
brepurposed
Thanks so much Alison! And thanks for hosting a great party 🙂 Have a wonderful weekend!
Amy @ Homey Oh My!
That color!!! Absolutely gorgeous. So creative of you to add wine glass racks. Love this, Bre!!
brepurposed
Isn’t it amazing?! Perfect to add some color since she can’t paint her walls. Thanks for stopping over, Amy!
Nicole B.
Bre, this looks awesome! Super cute!
brepurposed
Thank ya!
Christopher J. Norris
Awesome! You must have had a strong and brave friend who helped you pick that up ; )
brepurposed
I gave you a shout out!
Christopher J. Norris
; )